How to Build an Express.js PDF Viewer
In this tutorial, you’ll learn how to create a PDF viewer using Express.js, a popular JavaScript framework for developing web applications.
Requirements
To get started, you’ll need:
Setting Up an Express Project
First, you’ll need to set up your project by creating a new directory and installing the necessary packages. Use the following command to create a new directory:
mkdir pdf-viewer
Next, navigate to the newly created directory and install Express.js by running the following command:
cd pdf-viewer
npm install express
Creating an Express Server
Once you’ve installed Express.js, create a new file called server.js in your project directory. In this file, you’ll set up the basic Express.js server, which will handle all incoming requests:
const express = require('express');
const app = express();

app.listen(3000, () => {
	console.log('Server started on port 3000');
});
Serving the PDF File
To serve the PDF file, you’ll need to set up a route that will handle the incoming requests for the file. You can do this by using the app.get() method provided by Express.js.
The following example sets up a route that will handle requests for the file located at /public/document.pdf:
app.get('/pdf/:file', (req, res) => {
	res.sendFile(`${__dirname}/public/${req.params.file}`);
});
Make sure to create a public directory in your project directory and add the PDF file inside it.
The app.get() method is used to handle HTTP GET requests, and it takes two arguments. The first argument is the route — in this case, it’s /pdf/:file. The second argument is a callback function that will be executed when a request is made to this route.
The /pdf/:file route has a :file, which is a placeholder for the file name. This allows the route to match any URL that starts with /pdf/, followed by a file name. For example, /pdf/document.pdf would match this route.
The callback function takes two arguments: req and res. req is the request object, which contains information about the incoming request, such as the headers and the parameters in the URL. res is the response object, which is used to send a response to the client.
The res.sendFile() method is used to send a file to the client. It takes one argument, which is the path to the file that you want to send. In this case, ${__dirname}/pdf/${req.params.file} is used to construct the path to the file. __dirname is a global variable that contains the path to the current directory, and req.params.file is the file parameter that was captured from the URL. So, this line of code is sending the file located at {project_directory}/public/{file_name} to the client.
Creating a View
To display the PDF file, you’ll need to create a view that will render it. You can use a template engine like EJS (Embedded JavaScript) or Pug to create the view. This example uses EJS.
-
Install EJS by running the following command:
npm install ejs
-
To use EJS, you’ll need to set the view engine to EJS. You can do this by using the
app.set()method provided by Express.js:
app.set('view engine', 'ejs');

app.get('/pdf/:file', (req, res) => {
	res.render('pdf', { file: req.params.file });
});
Here, you’re making a request to the same route(/pdf/:file) that will render the pdf.ejs file instead of serving the raw PDF file. EJS assumes that the view file is located in a folder named views in the project directory. res.render() is a method provided by Express.js to render a view using a template engine.
The file parameter is passed to the view (views/file.pdf), which will be used to render the PDF file. You can learn more about passing parameters to views in the EJS documentation.
Adding a Viewer via the PDF.js Library
To view the PDF file, you’ll need to add a viewer to your project. This example uses Mozilla’s PDF.js library.
-
Create a new folder named
viewsin your project directory and add a new file calledpdf.ejsinside it. This file will contain the HTML code for the view.
Create a boilerplate HTML file:
<!DOCTYPE html>
<html lang="en">
	<head>
		<meta charset="UTF-8" />
		<meta http-equiv="X-UA-Compatible" content="IE=edge" />
		<meta
			name="viewport"
			content="width=device-width, initial-scale=1.0"
		/>
		<title>Document</title>
	</head>
	<body></body>
</html>
-
You can add the PDF.js library to your project by including the following line of code in the
<head>section of your HTML file:
<script
	src="https://cdnjs.cloudflare.com/ajax/libs/pdf.js/3.2.146/pdf.min.js"
	integrity="sha512-hA0/Bv8+ywjnycIbT0xuCWB1sRgOzPmksIv4Qfvqv0DOKP02jSor8oHuIKpweUCsxiWGIl+QaV0E82mPQ7/gyw=="
	crossorigin="anonymous"
	referrerpolicy="no-referrer"
></script>
This example uses the CDN version of the library. You can also download the library and include it in your project.
Rendering the PDF
Once the PDF.js library is added to your project, you can use the pdfjsLib.getDocument() method to load the PDF file and render it on the page:
<canvas id="pdf-container"></canvas>

<script>
	pdfjsLib
		.getDocument('/public/<%= file %>')
		.promise.then(function (pdf) {
			pdf.getPage(1).then(function (page) {
				// Sets the scale of the page when it's rendered.
				const scale = 1.5;

				// Returns the viewport for the page, which defines the visible area of the page.
				const viewport = page.getViewport({ scale: scale });

				// Gets the canvas element on the webpage that will be used to render the PDF page.
				const canvas = document.getElementById('pdf-container');

				// Gets the 2D rendering context for the canvas element.
				const context = canvas.getContext('2d');

				// Sets the height and width of the canvas element to match the viewport.
				canvas.height = viewport.height;
				canvas.width = viewport.width;

				// Sets the canvas context and viewport for rendering the page.
				const renderContext = {
					canvasContext: context,
					viewport: viewport,
				};

				// Renders the page on the canvas element with the defined context and viewport.
				page.render(renderContext);
			});
		});
</script>
The code above loads the first page of the PDF document specified in the file variable, scales it to 1.5, and renders it on the canvas element with the ID of pdf-container.
Setting Up a Proxy Route
In the previous section, you set up a route that will handle requests for the PDF file. However, you also need to set up an absolute path for the views in order to render the PDF file.
You can set up a proxy route that forwards requests to the /public route to the location of the file on your server.
Add the following code to your server.js file:
const path = require('path');

app.set('views', path.join(__dirname, 'views'));

app.use('/public', express.static(path.join(__dirname, 'public')));
This will set up a route that will serve files from the public directory in your project.
Running the Project
Once you’ve finished building your PDF viewer with Express.js, you can run the app by using the following command in the root of your project directory:
node server.js
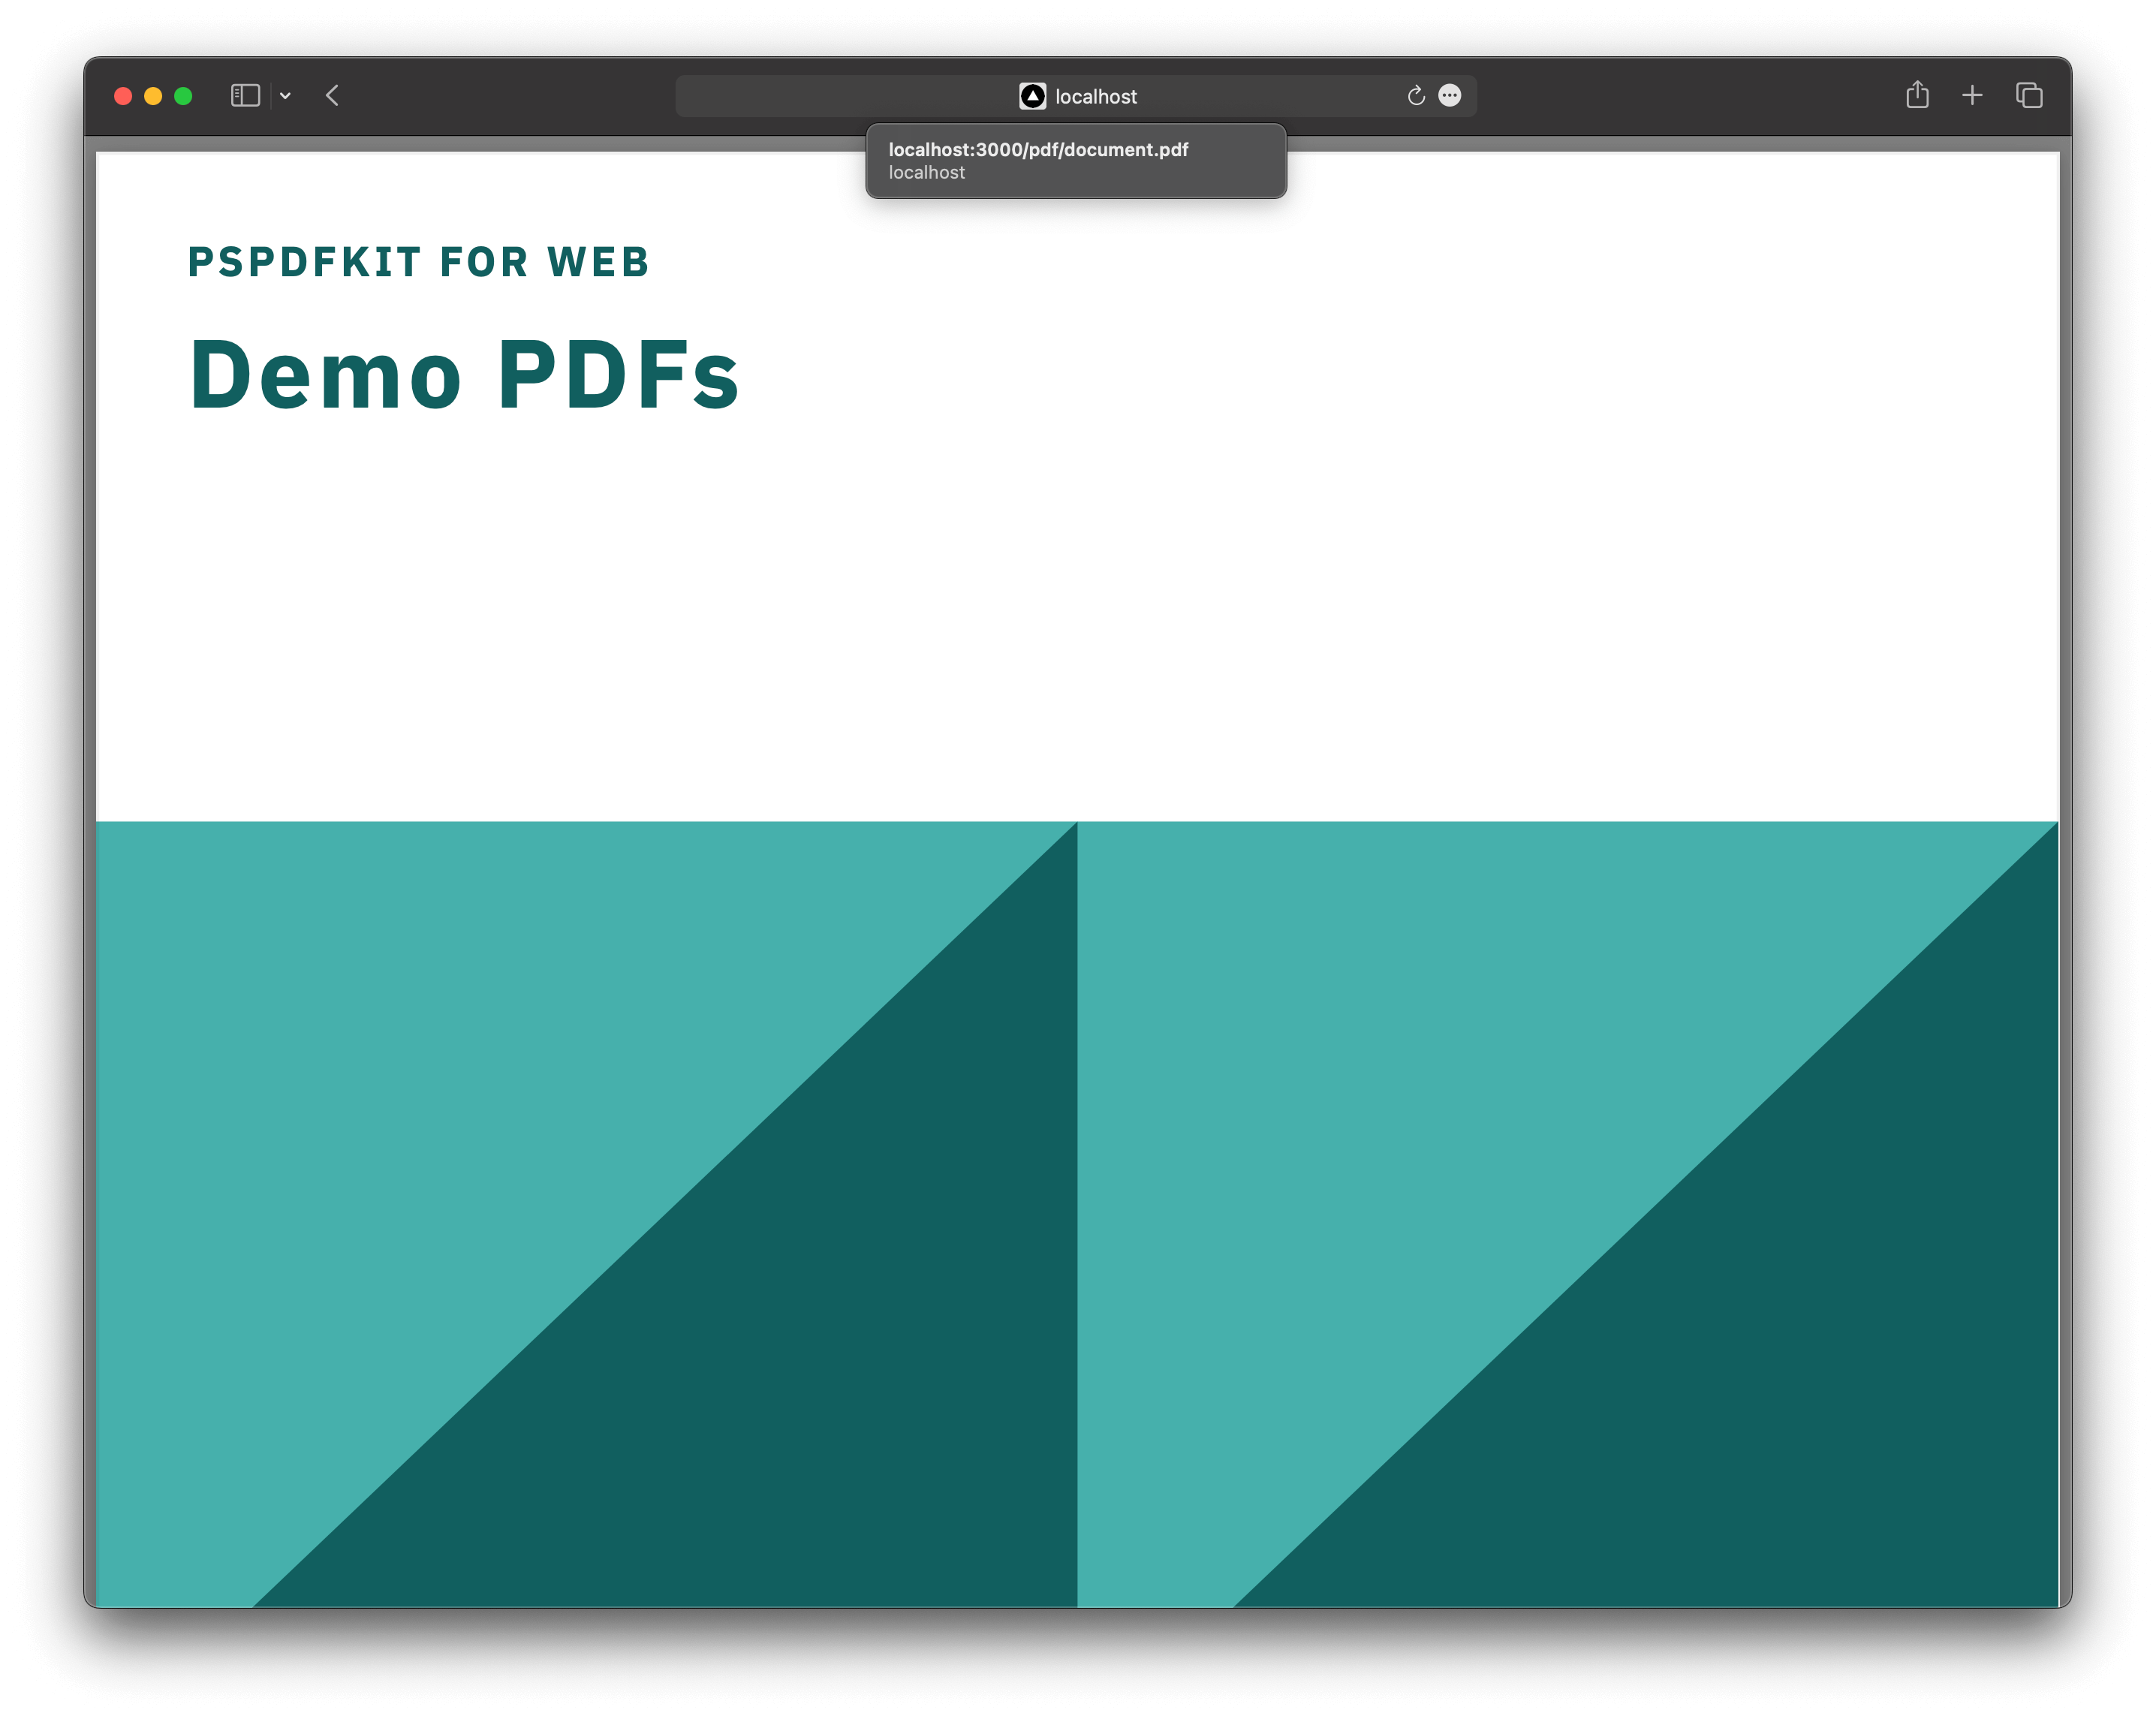
This command will start the Express.js server and make your application available at http://localhost:3000. You can access the viewer by navigating to http://localhost:3000/pdf/document.pdf in your web browser.
Make sure that your pdf file is placed in the public folder, and that the path you added in the code is correct.
You can also use nodemon instead of the node command. This will automatically restart the server every time you make changes to the code, so you don’t have to manually do it:
npm install -g nodemon

nodemon server.js

You can find the completed project on GitHub.
Conclusion
You’ve now created a simple PDF viewer with Express.js. You can customize the viewer by adding navigation buttons, page numbers, and other features.
Building a PDF viewer with Express.js is a straightforward process that involves setting up a project, creating an Express.js server, serving a PDF file, creating a view, adding a viewer, and rendering the PDF. You can quickly create a functional PDF viewer by following these steps.
We created similar how-to blog posts using different web frameworks and libraries:
- How to Build an Angular PDF Viewer with PDF.js
- How to Build a Vue.js PDF Viewer with PDF.js
- How to Build a React PDF Viewer with PDF.js
- How to Build a Bootstrap 5 PDF Viewer with PDF.js
- How to Build an Electron PDF Viewer with PDF.js
- How to Build a jQuery PDF Viewer with PDF.js
To see a list of all web frameworks, start your free trial. Or, launch our demo to see our viewer in action.

Hulya is a frontend web developer and technical writer at PSPDFKit who enjoys creating responsive, scalable, and maintainable web experiences. She’s passionate about open source, web accessibility, cybersecurity privacy, and blockchain.


