How to Build a Bootstrap 5 PDF Viewer with PDF.js
Bootstrap is one of the most popular CSS frameworks that makes it much easier for developers to create website layouts, and it’s one of the first frameworks introducing responsive design and a mobile-first approach.
PDF.js is an open source JavaScript library built by Mozilla, and it allows you to create a full-featured PDF viewer in the browser using JavaScript and the HTML5 canvas element.
In this blog post, you’ll use the latest version of Bootstrap, which is 5.1. Bootstrap 5 has some breaking changes, like removing jQuery as a dependency, and dropping support for IE 10 and 11.
In the first part, you’ll walk through how to render and view a PDF in the browser with PDF.js, and you’ll use Bootstrap for the user interface (UI). In the second part, you’ll look at how to build a fully featured PDF viewer and how to customize the UI with the PSPDFKit JavaScript PDF library. Our PDF viewer library provides some additional benefits beyond those of PDF.js, including:
- A prebuilt and polished UI for an improved user experience
- 15+ prebuilt annotation tools to enable document collaboration
- Browser-based text editing, page cropping, merging, rotating, and more
- Support for more file types with client-side PDF, MS Office, and image viewing
- Dedicated support from engineers to speed up integration
Installing Bootstrap
Bootstrap has many installation options. In this blog post, you’ll use a content delivery network (CDN) from jsDelivr.
A CDN is a content delivery network or a server that hosts libraries like Bootstrap. The beauty of using a popular CDN is that if a user has been to another website that uses the same CDN to fetch the Bootstrap framework, then the browser will find the cached version and load the website at a much faster rate.
Create a blank index.html file:
<!DOCTYPE html>
<html lang="en">
	<head>
		<title>PDF Viewer with Bootstrap 5 and PDF.js</title>
	</head>
	<body></body>
</html>
-
Add the
bootstrap.min.csslink before the closing</head>tag:
<link
	href="https://cdn.jsdelivr.net/npm/bootstrap@5.1.3/dist/css/bootstrap.min.css"
	rel="stylesheet"
	integrity="sha384-1BmE4kWBq78iYhFldvKuhfTAU6auU8tT94WrHftjDbrCEXSU1oBoqyl2QvZ6jIW3"
	crossorigin="anonymous"
/>
-
Bootstrap has an open source SVG icon library that’s freely available and licensed under MIT. By adding the Bootstrap Icons CDN, you can access the library and use the icons. Include it after the CSS CDN:
<link
	rel="stylesheet"
	href="https://cdn.jsdelivr.net/npm/bootstrap-icons@1.7.2/font/bootstrap-icons.css"
/>
There are multiple ways to include icons on your website. In this post, you’ll use the icon fonts. They’re easy to use and result in less code to maintain. For example, by just adding the <i class="bi bi-house"></i> tag to the page, you can use the house icon to display the house icon.
-
Now, include the JavaScript and Popper.js libraries via a CDN before the closing
</body>tag:
<script
	src="https://cdn.jsdelivr.net/npm/@popperjs/core@2.10.2/dist/umd/popper.min.js"
	integrity="sha384-7+zCNj/IqJ95wo16oMtfsKbZ9ccEh31eOz1HGyDuCQ6wgnyJNSYdrPa03rtR1zdB"
	crossorigin="anonymous"
></script>
<script
	src="https://cdn.jsdelivr.net/npm/bootstrap@5.1.3/dist/js/bootstrap.min.js"
	integrity="sha384-QJHtvGhmr9XOIpI6YVutG+2QOK9T+ZnN4kzFN1RtK3zEFEIsxhlmWl5/YESvpZ13"
	crossorigin="anonymous"
></script>
Popper.js is a positioning engine for tooltips, popovers, and modals.
Building a PDF Viewer with Bootstrap and PDF.js
Now, you’ll build a PDF viewer with Bootstrap and PDF.js.
By the end of this tutorial, you’ll be able to:
- View and display a PDF file in the browser.
- Zoom in and out.
- Navigate to a specific page.
- Navigate to the next and previous pages.

You can access the full code on GitHub.
Creating the UI for the Toolbar
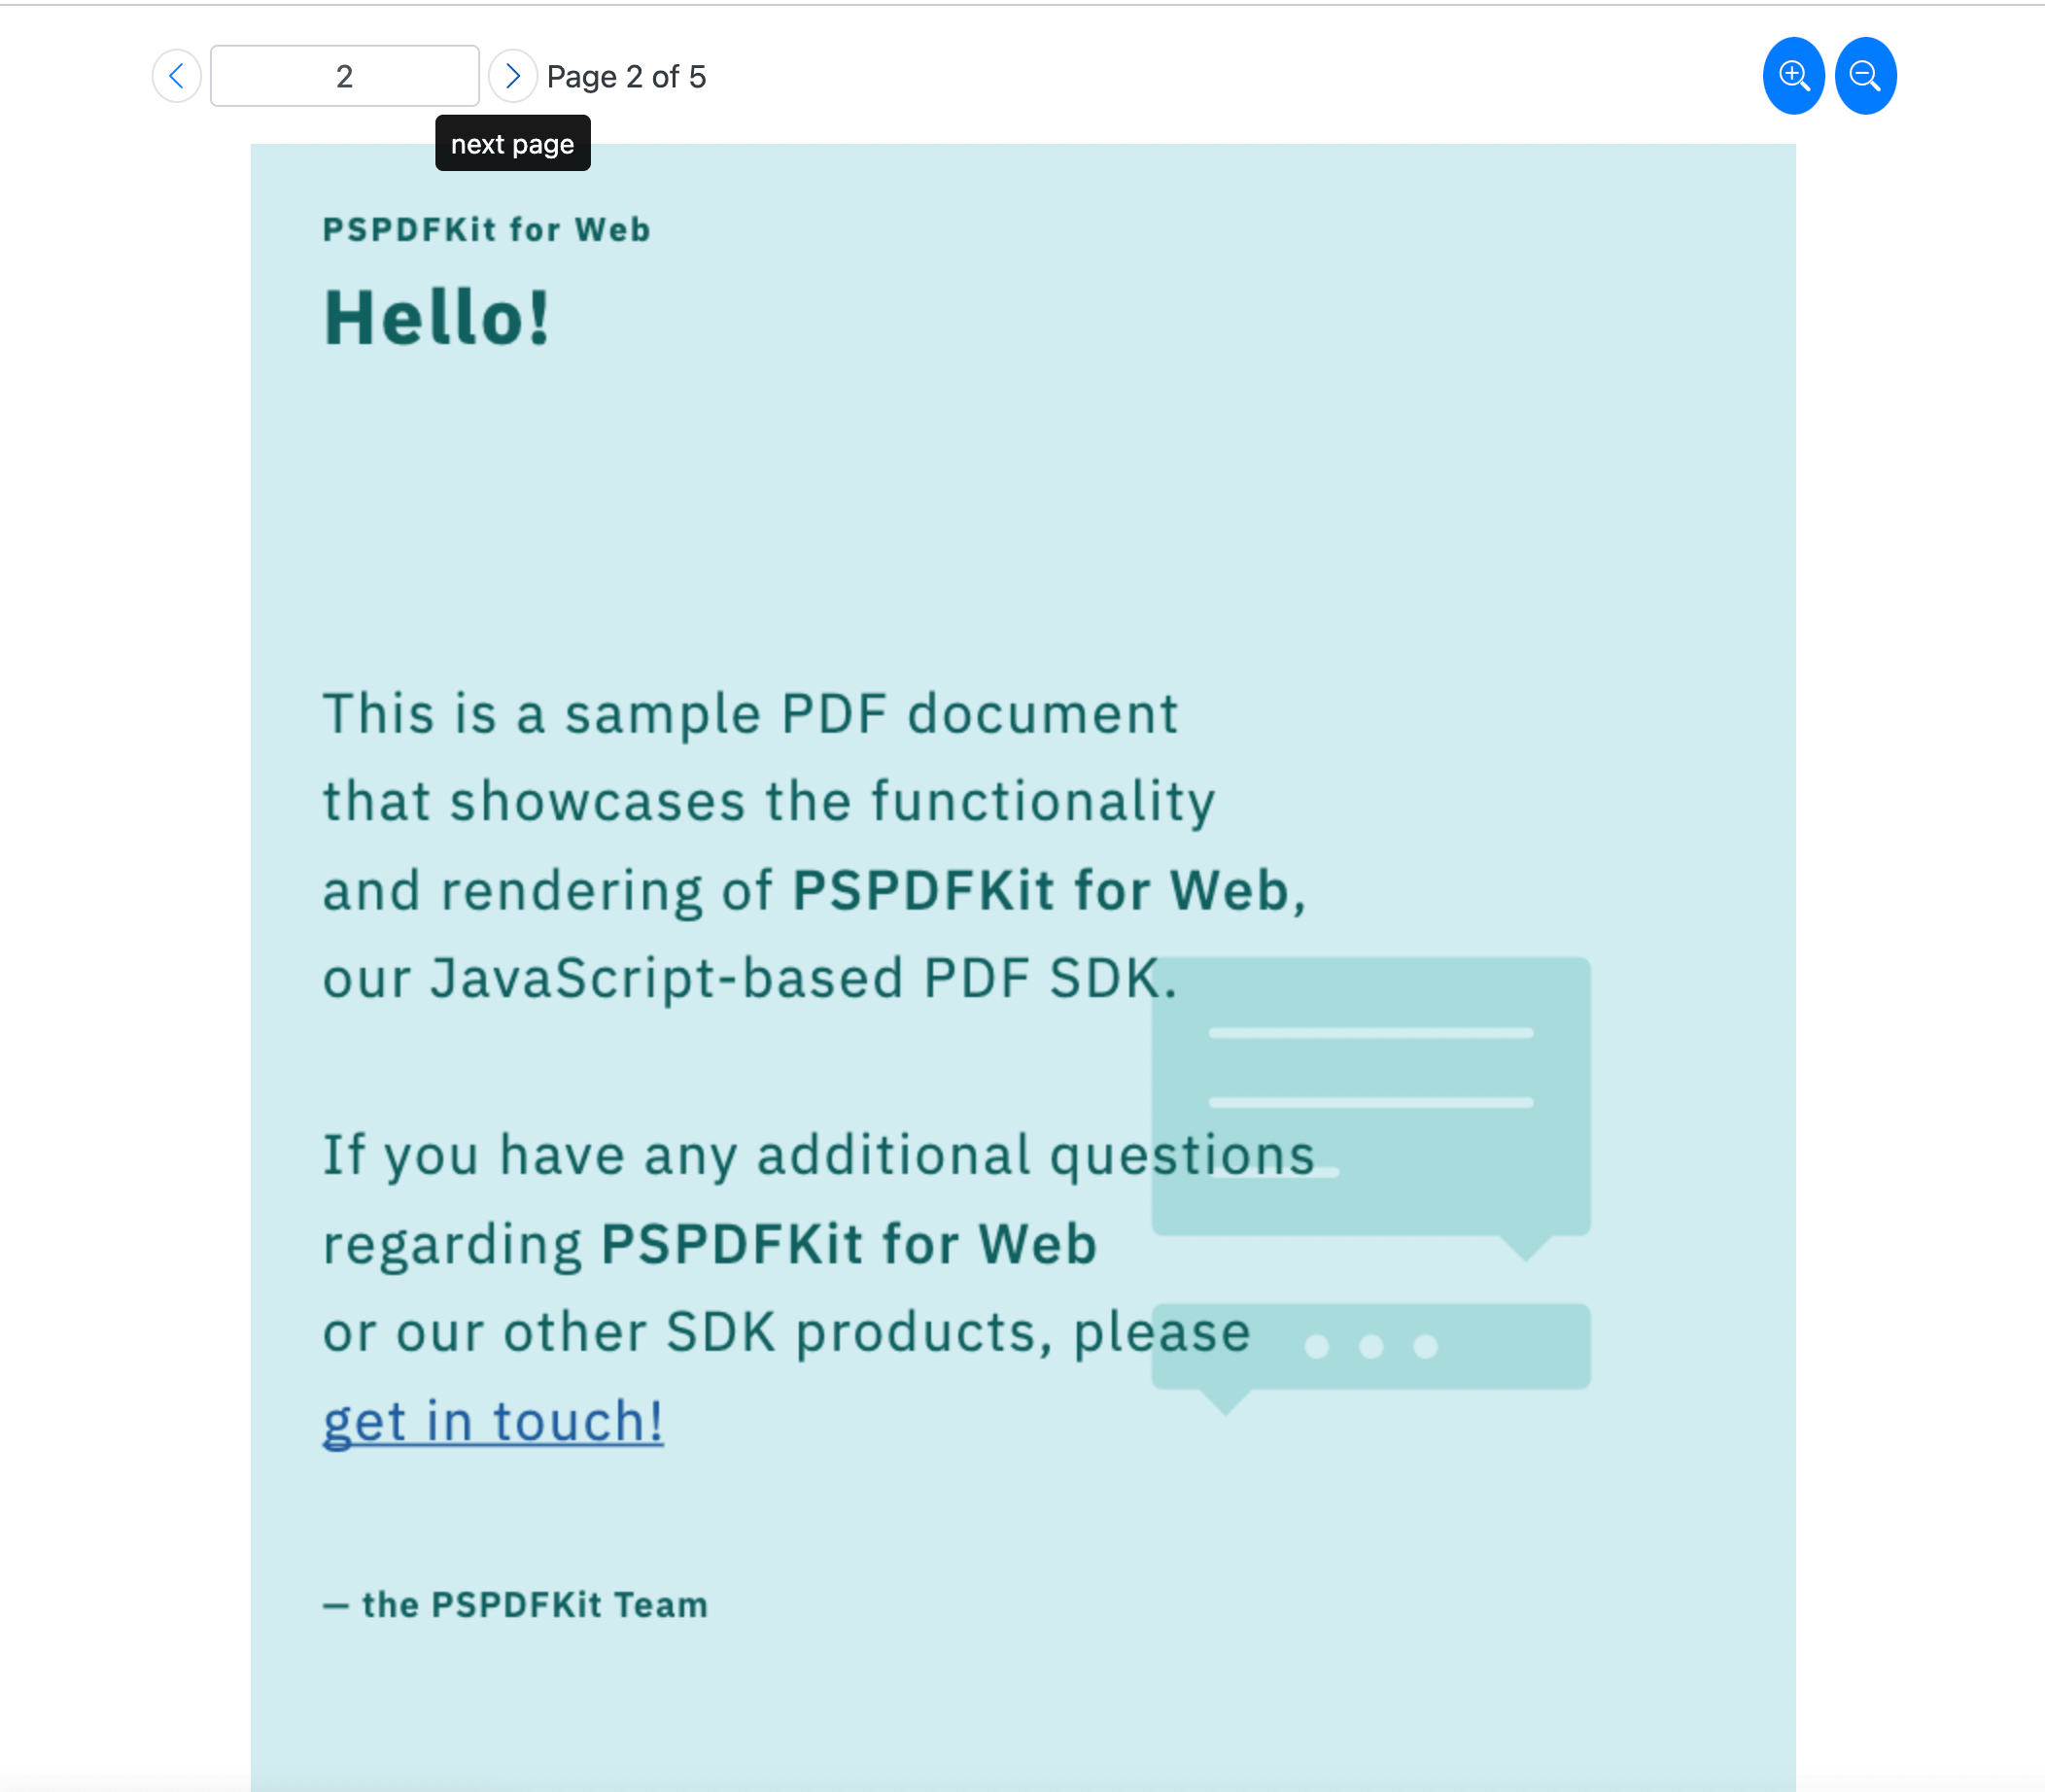
You can see the UI of your page below. You’ll add previous, next, and zoom icons to your page and use an input tag to show the current page number of the document.
To build the UI, you’ll use Bootstrap icons, containers, navs, tooltips, buttons, and flex.
Keep in mind that class properties are reserved for Bootstrap classes. To interact with the PDF.js library, you’ll access the elements via their ID attributes.
-
First off, wrap your site contents with the
containerclass. This class is one of the building blocks of creating a responsive grid layout with Bootstrap:
<div class="container">
	<!-- Rest of the content -->
</div>
-
For the toolbar, you’ll use the
navandflexclasses and display them inside theulandlitags:
<body>
	<div class="container">
		<ul
			class="nav nav-tabs d-flex justify-content-between align-items-center text-dark p-3"
		>
			<li class="nav-item">
				<a
					href="#"
					class="p-1 border rounded-circle"
					id="prev_page"
				>
					<i class="bi bi-chevron-left"></i>
				</a>

				<input
					type="number"
					id="current_page"
					value="1"
					class="d-inline form-control"
				/>

				<a
					href="#"
					class="p-1 border rounded-circle"
					id="next_page"
				>
					<i class="bi bi-chevron-right"></i>
				</a>

				Page
				<span id="page_num"></span>
				of
				<span id="page_count"></span>
			</li>

			<li class="nav-item">
				<button
					class="rounded-circle p-2 border-0 btn btn-primary"
					id="zoom_in"
				>
					<i class="bi bi-zoom-in"></i>
				</button>

				<button
					class="rounded-circle p-2 border-0 btn btn-primary"
					id="zoom_out"
				>
					<i class="bi bi-zoom-out"></i>
				</button>
			</li>
		</ul>
	</div>
</body>
You used the chevron left, chevron right, zoom in, and zoom out icons from the Bootstrap icons library.
-
After the toolbar, all you need to do is add the
canvaselement to render the PDF file via PDF.js:
<div class="container">
	<!-- toolbar -->
	<canvas
		id="canvas"
		class="d-flex flex-column justify-content-center align-items-center mx-auto"
	></canvas>
</div>
This will position the canvas element in the middle of the page.
-
Finally, to make your application more accessible, you’ll add tooltips to the icons. You can check out the documentation for Bootstrap tooltips to learn more about them.
Basically, tooltips are small popup boxes that appear when you hover over an element. They’re useful for providing additional information about an element. To get started, you’ll need to add the:
-
titleproperty, which becomes the content of the tooltip. -
data-bs-toggle="tooltip"property. -
data-bs-placement="top"property to position the tooltip at the top. You can also position the tooltip at thebottom,left, andright.
<a
	href="#"
	class="p-1 border rounded-circle"
	id="prev_page"
	title="previous page"
	data-bs-toggle="tooltip"
	data-bs-placement="bottom"
>
	<i class="bi bi-chevron-left"></i>
</a>
To enable tooltips, you need to add the following code to your custom JavaScript file:
// script.js
const tooltipTriggerList = [].slice.call(
	document.querySelectorAll('[data-bs-toggle="tooltip"]'),
);
const tooltipList = tooltipTriggerList.map((tooltipTriggerEl) => {
	return new bootstrap.Tooltip(tooltipTriggerEl);
});
This will target all the elements that have a data-bs-toggle="tooltip" and create a list of them, which you’ll use to create a new tooltip instance for each element.
You can find the full HTML code here:
<!DOCTYPE html>
<html lang="en">
	<head>
		<meta charset="UTF-8" />
		<meta http-equiv="X-UA-Compatible" content="IE=edge" />
		<meta
			name="viewport"
			content="width=device-width, initial-scale=1.0"
		/>
		<title>PDF Viewer with Bootstrap 5 and PDF.js</title>

		<!-- Bootstrap CSS -->
		<link
			rel="stylesheet"
			href="https://maxcdn.bootstrapcdn.com/bootstrap/4.0.0/css/bootstrap.min.css"
		/>

		<!-- Bootstrap Icons -->
		<link
			rel="stylesheet"
			href="https://cdnjs.cloudflare.com/ajax/libs/bootstrap-icons/1.7.2/font/bootstrap-icons.min.css"
			integrity="sha512-1fPmaHba3v4A7PaUsComSM4TBsrrRGs+/fv0vrzafQ+Rw+siILTiJa0NtFfvGeyY5E182SDTaF5PqP+XOHgJag=="
			crossorigin="anonymous"
			referrerpolicy="no-referrer"
		/>

		<link rel="stylesheet" href="style.css" />
	</head>
	<body>
		<div class="container">
			<ul
				class="nav nav-tabs d-flex justify-content-between align-items-center text-dark p-3"
			>
				<li class="nav-item">
					<a
						href="#"
						class="p-1 border rounded-circle"
						id="prev_page"
						title="previous page"
						data-bs-toggle="tooltip"
						data-bs-placement="bottom"
					>
						<i class="bi bi-chevron-left"></i>
					</a>

					<input
						type="number"
						id="current_page"
						value="1"
						class="d-inline form-control"
					/>

					<a
						href="#"
						class="p-1 border rounded-circle"
						id="next_page"
						data-bs-toggle="tooltip"
						data-bs-placement="bottom"
						title="next page"
					>
						<i class="bi bi-chevron-right"></i>
					</a>

					<!-- page 1 of 5 -->
					Page
					<span id="page_num"></span>
					of
					<span id="page_count"></span>
				</li>

				<li class="nav-item">
					<button
						class="rounded-circle p-2 border-0 btn btn-primary"
						id="zoom_in"
						data-bs-toggle="tooltip"
						data-bs-placement="bottom"
						title="zoom in"
					>
						<i class="bi bi-zoom-in"></i>
					</button>

					<button
						class="rounded-circle p-2 border-0 btn btn-primary"
						id="zoom_out"
						data-bs-toggle="tooltip"
						data-bs-placement="bottom"
						title="zoom out"
					>
						<i class="bi bi-zoom-out"></i>
					</button>
				</li>
			</ul>

			<!-- canvas to place the PDF -->
			<canvas
				id="canvas"
				class="d-flex flex-column justify-content-center align-items-center mx-auto"
			></canvas>
		</div>

		<!-- Bootstap JavaScript and Popper.js -->
		<script
			src="https://cdn.jsdelivr.net/npm/@popperjs/core@2.10.2/dist/umd/popper.min.js"
			integrity="sha384-7+zCNj/IqJ95wo16oMtfsKbZ9ccEh31eOz1HGyDuCQ6wgnyJNSYdrPa03rtR1zdB"
			crossorigin="anonymous"
		></script>
		<script
			src="https://cdn.jsdelivr.net/npm/bootstrap@5.1.3/dist/js/bootstrap.min.js"
			integrity="sha384-QJHtvGhmr9XOIpI6YVutG+2QOK9T+ZnN4kzFN1RtK3zEFEIsxhlmWl5/YESvpZ13"
			crossorigin="anonymous"
		></script>

		<!-- Custom JavaScript file -->
		<script src="script.js"></script>
	</body>
</html>
Interacting with PDF.js
You’ve created your UI with Bootstrap, and now you’ll make it functional by interacting with the PDF.js library.
-
You already created your
canvaselement, so you’ll add the PDF.js CDN to your HTML file. You can download PDF.js manually, clone it from GitHub, or just include it via a CDN. This post uses the CDN from jsDelivr:
<!-- pdf.js CDN -->
<script src="https://cdn.jsdelivr.net/npm/pdfjs-dist@2.10.377/build/pdf.min.js"></script>
Place the script tag before the Bootstrap script tag.
Loading the PDF
Now, you can work with the pdf.js library and learn about its methods.
-
Go to your JavaScript file and create a variable to hold the PDF document. Use the
document.querySelectormethod to access the DOM elements. Also, create an object to hold the initial state of the application:
// script.js
const pdf = 'document.pdf';

const pageNum = document.querySelector('#page_num');
const pageCount = document.querySelector('#page_count');
const currentPage = document.querySelector('#current_page');
const previousPage = document.querySelector('#prev_page');
const nextPage = document.querySelector('#next_page');
const zoomIn = document.querySelector('#zoom_in');
const zoomOut = document.querySelector('#zoom_out');

const initialState = {
	pdfDoc: null,
	currentPage: 1,
	pageCount: 0,
	zoom: 1,
};
Before starting the project, include a PDF file in the project folder and pass the name of the file to the pdf variable.
PDF.js uses promises under the hood. If you’re not familiar with what a Promise is, you can read more about it in the MDN docs.
-
Use the
pdfjsLib.getDocument(pdf)method to load the PDF file, with the parameterpdfbeing the path to the PDF file. Then, use the.promise.then()method to handle the promise. Here, you can access the PDF file and set theinitialState.pdfDocto the PDF:
// Load the document.
pdfjsLib
	.getDocument(pdf)
	.promise.then((data) => {
		initialState.pdfDoc = data;
		console.log('pdfDocument', initialState.pdfDoc);

		pageCount.textContent = initialState.pdfDoc.numPages;

		renderPage();
	})
	.catch((err) => {
		alert(err.message);
	});
If you console.log the pdfDocument variable, you can see the document’s information and the number of pages.
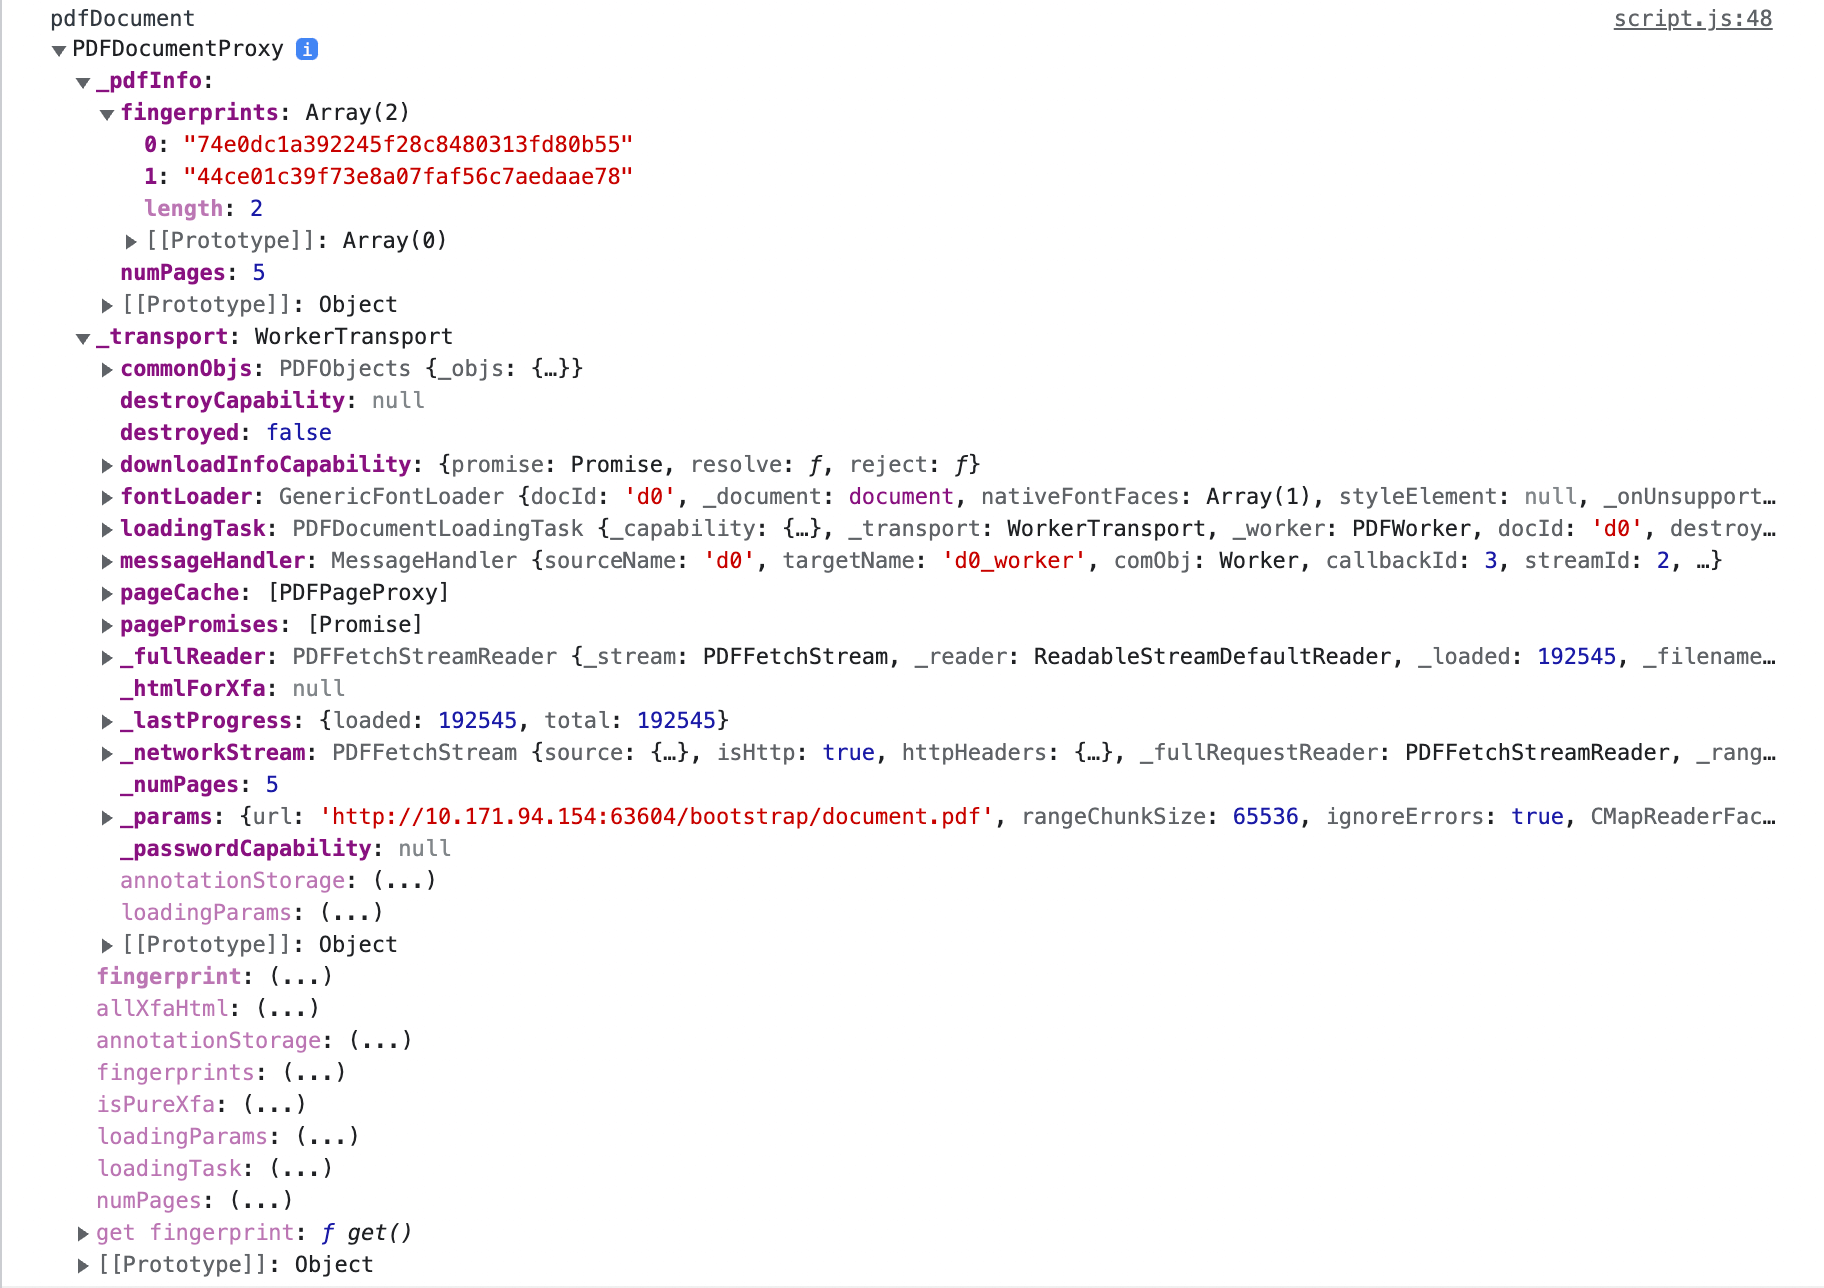
After loading the document, set the text content of the pageCount to the number of pages in the document.
-
After getting the PDF file, you need to render it in the browser. You’ll create a function named
renderPage()that will render the current page of your document:
// Render the page.
const renderPage = () => {
	// Load the first page.
	initialState.pdfDoc
		.getPage(initialState.currentPage)
		.then((page) => {
			console.log('page', page);

			const canvas = document.querySelector('#canvas');
			const ctx = canvas.getContext('2d');
			const viewport = page.getViewport({
				scale: initialState.zoom,
			});

			canvas.height = viewport.height;
			canvas.width = viewport.width;

			// Render the PDF page into the canvas context.
			const renderCtx = {
				canvasContext: ctx,
				viewport: viewport,
			};

			page.render(renderCtx);

			pageNum.textContent = initialState.currentPage;
		});
};
-
Now that the PDF has been initialized, you can invoke
getPage()on the document instance. The returnedPromiseresolves with apageobject that you can use to render the first page of your document. -
To draw something on the canvas, you need to use the
canvas.getContext()method. This method returns a context object that you can use to draw on the canvas. ThegetViewport(scale)method returns a viewport object that represents the page at the given scale. Then, you can set the width and height of the canvas to the width and height of the viewport. -
To render the page, use the
render()method that takes the rendering context as a parameter. -
At the end, you’re setting the
pageNum’s text content to the current page. This will dynamically update the page number.
Navigating through the PDF Pages
You’re done loading and rendering the PDF file. However, you can only see the first page. Now, you’ll work on making the previous and next icons functional when a user clicks on them:
const showPrevPage = () => {
	if (initialState.pdfDoc === null || initialState.currentPage <= 1)
		return;
	initialState.currentPage--;
	// Render the current page.
	currentPage.value = initialState.currentPage;
	renderPage();
};

const showNextPage = () => {
	if (
		initialState.pdfDoc === null ||
		initialState.currentPage >= initialState.pdfDoc._pdfInfo.numPages
	)
		return;

	initialState.currentPage++;
	currentPage.value = initialState.currentPage;
	renderPage();
};

// Button events.
previousPage.addEventListener('click', showPrevPage);
nextPage.addEventListener('click', showNextPage);
As you can see, the showPrevPage and showNextPage functions are very similar. They both check if the current page is the first or last page, and if it is, they do nothing. Otherwise, they decrement or increment the current page and then render the page.
Displaying a Specific Page
Here, you can specify which page to render based on a user input. You’re using the keypress event to listen for the enter key. When the user presses the enter key, you’ll get the page number from the currentPage input and check if it’s between the ranges of PDF pages. If it is, you’ll set the currentPage to the desired page and render the page:
currentPage.addEventListener('keypress', (event) => {
	if (initialState.pdfDoc === null) return;
	// Get the key code.
	const keycode = event.keyCode ? event.keyCode : event.which;

	if (keycode === 13) {
		// Get the new page number and render it.
		let desiredPage = currentPage.valueAsNumber;
		initialState.currentPage = Math.min(
			Math.max(desiredPage, 1),
			initialState.pdfDoc._pdfInfo.numPages,
		);
		currentPage.value = initialState.currentPage;
		renderPage();
	}
});
For cases when a user types a number that’s either negative or greater than the number of pages, you’ll set the currentPage to the first or last page, respectively, and display the page.
Adding the Zoom Feature
You’re done with the navigating through the PDF pages. Now, add the zoom feature:
zoomIn.addEventListener('click', () => {
	if (initialState.pdfDoc === null) return;
	initialState.zoom *= 4 / 3;
	renderPage();
});

zoomOut.addEventListener('click', () => {
	if (initialState.pdfDoc === null) return;
	initialState.zoom *= 2 / 3;
	renderPage();
});
Similar to how it is with navigation, when the user clicks on the zoomIn or zoomOut buttons, you’ll increment or decrement the zoom value and then render the page.
You can see the full code below:
const pdf = 'document.pdf';

const pageNum = document.querySelector('#page_num');
const pageCount = document.querySelector('#page_count');
const currentPage = document.querySelector('#current_page');
const previousPage = document.querySelector('#prev_page');
const nextPage = document.querySelector('#next_page');
const zoomIn = document.querySelector('#zoom_in');
const zoomOut = document.querySelector('#zoom_out');

const initialState = {
	pdfDoc: null,
	currentPage: 1,
	pageCount: 0,
	zoom: 1,
};

// Render the page.
const renderPage = () => {
	// Load the first page.
	initialState.pdfDoc
		.getPage(initialState.currentPage)
		.then((page) => {
			console.log('page', page);

			const canvas = document.querySelector('#canvas');
			const ctx = canvas.getContext('2d');
			const viewport = page.getViewport({
				scale: initialState.zoom,
			});

			canvas.height = viewport.height;
			canvas.width = viewport.width;

			// Render the PDF page into the canvas context.
			const renderCtx = {
				canvasContext: ctx,
				viewport: viewport,
			};

			page.render(renderCtx);

			pageNum.textContent = initialState.currentPage;
		});
};

// Load the document.
pdfjsLib
	.getDocument(pdf)
	.promise.then((data) => {
		initialState.pdfDoc = data;
		console.log('pdfDocument', initialState.pdfDoc);

		pageCount.textContent = initialState.pdfDoc.numPages;

		renderPage();
	})
	.catch((err) => {
		alert(err.message);
	});

const showPrevPage = () => {
	if (initialState.pdfDoc === null || initialState.currentPage <= 1)
		return;
	initialState.currentPage--;
	// Render the current page.
	currentPage.value = initialState.currentPage;
	renderPage();
};

const showNextPage = () => {
	if (
		initialState.pdfDoc === null ||
		initialState.currentPage >= initialState.pdfDoc._pdfInfo.numPages
	)
		return;

	initialState.currentPage++;
	currentPage.value = initialState.currentPage;
	renderPage();
};

// Button events.
previousPage.addEventListener('click', showPrevPage);
nextPage.addEventListener('click', showNextPage);

// Keypress event.
currentPage.addEventListener('keypress', (event) => {
	if (initialState.pdfDoc === null) return;
	// Get the key code.
	const keycode = event.keyCode ? event.keyCode : event.which;

	if (keycode === 13) {
		// Get the new page number and render it.
		let desiredPage = currentPage.valueAsNumber;
		initialState.currentPage = Math.min(
			Math.max(desiredPage, 1),
			initialState.pdfDoc._pdfInfo.numPages,
		);
		currentPage.value = initialState.currentPage;
		renderPage();
	}
});

// Zoom events.
zoomIn.addEventListener('click', () => {
	if (initialState.pdfDoc === null) return;
	initialState.zoom *= 4 / 3;
	renderPage();
});

zoomOut.addEventListener('click', () => {
	if (initialState.pdfDoc === null) return;
	initialState.zoom *= 2 / 3;
	renderPage();
});

// Tooltip.
const tooltipTriggerList = [].slice.call(
	document.querySelectorAll('[data-bs-toggle="tooltip"]'),
);
const tooltipList = tooltipTriggerList.map((tooltipTriggerEl) => {
	return new bootstrap.Tooltip(tooltipTriggerEl);
});
Building a Bootstrap 5 PDF Viewer with PSPDFKit
PSPDFKit offers a more versatile PDF library that can be used to build a JavaScript PDF viewer. It provides numerous, powerful features, including:
- Improved rendering performance
- PDF editing and annotating
- Image and MS Office file viewing
- Powerful document search
- A rich bookmark UI that enables you to add, remove, and sort bookmarks
- Dark mode support
- Responsive design
- PDF form viewing and designing
- And much more
You can integrate it into your new or existing JavaScript projects with a couple of steps.
So, now it’s time to see how to integrate PSPDFKit into your JavaScript project.
-
Install the PSPDFKit library with
npm:
npm install pspdfkit
-
For PSPDFKit for Web to work, you have to copy the directory containing all the required library files (artifacts) to the
assetsfolder. You can use the following command to do this:
cp -R ./node_modules/pspdfkit/dist/ ./assets/
Make sure your assets directory contains the pspdfkit.js file and a pspdfkit-lib directory with the library assets.
Integrating PSPDFKit into Your Project
-
Add the PDF document you want to display to your project’s directory. You can use our demo document as an example.
-
Add an empty
<div>element with a definedheightto where PSPDFKit will be mounted:
<div id="pspdfkit" style="height: 100vh;"></div>
-
Include
pspdfkit.jsin your HTML page:
<script src="assets/pspdfkit.js"></script>-
Initialize PSPDFKit for Web in JavaScript by calling
PSPDFKit.load():
<script>
PSPDFKit.load({
container: '#pspdfkit',
document: 'document.pdf', // Add the path to your document here.
})
.then(function (instance) {
console.log('PSPDFKit loaded', instance);
})
.catch(function (error) {
console.error(error.message);
});
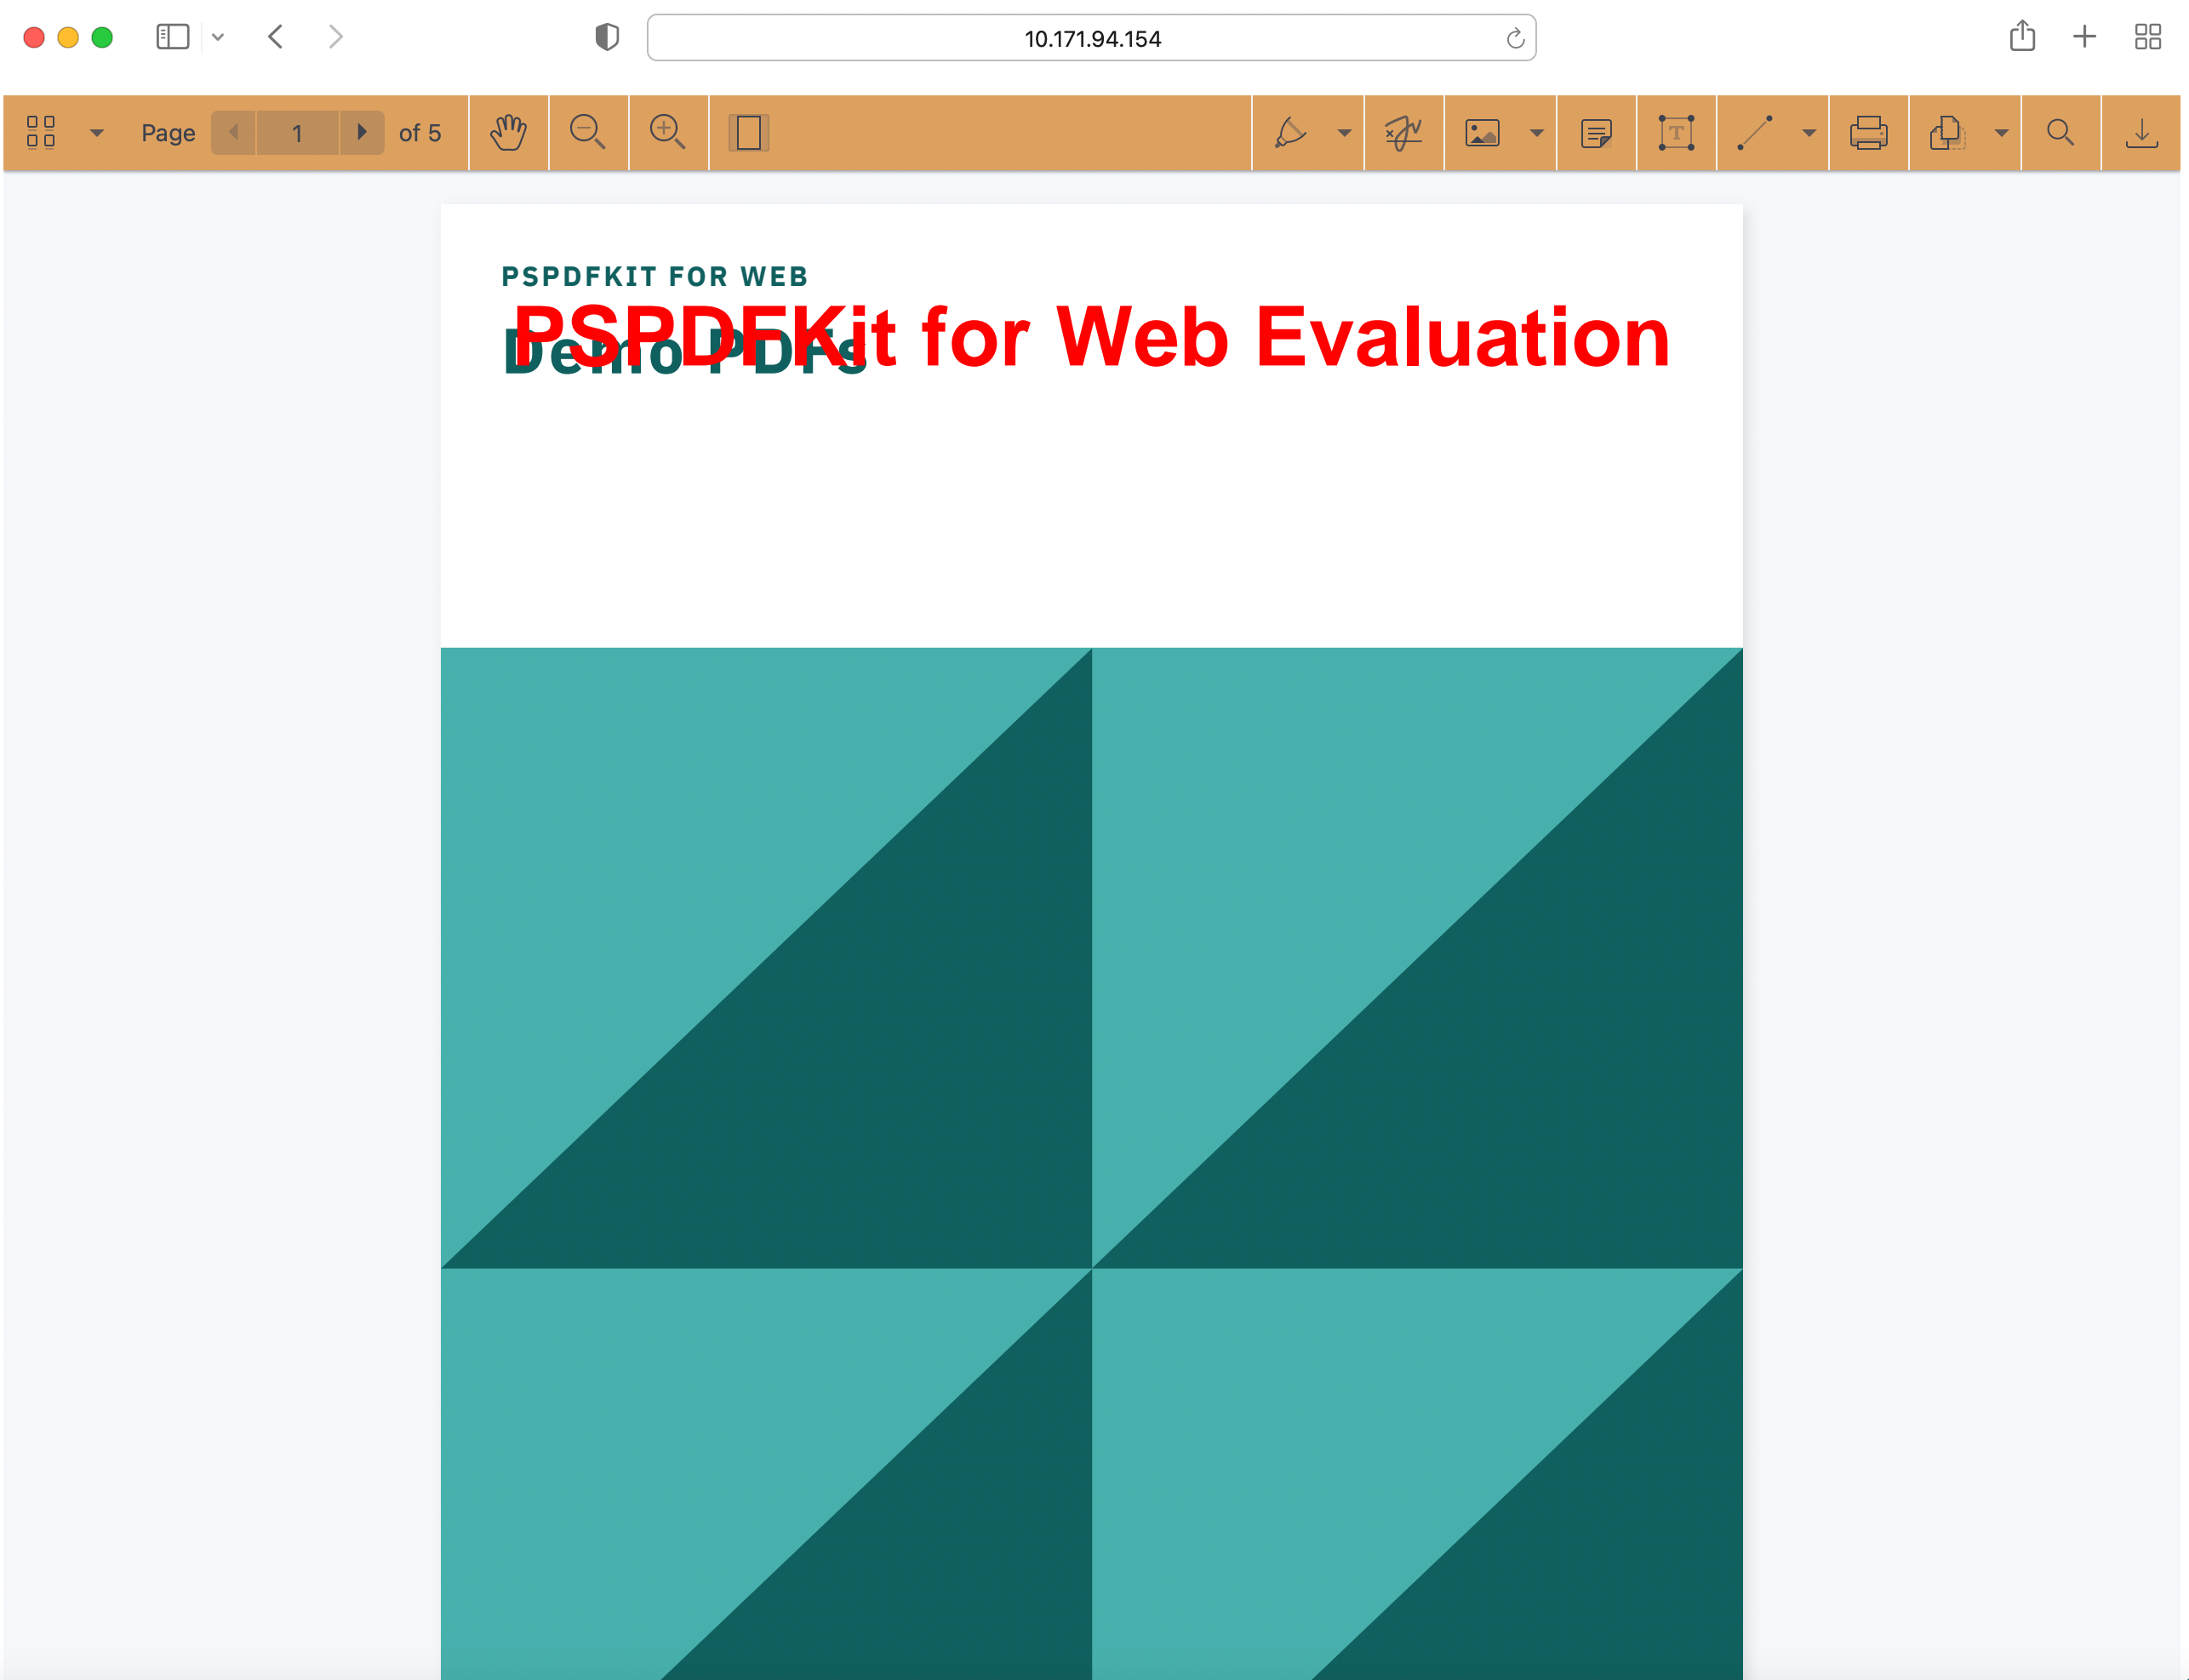
</script>With this, you can now display your PDF document in the browser. As you can see, the PSPDFKit viewer library comes with a prebuilt, polished, and responsive UI. That’s why you don’t need any fancy framework like Bootstrap to style the viewer. However, you can still customize the UI by adding your own CSS styles.
Customizing the CSS Styling in the JavaScript PDF Viewer
While working with the PSPDFKit JavaScript PDF viewer, you have the option to customize the appearance of the PDF viewer.
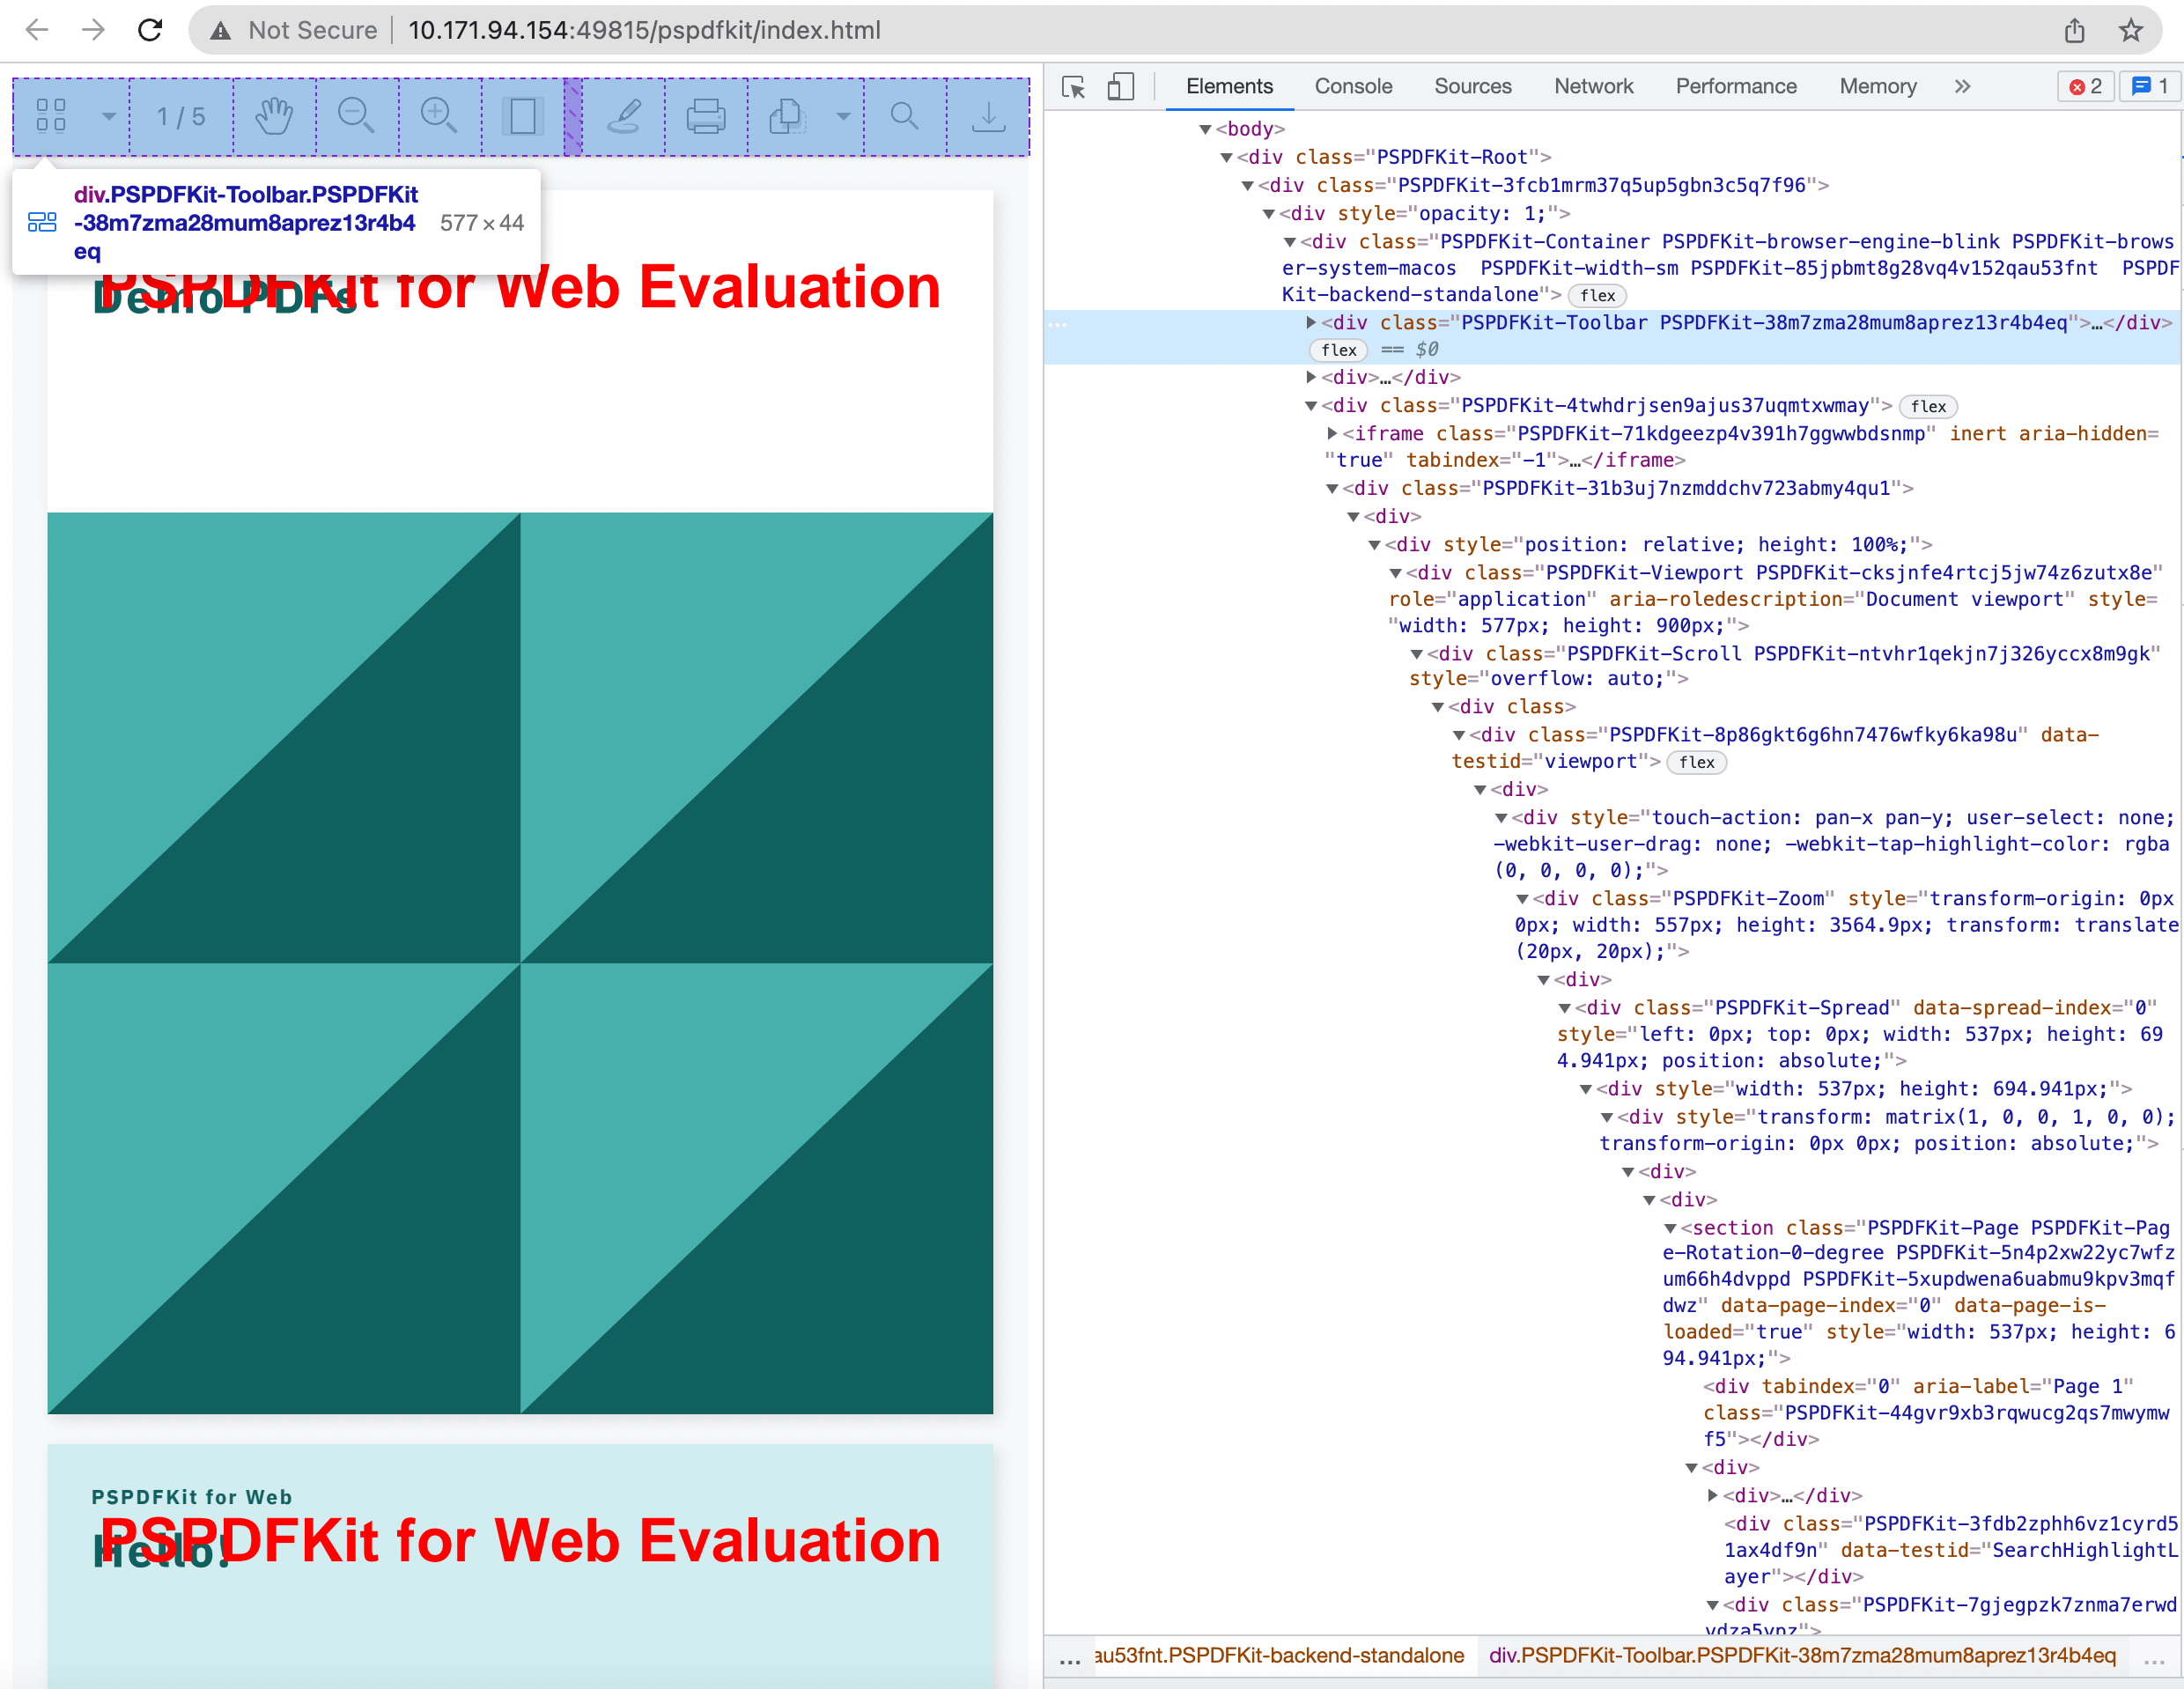
If you inspect the HTML page, you can see there’s a class named .PSPDFKit-Toolbar that’s used to style the toolbar.
-
Create a new CSS file and overwrite the
.PSPDFKit-Toolbarclass with your own custom styling:
/* style.css */
.PSPDFKit-Toolbar {
	background-color: #dda15e;
}
Here, you’re changing the background color of the toolbar to a nice orange color.
-
Configure PSPDFKit for Web to load the newly created stylesheet. You can do this with the configuration interface that you pass to the
load()method:
<script>
	PSPDFKit.load({
		container: '#pspdfkit',
		document: 'document.pdf',
		styleSheets: ['./style.css'], // Add the path to your custom stylesheet.
	})
		.then(function (instance) {
			console.log('PSPDFKit loaded', instance);
		})
		.catch(function (error) {
			console.error(error.message);
		});
</script>
This will inject the stylesheet into PSPDFKit for Web and apply the styling accordingly.
The stylesheets array can load multiple stylesheets; just separate them with a comma.
Launching the Website Locally
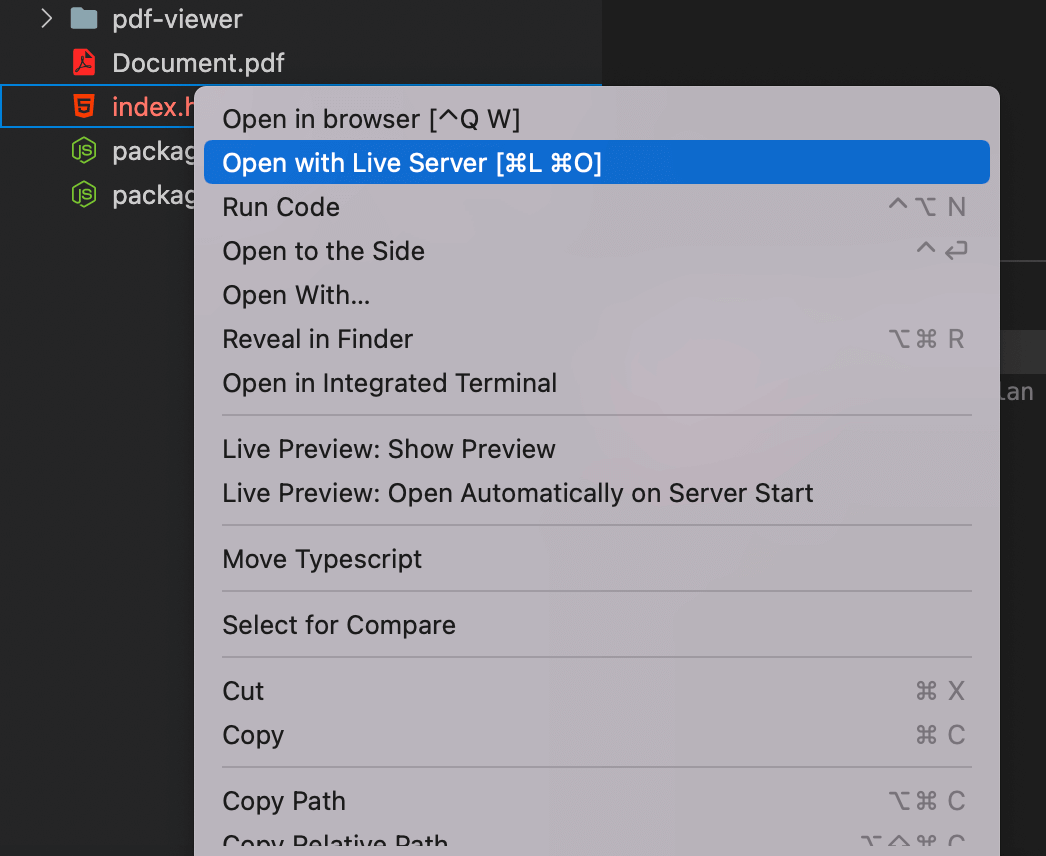
You can use the Visual Studio Code Live Server extension to serve your website. All you need to do is right-click on the HTML file and choose the Open with Live Server option from the context menu.
Serving the Website Locally
Another option is to use the serve package as a simple HTTP server. If you want to use that option, follow the steps below.
-
Install the
servepackage:
npm install --global serve
yarn global add serve
-
Serve the contents of the current directory:
serve -l 8080 .
-
Navigate to http://localhost:8080 to view the website.
If you want to download PSPDFKit manually or integrate it as a module, you can check out our JavaScript getting started guide.
Conclusion
In this tutorial, you first looked at how to build a Bootstrap 5 PDF viewer with the PDF.js library. In the second part, you walked through how to build and customize the viewer with the PSPDFKit JavaScript PDF viewer.
We created similar how-to blog posts using different web frameworks and libraries:
- How to Build an Angular PDF Viewer with PDF.js
- How to Build a Vue.js PDF Viewer with PDF.js
- How to Build a React PDF Viewer with PDF.js
- How to Build an Electron PDF Viewer with PDF.js
- How to Build a jQuery PDF Viewer with PDF.js
- How to Build a TypeScript PDF Viewer with PDF.js
- How to Build a JavaScript PDF Viewer with PDF.js
At PSPDFKit, we offer a commercial, feature-rich, and completely customizable JavaScript PDF library that’s easy to integrate and comes with well-documented APIs to handle advanced use cases. Try it for free, or visit our demo to see it in action.

Hulya is a frontend web developer and technical writer at PSPDFKit who enjoys creating responsive, scalable, and maintainable web experiences. She’s passionate about open source, web accessibility, cybersecurity privacy, and blockchain.


