How to Run PSPDFKit Processor on Google App Engine
 Oghenerukevwe Henrietta Kofi
In this blog post, you’ll learn how to run PSPDFKit Processor on Google App Engine.
PSPDFKit Processor is shipped as a Docker image that you can run on your own infrastructure. With PSPDFKit Processor, you can generate, edit, redact, and render PDF files. You can also convert other files to PDFs using Processor.
Throughout this tutorial, you’ll run some instructions on a command line. The commands here will work fine if you’re on GNU/Linux or macOS. If you’re on a Windows machine, consider the following workarounds:
-
Downloading and using Git Bash to run the commands and follow along with this tutorial. This is the quickest workaround unless you already have Windows Subsystem for Linux (WSL) enabled on your machine.
-
Using WSL. Click here for the official WSL documentation.
-
Using a Linux virtual machine with something like Vagrant/VirtualBox.
Google App Engine
Google App Engine allows you to run your applications on Google Cloud without worrying about the underlying cloud infrastructure. When running an application with Google App Engine, you can choose one of two App Engine environments:
-
Standard environment
-
Flexible environment
With the standard environment, you can choose from one of several supported and preconfigured runtimes, depending on the programming language (and language version) you’ve built your application with. Standard environment runtimes run in a sandbox using the runtime environment of a supported language.
With the flexible environment, you can run your application using any environment runtime by providing a Docker image containing your application. Unlike standard environment runtimes, which run in a sandbox, flexible environment runtimes run within Docker containers on Google Compute Engine virtual machines.
For this tutorial, you’ll specify a custom runtime in a flexible environment using a Dockerfile. Please note that Google doesn’t offer a free tier for the flexible App Engine environments, so following along with this tutorial will cost a bit. The exact details of Google App Engine pricing can be found on the pricing page. You can minimize costs by deleting the Google Cloud project you create for this tutorial immediately after completing the tutorial.
Step 1 — Setting Up Google Cloud and the gcloud CLI
In this step, you’ll follow the instructions for creating a Google Cloud account and a project in that account, if you haven’t created one already.
-
If you don’t have one already, create your Google Cloud Account. For the purposes of this tutorial, an individual account is fine, but for production scenarios, consider setting up an organization account and configuring access control policies for users in your organization across your Google Cloud infrastructure.
-
Enable billing for the Google Cloud account you just created. You can do that by going to the billing page in the Google Cloud Console and following the instructions on the user interface wizard.
-
Download and install
gcloud. You can find the relevant download ofgcloudfor your operating system here. After installinggcloud, be sure to add thegcloudCLI to your operating system’s PATH. After downloading and installinggcloud, configure it on your machine by running:``` gcloud init ```
-
Create a new project in your Google Cloud Account. You can do this either in the Google Cloud Console or by using
gcloud.To create a project with
gcloud, run:``` gcloud projects create ```
Take note of your project’s ID, because you’ll use it in a later step.
Step 2 — Creating the Processor App Configuration
Next, you’ll create the Processor app configuration.
-
Create a new folder (possibly in your home directory) on your machine called
pspdfkit-processor. -
cdinto thepspdfkit-processorfolder and create aDockerfile. -
Add this configuration into the
Dockerfile:FROM pspdfkit/processor ENV PORT 8080 EXPOSE 8080
Google App Engine requires that all custom runtime applications running in its flexible environment are listening for traffic on port
8080. Processor runs on port5000by default, but it can be made to listen for traffic on any port by configuring thePORTenvironment variable. This is why you’re setting thePORTin theDockerfiletoENV PORT 8080.
ℹ️ Note: You can view the Docker Hub profile for Processor here.
-
Create another file named
app.yaml. -
Add this configuration into the
app.yamlfile:runtime: custom env: flex manual_scaling: instances: 1For this tutorial, you’re configuring manual scaling to use one instance. Depending on your needs, for production scenarios, you might need to enable automatic scaling. Learn more here.
Step 3 — Deploying the App to the App Engine
Now, you’ll deploy the app to the App Engine.
-
To create the application in your Google Cloud processor,
cdinto thepspdfkit-processorfolder and run this command:gcloud app create
Follow the prompts to select the specific project ID and region for your application. The project ID is the ID of the project you created in the previous step.
-
After creating the application, deploy the application by running this command from within the same folder:
gcloud app deploy
-
After deploying the application, confirm Processor is running. Then, open the URL App Engine generated for the application in your default browser by running:
gcloud app browse
The
gcloud app browsecommand will open a tab in your browser, and the page on this tab will look like this: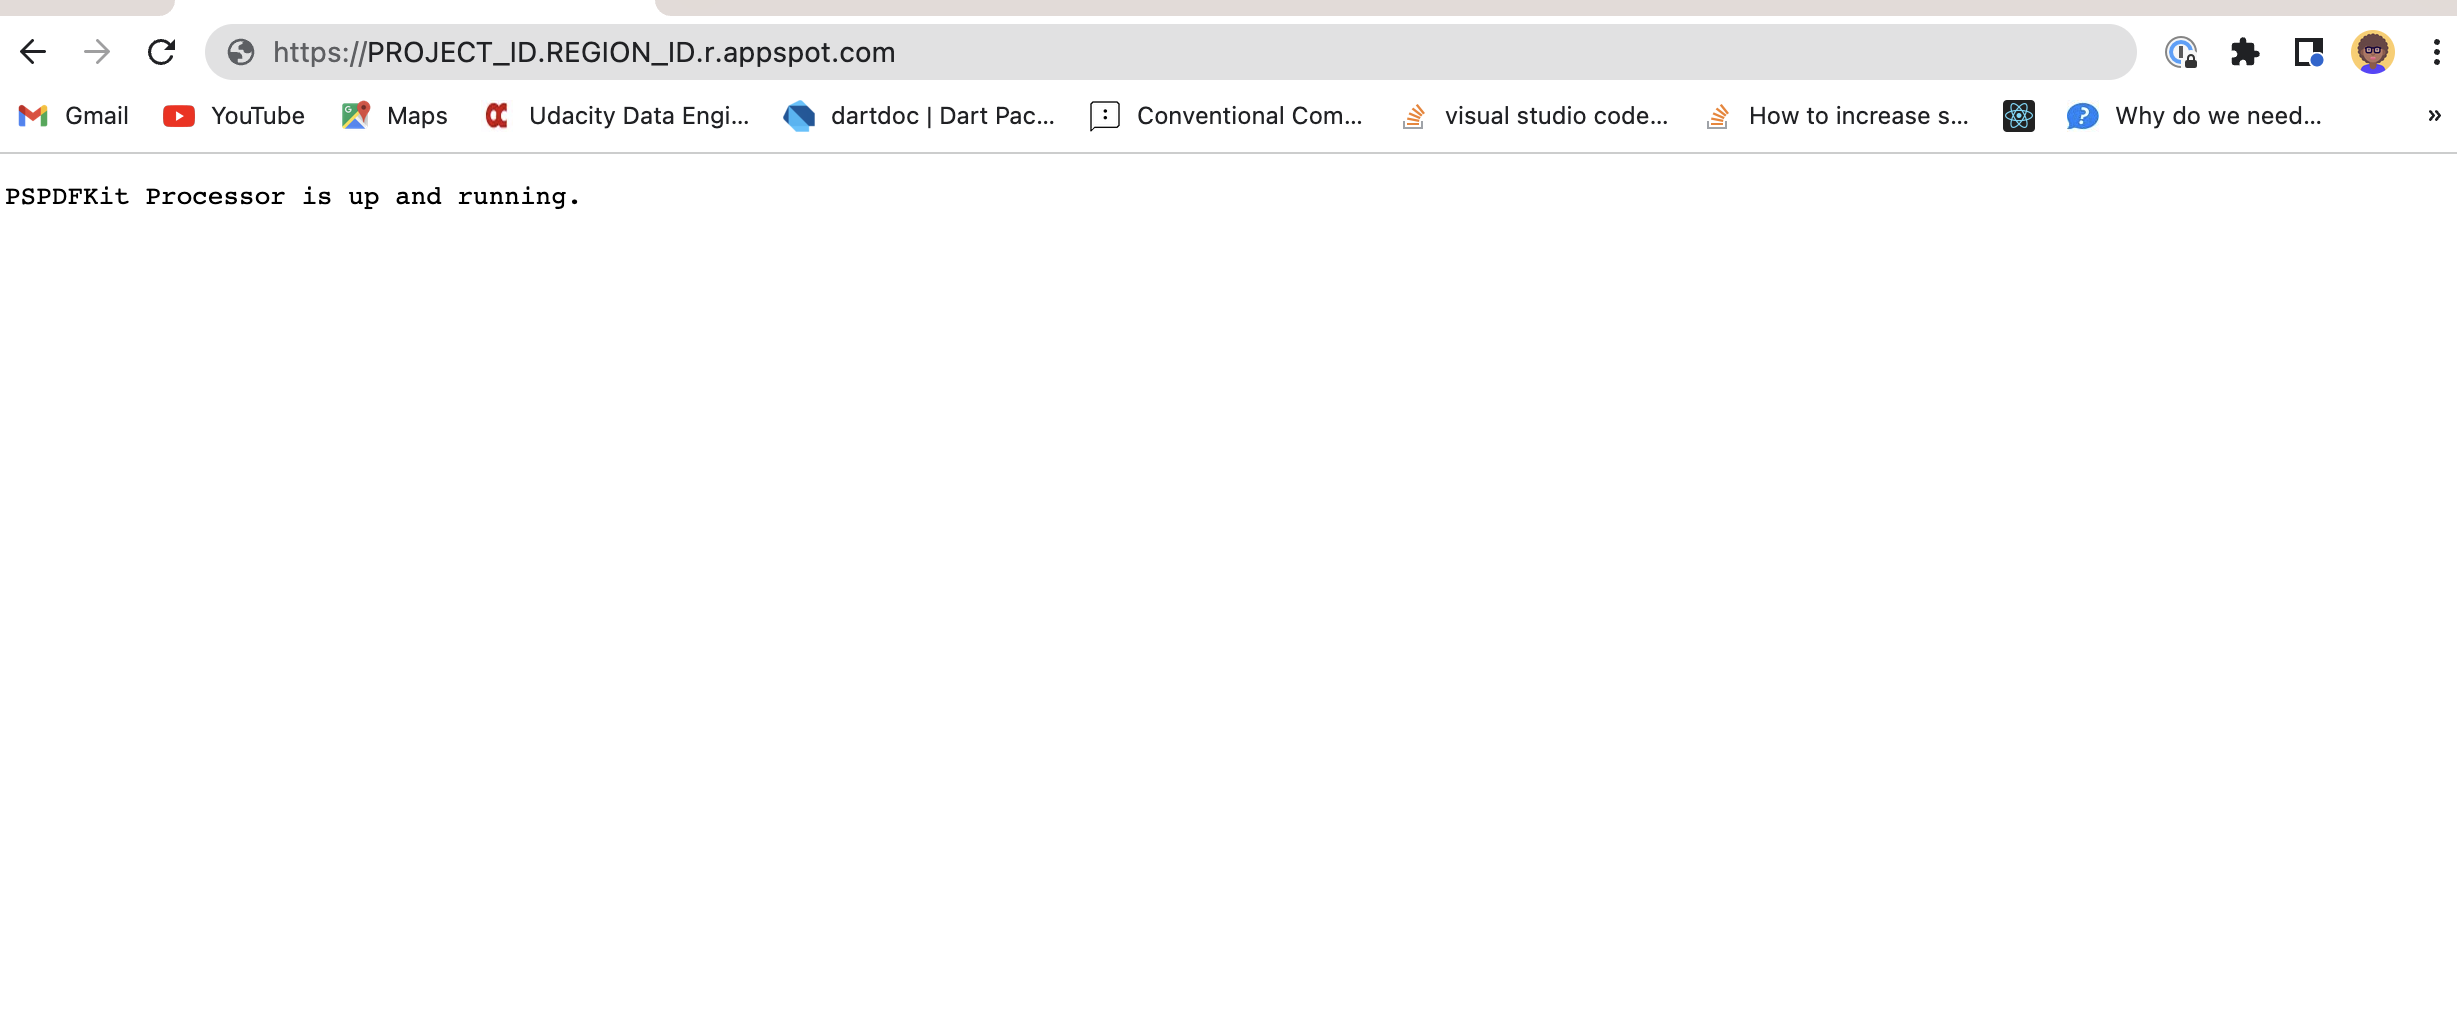
The App Engine URL for the newly deployed Processor app will typically follow this format:
https://PROJECT_ID.REGION_ID.r.appspot.com
Step 4 — Trying It Out!
You can now try Processor’s API. For this tutorial, you’ll convert a PDF file to an image with curl.
On the command line:
-
cdinto thepspdfkit-processordirectory you created earlier. -
If you don’t have an example document, you can download and save this PDF and rename it to
Example.pdfto complete this step. -
Install the
curlCLI tool if you don’t already have it on your machine. Click here for download and installation instructions. -
Run this command to send a request to the
/renderendpoint after replacinghttps://PROJECT_ID.REGION_ID.r.appspot.comwith your App Engine URL:curl -X POST https://PROJECT_ID.REGION_ID.r.appspot.com/render \ -F file=@Example.pdf \ -F options='{ "options": { "width": 1000, "format": "png" } }' \ -o result.png
You’ll see a result.png file in your pspdfkit-processor folder. This file is the result of the PDF-to-image conversion.
Step 5 — Cleaning Up Resources
Don’t forget to delete the project you created for this tutorial to avoid accidentally incurring infrastructure costs. Deleting a project on Google Cloud will automatically delete all resources within that project, including App Engine apps.
Before deleting the project, stop serving the application.
You can do this either by using the gcloud CLI or by using Google Cloud Console.
-
With
gcloud, you can run these two commands:gcloud app versions list # If you've been following along with this tutorial, there should be one version.Select the
idof the version you want to stop, and then run:gcloud app versions stop VERSION-ID # Replace VERSION-ID with the actual version ID you got from the version list. -
In Google Cloud Console, you can stop the app by going to App Engine > Versions. In the interface, select the version of the application (if you’ve been following along with this tutorial, there should be only one version on the list). After selecting the version, click the STOP button.
After you’ve stopped serving the application, you can delete the project in one of two ways:
-
In Google Cloud Console by visiting IAM & Admin > Manage Resources. Find the project name in the interface, expand the menu items, and click Delete.
-
Using
gcloudCLI by running the following command:gcloud projects delete YOUR-PROJECT-ID
Conclusion
In this tutorial, you learned how to set up PSPDFKit Processor on Google App Engine. You also learned how to use PSPDFKit Processor to convert a PDF to an image. Be sure to check out the Getting Started Guides for PSPDFKit Processor to learn more about Processor and its features.
Rukky joined PSPDFKit as an intern in 2022 and is currently a software engineer on the Server and Services Team. She’s passionate about building great software, and in her spare time, she enjoys reading cheesy novels, watching films, and playing video games.