How to OCR PDFs in Linux with OCRmyPDF (Based on Tesseract)
 Yasoob Khalid
 Teja Tatimatla

In this tutorial, you’ll learn how to OCR a PDF in Linux using an open source solution. It also covers how to use PSPDFKit Processor for more advanced OCR use cases.
The open source library you’ll use is OCRmyPDF, which is a multi-platform tool for running OCR on PDF files, and it’s based on the open source OCR engine Tesseract.
How to OCR a PDF on Linux Using an Open Source Library
This next section will go into details on how to OCR a PDF on Linux with an open source library.
Why Not Use Tesseract Directly?
OCRmyPDF is a wrapper around Tesseract that does some preprocessing on PDF files before running OCR on them. This preprocessing includes deskewing, noise removal, and cleaning up files to ensure the OCR engine can read the text accurately. OCRmyPDF also does some post-processing to ensure that the output is consistent and error-free. You can use Tesseract directly, but in doing so, you’ll miss out on these benefits provided by OCRmyPDF.
Installing OCRmyPDF
Install OCRmyPDF using the following command on Ubuntu- or Debian-based systems:
sudo apt-get install ocrmypdf
For Fedora, you can use the following command:
dnf install ocrmypdf
Sometimes, the available package version might not be the latest one, so you can install OCRmyPDF directly from PIP too:
pip install --user ocrmypdf
Just keep in mind that the PIP method won’t install some non-Python dependencies of OCRmyPDF. These dependencies include:
-
Python 3.8 or newer
-
Ghostscript 9.50 or newer
-
Tesseract 4.1.1 or newer
-
jbig2enc 0.29 or newer
-
pngquant 2.5 or newer
-
unpaper 6.1
Basic Usage
To use OCRmyPDF, run the following command, replacing input.pdf with the path to the PDF file you want to OCR, and output.pdf with the path where you want to save the OCR’d PDF:
ocrmypdf input.pdf output.pdf
This will result in a PDF/A output file with an OCR layer. PDF/A is a subset of the PDF standard that prohibits features that aren’t suitable for long-term archiving. This includes JavaScript in PDFs, font linking, and encryption. You can ask OCRmyPDF to output a standard PDF via this command:
ocrmypdf --output-type pdf input.pdf output.pdf
You can even perform OCR only on certain pages:
ocrmypdf --pages 2,3,13-17 input.pdf output.pdf
OCR in a Language Other than English
By default, OCRmyPDF assumes a document is in English. If the language is different, the OCR quality will be considerably poor. In such a case, you need to explicitly pass in the language, like so:
ocrmypdf -l rus russian_doc.pdf russian_doc_ocr.pdf
If the document is multilingual, you can pass in multiple languages:
ocrmypdf -l rus+eng russian_doc.pdf russian_doc_ocr.pdf
Tesseract (the OCR engine used by OCRmyPDF under the hood) supports quite a few different languages. You can take a look at the Tesseract documentation to determine if it supports your required language.
You might be required to install additional language packs before you can use them with OCRmyPDF. Follow these instructions to figure out how to do so.
Image Processing
As mentioned earlier, OCRmyPDF can perform some image processing on each page of a PDF, if required. It supports multiple options for this purpose. According to the official documentation, there are five different options. We’ve included the text from the documentation in the list below:
-
--rotate-pagesattempts to determine the correct orientation for each page and rotates the page if necessary. -
--remove-backgroundattempts to detect and remove a noisy background from grayscale or color images. Monochrome images are ignored. This should not be used on documents that contain color photos as it may remove them. -
--deskewwill correct pages were scanned at a skewed angle by rotating them back into place. -
--cleanuses unpaper to clean up pages before OCR, but does not alter the final output. This makes it less likely that OCR will try to find text in background noise. -
--clean-finaluses unpaper to clean up pages before OCR and inserts the page into the final output. You will want to review each page to ensure that unpaper did not remove something important.
Regardless of the order in which you pass these options, OCRmyPDF will always apply them in this order:
rotate -> remove background -> deskew -> clean
File Optimization
By default, OCRmyPDF optimizes the output PDF for Fast Web View. This linearizes the PDF file and stores all references in the PDF file in the same order in which they’ll be viewed by the user. This slightly increases the file size as well; however, you can disable optimization by passing in --optimize 0 or -O0.
At the default optimization level, -O1, OCRmyPDF also does some lossless image optimization using JBIG2 encoder. You can disable this optimization by passing in -O0, or you can enable more aggressive lossy optimization by passing in -O2 or -O3.
Batch Processing PDF Files
By default, OCRmyPDF uses all available cores while processing PDF files. You can limit this by using the -j or --jobs option. This limits the number of concurrent threads used:
ocrmypdf -j 4 input.pdf output.pdf
The authors of the program also conveniently created a watcher.py file for watching folders and performing OCR on any new PDF file. You might need to update the contents of the watcher file to suit your specific needs. Because this file has some additional dependencies, you might need to install ocrmypdf using the watcher tag:
pip install ocrmypdf[watcher]
You can then run the watcher like this:
env OCR_INPUT_DIRECTORY=./input-pdfs \
    OCR_OUTPUT_DIRECTORY=./output-pdfs \
    python3 watcher.py
This will OCR any new PDF files that are placed inside the input-pdfs folder and place the resulting PDFs in the output-pdfs folder. Note that this won’t process any files that were already in the input-pdfs folder before the watcher was run.
How to OCR a PDF on Linux Using PSPDFKit Processor
PSPDFKit Processor offers a highly accurate AI- and ML-powered OCR engine.
-
Supports more than 100 languages and 100 file types.
-
ML-based document recognition to automatically identify invoices, checks, and any structured document.
-
Automatic preprocessing and image correction for poorly scanned documents.
-
Horizontally scalable — adding more nodes linearly increases your processing throughput.
-
Processor doesn’t store any document data or information internally so you remain in complete control of your documents at all times.
Requirements to Get Started
To get started, you’ll need:

We recommend managing Docker as a non-root user. Learn more about it on Linux post-installation steps for Docker Engine.
Setting up PSPDFKit Processor
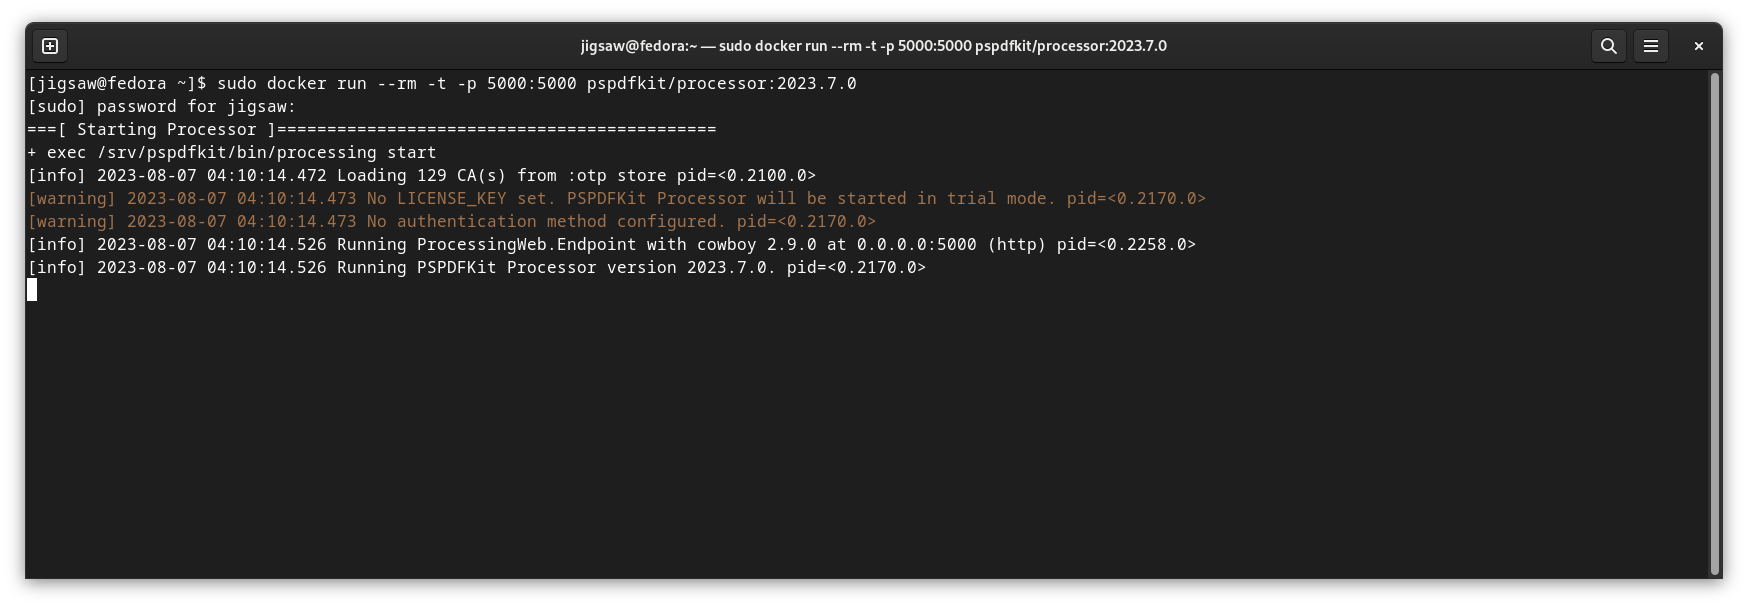
Start the processor by running:
docker run --rm -t -p 5000:5000 pspdfkit/processor:2023.7.0
When run for the first time, Docker will pull the image from the repository. Depending on your internet connection speed, this might take a while.
After successful execution, you’ll see the following in your terminal.
Build API Reference for PDF Processor
The processor’s /build API takes a building block-like approach to construct a PDF document from multiple parts. Furthermore, each of the parts may come from multiple sources, such as an existing PDF, a blank page, an HTML page, or an image file.
With the /build API, you can apply one or more actions, along with OCR, to each part. This is done by supplying an instructions JSON.
For example, If you wish to perform OCR on specific pages — say pages 2 and 3 (indexes 1 and 2) — add the first page (index 0) to the parts field of the instructions JSON:
{
	"parts": [
		{
			"file": "document",
			"pages": {
				"start": 0,
				"end": 0
			}
		}
	]
}
Then, add the pages 2 and 3. Since you’d like to apply OCR to these pages, you’ll add the actions field with the type ocr to this part:
{
	"parts": [
		{
			"file": "document",
			"pages": {
				"start": 0,
				"end": 0
			}
		},
		{
			"file": "document",
			"pages": {
				"start": 1,
				"end": 2
			},
			"actions": [
				{
					"type": "ocr",
					"language": "english"
				}
			]
		}
	]
}
Now, add the remaining pages in the document to the parts field:
{
	"parts": [
		{
			"file": "document",
			"pages": {
				"start": 0,
				"end": 0
			}
		},
		{
			"file": "document",
			"pages": {
				"start": 1,
				"end": 2
			},
			"actions": [
				{
					"type": "ocr",
					"language": "english"
				}
			]
		},
		{
			"file": "document",
			"pages": {
				"start": 3,
				"end": 7
			}
		}
	]
}
However, if you want to apply OCR on the entire document, the instructions JSON will look like the following:
{
	"parts": [
		{
			"file": "document"
		}
	],
	"actions": [
		{
			"type": "ocr",
			"language": "english"
		}
	]
}
Actions that are common to all the pages in the input PDF are described in the actions field outside the parts field.
You’ll send the instructions JSON and the path to the input PDF (the PDF you want to perform OCR on) as a multipart/form-data request (using the -F option in the curl command) to Processor’s /build endpoint.
Running OCR on All Pages
Make sure you have curl installed on your machine.
You can check if
curlis installed by runningcurl --version.
Install curl using the following command on Ubuntu- or Debian-based systems:
sudo apt install curl
On Fedora, use:
sudo dnf install curl
Now, to perform OCR on all pages of a PDF document, make sure PSPDFKit Processor is running, and execute the following command:
curl -X POST http://localhost:5000/build \
  -F document=@/path/to/example-document.pdf \
  -F instructions='{
  "parts": [
    {
      "file": "document"
    }
  ],
  "actions": [
    {
      "type": "ocr",
      "language": "english"
    }
  ]
}' \
  -o result.pdf
Replace
/path/to/example-document.pdfwith the actual path to your document.
The -o option will save the resulting document as result.pdf in the current working directory.
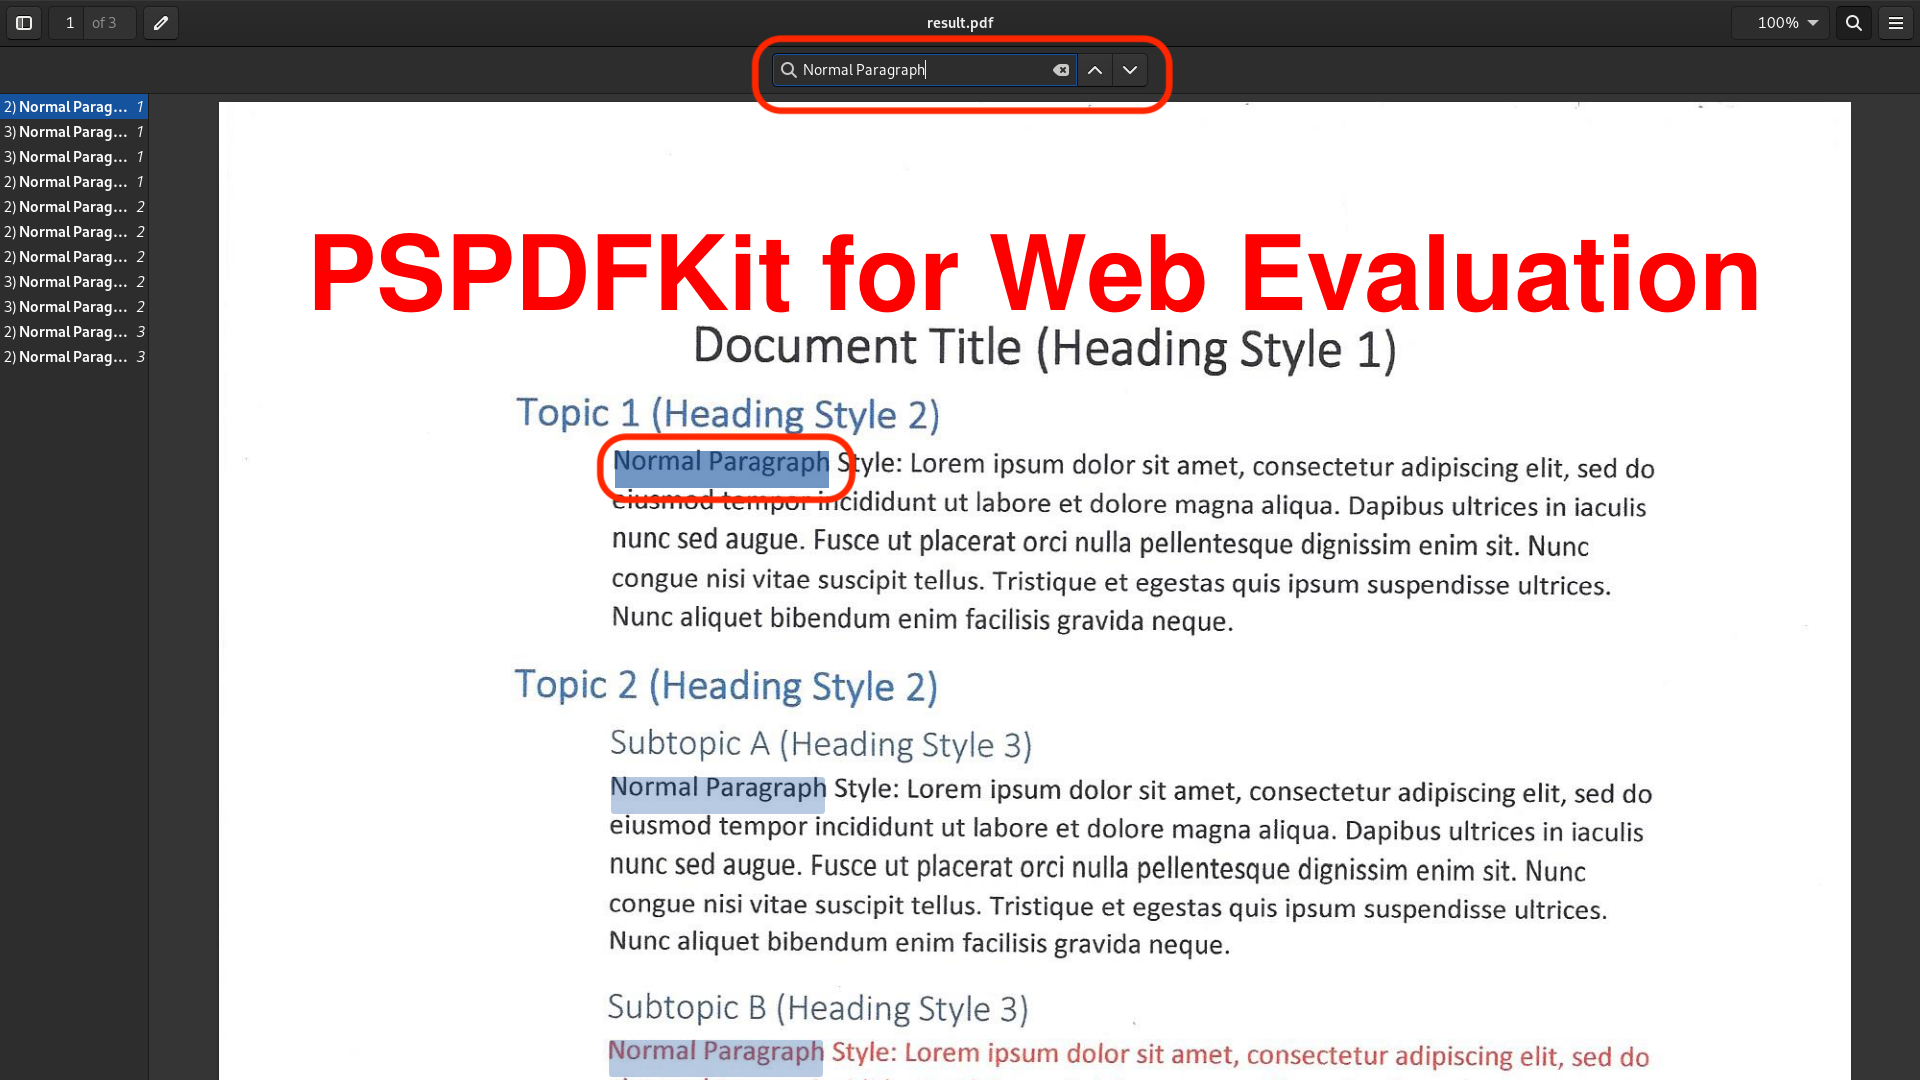
The image below shows the document before OCR.

The image below shows the document after OCR.
Running OCR on Specific Pages of a Document
To perform OCR on specific pages of a document, run:
curl -X POST http://localhost:5000/build \
  -F document=@/path/to/example-document.pdf \
  -F instructions='{
  "parts": [
    {
      "file": "document",
      "pages": {
        "start": 0,
        "end": 0
      }
    },
    {
      "file": "document",
      "pages": {
        "start": 1,
        "end": 2
      },
      "actions": [
        {
          "type": "ocr",
          "language": "english"
        }
      ]
    },
    {
      "file": "document",
      "pages": {
        "start": 3,
        "end": 7
      }
    }
  ]
}' \
  -o result.pdf
Running OCR on a Document from a URL
To specify the path of a document for OCR using a URL, use the url field:
curl -X POST http://localhost:5000/build \
  -F instructions='{
  "parts": [
    {
      "file": {
        "url": "https://pspdfkit.com/downloads/examples/paper.pdf"
      }
    }
  ],
  "actions": [
    {
      "type": "ocr",
      "language": "english"
    }
  ]
}' \
  -o result.pdf
Conclusion
In this article, you learned how to OCR PDFs on Linux using an open source library, OCRmyPDF. You also learned how to cover more advanced use cases using PSPDFKit Processor.
For more information, check out our Processor getting started guides or reach out to our team to get more information.

