Getting Started with PSPDFKit Processor

Information

PSPDFKit Processor has been deprecated and replaced by PSPDFKit Document Engine. All PSPDFKit Processor licenses will work as before and be supported until 15 May 2024 (we will contact you about license migration). To start using Document Engine, refer to the migration guide. With Document Engine, you’ll have access to robust new capabilities (read the blog for more information).

This guide walks you through the steps necessary to start PSPDFKit Processor. It also shows you how to use it to process documents. By the end, you’ll be able to merge two PDF documents into one using Processor’s HTTP API from PHP.

Requirements

PSPDFKit Processor runs on a variety of platforms. The following operating systems are supported:

  • macOS Ventura, Monterey, Mojave, Catalina, or Big Sur

  • Windows 10 Pro, Home, Education, or Enterprise 64-bit

  • Ubuntu, Fedora, Debian, or CentOS. Ubuntu and Debian derivatives such as Kubuntu or Xubuntu are supported as well. Currently only 64-bit Intel (x86_64) processors are supported.

Regardless of your operating system, you’ll need at least 4 GB of RAM.

Installing Docker

PSPDFKit Processor is distributed as a Docker container. To run it on your computer, you need to install a Docker runtime distribution for your operating system.

Install and start Docker Desktop for Mac. Please refer to the Docker website for instructions.

Install and start Docker Desktop for Windows. Please refer to the Docker website for instructions.

Install and start Docker Engine. Please refer to the Docker website for instructions on how to install it for your Linux distribution.

After you install Docker, use these instructions to install Docker Compose.

Starting PSPDFKit Processor

First, open your terminal emulator.

Use the terminal emulator integrated with your code editor or IDE. Alternatively, you can use Terminal.app or iTerm2.

Use the terminal emulator integrated with your code editor or IDE. Alternatively, you can use PowerShell.

Use the terminal emulator integrated with your code editor or IDE, or one bundled with your desktop environment.

Now run the following command:

docker run --rm -t -p 5000:5000 pspdfkit/processor:2023.11.0

This command might take a while to run, depending on your internet connection speed. Wait until you see a message like this in the terminal:

[info]  2023-02-05 18:56:45.286  Running PSPDFKit Processor version 2023.11.0. pid=<0.1851.0>

The PSPDFKit Processor is now up and running!

Installing PHP

The interaction with Processor happens via its HTTP API: You send documents and commands in the request and receive the resulting file in the response. To do this, you’ll invoke the API from the PHP script. But first, you need to install PHP for your operating system:

The easiest way to install PHP on macOS is via Homebrew. Follow the instructions on the Homebrew website to install it. Then, to install PHP, run:

brew install php@7.4 && brew link php@7.4

Verify the installation by running the following command in the terminal:

php --version

The output should start with PHP 7.4 — you can ignore the rest of the message.

ℹ️ Note: If the output doesn’t match the above, try restarting your terminal app by typing exit and opening it again.

  1. Download the PHP ZIP archive from the PHP website (pick the x86 Thread Safe build of the 7.4 release).

  2. Create a folder anywhere on your C: drive.

  3. Extract the ZIP archive into the folder you just created.

  4. Open the terminal and switch to that folder:

cd C:\path\to\directory

Now run the .\php.exe --version command. The output should start with PHP 7.4 — you can ignore the rest of the message.

To proceed, you’ll also need to create a PHP configuration file to enable a specific extension. So in the same directory, create a php.ini file with the following content:

[PHP]
extension=curl

Save the file, as you’ll need it shortly.

You can install PHP using your distribution’s package manager:

apt-get update && apt-get install -y php
dnf install -y php

Now run the php --version command. The output should start with PHP 7.4 — you can ignore the rest of the message.

Handling File Uploads

In this example project, the PDF files you’ll merge will be uploaded through a simple webpage via a standard HTML form. Create a file called index.php with the following content:

<!DOCTYPE html>
<html>
<head>
    <title>Merge PDFs with PSPDFKit Processor</title>
</head>
<body>
    <p>Upload the files to merge:</p>
    <form enctype="multipart/form-data" action="merge.php" method="post">
        <div>File 1: <input name="file1" type="file" accept="application/pdf"></div>
        <div>File 2: <input name="file2" type="file" accept="application/pdf"></div>
        <input type="submit" value= "Merge PDFs">
    </form>
</body>
</html>

Now open the terminal and type the following command in the same directory where you created the index.php file:

php -S localhost:8000
.\php.exe -c php.ini -S localhost:8000
php -S localhost:8000

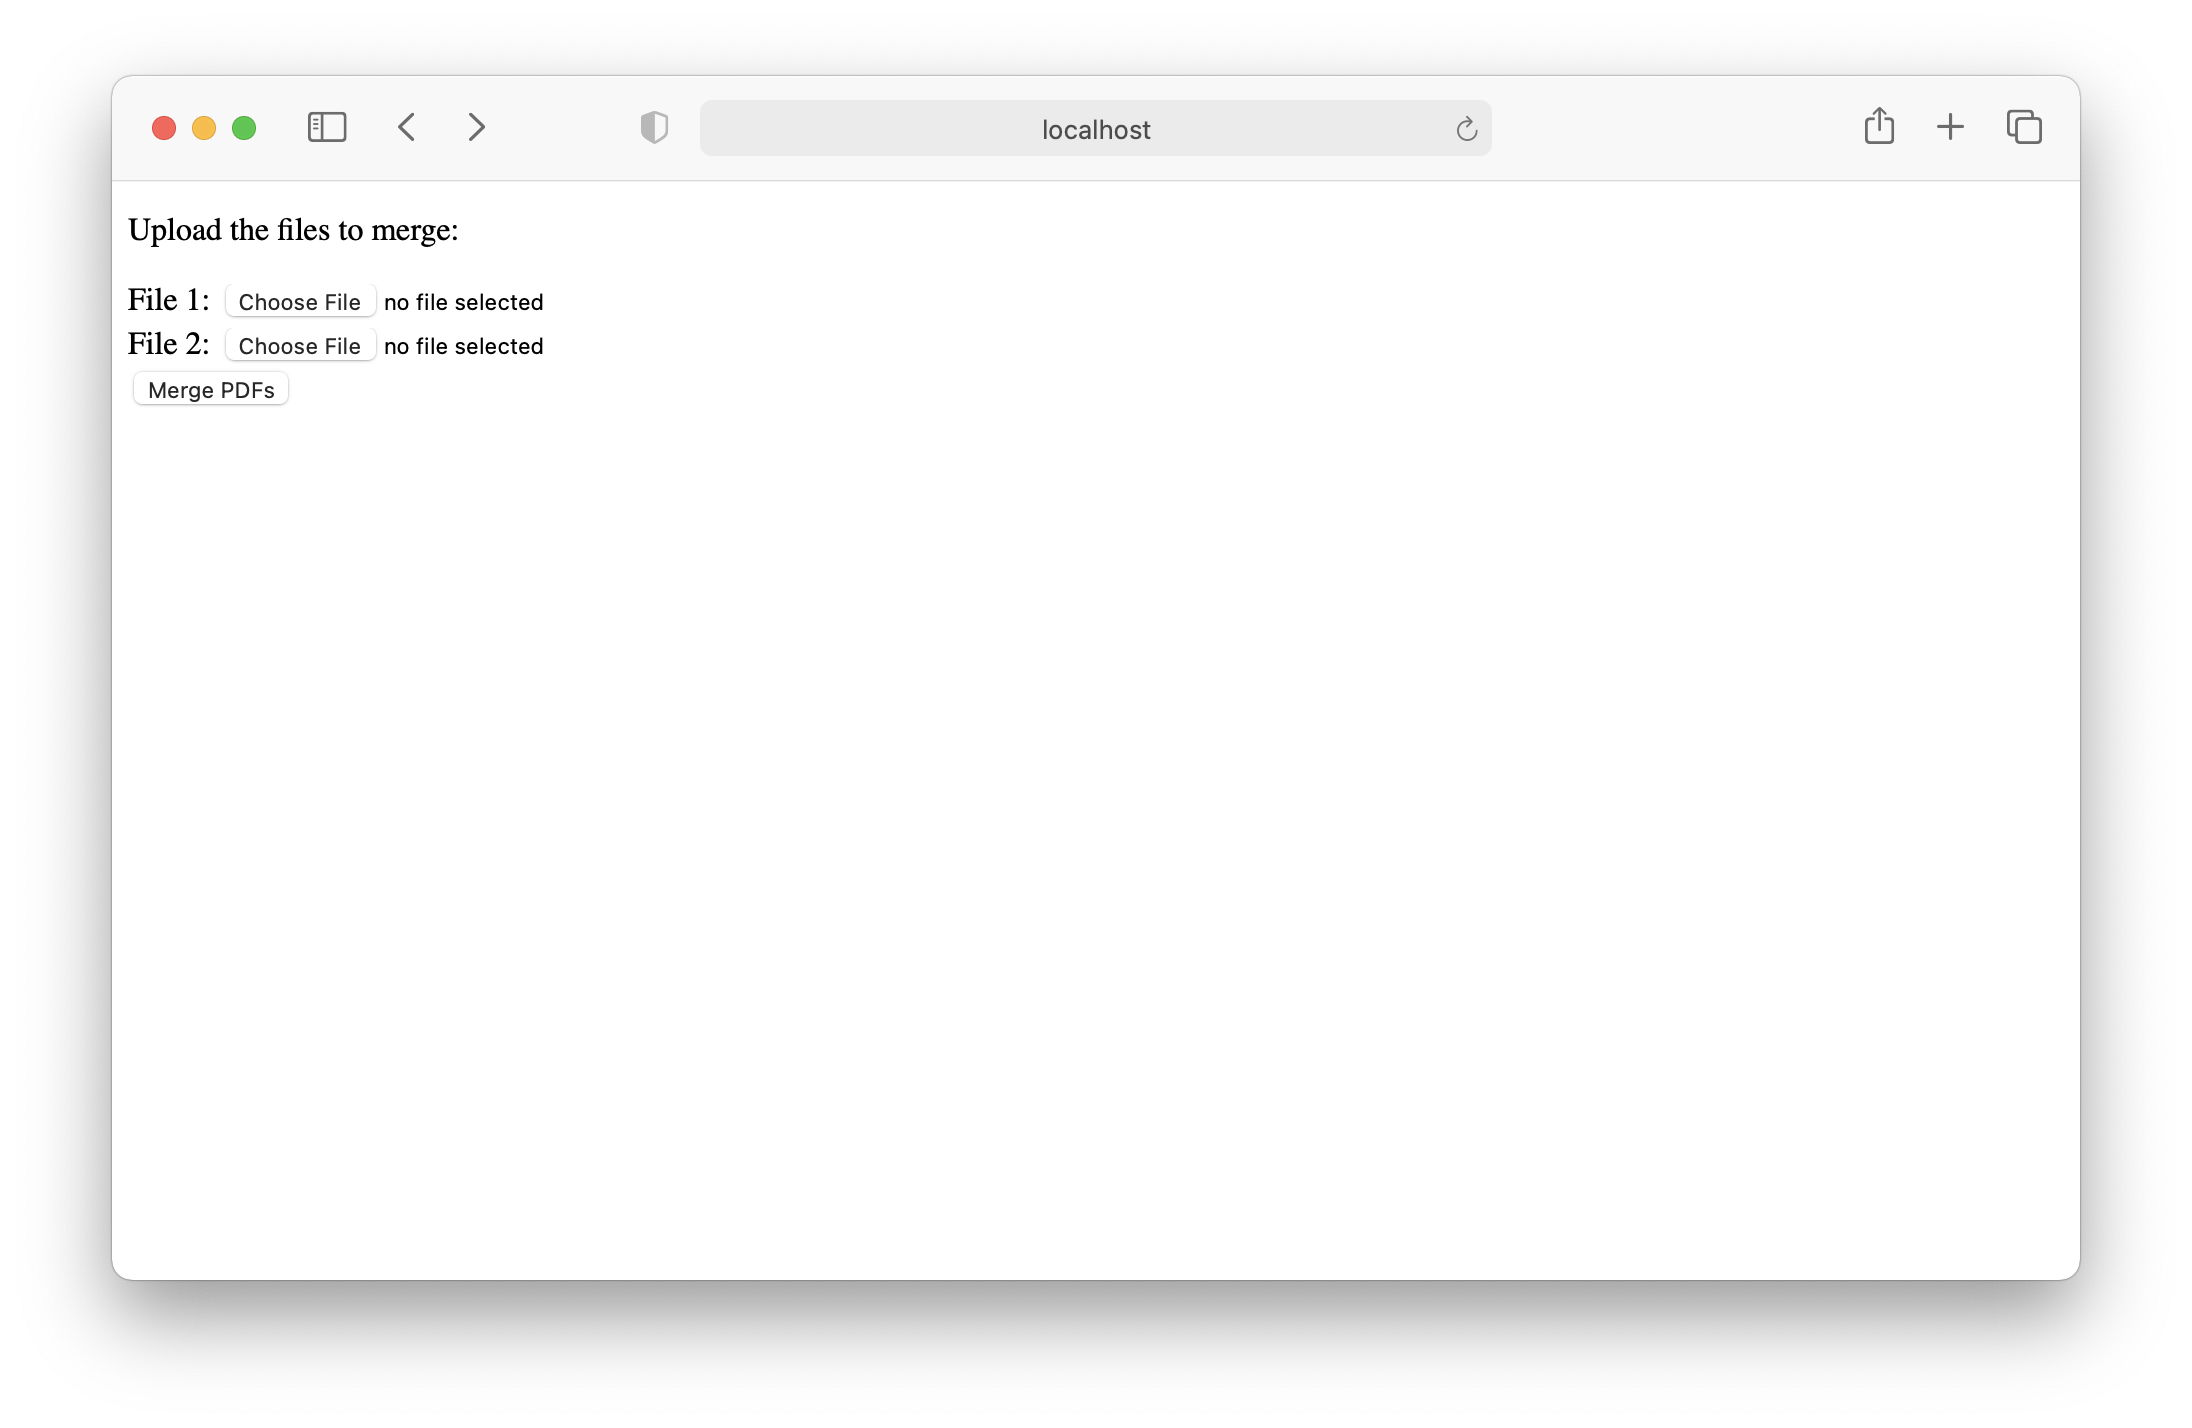
Go to http://localhost:8000 in the browser. You should see a webpage similar to this:

A webpage with a form with two file inputs

When you choose files and click the Merge PDFs button, you’ll receive an error. This is because you haven’t yet written any code to handle the form submission.

Create a merge.php file in the same directory and add the following content to it:

<?php
$file1 = $_FILES['file1'];
$file2 = $_FILES['file2'];

echo $file1['name'], ", ", $file2['name'];
?>

Now when you go back to http://localhost:8000, choose the files, and submit the form, you should see the names of the files you picked printed on the screen:

A webpage with two file names

Merging PDFs

You can now use Processor’s API to merge the files uploaded from the browser. Replace the contents of the merge.php file with:

<?php
$file1 = $_FILES["file1"];
$file2 = $_FILES["file2"];

$headers = ["Content-Type" => "multipart/form-data"];
$postFields = [];
$postFields["document1"] = curl_file_create(
    $file1["tmp_name"],
    $file1["type"],
    $file1["name"]
);

$postFields["document2"] = curl_file_create(
    $file2["tmp_name"],
    $file2["type"],
    $file2["name"]
);

$postFields["instructions"] = json_encode([
    "parts" => [
        [
            "file" => "document1"
        ],
        [
            "file" => "document2"
        ]
    ],
]);

$request = curl_init();
curl_setopt($request, CURLOPT_URL, "http://localhost:5000/build");
curl_setopt($request, CURLOPT_HTTPHEADER, $headers);
curl_setopt($request, CURLOPT_POST, true);
curl_setopt($request, CURLOPT_POSTFIELDS, $postFields);
curl_setopt($request, CURLOPT_RETURNTRANSFER, true);
$response = curl_exec($request);

$status = curl_getinfo($request, CURLINFO_RESPONSE_CODE);
$file_size = curl_getinfo($request, CURLINFO_CONTENT_LENGTH_DOWNLOAD);
curl_close($request);

if ($status != 200) {
    echo "Request to Processor failed with status code " .
        $status .
        ': "' .
        $response .
        '".';
} else {
    header("Content-type: application/pdf");
    header('Content-Disposition: attachment; filename="result.pdf"');
    header("Content-Transfer-Encoding: binary");
    header("Content-Length: " . $file_size);
    header("Accept-Ranges: bytes");
    echo $response;
}

Most of this code, up until the curl_exec function, constructs a request that’s sent to PSPDFKit Processor. It includes two files — document1 and document2 — and a list of instructions for Processor. By default, Processor’s output (the /build endpoint) is the result of merging all documents or parts of the instructions. To learn more about the /build instructions, go to Processor’s API Reference.

The rest of the code deals with error handling, and if everything goes well, it returns the resulting file back to the browser.

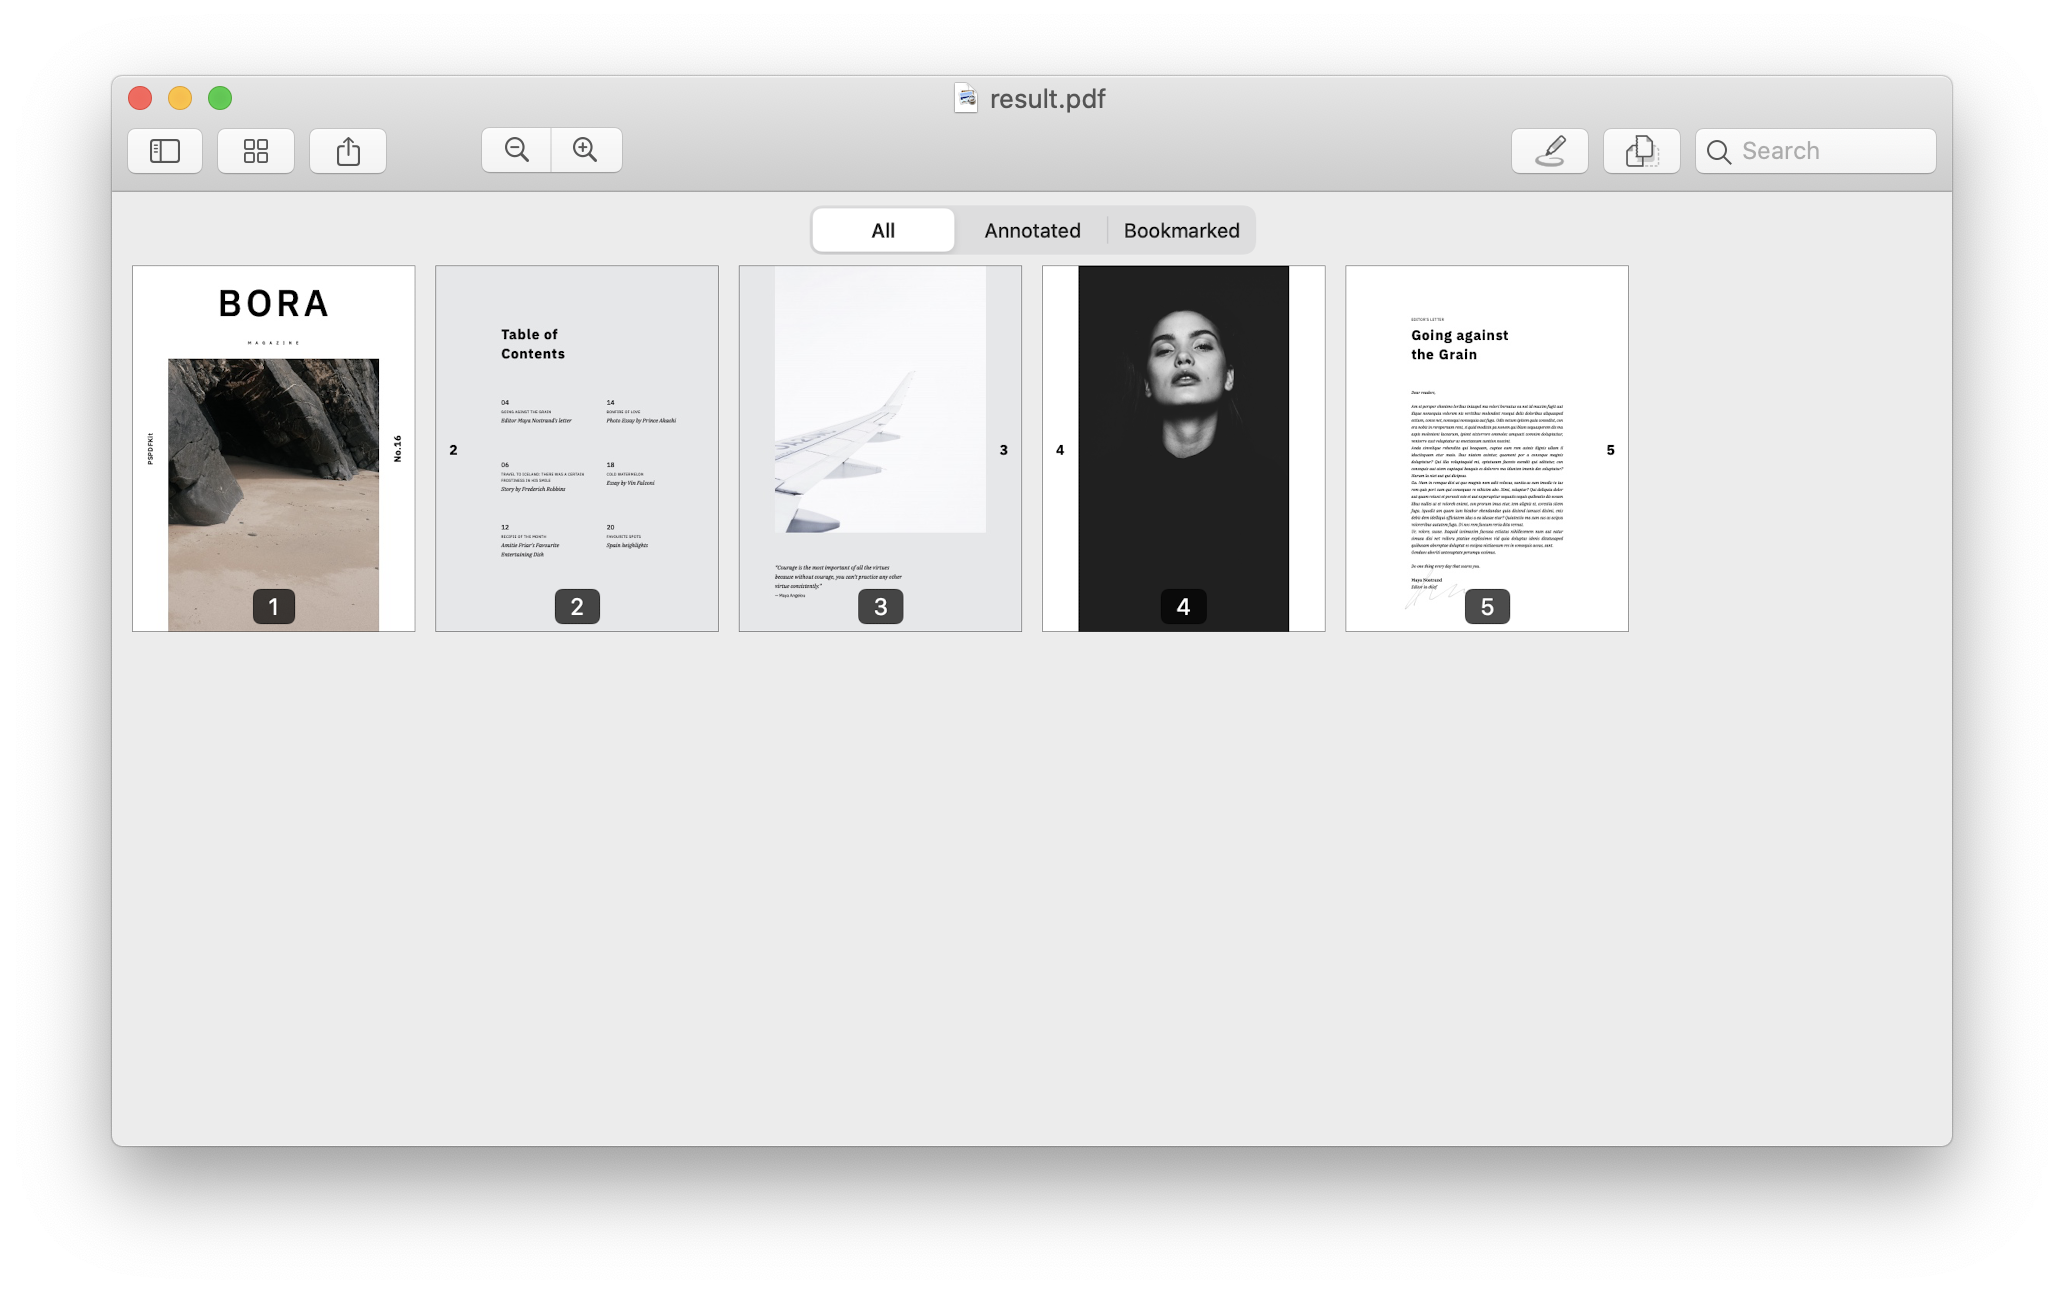
You can check how it works in practice yourself! Go to http://localhost:8000, pick any two PDFs on your disk (or use these two if you don’t have any: file1.pdf, file2.pdf), and click Merge PDFs again. Depending on your browser, it will either automatically download the file for you or ask you for permission to download. In any case, look for the result.pdf file in the downloads folder on your computer. Open that file in any PDF viewer application. If you used the two files from the links above, you should see a five-page PDF document like this:

The result merging document with a cover page

That’s it! Now you know how to use Processor from PHP to perform operations on documents.

Information

PSPDFKit Processor has been deprecated and replaced by PSPDFKit Document Engine. All PSPDFKit Processor licenses will work as before and be supported until 15 May 2024 (we will contact you about license migration). To start using Document Engine, refer to the migration guide. With Document Engine, you’ll have access to robust new capabilities (read the blog for more information).

This guide walks you through the steps necessary to start PSPDFKit Processor. It also shows you how to use it to process documents. By the end, you’ll be able to merge two PDF documents into one using Processor’s HTTP API from Python.

Requirements

PSPDFKit Processor runs on a variety of platforms. The following operating systems are supported:

  • macOS Ventura, Monterey, Mojave, Catalina, or Big Sur

  • Windows 10 Pro, Home, Education, or Enterprise 64-bit

  • Ubuntu, Fedora, Debian, or CentOS. Ubuntu and Debian derivatives such as Kubuntu or Xubuntu are supported as well. Currently only 64-bit Intel (x86_64) processors are supported.

Regardless of your operating system, you’ll need at least 4 GB of RAM.

Installing Docker

PSPDFKit Processor is distributed as a Docker container. To run it on your computer, you need to install a Docker runtime distribution for your operating system.

Install and start Docker Desktop for Mac. Please refer to the Docker website for instructions.

Install and start Docker Desktop for Windows. Please refer to the Docker website for instructions.

Install and start Docker Engine. Please refer to the Docker website for instructions on how to install it for your Linux distribution.

After you install Docker, use these instructions to install Docker Compose.

Starting PSPDFKit Processor

First, open your terminal emulator.

Use the terminal emulator integrated with your code editor or IDE. Alternatively, you can use Terminal.app or iTerm2.

Use the terminal emulator integrated with your code editor or IDE. Alternatively, you can use PowerShell.

Use the terminal emulator integrated with your code editor or IDE, or one bundled with your desktop environment.

Now run the following command:

docker run --rm -t -p 5000:5000 pspdfkit/processor:2023.11.0

This command might take a while to run, depending on your internet connection speed. Wait until you see a message like this in the terminal:

[info]  2023-02-05 18:56:45.286  Running PSPDFKit Processor version 2023.11.0. pid=<0.1851.0>

The PSPDFKit Processor is now up and running!

Installing Python

The interaction with Processor happens via its HTTP API: You send documents and commands in the request and receive the resulting file in the response. To do this, you’ll invoke the API from the Python script. But first, you need to install Python for your operating system:

To install Python, first you need to install the Xcode Command Line Tools. Install them by running the following command:

xcode-select --install

The easiest way to install Python on macOS is via Homebrew. Follow the instructions on the Homebrew website to install it. Then, to install Python, run:

brew install python

Verify the installation by running the following command in the terminal:

python3 --version

The output should start with Python 3.9 — you can ignore the rest of the message.

ℹ️ Note: ️If the output doesn’t match the above, try restarting the terminal app by typing exit and opening it again.

  1. Go to the Python downloads website.

  2. Scroll down to the bottom of the page until you find the Windows installer (64-bit) entry. Click on the link to download the installer.

  3. Open the installer. Make sure to check the Add Python 3.9 to PATH checkbox at the bottom of the window, and click Install Now.

  4. Complete the installation process.

Now start the terminal and run the python --version command. The output should start with Python 3.9 — you can ignore the rest of the message.

You can install Python using your distribution’s package manager:

apt-get update && apt-get install -y python3.9 python3-pip && ln -s /usr/bin/python3.9 /usr/bin/python3
dnf install -y python3 python3-pip

Now run the python3 --version command. The output should start with Python 3.9 — you can ignore the rest of the message.

Merging PDFs

To make HTTP requests to Processor’s API, you need an HTTP client library. For this scenario, you’ll use the excellent Requests package. Install it by running the following command:

python3 -m pip install requests==2.25.1
python -m pip install requests==2.25.1
python3 -m pip install requests==2.25.1

Now you can create a script to merge the PDFs. It’ll take two file paths as command-line arguments, send the files to Processor to merge them, and save the result in another file on disk. Create a merge.py file with the following content:

import sys
import json
import requests

if len(sys.argv) < 3:
    print("Too few arguments.")
    exit(1)

file1 = sys.argv[1]
file2 = sys.argv[2]

url = "http://localhost:5000/build"

payload= {
    "instructions": json.dumps({
        "parts": [
            {
                "file": "file1"
            },
            {
                "file": "file2"
            }
        ]
})}

files=[
  ('file1',('file1.pdf',open(file1,'rb'),'application/pdf')),
  ('file2',('file2.pdf',open(file2,'rb'),'application/pdf'))
]
headers = {}

response = requests.post(url, data=payload, files=files)

if response.status_code == 200:
    with open("result.pdf", "wb") as f:
        f.write(response.content)
else:
    print(
        f"Request to Processor failed with status code {response.status_code}: '{response.text}'."
    )

The script verifies that the number of arguments is correct and prepares the request data. It includes two files — file1 and file2 — and a list of instructions for Processor. By default, Processor’s output (the /build endpoint) is the result of merging all documents or parts of the instructions. To learn more about the /build instructions, go to Processor’s API Reference.

The rest of the code deals with error handling, and if everything goes well, it saves the result in the result.pdf file in the current working directory.

You can check how it works in practice yourself! Pick any two PDFs on your computer (or use these two if you don’t have any: file1.pdf, file2.pdf), and run the script:

python3 merge.py path/to/file1.pdf path/to/file2.pdf
python merge.py path/to/file1.pdf path/to/file2.pdf
python3 merge.py path/to/file1.pdf path/to/file2.pdf

Make sure to replace path/to/file1.pdf and path/to/file2.pdf with the actual location of the PDF files on your computer.

If you used the two files from the links above, you should see a five-page PDF document like this:

The result merging document with a cover page

That’s it! Now you know how to use Processor from Python to perform operations on documents.

Information

PSPDFKit Processor has been deprecated and replaced by PSPDFKit Document Engine. All PSPDFKit Processor licenses will work as before and be supported until 15 May 2024 (we will contact you about license migration). To start using Document Engine, refer to the migration guide. With Document Engine, you’ll have access to robust new capabilities (read the blog for more information).

This guide walks you through the steps necessary to start PSPDFKit Processor. It also shows you how to use it to process documents. By the end, you’ll be able to merge two PDF documents into one using Processor’s HTTP API from Rust.

Requirements

PSPDFKit Processor runs on a variety of platforms. The following operating systems are supported:

  • macOS Ventura, Monterey, Mojave, Catalina, or Big Sur

  • Windows 10 Pro, Home, Education, or Enterprise 64-bit

  • Ubuntu, Fedora, Debian, or CentOS. Ubuntu and Debian derivatives such as Kubuntu or Xubuntu are supported as well. Currently only 64-bit Intel (x86_64) processors are supported.

Regardless of your operating system, you’ll need at least 4 GB of RAM.

Installing Docker

PSPDFKit Processor is distributed as a Docker container. To run it on your computer, you need to install a Docker runtime distribution for your operating system.

Install and start Docker Desktop for Mac. Please refer to the Docker website for instructions.

Install and start Docker Desktop for Windows. Please refer to the Docker website for instructions.

Install and start Docker Engine. Please refer to the Docker website for instructions on how to install it for your Linux distribution.

After you install Docker, use these instructions to install Docker Compose.

Starting PSPDFKit Processor

First, open your terminal emulator.

Use the terminal emulator integrated with your code editor or IDE. Alternatively, you can use Terminal.app or iTerm2.

Use the terminal emulator integrated with your code editor or IDE. Alternatively, you can use PowerShell.

Use the terminal emulator integrated with your code editor or IDE, or one bundled with your desktop environment.

Now run the following command:

docker run --rm -t -p 5000:5000 pspdfkit/processor:2023.11.0

This command might take a while to run, depending on your internet connection speed. Wait until you see a message like this in the terminal:

[info]  2023-02-05 18:56:45.286  Running PSPDFKit Processor version 2023.11.0. pid=<0.1851.0>

The PSPDFKit Processor is now up and running!

Installing Rust

The interaction with PSPDFKit Processor happens via its HTTP API. Documents and commands are sent in API request calls, and the resulting files are received in API response calls. API calls are invoked from the Rust code, so you need to install Rust.

To install Rust:

  1. Follow the instructions for your operating system in Rust’s Installation Guide.

  2. Go to any directory in your system using your terminal. Create a new directory called merging-pdfs and go the newly created directory:

mkdir merging-pdfs
cd merging-pdfs
  1. Create a new cargo project:

cargo new merging-pdfs-pspdfkit
  1. Run the project with the cargo run command.

Merging PDFs with Rust

If you don’t have any sample documents, download and use these files: cover.pdf and document.pdf

Paste the following content into the Cargo.toml file in the merging-pdfs-pspdfkit project directory:

[dependencies]
tokio = { version = "1.23.0", features = ["full"] }
reqwest = { version = "0.11.13", features = ["json", "multipart"] }
serde_json = "1.0.91"

Next, replace /path/to/cover.pdf on line 24 and /path/to/document.pdf on line 30 with the actual paths to the example documents on your machine. Then, replace the contents of the src/main.rs file with this code:

use reqwest::Result;
use std::borrow::Cow;
use std::fs;
use std::fs::File;
use std::io::Write;

#[tokio::main]
async fn main() -> Result<()> {
    // Multipart Request
    let body = serde_json::json!({
        "parts": [
            {
                "file": "cover"
            },
            {
                "file": "document"
            }
        ],
        "output": {
            "type": "pdf"
        }
    });

    let cover = fs::read("src/cover.pdf").unwrap();
    let cover_part = reqwest::multipart::Part::bytes(cover)
        .file_name("cover.pdf")
        .mime_str("application/pdf")
        .unwrap();

    let document = fs::read("src/document.pdf").unwrap();
    let document_part = reqwest::multipart::Part::bytes(document)
        .file_name("document.pdf")
        .mime_str("application/pdf")
        .unwrap();

    let instructions = serde_json::to_vec(&body).unwrap();
    let instructions_bytes = Cow::from(instructions);
    let instructions_part = reqwest::multipart::Part::bytes(instructions_bytes);


    let form = reqwest::multipart::Form::new()
        .part("cover", cover_part)
        .part("document", document_part)
        .part("instructions", instructions_part);

    let client = reqwest::Client::new();
    let res = client
        .post("http://localhost:5000/build")
        .multipart(form)
        .send()
        .await?;

    let mut result_file = File::create("result.pdf").expect("Error creating file");

    result_file
        .write_all(&res.bytes().await.unwrap())
        .expect("Error writing to file");

    Ok(())
}

Most of this code deals with creating and sending a multipart request containing files and instructions to Processor’s /build endpoint using Rust’s reqwest crate.

To run the code, ensure you’re in the merging-pdfs directory and type the following command in your terminal:

cargo run
The result is a merged document with a cover page

To learn more about the various actions you can apply to PDFs using PSPDFKit Processor, go to Processor’s API Reference.

Information

PSPDFKit Processor has been deprecated and replaced by PSPDFKit Document Engine. All PSPDFKit Processor licenses will work as before and be supported until 15 May 2024 (we will contact you about license migration). To start using Document Engine, refer to the migration guide. With Document Engine, you’ll have access to robust new capabilities (read the blog for more information).

This guide walks you through the steps necessary to start PSPDFKit Processor. It also shows you how to use it to process documents. By the end, you’ll be able to merge two PDF documents into one using Processor’s HTTP API with Golang.

Requirements

PSPDFKit Processor runs on a variety of platforms. The following operating systems are supported:

  • macOS Ventura, Monterey, Mojave, Catalina, or Big Sur

  • Windows 10 Pro, Home, Education, or Enterprise 64-bit

  • Ubuntu, Fedora, Debian, or CentOS. Ubuntu and Debian derivatives such as Kubuntu or Xubuntu are supported as well. Currently only 64-bit Intel (x86_64) processors are supported.

Regardless of your operating system, you’ll need at least 4 GB of RAM.

Installing Docker

PSPDFKit Processor is distributed as a Docker container. To run it on your computer, you need to install a Docker runtime distribution for your operating system.

Install and start Docker Desktop for Mac. Please refer to the Docker website for instructions.

Install and start Docker Desktop for Windows. Please refer to the Docker website for instructions.

Install and start Docker Engine. Please refer to the Docker website for instructions on how to install it for your Linux distribution.

After you install Docker, use these instructions to install Docker Compose.

Starting PSPDFKit Processor

First, open your terminal emulator.

Use the terminal emulator integrated with your code editor or IDE. Alternatively, you can use Terminal.app or iTerm2.

Use the terminal emulator integrated with your code editor or IDE. Alternatively, you can use PowerShell.

Use the terminal emulator integrated with your code editor or IDE, or one bundled with your desktop environment.

Now run the following command:

docker run --rm -t -p 5000:5000 pspdfkit/processor:2023.11.0

This command might take a while to run, depending on your internet connection speed. Wait until you see a message like this in the terminal:

[info]  2023-02-05 18:56:45.286  Running PSPDFKit Processor version 2023.11.0. pid=<0.1851.0>

The PSPDFKit Processor is now up and running!

Installing Golang

The interaction with PSPDFKit Processor happens via its HTTP API. Documents and commands are sent in API request calls, and the resulting files are received in API response calls. API calls are invoked from the Go package, so you need to install Golang.

To install Golang:

  1. Follow the instructions for your operating system on Golang’s Download and Installation Page.

  2. Go to any directory in your system using your terminal. Create a new directory called merging-pdfs and go to the newly created directory:

mkdir merging-pdfs
cd merging-pdfs
  1. Create a new go module by running the command below from the merging-pdfs directory. Replace YOUR-GITHUB-USERNAME with your actual GitHub username:

go mod init github.com/YOUR-GITHUB-USERNAME/merging-pdfs
  1. Create a new file in the directory called merge.go and add the following content:

package main

import "fmt"

func main() {
  fmt.Println("Hello World")
}
  1. Run the file from your terminal with go run merge.go to make sure everything is working properly.

Merging PDFs with Golang

If you don’t have any sample documents, download and use these files: cover.pdf and document.pdf

Replace the contents of the merge.go file with the code below. Replace /path/to/cover.pdf in lines 37 and 46, and replace /path/to/document.pdf in lines 59 and 68 with the actual paths to the example documents on your machine:

package main

import (
	"bytes"
	"fmt"
	"io"
	"log"
	"mime/multipart"
	"net/http"
	"os"
	"path/filepath"
)

func main() {
	instructions := `
		{
			"parts": [
				{
					"file": "cover"
				},
				{
					"file": "document"
				}
			]
		}
	`

	payload := &bytes.Buffer{}
	writer := multipart.NewWriter(payload)

	err := writer.WriteField("instructions", instructions)
	if err != nil {
		log.Fatalln(err)
	}

	// Replace "/path/to/cover.pdf".
	cover, err := os.Open("/path/to/cover.pdf")
	defer cover.Close()

	if err != nil {
		log.Fatalln(err)
		return
	}
	
	// Replace "/path/to/cover.pdf".
	coverPart, err := writer.CreateFormFile("cover", filepath.Base("/path/to/cover.pdf"))
	if err != nil {
		log.Fatalln(err)
		return
	}

	_, err = io.Copy(coverPart, cover)
	if err != nil {
		log.Fatalln(err)
		return
	}

	// Replace "/path/to/document.pdf".
	document, err := os.Open("/path/to/document.pdf")
	defer document.Close()

	if err != nil {
		log.Fatalln(err)
		return
	}

	// Replace "/path/to/document.pdf".
	documentPart, err := writer.CreateFormFile("document", filepath.Base("/path/to/document.pdf"))
	if err != nil {
		log.Fatalln(err)
		return
	}

	_, err = io.Copy(documentPart, document)
	if err != nil {
		log.Fatalln(err)
		return
	}

	err = writer.Close()
	if err != nil {
		fmt.Println(err)
		return
	}

	processorUrl := "http://localhost:5000/build"
	method := "POST"

	client := &http.Client{}
	req, err := http.NewRequest(method, processorUrl, payload)

	if err != nil {
		fmt.Println(err)
		return
	}
	req.Header.Set("Content-Type", writer.FormDataContentType())
	res, err := client.Do(req)
	if err != nil {
		fmt.Println(err)
		return
	}
	defer res.Body.Close()

	output, err := os.Create("result.pdf")

	log.Print(res)
	output.ReadFrom(res.Body)

	if err != nil {
		fmt.Println(err)
		return
	}
}

To run the code, ensure you’re in the merging-pdfs directory and type the following command in your terminal:

go run merge.go

Most of this code, up until the client.Do(req) statement, constructs a multipart request that’s sent to Processor. It includes two files — in this case, cover and document — and a list of instructions for PSPDFKit Processor.

By default, PSPDFKit Processor’s output (the /build endpoint) is the result of merging all input documents or parts of the instructions.

To learn more about the /build instructions, go to the Processor API Reference article.

The result of this code is a merged result.pdf file in the merging-pdfs directory.

The result is a merged document with a cover page
Information

PSPDFKit Processor has been deprecated and replaced by PSPDFKit Document Engine. All PSPDFKit Processor licenses will work as before and be supported until 15 May 2024 (we will contact you about license migration). To start using Document Engine, refer to the migration guide. With Document Engine, you’ll have access to robust new capabilities (read the blog for more information).

This guide walks you through the steps necessary to start PSPDFKit Processor. It also shows you how to use it to process documents. By the end, you’ll be able to merge two PDF documents into one using Processor’s HTTP API via curl.

Requirements

PSPDFKit Processor runs on a variety of platforms. The following operating systems are supported:

  • macOS Ventura, Monterey, Mojave, Catalina, or Big Sur

  • Windows 10 Pro, Home, Education, or Enterprise 64-bit

  • Ubuntu, Fedora, Debian, or CentOS. Ubuntu and Debian derivatives such as Kubuntu or Xubuntu are supported as well. Currently only 64-bit Intel (x86_64) processors are supported.

Regardless of your operating system, you’ll need at least 4 GB of RAM.

Installing Docker

PSPDFKit Processor is distributed as a Docker container. To run it on your computer, you need to install a Docker runtime distribution for your operating system.

Install and start Docker Desktop for Mac. Please refer to the Docker website for instructions.

Install and start Docker Desktop for Windows. Please refer to the Docker website for instructions.

Install and start Docker Engine. Please refer to the Docker website for instructions on how to install it for your Linux distribution.

After you install Docker, use these instructions to install Docker Compose.

Starting PSPDFKit Processor

First, open your terminal emulator.

Use the terminal emulator integrated with your code editor or IDE. Alternatively, you can use Terminal.app or iTerm2.

Use the terminal emulator integrated with your code editor or IDE. Alternatively, you can use PowerShell.

Use the terminal emulator integrated with your code editor or IDE, or one bundled with your desktop environment.

Now run the following command:

docker run --rm -t -p 5000:5000 pspdfkit/processor:2023.11.0

This command might take a while to run, depending on your internet connection speed. Wait until you see a message like this in the terminal:

[info]  2023-02-05 18:56:45.286  Running PSPDFKit Processor version 2023.11.0. pid=<0.1851.0>

The PSPDFKit Processor is now up and running!

Installing curl

The interaction with Processor happens via its HTTP API: You send documents and commands in the request and receive the resulting file in the response. To do this, you’ll first install curl so that it can call the API.

curl is bundled with macOS, so there are no extra steps you need to take to install it.

  1. Go to the curl website and download the curl for 64 bit package.

  2. Create a folder anywhere on your C: drive. Unzip the downloaded package and copy the curl.exe executable from the bin subfolder into the folder you just created.

  3. Open the terminal and switch to the directory where you placed the curl executable:

cd C:\path\to\directory

Now run the .\curl.exe --version command. The output should start with curl 7 — you can ignore the rest of the message.

curl is bundled with most desktop Linux distributions. You can check if it’s installed by running the curl --version command in the terminal. If you get an error, you can install it using your distribution’s package manager:

apt-get update && apt-get install -y curl
dnf install -y curl

Now run the curl --version command. The output should start with curl 7 — you can ignore the rest of the message.

Merging PDFs

Now that everything is set up, you can start using Processor to merge PDFs. More specifically, you’ll add a cover page to the existing document.

  1. (Optional) If you don’t have any sample documents, download and use these files: cover.pdf and document.pdf.

  2. Move both files to the same directory (if you’re running on Windows, use the same folder where you placed the curl.exe executable).

  3. Run the command below.

When merging documents, the order of the instruction parts reflects the order you want the final document to be in. In this example, the cover page comes before the rest of the document in the final merged output. This means that the instructions for the /build request reflect the parts in that order.

curl -X POST http://localhost:5000/build \
  -F document=@document.pdf \
  -F 'cover-page=@cover.pdf;type=application/pdf' \
  -F instructions='{
  "parts": [
    {
      "file": "cover-page"
    },
    {
      "file": "document"
    }
  ]
}' \
  -o result.pdf
curl.exe -X POST http://localhost:5000/build `
  -F document=@document.pdf `
  -F 'cover-page=@cover.pdf;type=application/pdf' `
  -F instructions='{
  ""parts"": [
    {
      ""file"": ""cover-page""
    },
    {
      ""file"": ""document""
    }
  ]
}' `
  -o result.pdf
curl -X POST http://localhost:5000/build \
  -F document=@document.pdf \
  -F 'cover-page=@cover.pdf;type=application/pdf' \
  -F instructions='{
  "parts": [
    {
      "file": "cover-page"
    },
    {
      "file": "document"
    }
  ]
}' \
  -o result.pdf

Open the result.pdf file in any PDF viewer — you’ll see a five-page PDF document like what’s shown below.

The result is a merged document with a cover page

To learn more about the actions you can perform on documents with PSPDFKit Processor’s /build endpoint, go to our API Reference.