How to Generate PDF Event Tickets
In this blog post, we’re going to create an e-ticket from scratch. The example will be a ticket for a music event, but you can follow the example for a variety of situations, such as flight boarding passes, conference tickets, and even lottery tickets!
The example will use PSPDFKit Document Engine and introduce the PDF Generation feature, which allows you to describe your content in HTML, style the content with CSS, and describe the page layout in JSON.
Defining the Content
We’re going to start with a basic layout for the e-ticket. There’ll be no data yet — just the style and content:
<!DOCTYPE html>
<html>
	<head>
		<style>
			body {
				font-size: 16px;
				font-family: 'Helvetica', Arial, sans-serif;
				margin: 0;
			}
			.container {
				width: 602px;
				height: 200px;
				margin: 0 auto;
				border-radius: 4px;
				background-color: #4537de;
				box-shadow: 0 8px 16px rgba(35, 51, 64, 0.25);
			}
			.column-1 {
				float: left;
				width: 400px;
				height: 200px;
				border-right: 2px dashed #fff;
			}
			.column-2 {
				float: right;
				width: 200px;
				height: 200px;
			}
			.text-frame {
				padding: 40px;
				height: 120px;
			}
			.qr-holder {
				position: relative;
				width: 160px;
				height: 160px;
				margin: 20px;
				background-color: #fff;
				text-align: center;
				line-height: 30px;
				z-index: 1;
			}
			.qr-holder > img {
				margin-top: 20px;
			}
			.event {
				font-size: 24px;
				color: #fff;
				letter-spacing: 1px;
			}
			.date {
				font-size: 18px;
				line-height: 30px;
				color: #a8bbf8;
			}
			.name,
			.ticket-id {
				font-size: 16px;
				line-height: 22px;
				color: #fff;
			}
		</style>
	</head>
	<body>
		<div class="container">
			<div class="column-1">
				<div class="text-frame">
					<div class="event">PSPDFKit TALENT SHOW</div>
					<div class="date">26 August, 2021</div>
					<br />
					<div class="name">John Smith</div>
					<div class="ticket-id">#123456</div>
				</div>
			</div>

			<div class="column-2">
				<div class="qr-holder">
					<img src="qr-code.png" width="120px" height="120px" />
				</div>
			</div>
		</div>
	</body>
</html>
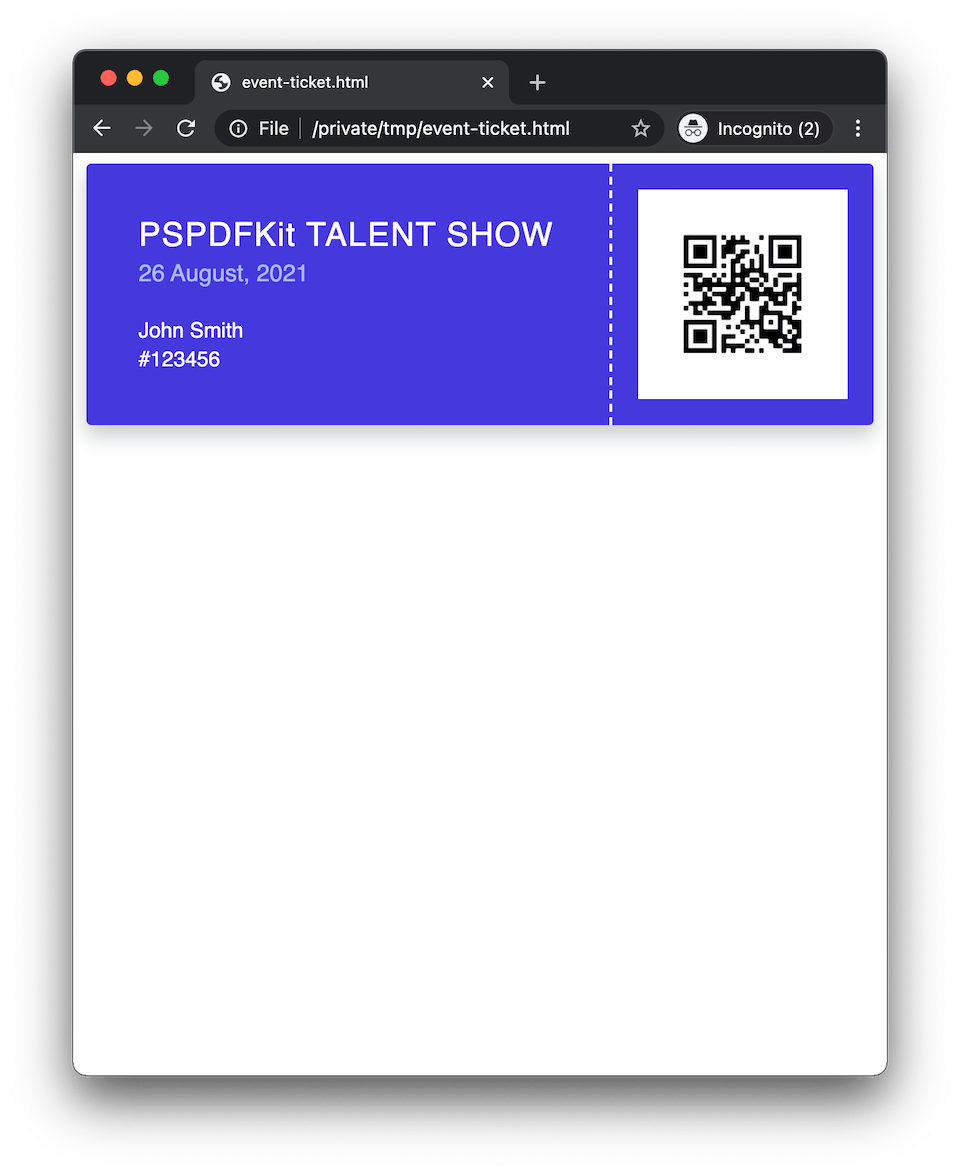
When previewed in a browser such as Chrome, you’ll see a page like the following.
Variable Data
You may have noticed there’s lots of data in the ticket that needs to be generated at runtime. Examples of this are the ticket number, the name of the guest, and even the QR code.
That’s where we can use a template. In place of the hardcoded data, we can add placeholders. And at runtime, we can replace the placeholders with the correct data:
...
</head>
<body>
<div class="container">
  <section>
  <div class="qr-holder">
    <img src="{{QR_CODE_IMAGE_PATH}}" width="100px" height="100px">
  </div>
  <div class="event">PSPDFKit Talent Show</div>
  <div class="date">26 August, 2021</div>
  <hr>
  <div class="name">{{NAME}}</div>
  <div class="ticket-id">#{{TICKET_NUMBER}}</div>
  </section>
</div>
</body>
</html>
Now that we’ve added placeholders for the data generated at runtime, let’s replace it.
For this example, we’re going to use Mustache.js, a templating library that will take the HTML above and replace the placeholders in double curly braces with the data we provide.
Note that this example will be using JavaScript and Node.js. If you’re looking for other language examples, you can find them in the PSPDFKit Document Engine guides.
We’ll define our data, which in theory could be pulled from any desired source (database, REST API, local file), and apply that to the template:
const mustache = require('mustache');
const fs = require('fs');

const page = fs.readFileSync('page.mustache').toString();
const ticketData = {
	name: 'John Smith',
	ticket_id: '123456',
	qr_code_image_path: 'qr-code.png',
};

const outputHTML = mustache.render(page, ticketData);
Run the script with Node.js:
node mustache-example.js
We now have our custom e-ticket created in HTML. Next, we’ll pass this to the PDF Generation feature to create a PDF.
PDF Generation
The first part is simple. We pass the created HTML to the PSPDFKit Processor /process API for generation:
curl -X POST http://localhost:5000/build \
  -F 'page.html=@page.html;type=text/html' \
  -F 'qr-code.png=@qr-code.png;type=image/png' \
  -F generation='{
  "html": "page.html",
  "assets": [
    "qr-code.png"
  ]
}' \
  -o result.pdf
Along with the HTML, you can see that we pass the qr-code.png image (you can download the QR code from here if you’re following along). This allows the generator to reference the image when generating the PDF.
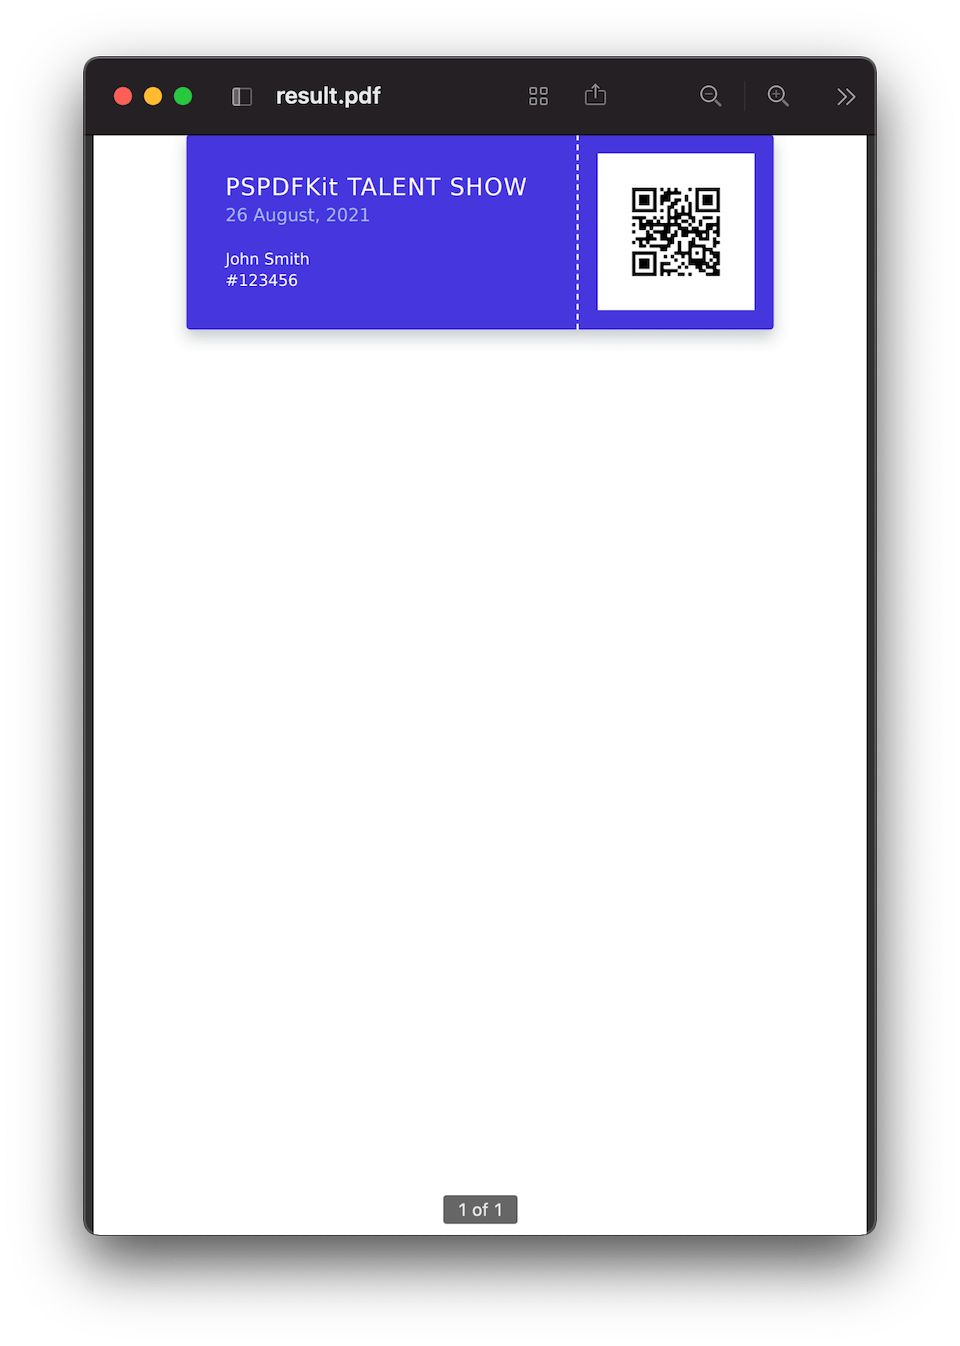
From the above, you’ll receive the following resulting PDF. But the page is A4 size, which is probably not what we want.
Page Size
We can resize the page with the size property in the PDF Generation schema.
Because we’ve already defined our ticket size in HTML as 600px by 200px, we want a similar page size. The PDF Generation schema page size takes values in millimeters, so we’ll have to do the conversion. (More information on conversions can be found in the PDF Generation guides):
(600 / 96) * 25.4 = 158.75 mm
(200 / 96) * 25.4 = 52.91 mm
The page size expects integer value types, so we’ll round the results and use a width of 159 and a height of 53 in the PDF Generation schema:
curl -X POST http://localhost:5000/build \
  -F 'page.html=@page.html;type=text/html' \
  -F 'qr-code.png=@qr-code.png;type=image/png' \
  -F generation='{
  "html": "page.html",
  "assets": [
    "qr-code.png"
  ],
  "layout": {
    "size": {
      "width": 159,
      "height": 53
    }
  }
}' \
  -o result.pdf

This is perfect. But to make things a little cleaner, we can add some white space with page margins. Let’s say 5 mm all around.
Page Margins
To define margins, we add the margin object in the PDF Generation schema with the values required. We also expand the width and height to account for the margins:
curl -X POST http://localhost:5000/build \
  -F 'page.html=@page.html;type=text/html' \
  -F 'qr-code.png=@qr-code.png;type=image/png' \
  -F generation='{
  "html": "page.html",
  "assets": [
    "qr-code.png"
  ],
  "layout": {
    "size": {
      "width": 169,
      "height": 63
    },
    "margin": {
      "top": 5,
      "left": 5,
      "right": 5,
      "bottom": 5
    }
  }
}' \
  -o result.pdf
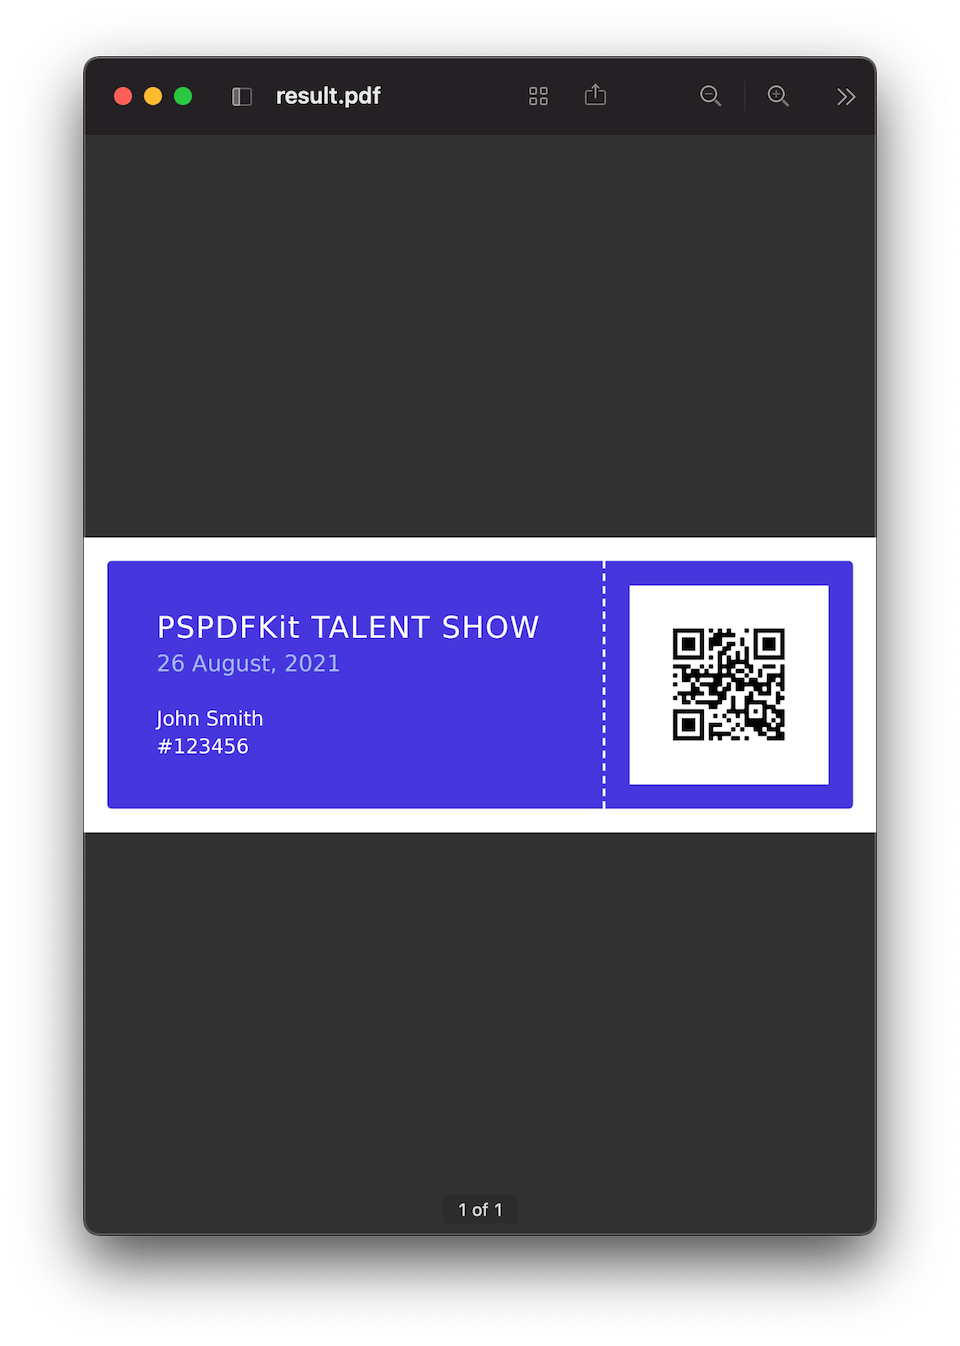
And now we end up with a nicely sized e-ticket in a PDF, ready to send to our customer!
Conclusion
In this post, we created an event e-ticket from scratch. As you can see from this example, it’s possible to create expressive designs and convert these designs to PDFs.
All the areas of the PDF Generation feature discussed in this blog post can be found in our guides. There, you’ll also find more information describing how to further customize your PDFs and edit them after they’re generated.

When Nick started tinkering with guitar effects pedals, he didn’t realize it’d take him all the way to a career in software. He has worked on products that communicate with space, blast Metallica to packed stadiums, and enable millions to use documents through PSPDFKit, but in his personal life, he enjoys the simplicity of running in the mountains.


