How to Convert a Word Document to PDF on Android
 Julius Kato Mutumba
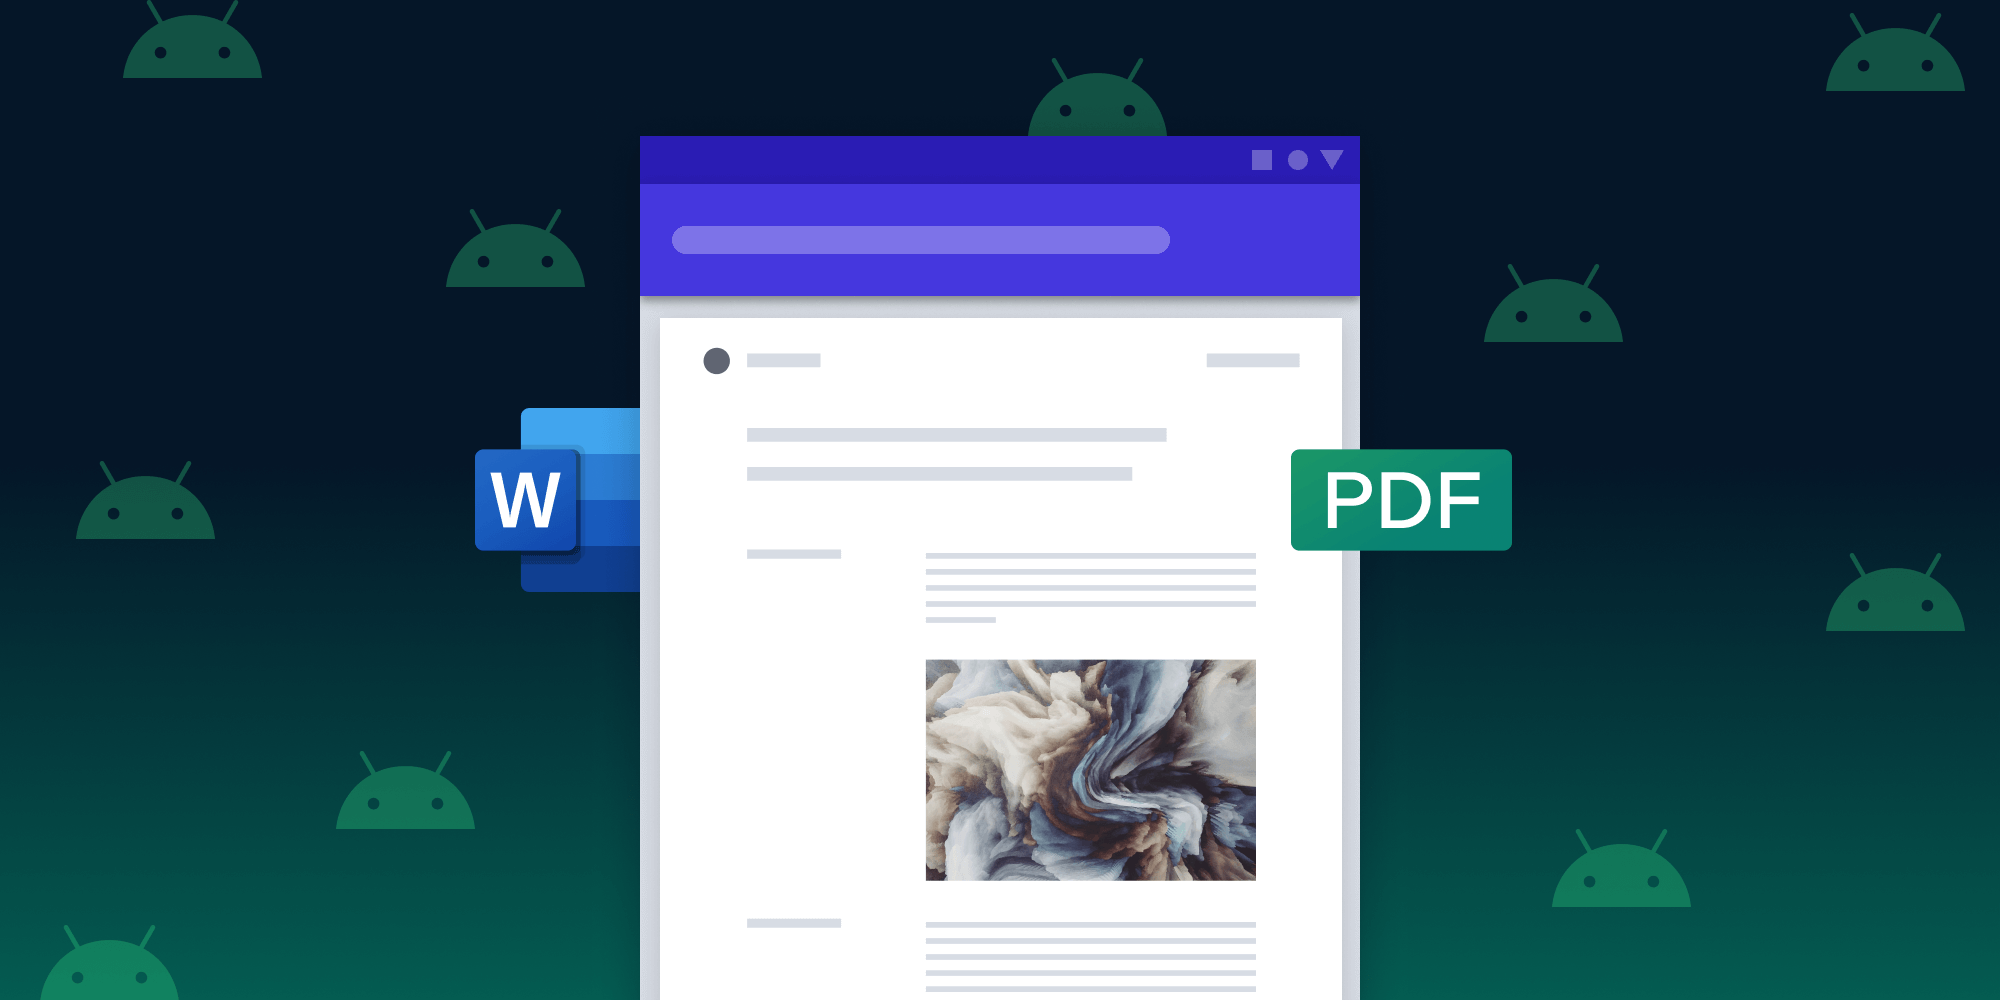
There are often times when users of an application need to programmatically convert an Office document to PDF. So in this post, we’ll take a look at how to use the PSPDFKit for Android SDK to convert a Word document to PDF.
Architecture
Word-to-PDF conversion doesn’t happen locally in our Android SDK. Instead, PSPDFKit for Android sends a Word document file to a server where the conversion is done, and the resulting PDF document is sent back to the client and automatically displayed.
Requirements
For converting a Word document to a PDF, you need to have the following:
-
A Docker and Docker Compose installation.
-
A running instance of PSPDFKit Server with a version of at least 2020.2.6 for handling document conversion.
-
A license that includes the Office Files component.
-
A way to obtain JSON Web Tokens (JWTs) for use with the mobile conversion API. As described here, this can be a separate service providing the tokens.
Generating Private and Public Keys
The first step is to generate private and public keys. These keys are needed to secure communication between your Android client and the server. The private key (jwtRS256.key) is used to sign the JWT on the Android client, while the public key (jwtRS256_pub.pem) is used to validate the JWT signatures on the server. To generate the key pair, go to your terminal and run the following commands:
ssh-keygen -t rsa -b 4096 -f jwtRS256.key
# Enter your passphrase.

# Get the public key in PEM format:
openssl rsa -in jwtRS256.key -pubout -outform PEM -out jwtRS256_pub.pem

# If the above command fails because newer versions of `ssh-keygen` output a different format,
# convert the key to PEM like this and then repeat the `openssl` command.
ssh-keygen -p -m PEM -t rsa -b 4096 -f jwtRS256.key
openssl rsa -in jwtRS256.key -pubout -outform PEM -out jwtRS256_pub.pem
The generated keys can now be found in the path where the commands were executed from. For more details about the public and private keys, see here.
PSPDFKit Server Setup
PSPDFKit Server is distributed as a Docker container. To run it on your computer, you need to install Docker for your operating system. Create a docker-compose.yml file in any location on your computer, and paste the code below:
version: '3.8'

services:
   pspdfkit:
      image: pspdfkit/pspdfkit:latest
      environment:
         PGUSER: pspdfkit
         PGPASSWORD: password
         PGDATABASE: pspdfkit
         PGHOST: db
         PGPORT: 5432
         API_AUTH_TOKEN: secret
         SECRET_KEY_BASE: secret-key-base
         JWT_PUBLIC_KEY: |
            -----BEGIN PUBLIC KEY-----
            MIIBIjANBgkqhkiG9w0BAQEFAAOCAQ8AMIIBCgKCAQEA2gzhmJ9TDanEzWdP1WG+
            0Ecwbe7f3bv6e5UUpvcT5q68IQJKP47AQdBAnSlFVi4X9SaurbWoXdS6jpmPpk24
            QvitzLNFphHdwjFBelTAOa6taZrSusoFvrtK9x5xsW4zzt/bkpUraNx82Z8MwLwr
            t6HlY7dgO9+xBAabj4t1d2t+0HS8O/ed3CB6T2lj6S8AbLDSEFc9ScO6Uc1XJlSo
            rgyJJSPCpNhSq3AubEZ1wMS1iEtgAzTPRDsQv50qWIbn634HLWxTP/UH6YNJBwzt
            3O6q29kTtjXlMGXCvin37PyX4Jy1IiPFwJm45aWJGKSfVGMDojTJbuUtM+8P9Rrn
            AwIDAQAB
            -----END PUBLIC KEY-----
         JWT_ALGORITHM: RS256
         DASHBOARD_USERNAME: dashboard
         DASHBOARD_PASSWORD: secret
      ports:
         - 5000:5000
      depends_on:
         - db
   db:
      image: postgres:13.1
      environment:
         POSTGRES_USER: pspdfkit
         POSTGRES_PASSWORD: password
         POSTGRES_DB: pspdfkit
         POSTGRES_INITDB_ARGS: --data-checksums
         PGDATA: /var/lib/postgresql/data/pgdata
      volumes:
         - pgdata:/var/lib/postgresql/data

volumes:
   pgdata:
Replace the JWT_PUBLIC_KEY value with the public key you just created, i.e. the contents of jwtRS256_pub.pem.
Start the server by navigating to the directory with docker-compose.yml in the terminal and run:
docker-compose up
Now that the server is up and running, you’ll create a new Android project using Android Studio and set up your client application.
Generating a JWT
For a production application, the recommended approach is to use a separate service to generate JWTs that will be used with the mobile conversion API. However, for demonstration purposes, you’ll embed the private key used for signing the JWT in your app and generate the JWTs in the app directly.
The first step is to add JJWT and OkHttp to your application dependencies inside your application’s Gradle file.
-
Add the JJWT dependency:
api 'io.jsonwebtoken:jjwt-api:0.11.2'
runtimeOnly 'io.jsonwebtoken:jjwt-impl:0.11.2'
runtimeOnly('io.jsonwebtoken:jjwt-orgjson:0.11.2') {
   exclude group: 'org.json', module: 'json' // Provided by Android natively.
}-
Add the OkHttp dependency:
implementation("com.squareup.okhttp3:okhttp:4.9.0")Configure ProGuard as follows:
-keepattributes InnerClasses

-keep class io.jsonwebtoken.** { *; }
-keepnames class io.jsonwebtoken.* { *; }
-keepnames interface io.jsonwebtoken.* { *; }

-keep class org.bouncycastle.** { *; }
-keepnames class org.bouncycastle.** { *; }
-dontwarn org.bouncycastle.**
Now, use the private key you generated to sign your JWT. Inside the string.xml file, add another string named jwt_private_key, set its value to be your private key (contents of jwtRS256.key), and remove the -----BEGIN RSA PRIVATE KEY----- and -----END RSA PRIVATE KEY----- parts. Only the Base64-encoded key will remain.
Use the code below to parse the private key into a format you’ll use to sign your JWT:
private fun preparePrivateKey(): PrivateKey {
    // First parse the private key that you'll use to sign the JWT.
    val base64PrivateKey = getString(R.string.jwt_private_key)
    val binaryPrivateKey = Base64.decode(base64PrivateKey, Base64.DEFAULT)
    val spec = PKCS8EncodedKeySpec(binaryPrivateKey)
    val keyFactory = KeyFactory.getInstance("RSA")
    return keyFactory.generatePrivate(spec)
}
⚠️ Warning: For production applications, we recommend using a separate service for token generation. Generating JWTs inside the client app could make your private key vulnerable to reverse engineering. For more information, see here.
You’ll also need the methods below to convert the bytes of your Word document file into a SHA-256, which will be part of your JWT:
private fun generateSha256(bytes: ByteArray): String {
    try {
        val digest = MessageDigest.getInstance("SHA-256")
        val hash = digest.digest(bytes)
        return bytesToHexString(hash)
    } catch (e: Exception) {
        e.printStackTrace()
    }
    return ""
}

private fun bytesToHexString(bytes: ByteArray): String {
    val sb = StringBuffer()
    for (i in bytes.indices) {
        val hex = Integer.toHexString(0xFF and bytes[i].toInt())
        if (hex.length == 1) {
            sb.append('0')
        }
        sb.append(hex)
    }
    return sb.toString()
}
Your private key and SHA-256 are now ready, so you can finally generate the JWT by calling the method below and passing a Word document file as a parameter:
private fun generateJWT(wordDocument: File): String {
    // Now create the actual JWT.
    // Set the expiration for five minutes in the future.
    val claims = Jwts.claims().setExpiration(Date(Date().time + 5 * 60 * 1000))

    // Put in your SHA-256.
    claims["sha256"] = generateSha256(wordDocument.readBytes())

    val privateKey = preparePrivateKey()

    // And finally sign the JWT and return it.
    return Jwts.builder().setClaims(claims).signWith(
        privateKey, SignatureAlgorithm.RS256
    ).compact()
}
Now that your JWT is set up, the next step is to do the actual conversion to PDF.
The Conversion
You’ll use the OfficeToPdfConverter class to do the conversion. Call the OfficeToPdfConverter#fromUri() method and pass in the current context, Word document URI, server URI, and JWT, as shown in the example code below:
private fun convertWordToPdf(wordDocument: File) {
   val jwt = generateJWT(wordDocument)
   OfficeToPdfConverter.fromUri(
       this,
       wordDocument.toUri(),
       // Replace "localhost" with the IP address of your computer
       // if you're testing with a physical device.
       Uri.parse("http://localhost:5000/"),
       jwt
   )
   .convertToPdfAsync()
   .observeOn(AndroidSchedulers.mainThread())
   .subscribe { file: File?, throwable: Throwable? ->
       if (file != null) {
           showDocument(
               this,
               Uri.fromFile(file),
               PdfActivityConfiguration.Builder(this).build()
           )
       } else throwable?.printStackTrace()
   }
}
Once the conversion on the server is complete, the resulting PDF document will be sent back to the client and automatically displayed with a PDFActivity.
Conclusion
In this blog post, we looked at how to convert an Office document to PDF with the PSPDFKit for Android SDK and PSPDFKit Server. For more details about converting Office documents to PDF, see the PSPDFKit Android guides.
Julius joined PSPDFKit in 2021 as an Android engineer and is now the Cross-Platform Team Lead. He has a passion for exploring new technologies and solving everyday problems. His daily tools are Dart and Flutter, which he finds fascinating. Outside of work, he enjoys movies, running, and weightlifting.