Filtering Tests in Android

In Java, “an annotation is a form of syntactic metadata that can be added to Java source code,” which means that annotations are also heavily used in Android. And one interesting place where the power of annotations can be used is in Android tests.
This article will cover some of the annotations available in the Android test filters support library, as well as share some examples of how you can create and use your own annotations to benefit your testing needs.
Android Test Filters Support Library
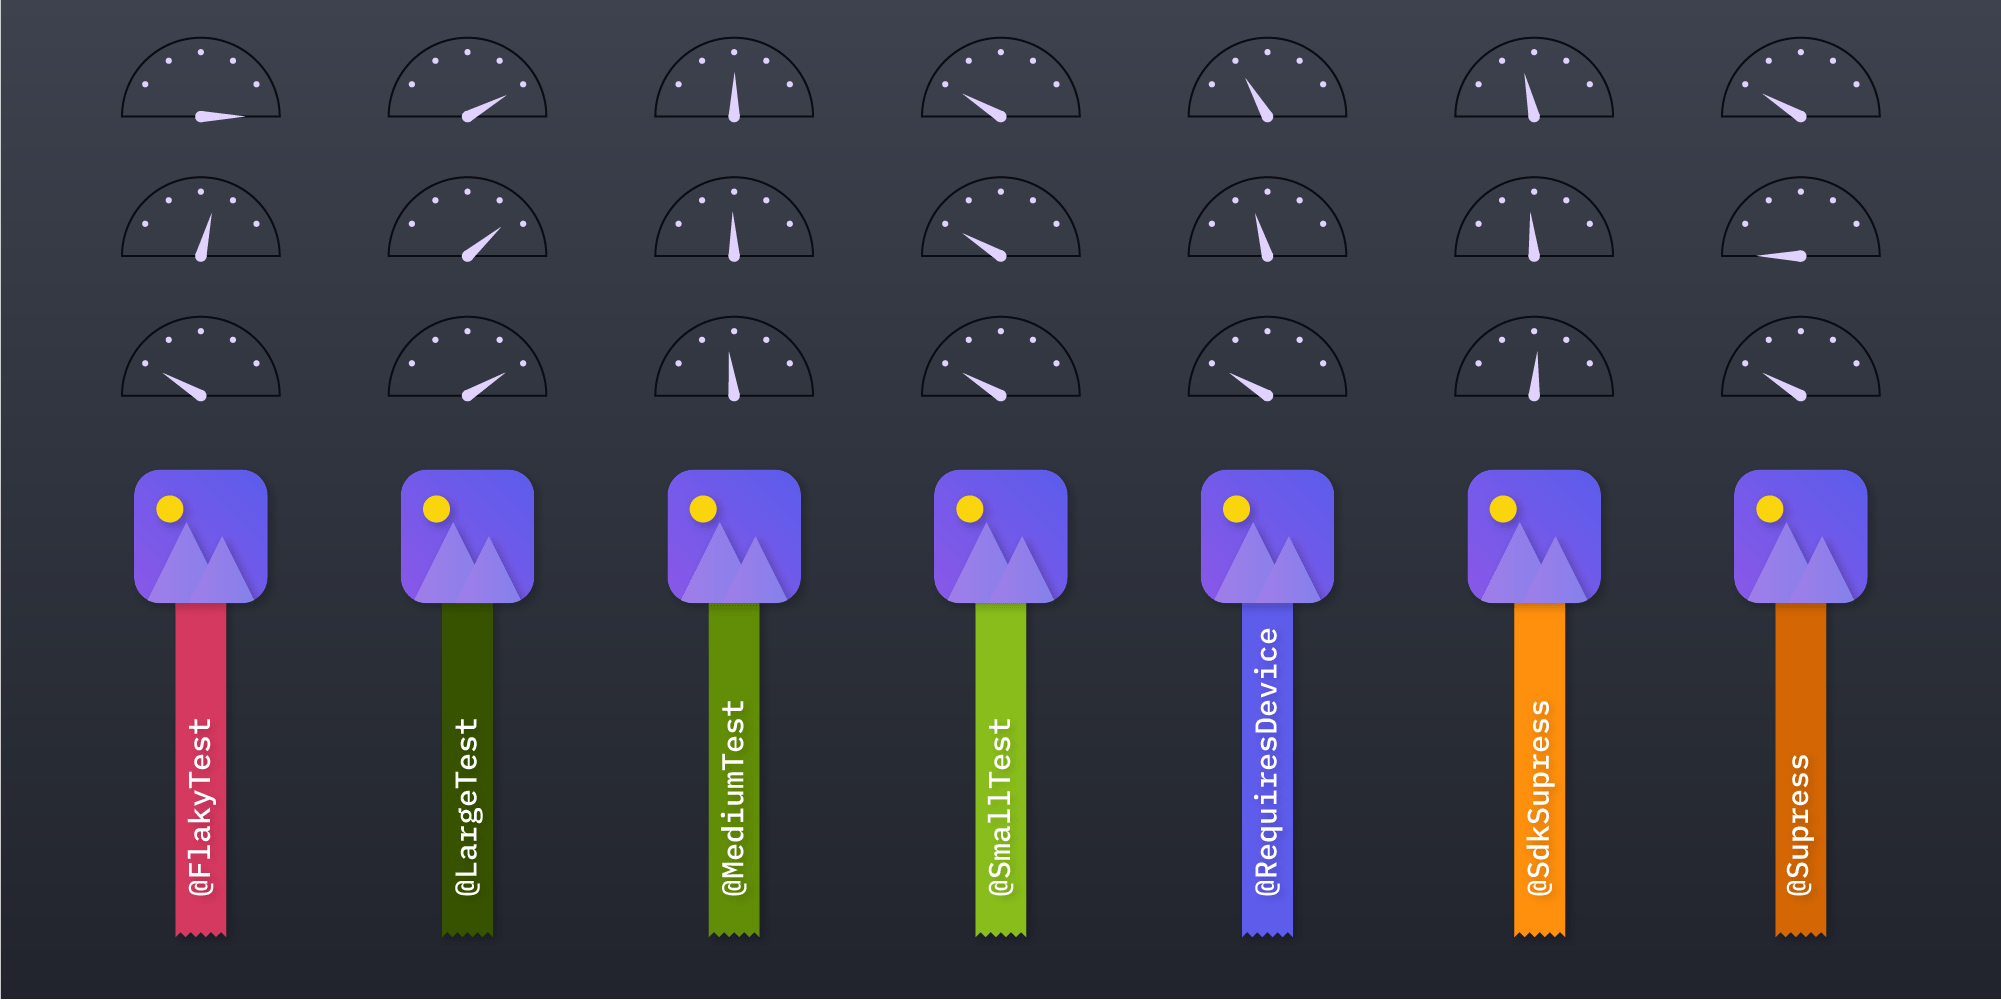
At the time of writing, the Android test filters support library contains seven different annotations that you can add to your tests to filter the methods you are testing. This allows you to create your own specific test suites. Using information from the Android documentation, let’s first analyze the provided annotations and how they can be used.
-
@FlakyTestis used to mark a test as being flaky (unstable). It allows you to specify a bug ID number and a description of the problem (why the test is flaky). -
@LargeTestis used to assign a large test size qualifier to a test. This annotation can be used at a method level or a class level. Large tests are those that test the overall functionality of an application’s components. Basically every test that executes for longer than one second should be considered a large test. -
@MediumTestis used to assign a medium test size qualifier to a test. These tests should be focused on testing a very limited set of components, and they usually last less than one second. Any blocking operations — such as network access — should be avoided, and mocks should be used instead. Resource access to the file system through well-defined interfaces like databases,ContentProviders, orContextis permitted. -
@SmallTestis used to assign a small test size qualifier to a test. These tests are expected to run in less than 200 ms. This annotation should be used exclusively with unit tests. These tests should not: have any resource access, interact with the hardware, make binder calls, or instantiate Android instrumentation. They should focus on units of code to verify specific logical conditions. -
@RequiresDeviceis used to indicate the tests should not be run on the emulator, but rather on a real device. -
@SdkSupressindicates that a specific test or class requires a minimum or maximum API level to execute, and that tests that are suppressed for the particular SDK level will not be executed. -
@Supressis used to mark test methods or classes that shouldn’t be executed. If using JUnit 4, you can use its equivalent, the@Ignoreannotation, instead.
Using Filters When Running Tests
In order to use the test filters, you have to set up the test execution through Android Debug Bridge (adb). To run the test manually through adb, build your project and install the test .apk files on the device you’re about to test on. You can achieve this via Gradle:
./gradlew installDebugAndroidTest
Now that the tests are installed, you can run tests using the adb. To run all instrumentation tests:
adb shell am instrument -w -r com.pspdfkit.testlab.test/androidx.test.runner.AndroidJUnitRunner
As you can see, we need to specify our test package and the default Android JUnit runner.
To specify additional options, we can use the -e flag. The am instrument tool passes testing options to AndroidJUnitRunner or InstrumentationTestRunner in the form of key-value pairs, using the -e flag, with the following syntax:
-e <key> <value>
Let’s go through some of the keys and see how we can utilize them.
package
Use package to run tests only for the specified package:
adb shell am instrument -w -r -e package 'com.pspdfkit.testlab' com.pspdfkit.testlab.test/androidx.test.runner.AndroidJUnitRunnerclass
Use class to run tests only for a particular class:
adb shell am instrument -w -r -e class 'com.pspdfkit.testlab.ExampleInstrumentedTest' com.pspdfkit.testlab.test/androidx.test.runner.AndroidJUnitRunnerYou can even run a particular test method:
adb shell am instrument -w -r -e class 'com.pspdfkit.testlab.ExampleInstrumentedTest#useAppContext' com.pspdfkit.testlab.test/androidx.test.runner.AndroidJUnitRunnerRun tests on all but a particular class:
adb shell am instrument -w -r -e notClass 'com.pspdfkit.testlab.ExampleInstrumentedTest' com.pspdfkit.testlab.test/androidx.test.runner.AndroidJUnitRunnersize
Following the previously mentioned annotations, there are commands for executing particular test methods marked with the test annotations. For the sizes @LargeTest, @MediumTest, and @SmallTest, we have corresponding size values: large, medium, and small, respectively. So for example, say we execute the following:
adb shell am instrument -w -r -e size large com.pspdfkit.testlab.test/androidx.test.runner.AndroidJUnitRunner
This will run all test methods marked with @LargeTest.
annotation
With annotation, we can even create our own test annotation:
package com.pspdfkit.testlab;

public @interface MyCustomTest {
}
And if we mark some of our test methods with that annotation, we can run those tests via the following:
adb shell am instrument -w -r -e annotation 'com.pspdfkit.testlab.test.MyCustomTest' com.pspdfkit.testlab.test/androidx.test.runner.AndroidJUnitRunnerOr we can run all the tests that don’t contain that annotation:
adb shell am instrument -w -r -e notAnnotation 'com.pspdfkit.testlab.test.MyCustomTest' com.pspdfkit.testlab.test/androidx.test.runner.AndroidJUnitRunnerConclusion
The information covered above is just an example of the API that you can use to manipulate test execution on Android, and you can use this as a base when writing more complex setups. You can also use Gradle to create tasks that will execute particular commands, which will make it so you don’t need to, for example, type all these long commands.
You’ll find examples of typical command usage in the developer guides for AndroidJUnitRunner, which you can then use as quick references when running your tests.
Additionally, there are a lot of possibilities when it comes to manipulating Java/JVM test executions inside the Gradle itself.