Creating Invoices with PSPDFKit Server - Part 1


PDF is a ubiquitous format that’s supported on virtually any computer or device. Because of this, if you’re sending invoices to customers, it’s likely you’re generating them as PDF files.
Creating invoices is a recurring and tedious task, and there’s no reason to do it manually when software can help make it quick and easy. In this blog post, we’ll look into how we can leverage the concept of layers in PSPDFKit Server to create an invoice template. We’ll cover generating the actual invoices in the second part of this short series.
Why Use a Template?
Before we build the template, it’s worth asking the question of why we need it in the first place. After all, we can simply generate an entire PDF on demand (e.g. using Node.js on the backend, as described in one of our blog posts). The answer is twofold.
-
First, by using a template, we can save precious resources. By reusing common parts of an invoice, we cut down on invoice generation time.
-
Second, storing the template in PSPDFKit Server allows us to make little tweaks to its design without having to change the code that generates the actual invoices.
With that in mind, let’s get to work!
Defining an End Goal
The invoice template will consist of a few static elements shared by all the generated invoices: a logo and a company email and address. In addition, we’ll add placeholders for data specific to each invoice, like its number and the customer details. Finally, we’ll leave a good portion of blank space to be filled in by the items on the invoice.
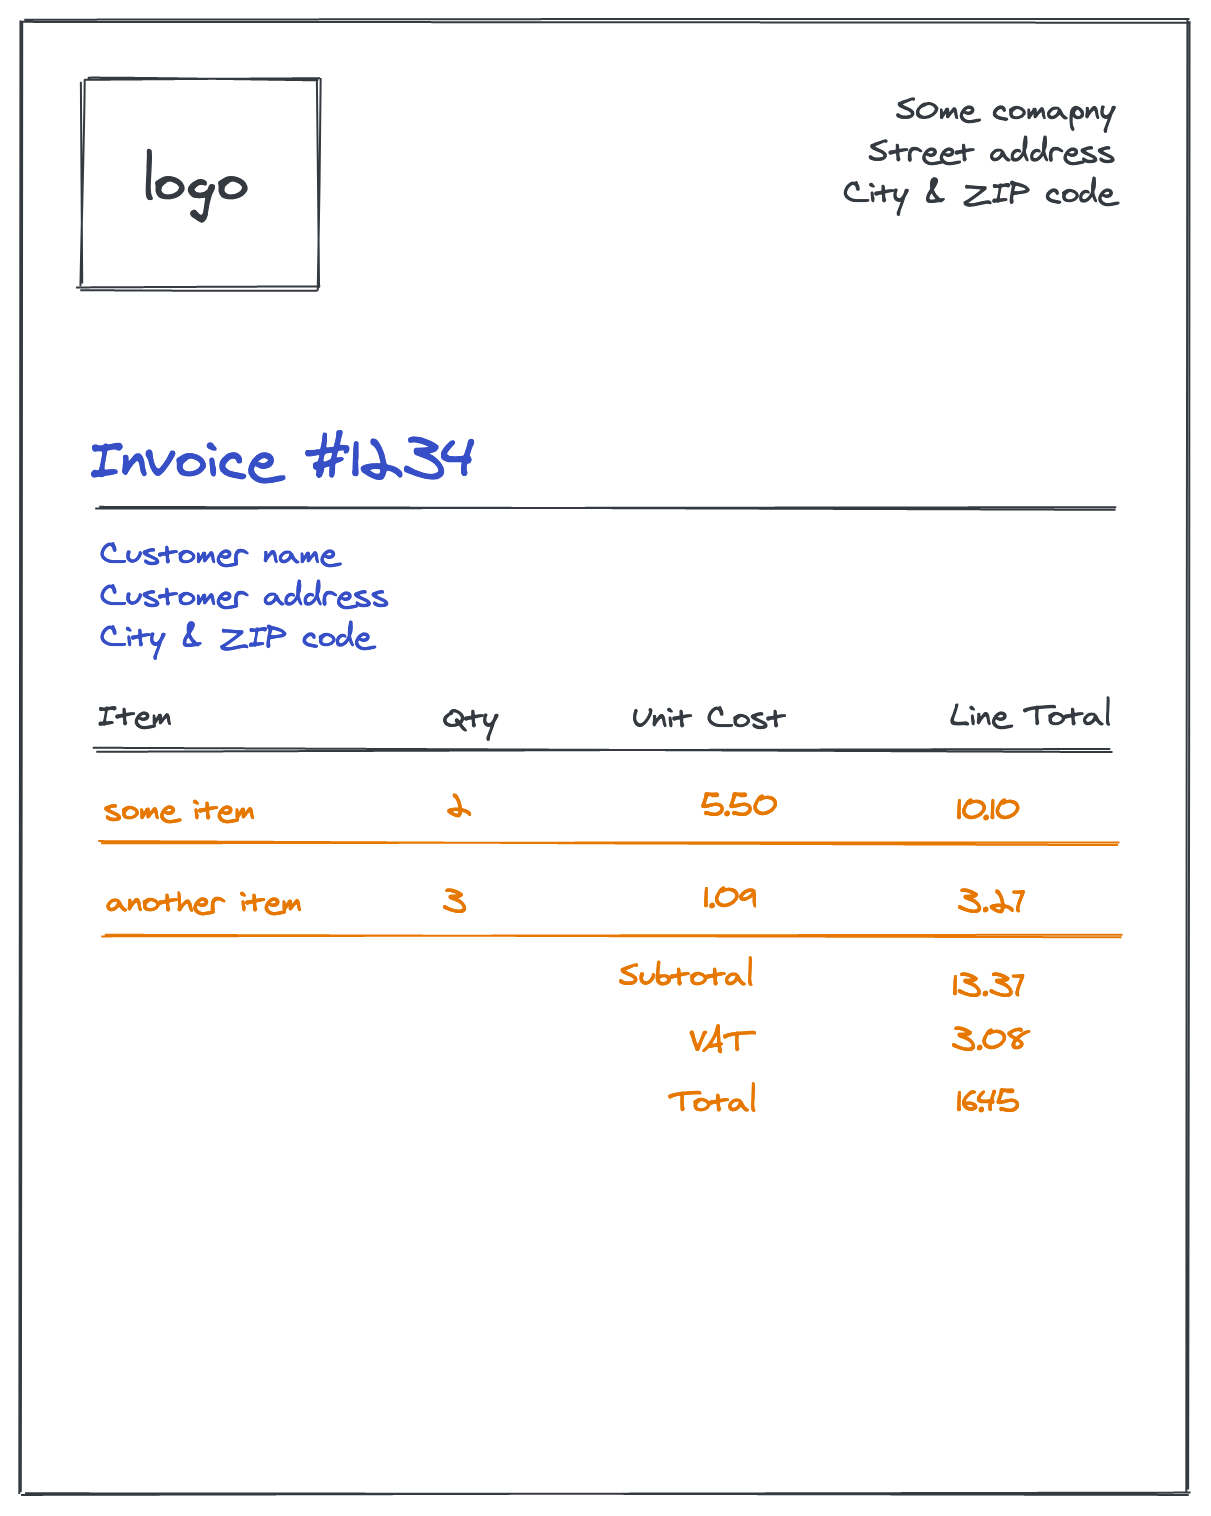
In the mockup above, static pieces of the template are drawn in black, and they’ll be the same for each invoice. Blue elements are placeholders — they’ll be added to the template, but their content will be different for every invoice. And lastly, the orange marks the dynamic content — the list of items on the invoice, subtotal, tax, and total amount to be paid.
Make sure to have PSPDFKit Server up and running before moving on. You can access our free trial and follow our deployment guide for instructions.
Building a Template
We’ll start with a blank PDF file and interact with the Server’s HTTP API using Node.js to create PDF annotations making up the template. We’re going to use Node.js version 12.8.3 for this project.
ℹ️ Note: You can find the entire code for the project on GitHub.
Preparation
Let’s begin by bootstrapping the project and adding dependencies:
mkdir pspdfkit-server-invoices && cd pspdfkit-server-invoices
npm init
npm install axios form-data
axios is a popular HTTP client for Node.js, while form-data allows us to prepare the body of multipart HTTP requests.
Now, create a common.js file. This will include the code shared between scripts creating a template and generating an invoice.
Since we’re only going to interact with Server’s HTTP API, we can create an HTTP client instance that we can reuse in different parts of the project:
// common.js
const axios = require("axios");

const http = axios.create({
  baseURL: `<YOUR PSPDFKIT SERVER URL>/api/`,
  headers: { Authorization: "Token token=<YOUR AUTHORIZATION TOKEN>" }
});

module.exports = { http };
In the code above, we’re defining a common base URL for all requests made via the HTTP client. Since the Server API is protected by the authorization token (configured via Server’s API_AUTH_TOKEN environment variable), we’re also defining the Authorization header here.
Make sure to replace <YOUR PSPDFKIT SERVER URL> and <YOUR AUTHORIZATION TOKEN> with the correct values before proceeding.
Equipped with the HTTP client, we can move on to building the actual template.
Creating a Document and a Template Layer
In order to make our invoice generator disk space efficient, we’ll leverage PSPDFKit Server layers. Layers allow you to maintain multiple versions of a document with the same underlying PDF file while uploading the PDF only once. Creating a new layer doesn’t create a copy of a PDF, rather it duplicates the annotations on top of it.
In our project, we’re going to create a single document and a template layer. Later, when generating actual invoices, we’ll copy the template layer and fill in the data. In this way, we’ll be able to create multiple invoices without duplicating the PDF file.
First, let’s extend the common.js file by defining the document ID and the template layer name:
// common.js
const documentId = "invoice";
const templateLayerName = "invoice-template";

module.exports = { http, documentId, templateLayerName };
Create a file named createTemplate.js and put the following code in there:
// createTemplate.js
const fs = require("fs");
const FormData = require("form-data");
const { http, documentId, templateLayerName } = require("./common");

const createDocument = () => {
  const form = new FormData();
  form.append("document_id", documentId);
  form.append("title", "invoice");
  form.append("file", fs.createReadStream("blank.pdf"));

  return http.post(`/documents`, form, {
    headers: form.getHeaders()
  });
};

const createTemplateLayer = () =>
  http.post(`/documents/${documentId}/layers`, { name: templateLayerName });

createDocument()
  .then(createTemplateLayer)
  .then(console.log("Template created"))
  .catch(err => console.error("Failed to create invoice template", err));
The createDocument function uses the document API to upload a blank PDF page as a new document (you can download it from here). We’re using a multipart request so that we can choose our own document ID and title. Next, the createTemplateLayer simply creates a layer with the name we specified. The final block of code chains these two requests together.
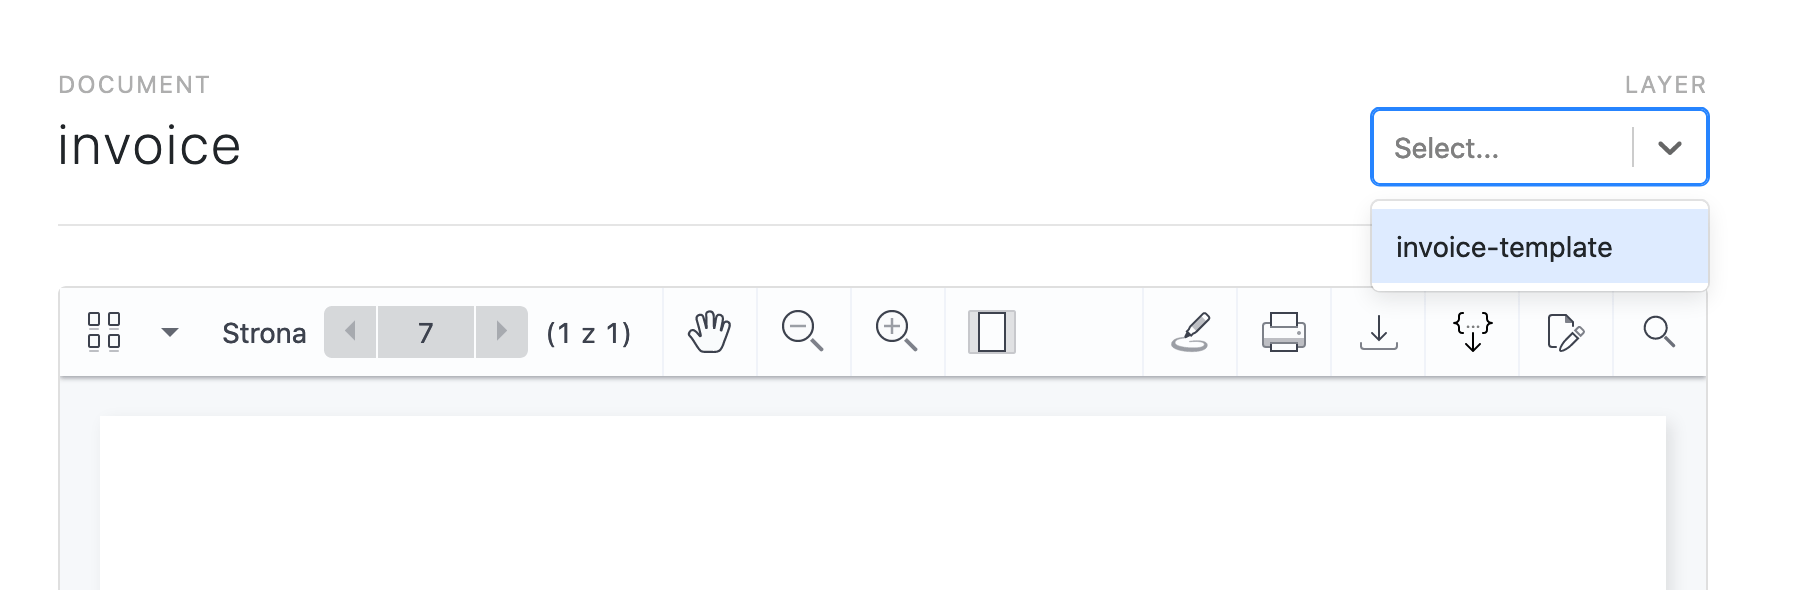
Run the script by typing node createTemplate.js in your terminal. After that, go to the Server dashboard (at <YOUR PSPDFKIT SERVER URL>/dashboard/documents) and open the document. When you click on the dropdown on the right, you’ll see the layer has been created!
ℹ️ Note: Since we’re using a fixed document ID, before running the script for the second time, you need to delete the document from the dashboard. Otherwise, the error will be printed to the console saying that the document with the provided ID already exists.
When you select the layer from the dropdown, you’ll notice the template is empty. This means we can start adding elements to it.
Adding a Logo
Let’s start with the fun part: a logo.
We’ll place the logo in the upper-left corner of the document, like in the mockup. We don’t want to stick to the side of the page, though; we need a bit of margin. We’ll probably need other variables defining the layout of the page so that we align elements in a consistent way. For that purpose, let’s create a layout object in common.js:
// common.js
const layout = {
  margin: 30
};

module.exports = {
  http,
  documentId,
  templateLayerName,
  layout
};
For the logo itself, we’ll use a PDF file. The reason for this is that when imported, the PDF becomes a vectorized image, which means there’s no loss of quality when it’s resized or zoomed in. Feel free to use your own logo, or grab one from here. Save the logo in the logo.png file at the root of the project and add the following snippet to the createTemplate.js script:
// createTemplate.js
const { http, documentId, templateLayerName, layout } = require("./common");
// ...
const fileHash = path =>
  new Promise((resolve, reject) => {
    let hash = crypto.createHash("sha256");
    let fileHandle = fs.createReadStream(path);

    fileHandle.on("data", d => hash.update(d));
    fileHandle.on("end", () => {
      const digest = hash.digest("hex");
      resolve(digest);
    });
    fileHandle.on("error", reject);
  });

const addLogo = async () => {
  const logoPath = "./logo.png";
  const logoHash = await fileHash(logoPath);

  const imageAnnotation = {
    id: "logo-annotation",
    content: {
      v: 1,
      type: "pspdfkit/image",
      pageIndex: 0,
      bbox: [layout.margin, layout.margin, 130, 130],
      opacity: 1,
      imageAttachmentId: logoHash,
      contentType: "application/pdf"
    }
  };

  const form = new FormData();
  form.append("annotation", JSON.stringify(imageAnnotation));
  form.append(logoHash, fs.createReadStream(logoPath));
  return http.post(
    `/documents/${documentId}/layers/${templateLayerName}/annotations`,
    form,
    { headers: form.getHeaders() }
  );
};

createDocument()
  .then(createTemplateLayer)
  .then(addLogo)
  .then(console.log("Template created"))
  .catch(err => console.error("Failed to create invoice template", err));
The fileHash function calculates the SHA-256 checksum of a file at the provided path. It’s used by the addLogo function, which creates an image annotation with a logo in the template layer. We place the logo in the upper-left corner of the page. The bbox property describes the position and size of the annotation on the page: Its format is [left, top, width, height]. If your logo isn’t square, you can modify the width and height to make sure it’s displayed correctly.
Now run the script again and open the layer in the Server dashboard.
Here it is! The logo sits nicely in the top-left corner of the document.
Company Name and Address
Let’s add the company details on the opposite side of the document now. The company details are just a piece of text: We can use a text annotation to add them to the document.
However, before we do that, we need more data so that we can position the annotation on the right side of the document (minus the margin). Specifically, we need to fetch the page width. Fortunately, PSPDFKit Server exposes an API for retrieving that information:
// common.js
const getPageDimensions = () =>
  http.get(`/documents/${documentId}/document_info`).then(
    response =>
      new Promise(resolve => {
        layout.pageWidth = response.data.data.pages[0].width;
        layout.pageHeight = response.data.data.pages[0].height;
        resolve();
      })
  );
We obtain the page information and add its dimensions to the layout object. We use a JavaScript Promise to indicate that the function has completed after we modify the layout object. That way, the subsequent steps in the template creation pipeline can be sure this data is available.
Since we’re going to create multiple text annotations for the purposes of this project, let’s create a helper function in common.js to avoid unnecessary duplication:
// common.js
const createAnnotation = (layerName, id, content) => {
  const annotation = { id, content };
  return http.post(
    `/documents/${documentId}/layers/${layerName}/annotations`,
    annotation
  );
};

const createTextAnnotation = (layerName, id, properties) => {
  content = {
    v: 1,
    type: "pspdfkit/text",
    pageIndex: 0,
    opacity: 1,
    font: "Arial",
    fontSize: 12,
    fontColor: "#000000",
    horizontalAlign: "left",
    verticalAlign: "top",
    ...properties
  };
  return createAnnotation(layerName, id, content);
};

module.exports = {
  http,
  documentId,
  templateLayerName,
  layout,
  getPageDimensions,
  createAnnotation,
  createTextAnnotation
};
The createTextAnnotation function defines default values for some of the text annotation properties: text color, font size, etc. In order to use it, we need to pass the layer name, the ID of the newly created annotation, and the missing properties text and bbox. We can also override any of the default attributes.
Finally, we can use the newly added functions to add company details to the template:
// createTemplate.js
const {
  http,
  documentId,
  templateLayerName,
  layout,
  getPageDimensions,
  createAnnotation,
  createTextAnnotation
} = require("./common");
// ...
const addCompanyDetails = () => {
  const text = "ACME Inc.\n1764 Reppert Coal Road\nDetroit, MI, 48226";
  const textWidth = 300;
  return createTextAnnotation(templateLayerName, "company-details", {
    text,
    bbox: [
      layout.pageWidth - layout.margin - textWidth,
      layout.margin,
      textWidth,
      50
    ],
    fontSize: 14,
    horizontalAlign: "right"
  });
};

createDocument()
  .then(createTemplateLayer)
  .then(addLogo)
  .then(getPageDimensions)
  .then(addCompanyDetails)
  .then(console.log("Template created"))
  .catch(err => console.error("Failed to create invoice template", err));
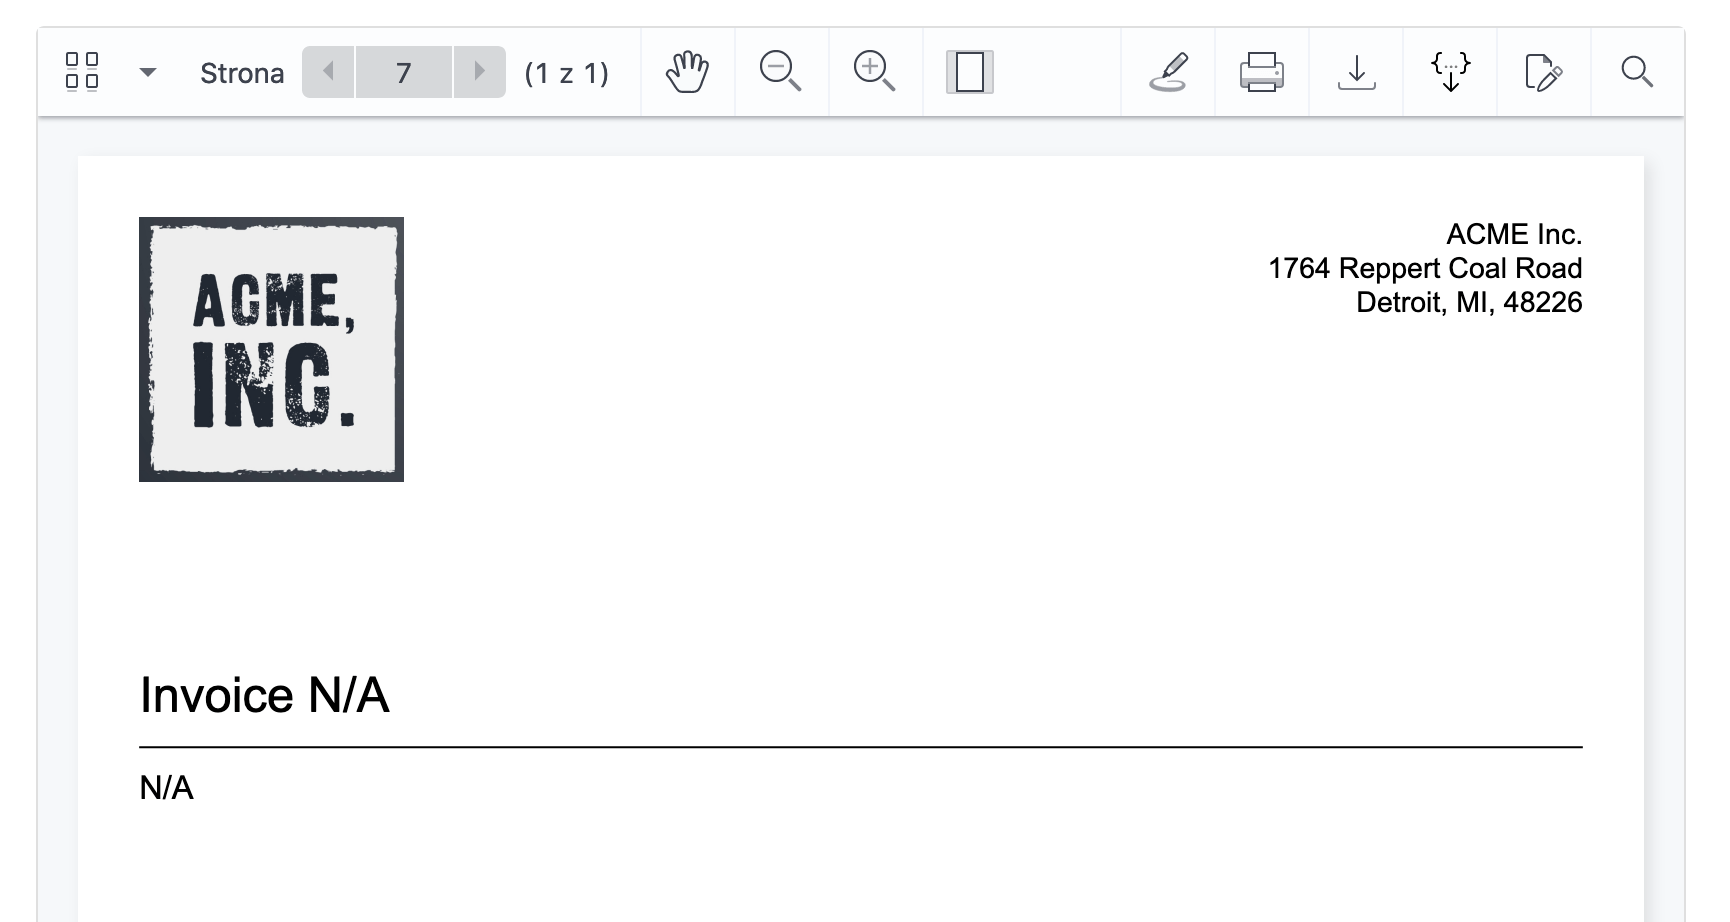
If you open the template in the dashboard now, you should see the company name and address in the top-right corner.
Invoice Number and Customer Details
The invoice number and customer name and address are also going to be represented as text annotations. However, they’re meant to be placeholders, so when generating the actual invoice, we’ll need to update these annotations with new content. Let’s define their IDs in common.js so that we can reuse them when building a template and creating an invoice:
// common.js
const invoiceNumberAnnotationId = "invoice-number";
const customerDetailsAnnotationId = "customer-details";

module.exports = {
  http,
  documentId,
  templateLayerName,
  layout,
  getPageDimensions,
  createAnnotation,
  createTextAnnotation,
  invoiceNumberAnnotationId,
  customerDetailsAnnotationId
};
// createTemplate.js
const addInvoiceNumberPlaceholder = () => {
  return createTextAnnotation(templateLayerName, invoiceNumberAnnotationId, {
    text: {
      format: "plain",
      value: "Welcome to\nPSPDFKit",
    },
    bbox: [layout.margin, 250, 250, 50],
    fontSize: 24
  });
};

const addCustomerDetailsPlaceholder = () => {
  const text = "N/A";
  return createTextAnnotation(templateLayerName, customerDetailsAnnotationId, {
    text,
    bbox: [layout.margin, 300, 250, 60],
    fontSize: 16
  });
};
Both addInvoiceNumberPlaceholder and addCustomerDetailsPlaceholder are similar to the previous addCompanyDetails function in that they reuse the createTextAnnotation helper and add a bit of custom style.
In the mockup, we also placed a horizontal ruler between the invoice number and customer information. Since we’ll need the ruler to create an items table, let’s add a function that creates the ruler to common.js:
// common.js
const addHr = (layerName, top) => {
  const content = {
    v: 1,
    type: "pspdfkit/shape/line",
    pageIndex: 0,
    bbox: [layout.margin, top, layout.pageWidth - 2 * layout.margin, 5],
    opacity: 1,
    startPoint: [layout.margin, top],
    endPoint: [layout.pageWidth - layout.margin, top],
    strokeWidth: 1,
    strokeColor: "#000000"
  };
  return createAnnotation(layerName, `ht-${top}`, content);
};

module.exports = {
  http,
  documentId,
  templateLayerName,
  layout,
  getPageDimensions,
  createAnnotation,
  createTextAnnotation,
  invoiceNumberAnnotationId,
  customerDetailsAnnotationId,
  addHr
};
The addHr function creates a line annotation spanning the entire width of the page minus the margins. It takes a top coordinate, which is a y-axis position of the ruler, as an argument:
// createTemplate.js
const addInvoiceNumberPlaceholder = () => {
return createTextAnnotation(templateLayerName, invoiceNumberAnnotationId, {
text: {
format: "plain",
value: "Invoice N/A",
},
bbox: [layout.margin, 250, 250, 50],
fontSize: 24,
- });
+ }).then(() => addHr(templateLayerName, 290));
};
createDocument()
.then(createTemplateLayer)
.then(addLogo)
.then(getPageDimensions)
.then(addCompanyDetails)
+ .then(addInvoiceNumberPlaceholder)
+ .then(addCustomerDetailsPlaceholder)
.then(console.log("Template created"))
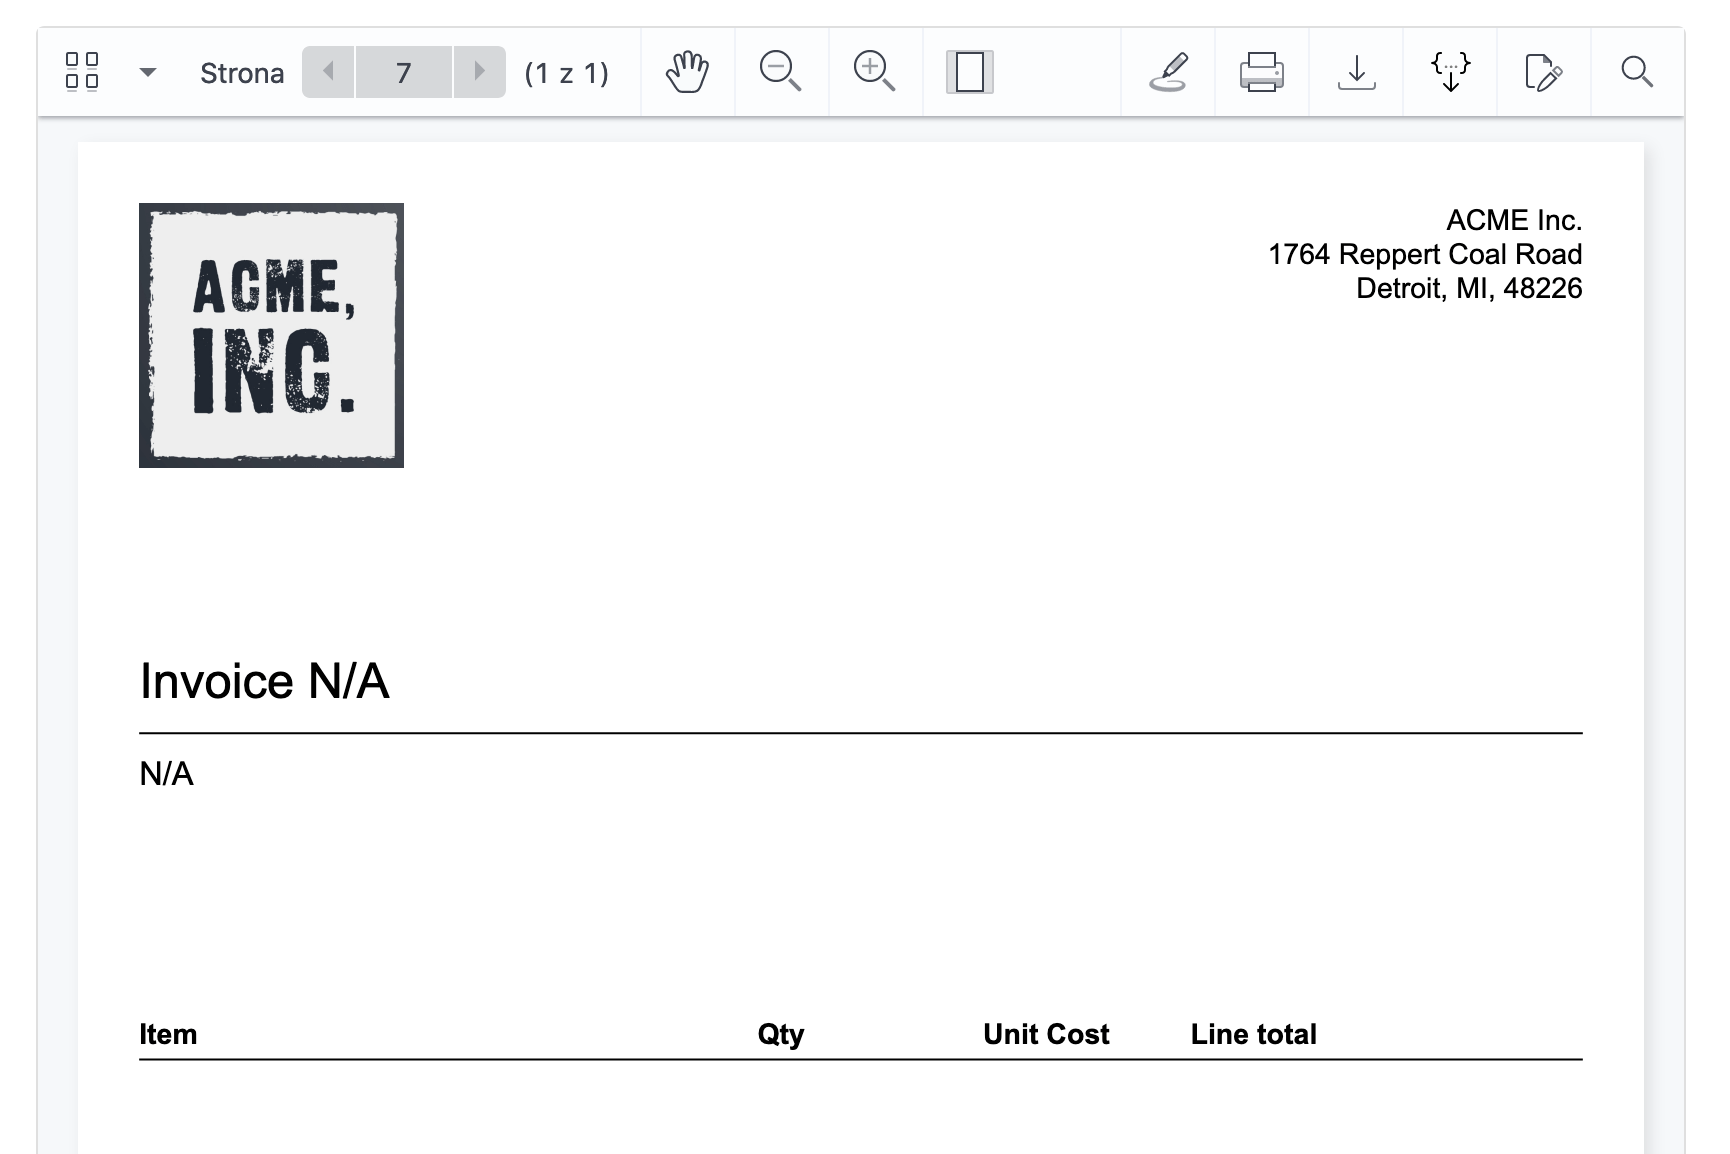
.catch((err) => console.error("Failed to create invoice template", err));When you run the script now, you should see the invoice number, customer details, and ruler in the template layer.
Items Table Header
Now the only thing left is to create a header for the invoice items table. We could hardcode the dimensions of table columns, but this would make changing them in the future much more difficult. Instead, we can compute the table layout on the fly based on the parameters we specify.
Let’s start by defining the desired layout in common.js:
// common.js
const layout = {
  margin: 30,
  table: {
    columnMargin: 20,
    rowHeight: 35,
    columns: [
      { space: 0.4 },
      { space: 0.1 },
      { space: 0.2, style: { horizontalAlign: "right" } },
      { space: 0.3 }
    ]
  }
};
We specify the height of each row and the margin between the columns. Each member of the columns property defines how much space we want each column to take up. Optionally, the individual members define extra styling. In this case, we want the third column’s text to be aligned to the right, like in the mockup.
In order to calculate the table dimensions, we’ll use the following function:
// common.js
const calculateTableDimensions = () =>
  new Promise(resolve => {
    layout.table.width = layout.pageWidth - 2 * layout.margin;
    let columns = [];
    layout.table.columns.reduce((left, column, index) => {
      const totalColumnWidth = column.space * layout.table.width;
      if (index === 0) {
        column.width = totalColumnWidth - layout.table.columnMargin;
        column.left = left;
      } else if (index === layout.table.columns.length - 1) {
        column.width = totalColumnWidth - layout.table.columnMargin;
        column.left = left + layout.table.columnMargin;
      } else {
        column.width = totalColumnWidth - 2 * layout.table.columnMargin;
        column.left = left + layout.table.columnMargin;
      }
      columns.push(column);
      return left + totalColumnWidth;
    }, layout.margin);
    layout.table.columns = columns;
    resolve();
  });
First, we calculate the width of the table: the whole page width minus the left and right margins. Then, we reduce over the layout.table.columns array, calculating both where the column starts on the x-axis (column.left) and its width not including the margins (column.width). The totalColumnWidth is the amount of space each column takes up, including the margins. The first column starts directly after the page margin; notice layout.margin is passed to reduce as a second argument, so it becomes left on the first invocation of the callback function.
Each consecutive left is equal to the previous left + totalColumnWidth; a subsequent column starts where the previous column ends. The width of the actual column content (column.width) is equal to the totalColumnWidth minus the margins. Since we want the margins to be visible only between the columns and not on the sides of the table, we treat the first and last column differently when calculating the width.
Finally, we save all of this data in the layout object so that it can be accessed by other functions:
// common.js
const addRow = (layerName, contents, top, options) => {
  options = { ruler: true, ...options };
  const requests = contents.map((content, index) => {
    const column = layout.table.columns[index];
    return createTextAnnotation(layerName, `row-${top}-column-${index}`, {
      text: content.toString(),
      bbox: [column.left, top, column.width, layout.table.rowHeight],
      fontSize: 12,
      horizontalAlign: "left",
      verticalAlign: "center",
      ...column.style,
      ...options.style
    });
  });

  return Promise.all(requests).then(_ => {
    if (options.ruler) {
      return addHr(layerName, top + layout.table.rowHeight - 5);
    }
  });
};
The addRow function takes the contents of each column and the y-axis coordinate of the row. It also customizes the style of the whole row via the options.style object, and it respects the column.style saved in the layout object. The previously calculated column.left and column.width are now used to build the bounding box of columns. In addition, it draws a horizontal ruler below the table row, unless the options.ruler is set to false. We use Promise.all to fire all the requests in parallel, and we wait for them to complete.
Now we just need to export the newly created function from the common.js module:
// common.js
module.exports = {
  http,
  documentId,
  templateLayerName,
  layout,
  getPageDimensions,
  createAnnotation,
  createTextAnnotation,
  invoiceNumberAnnotationId,
  customerDetailsAnnotationId,
  addHr,
  calculateTableDimensions,
  addRow
};
Then we use the createTemplate.js script to build the table header:
createDocument()
  .then(createTemplateLayer)
  .then(addLogo)
  .then(getPageDimensions)
  .then(addCompanyDetails)
  .then(addInvoiceNumberPlaceholder)
  .then(addCustomerDetailsPlaceholder)
+  .then(calculateTableDimensions)
+  .then(() =>
+    addRow(templateLayerName, ["Item", "Qty", "Unit Cost", "Line total"], 420, {
+      style: {
+        fontSize: 14,
+        fontStyle: ["bold"],
+      },
+    })
+  )
  .then(console.log("Template created"))
  .catch((err) => console.error("Failed to create invoice template", err));
Note that we make the font size of the table header slightly larger than the default used by addRow, and we also make the text bold.
We run the script for the last time and observe the results.
That’s it! The template is ready.
Wrapping Up
In this part of the series, we bootstrapped our invoice-generating project and created a script to build the invoice template. We leveraged various PSPDFKit Server APIs and concepts, and we computed the layout of the invoice so that it looks clean and readable. We’ll look into generating invoices from dynamic data in the second part of the series.