Retaining Objects Using a Fragment
 Reinhard Hafenscher

In previous blog posts, we talked about how to use ViewModels to retain data across configuration changes. We also discussed the importance of properly implementing onSaveInstanceState(). Today, we’ll look at another tool in your arsenal for when it comes to retaining state: the trusty old Fragment.
The Magical Headless Fragment
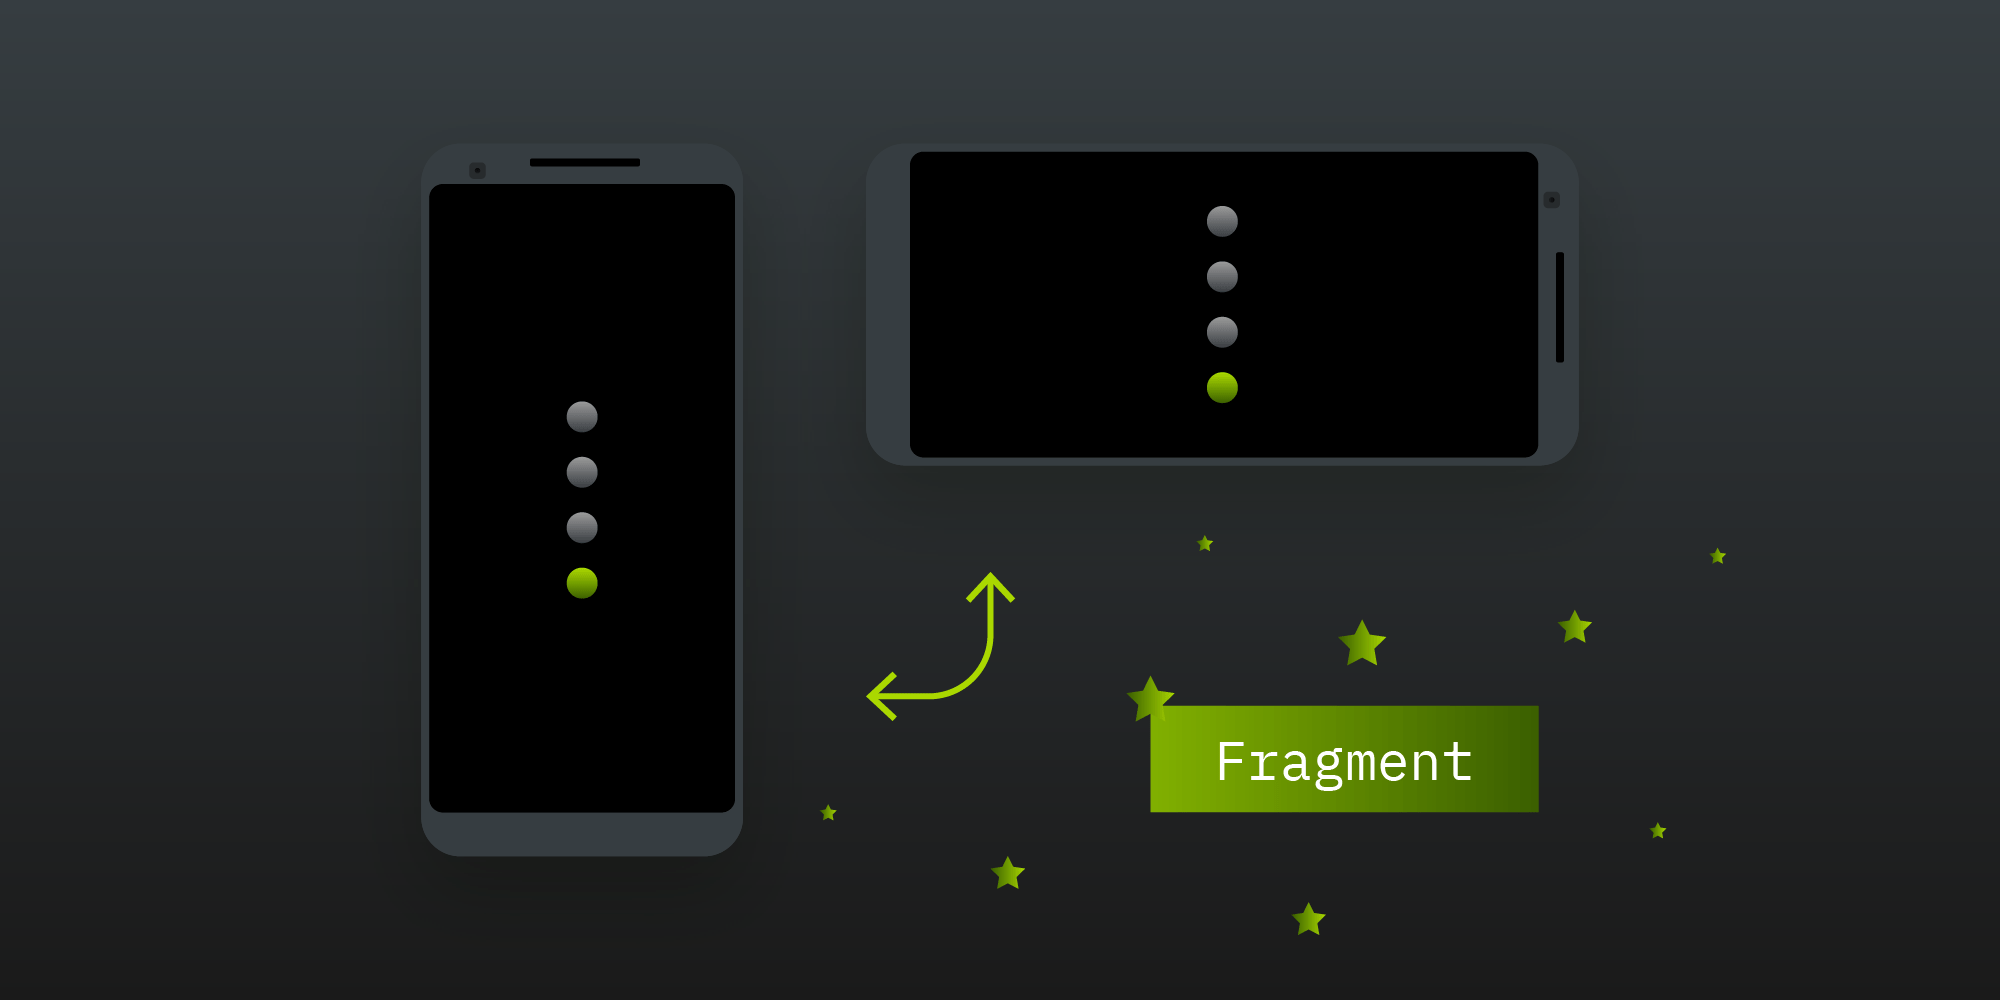
For most people, when they hear Fragment, they think of UI code. But what if I told you that a Fragment doesn’t need a UI? You can create a Fragment that has no UI and just use it to store all the data and long-running tasks you have across configuration changes. This works because when you are using Fragment#setRetainInstance(), your Fragment will not be destroyed when the Activity is destroyed. Let’s take a look at a simple example that will use RxJava to perform a long-running operation we want to retain across configuration changes.
Implementing the Fragment
We’ll start by implementing our Fragment. When doing this, the most important part is setting retainInstance to true:
// This fragment adds `5` to whatever number is passed in as an argument.
class TaskFragment : Fragment() {

    // The activity using this fragment will pass in the number to add
    // to `5`.
    private var numberToAdd: Int = 0

    override fun onCreate(savedInstanceState: Bundle?) {
        super.onCreate(savedInstanceState)
        // Make sure to enable `retainInstance` so the fragment will not be destroyed
        // with the activity.
        retainInstance = true

        // Get the number passed in by the hosting activity.
        numberToAdd = arguments?.getInt(ARGUMENT_NUMBER_TO_ADD, 0) ?: 0
    }

    // The hosting activity will subscribe to this `Single` and display
    // the output.
    val additionToFiveTask: Single<Int> =
        Single.fromCallable {
            5 + numberToAdd
        }
        // We want to simulate this calculation taking a long time.
        .delay(10, TimeUnit.SECONDS)
        // We cache it so that subscribing again after a configuration
        // change returns the result instantly.
        .cache()
        .subscribeOn(Schedulers.computation())

    companion object {
        /** The key for the argument providing the number to add. */
        const val ARGUMENT_NUMBER_TO_ADD = "number_to_add"
    }
}
As you can see, the above looks very similar to any Fragment you already know. The biggest difference is that we don’t implement onCreateView(). By not implementing onCreateView() (returning null would have the same outcome), we tell the system that this Fragment doesn’t have a visual representation and doesn’t need to be attached to the view hierarchy.
The additionToFiveTask is here to show that both the result and running task are actually retained across configuration changes. This could be replaced by anything that you want to retain across configuration changes — for example, loading some data from the web or a database, or performing some complicated computation. Next up is our Activity.
Implementing the Activity
What’s important here is that we make sure to handle the lifecycle of the Activity properly, in addition to making sure we only have one TaskFragment at any time. So let’s get to it:
class TaskActivity : AppCompatActivity() {

    // We store the task fragment so we can access it later.
    private lateinit var taskFragment: TaskFragment

    // We keep track of all running tasks so we can dispose of them
    // when the activity stops. We need to do this since otherwise
    // we might touch the destroyed view hierarchy or leak the
    // activity context.
    private val runningTasks = CompositeDisposable()

    // This is the number we want to add to `5`.
    private val numberToAdd = 3

    override fun onCreate(savedInstanceState: Bundle?) {
        super.onCreate(savedInstanceState)

        // We try to get the existing `TaskFragment`.
        taskFragment = supportFragmentManager.findFragmentByTag(TASK_FRAGMENT_TAG) as TaskFragment? ?:
            // Otherwise, we create a new one and add it to the fragment manager.
            TaskFragment().apply {
                // We need to pass in the number we want to add to `5`.
                val arguments = Bundle()
                arguments.putInt(TaskFragment.ARGUMENT_NUMBER_TO_ADD, numberToAdd)
                setArguments(arguments)
                supportFragmentManager
                    .beginTransaction()
                    .add(this, TASK_FRAGMENT_TAG)
                    .commit()
            }
    }

    override fun onStart() {
        super.onStart()
        // We wait for the result of our long-running task.
        // As soon as the data is fetched once, further calls to
        // `additionToFiveTask` will return the data instantly,
        // even after additional configuration changes.
        runningTasks.add(taskFragment.additionToFiveTask
            .observeOn(AndroidSchedulers.mainThread())
            .subscribe { result, _ ->
                Toast.makeText(this, "5 + $numberToAdd = $result",
                    Toast.LENGTH_SHORT).show()
            })
    }

    override fun onStop() {
        super.onStop()
        // Make sure to dispose of our subscription here so we don't touch
        // the destroyed view hierarchy or leak the activity context.
        runningTasks.dispose()
    }

    companion object {
        const val TASK_FRAGMENT_TAG = "task_fragment"
    }
}
The most interesting part here is making sure to reuse the existing TaskFragment by checking if a Fragment with that tag already exists before creating a new one. Another thing is that we need to wait until onStart to use the TaskFragment. The reason for this is that adding the fragment is not instantaneous. After it’s added, we can call any method on it. In a real application, you would have something more useful than the additionToFiveTask, and you’d also potentially have multiple pieces of data that are retained. Finally, we need to make sure to dispose of our runningTasks in onStop so we don’t leak the current Activity.
How This Works
Let’s go through how this actually works. Once we start our TaskActivity, we’ll create a TaskFragment in the onCreate method of our TaskActivity or obtain an already existing one. Since we set retainInstance to true in the TaskFragment if the activity is rotated, we get back the same instance we created earlier. Now in the onStart of our activity, we subscribe to the additionToFiveTask. If this is the first subscription, we start the operation — in this case, waiting 10 seconds. On the other hand, if the 10 seconds already passed and we rotate the activity, we’ll get the data instantly since we called cache() on our Single. This works because again, our TaskFragment is retained, so even if the activity is destroyed, it still lives on.
Caveats
Now this is all fine and good, but there is one thing you still have to consider: This only works while your application is running. What that means is that you still have to properly implement onSaveInstanceState, because if your application is killed because memory is running out, your retained fragment is also destroyed. In order to prevent losing any important data in such a scenario, implementing onSaveInstanceState is required.
Conclusion
As you can see, using a Fragment to retain objects is just one more tool at your disposal when it comes to retaining objects across configuration changes. Depending on the kind of application you’re writing and the data that needs to be retained, a different way might be appropriate, but simply knowing all available options will allow you to choose the way that best fits your use case.


