This guide walks you through the steps necessary to start Document Engine. It also shows you how to use it to process documents. By the end, you’ll be able to merge two PDF documents into one using Document Engines’s HTTP API via curl.
PSPDFKit Document Engine can be evaluated without a trial license key, but with certain limitations (such as a red watermark added to documents). To evaluate with fewer limitations, get a trial key.
PSPDFKit does not collect any data during your evaluation of the SDK.
Requirements
Document Engine runs on a variety of platforms. The following operating systems are supported:
macOS Ventura, Monterey, Mojave, Catalina, or Big Sur
Ubuntu, Fedora, Debian, or CentOS. Ubuntu and Debian derivatives such as Kubuntu or Xubuntu are supported as well. Currently, 64-bit Intel (x86_64) and ARM (AArch64) processors are supported.
Regardless of your operating system, you’ll need at least 4 GB of RAM.
Installing Docker
Document Engine is distributed as a Docker container. To run it on your computer, you need to install a Docker runtime distribution for your operating system.
Install and start Docker Desktop for Mac. Refer to the Docker website for instructions.
Install and start Docker Desktop for Windows. Refer to the Docker website for instructions.
Install and start Docker Engine. Refer to the Docker website for instructions on how to install it for your Linux distribution.
After you install Docker, use these instructions to install Docker Compose.
Starting Document Engine
First, open your terminal emulator.
Use the terminal emulator integrated with your code editor or IDE. Alternatively, you can use Terminal.app or iTerm2.
Use the terminal emulator integrated with your code editor or IDE. Alternatively, you can use PowerShell.
Use the terminal emulator integrated with your code editor or IDE, or one bundled with your desktop environment.
Now run the following command:
docker run --rm -t -p 5000:5000 -e API_AUTH_TOKEN=secret pspdfkit/document-engine:1.3.0
This command might take a while to run, depending on your internet connection speed. Wait until you see a message like this in the terminal:
[info] 2024-02-05 18:56:45.286 Running Document Engine version 1.3.0
Document Engine is now up and running!
Installing curl
The interaction with Document Engine happens via its HTTP API: You send documents and commands in the request and receive the resulting file in the response. To do this, you’ll first install curl so that it can call the API.
curl is bundled with macOS, so there are no extra steps you need to take to install it.
Go to the curl website and download the curl for 64 bit package.
Create a folder anywhere on your C: drive. Unzip the downloaded package and copy the curl.exe executable from the bin subfolder into the folder you just created.
Open the terminal and switch to the directory where you placed the curl executable:
cd C:\path\to\directory
Now run the .\curl.exe --version command. The output should start with curl 7 — you can ignore the rest of the message.
curl is bundled with most desktop Linux distributions. You can check if it’s installed by running the curl --version command in the terminal. If you get an error, you can install it using your distribution’s package manager:
apt-get update && apt-get install -y curl
dnf install -y curl
Now run the curl --version command. The output should start with curl 7 — you can ignore the rest of the message.
Merging PDFs
Now that everything is set up, you can start using Document Engine to merge PDFs. More specifically, you’ll add a cover page to the existing document.
(Optional) If you don’t have any sample documents, download and use these files: cover.pdf and document.pdf.
Move both files to the same directory (if you’re running on Windows, use the same folder where you placed the curl.exe executable).
Run the command below.
When merging documents, the order of the instruction parts reflects the order you want the final document to be in. In this example, the cover page comes before the rest of the document in the final merged output. This means that the instructions for the /api/build request reflect the parts in that order.
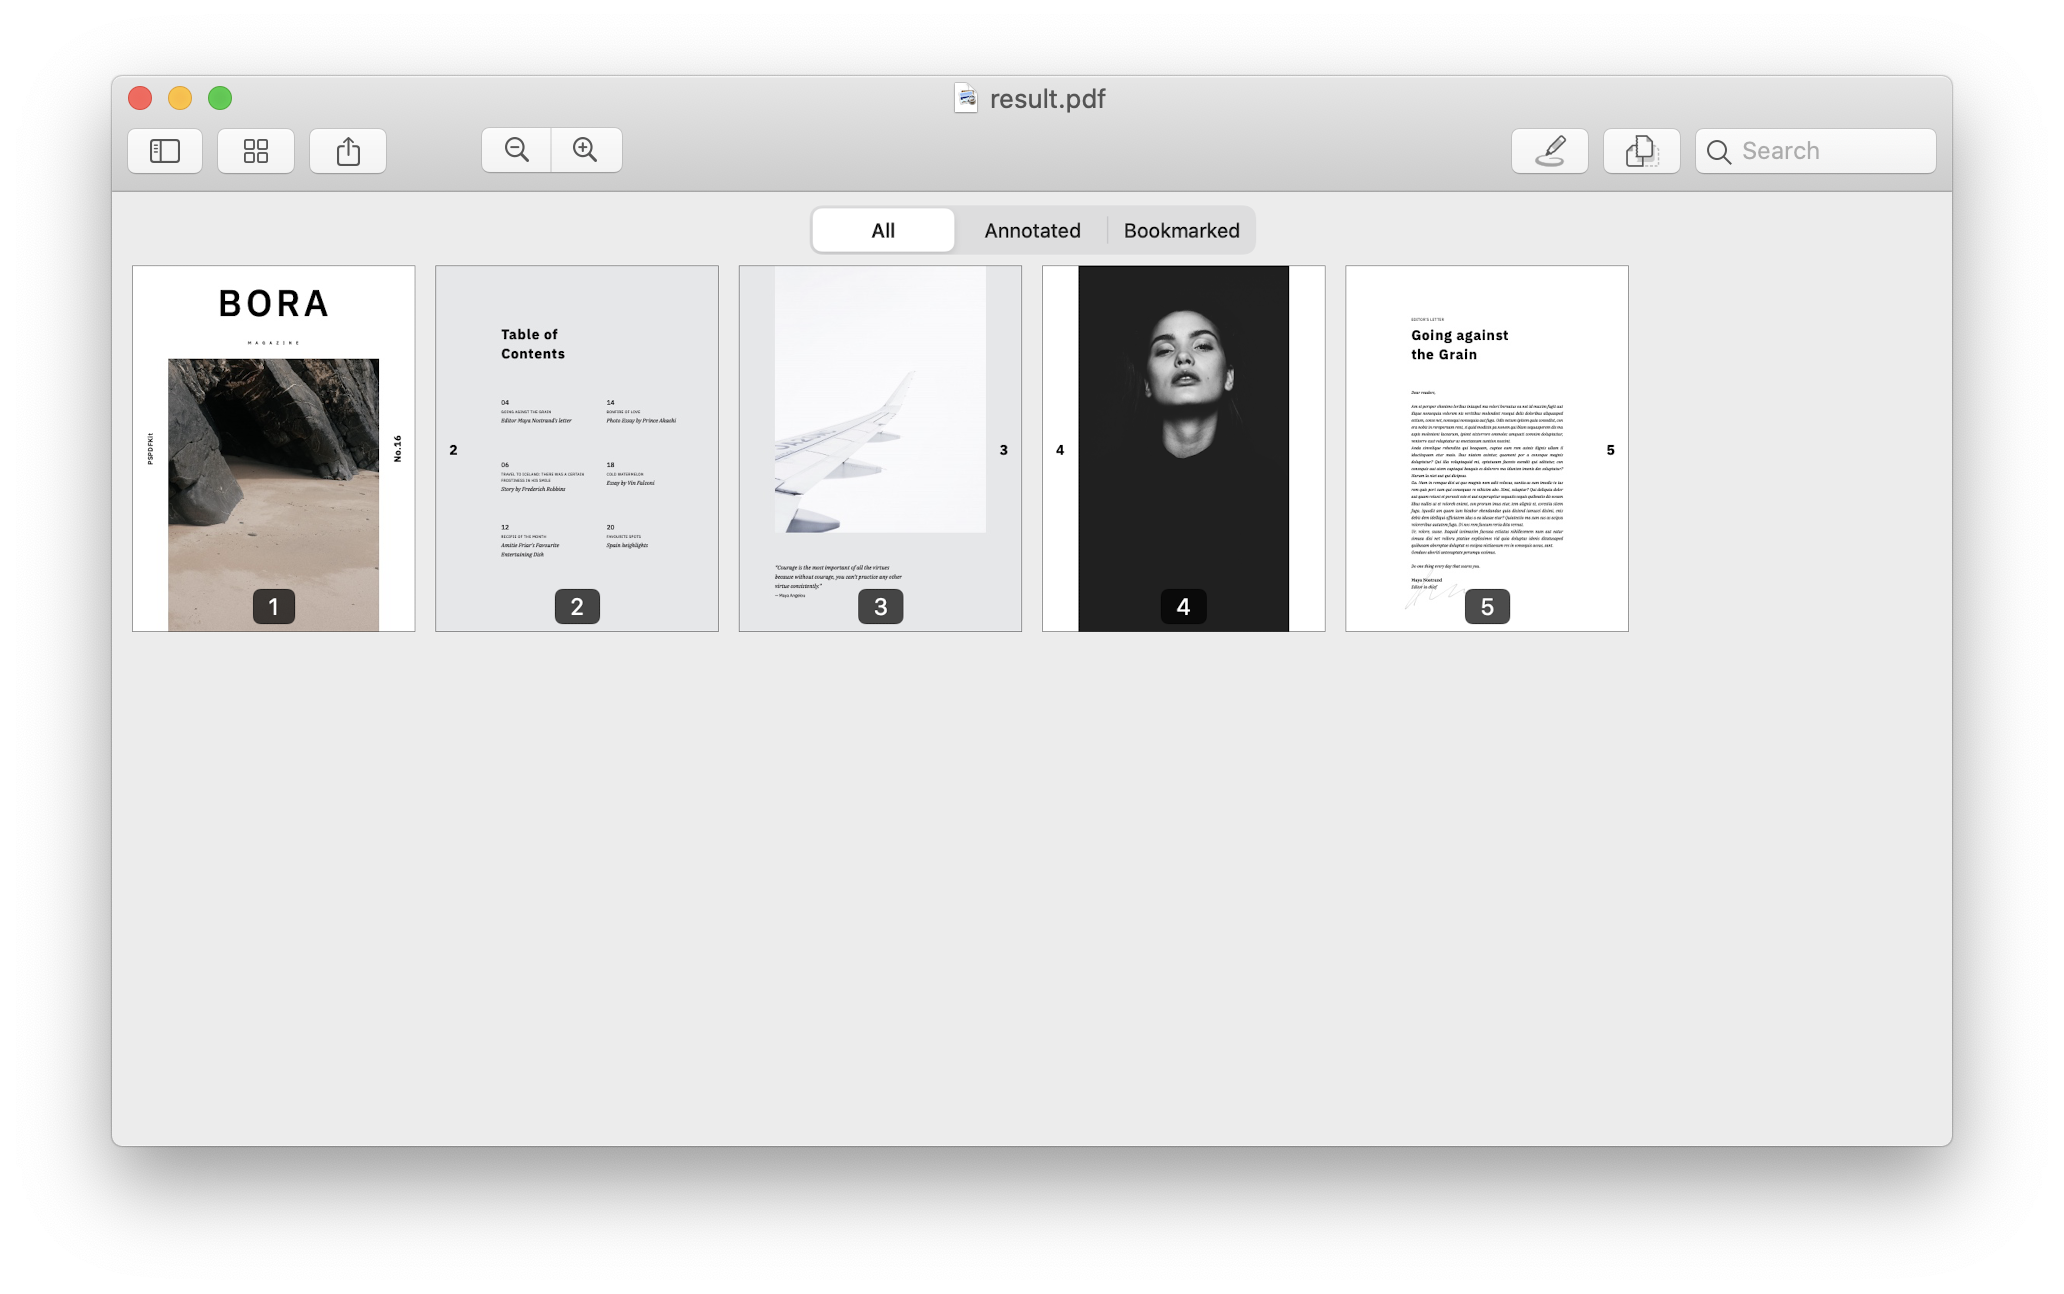
Open the result.pdf file in any PDF viewer — you’ll see a five-page PDF document like what’s shown below.
To learn more about the actions you can perform on documents with Document Engine’s /build endpoint, go to our API Reference.
This guide walks you through the steps necessary to start Document Engine. It also shows you how to use it to process documents. By the end, you’ll be able to merge two PDF documents into one using Document Engine’s HTTP API with Golang.
PSPDFKit Document Engine can be evaluated without a trial license key, but with certain limitations (such as a red watermark added to documents). To evaluate with fewer limitations, get a trial key.
PSPDFKit does not collect any data during your evaluation of the SDK.
Requirements
Document Engine runs on a variety of platforms. The following operating systems are supported:
macOS Ventura, Monterey, Mojave, Catalina, or Big Sur
Ubuntu, Fedora, Debian, or CentOS. Ubuntu and Debian derivatives such as Kubuntu or Xubuntu are supported as well. Currently, 64-bit Intel (x86_64) and ARM (AArch64) processors are supported.
Regardless of your operating system, you’ll need at least 4 GB of RAM.
Installing Docker
Document Engine is distributed as a Docker container. To run it on your computer, you need to install a Docker runtime distribution for your operating system.
Install and start Docker Desktop for Mac. Refer to the Docker website for instructions.
Install and start Docker Desktop for Windows. Refer to the Docker website for instructions.
Install and start Docker Engine. Refer to the Docker website for instructions on how to install it for your Linux distribution.
After you install Docker, use these instructions to install Docker Compose.
Starting Document Engine
First, open your terminal emulator.
Use the terminal emulator integrated with your code editor or IDE. Alternatively, you can use Terminal.app or iTerm2.
Use the terminal emulator integrated with your code editor or IDE. Alternatively, you can use PowerShell.
Use the terminal emulator integrated with your code editor or IDE, or one bundled with your desktop environment.
Now run the following command:
docker run --rm -t -p 5000:5000 -e API_AUTH_TOKEN=secret pspdfkit/document-engine:1.3.0
This command might take a while to run, depending on your internet connection speed. Wait until you see a message like this in the terminal:
[info] 2024-02-05 18:56:45.286 Running Document Engine version 1.3.0
Document Engine is now up and running!
Installing Golang
The interaction with Document Engine happens via its HTTP API. Documents and commands are sent in API request calls, and the resulting files are received in API response calls. API calls are invoked from the Go package, so you need to install Golang.
Go to any directory in your system using your terminal. Create a new directory called merging-pdfs and go to the newly created directory:
mkdir merging-pdfs
cd merging-pdfs
Create a new go module by running the command below from the merging-pdfs directory. Replace YOUR-GITHUB-USERNAME with your actual GitHub username:
go mod init github.com/YOUR-GITHUB-USERNAME/merging-pdfs
Create a new file in the directory called merge.go and add the following content:
package main

import "fmt"

func main() {
  fmt.Println("Hello World")
}
Run the file from your terminal with go run merge.go to make sure everything is working properly.
Merging PDFs with Golang
If you don’t have any sample documents, download and use these files: cover.pdf and document.pdf
Replace the contents of the merge.go file with the code below.
Replace /path/to/cover.pdf in lines 37 and 46, and replace /path/to/document.pdf in lines 59 and 68 with the actual paths to the example documents on your machine:
To run the code, ensure you’re in the merging-pdfs directory and type the following command in your terminal:
go run merge.go
Most of this code, up until the client.Do(req) statement, constructs a multipart request that’s sent to Document Engine. It includes two files — in this case, cover and document — and a list of instructions for Document Engine.
By default, Document Engine’s output for the /api/build endpoint is the result of merging all input documents or parts of the instructions.
The result of this code is a merged result.pdf file in the merging-pdfs directory.
To learn more about the various actions you can apply to PDFs using Document Engine, go to Document Engine’s API Reference.
This guide walks you through the steps necessary to start Document Engine. It also shows you how to use it to process documents. By the end, you’ll be able to merge two PDF documents into one using Document Engine’s HTTP API from PHP.
PSPDFKit Document Engine can be evaluated without a trial license key, but with certain limitations (such as a red watermark added to documents). To evaluate with fewer limitations, get a trial key.
PSPDFKit does not collect any data during your evaluation of the SDK.
Requirements
Document Engine runs on a variety of platforms. The following operating systems are supported:
macOS Ventura, Monterey, Mojave, Catalina, or Big Sur
Ubuntu, Fedora, Debian, or CentOS. Ubuntu and Debian derivatives such as Kubuntu or Xubuntu are supported as well. Currently, 64-bit Intel (x86_64) and ARM (AArch64) processors are supported.
Regardless of your operating system, you’ll need at least 4 GB of RAM.
Installing Docker
Document Engine is distributed as a Docker container. To run it on your computer, you need to install a Docker runtime distribution for your operating system.
Install and start Docker Desktop for Mac. Refer to the Docker website for instructions.
Install and start Docker Desktop for Windows. Refer to the Docker website for instructions.
Install and start Docker Engine. Refer to the Docker website for instructions on how to install it for your Linux distribution.
After you install Docker, use these instructions to install Docker Compose.
Starting Document Engine
First, open your terminal emulator.
Use the terminal emulator integrated with your code editor or IDE. Alternatively, you can use Terminal.app or iTerm2.
Use the terminal emulator integrated with your code editor or IDE. Alternatively, you can use PowerShell.
Use the terminal emulator integrated with your code editor or IDE, or one bundled with your desktop environment.
Now run the following command:
docker run --rm -t -p 5000:5000 -e API_AUTH_TOKEN=secret pspdfkit/document-engine:1.3.0
This command might take a while to run, depending on your internet connection speed. Wait until you see a message like this in the terminal:
[info] 2024-02-05 18:56:45.286 Running Document Engine version 1.3.0
Document Engine is now up and running!
Installing PHP
The interaction with Document Engine happens via its HTTP API: You send documents and commands in the request and receive the resulting file in the response. To do this, you’ll invoke the API from the PHP script. But first, you need to install PHP for your operating system:
The easiest way to install PHP on macOS is via Homebrew. Follow the instructions on the Homebrew website to install it. Then, to install PHP, run:
brew install php@7.4 && brew link php@7.4
Verify the installation by running the following command in the terminal:
php --version
The output should start with PHP 7.4 — you can ignore the rest of the message.
ℹ️ Note: If the output doesn’t match the above, try restarting your terminal app by typing exit and opening it again.
Download the PHP ZIP archive from the PHP website (pick the x86 Thread Safe build of the 7.4 release).
Create a folder anywhere on your C: drive.
Extract the ZIP archive into the folder you just created.
Open the terminal and switch to that folder:
cd C:\path\to\directory
Now run the .\php.exe --version command. The output should start with PHP 7.4 — you can ignore the rest of the message.
To proceed, you’ll also need to create a PHP configuration file to enable a specific extension. So in the same directory, create a php.ini file with the following content:
[PHP]
extension=curl
Save the file, as you’ll need it shortly.
You can install PHP using your distribution’s package manager:
apt-get update && apt-get install -y php
dnf install -y php
Now run the php --version command. The output should start with PHP 7.4 — you can ignore the rest of the message.
Handling File Uploads
In this example project, the PDF files you’ll merge will be uploaded through a simple webpage via a standard HTML form. Create a file called index.php with the following content:
Now open the terminal and type the following command in the same directory where you created the index.php file:
php -S localhost:8000
.\php.exe -c php.ini -S localhost:8000
php -S localhost:8000
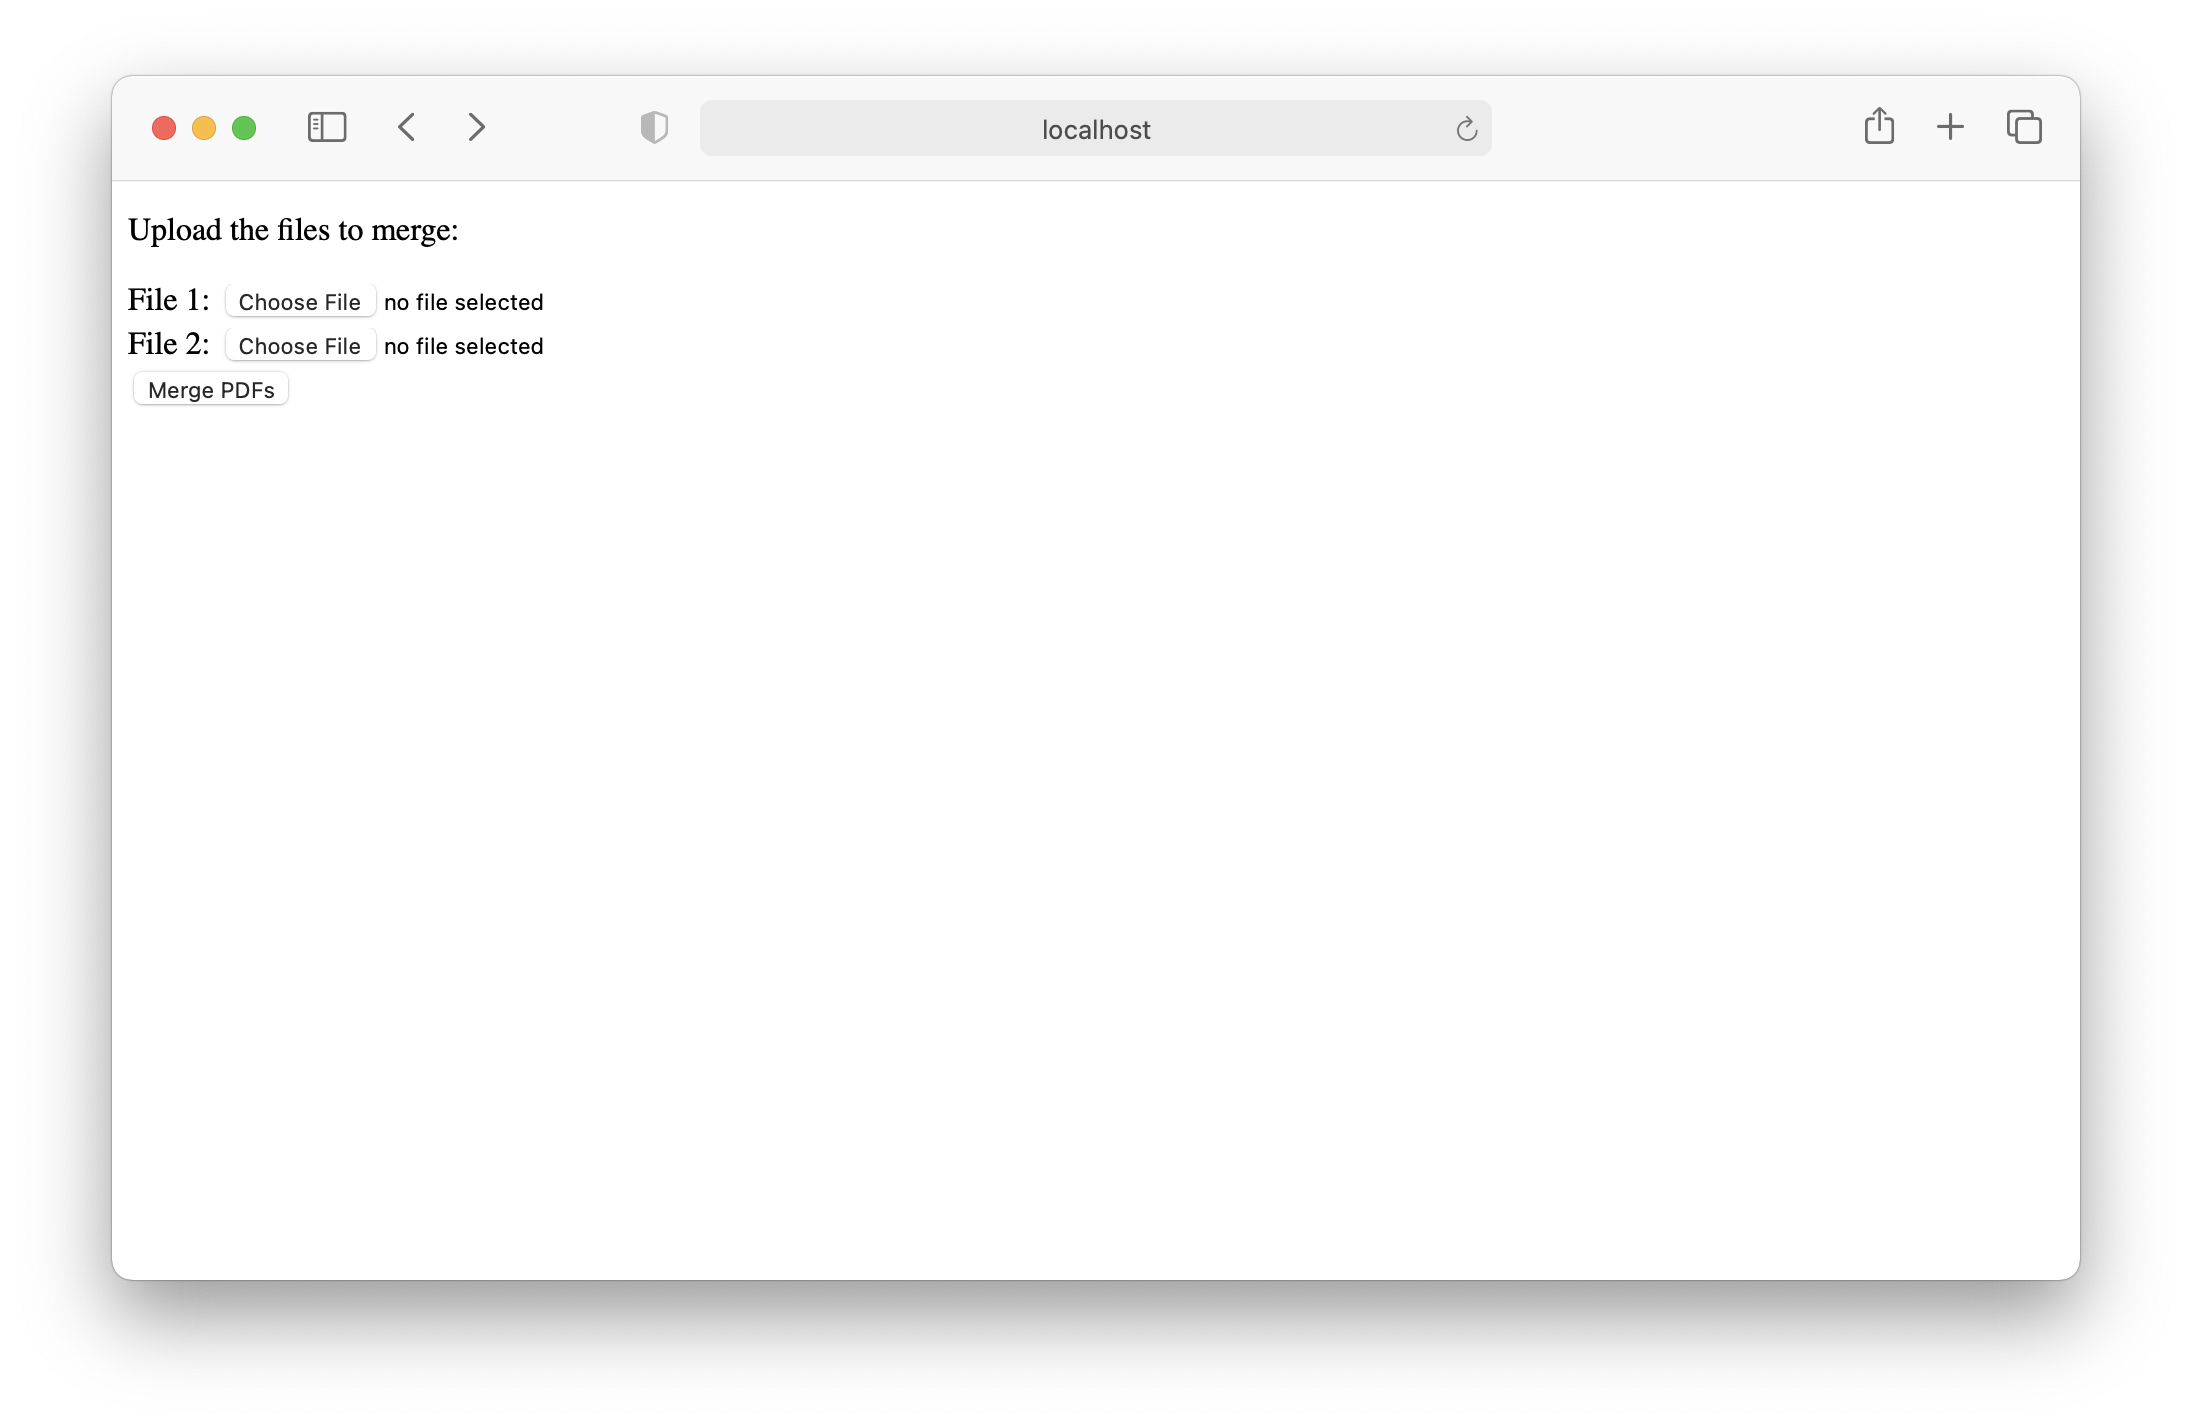
Go to http://localhost:8000 in the browser. You should see a webpage similar to this:
When you choose files and click the Merge PDFs button, you’ll receive an error. This is because you haven’t yet written any code to handle the form submission.
Create a merge.php file in the same directory and add the following content to it:
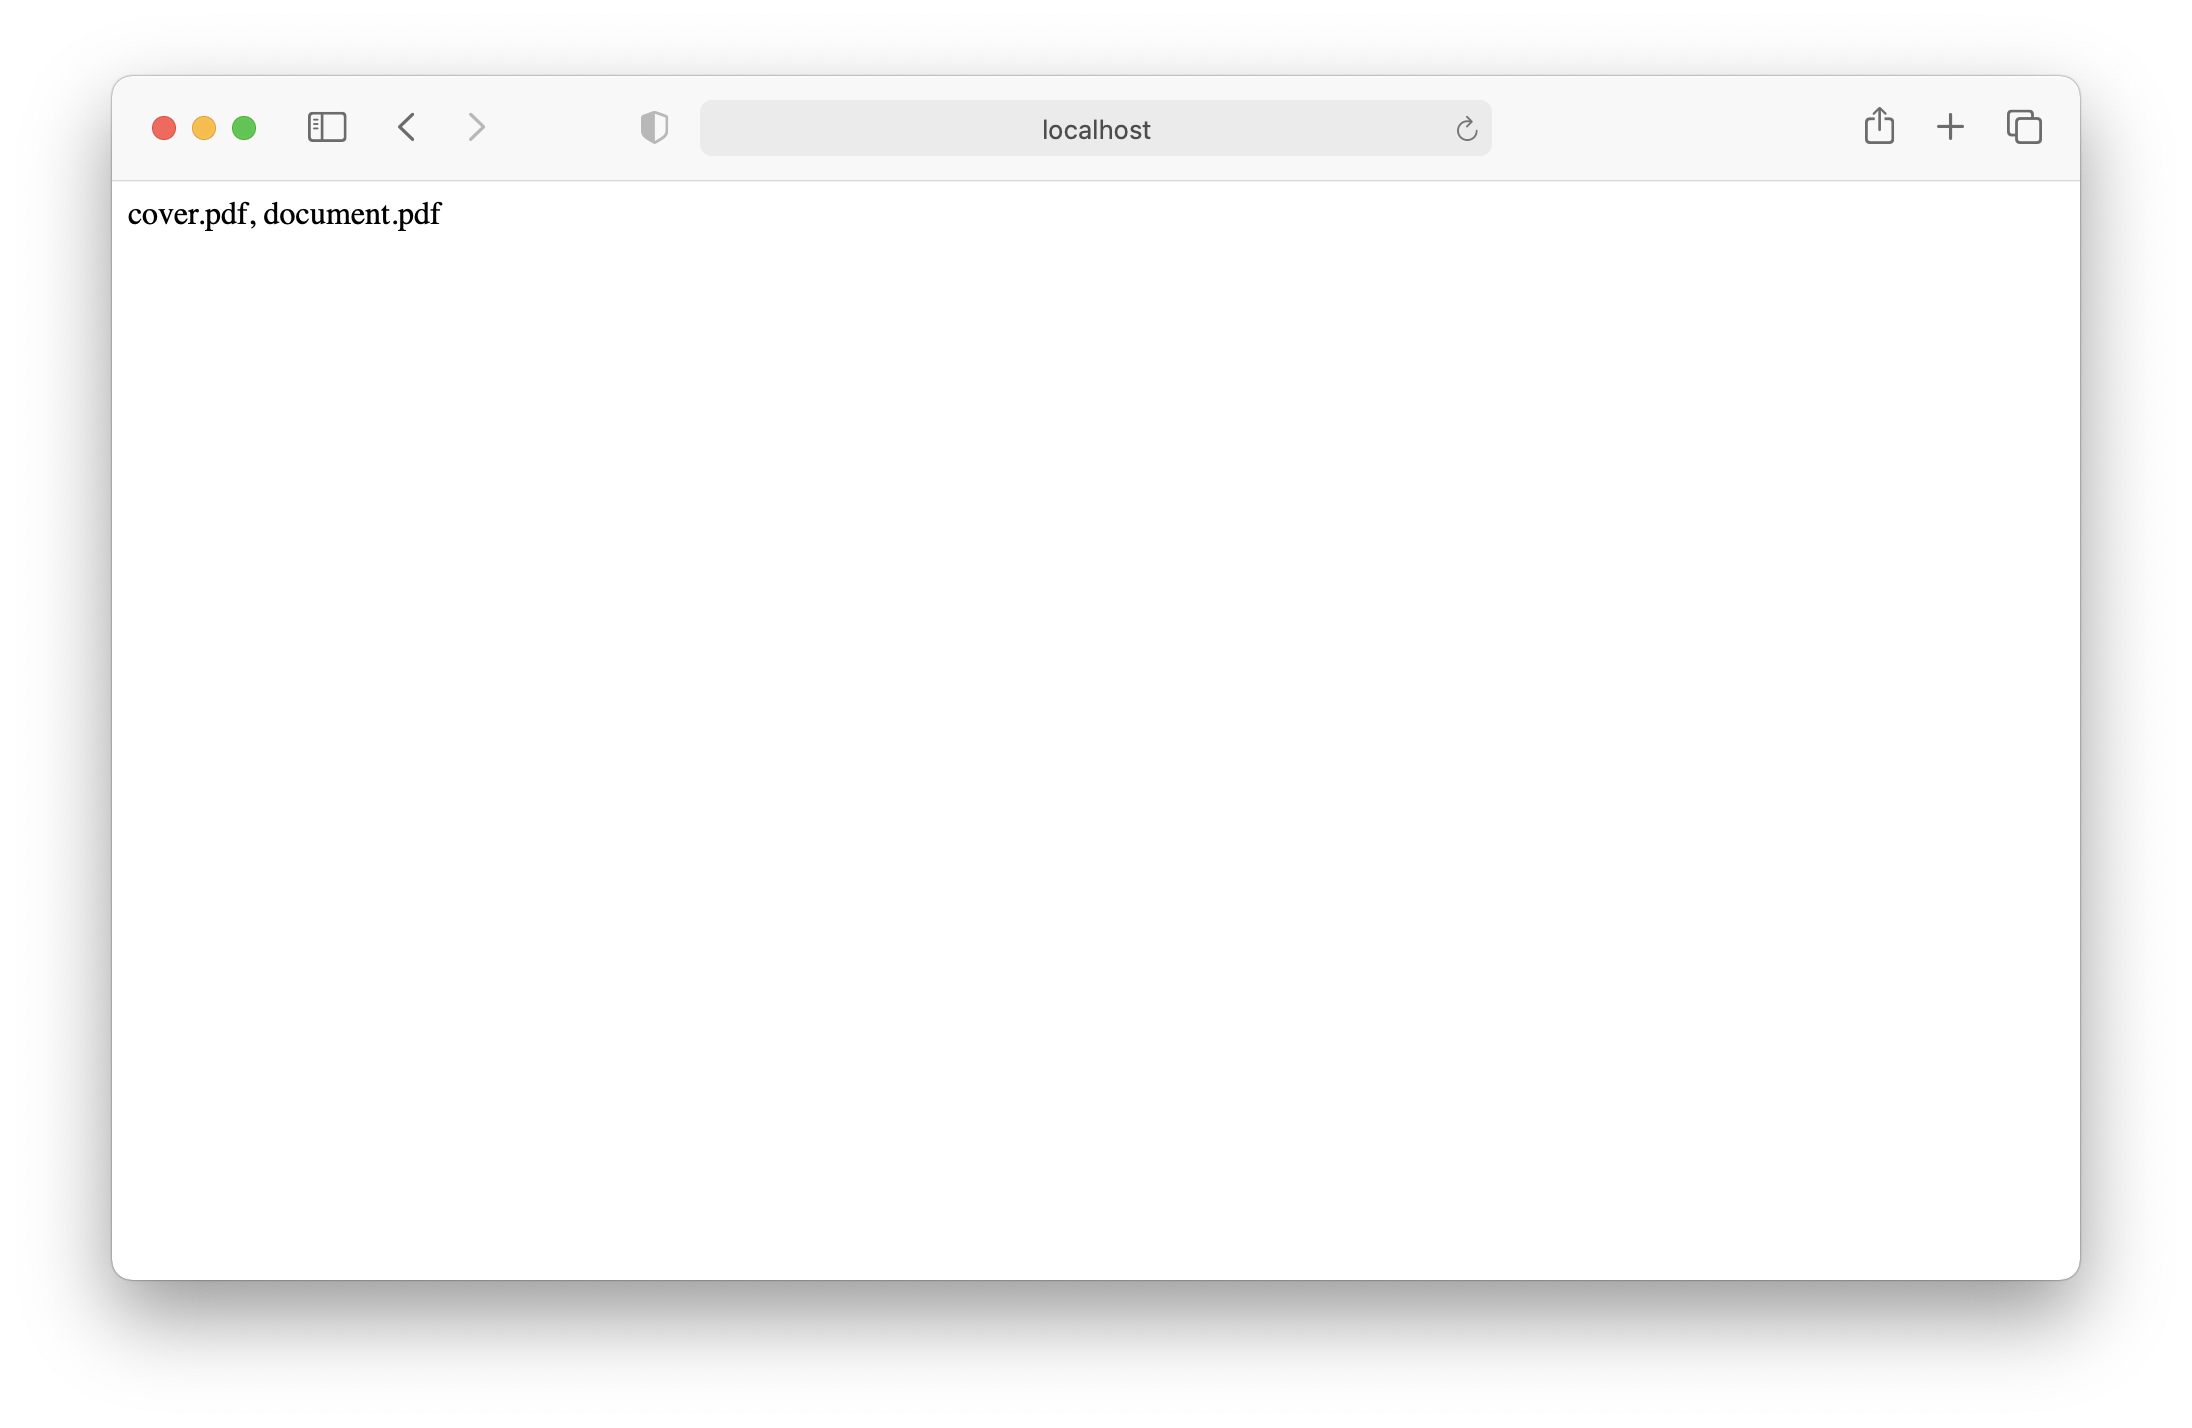
Now when you go back to http://localhost:8000, choose the files, and submit the form, you should see the names of the files you picked printed on the screen:
Merging PDFs
You can now use Document Engine’s API to merge the files uploaded from the browser. Replace the contents of the merge.php file with:
Most of this code, up until the curl_exec function, constructs a request that’s sent to Document Engine. It includes two files — document1 and document2 — and a list of instructions for Document Engine. By default, Document Engine’s output for the /api/build endpoint is the result of merging all documents or parts of the instructions. To learn more about the /api/build instructions, go to Document Engine’s API Reference.
The rest of the code deals with error handling, and if everything goes well, it returns the resulting file back to the browser.
You can check how it works in practice yourself! Go to http://localhost:8000, pick any two PDFs on your disk (or use file1.pdf and file2.pdf if you don’t have any), and click Merge PDFs again. Depending on your browser, it will either automatically download the file for you or ask you for permission to download. In any case, look for the result.pdf file in the downloads folder on your computer. Open that file in any PDF viewer application. If you used the two files from the links above, you should see a five-page PDF document like what’s shown below.
That’s it! Now you know how to use Document Engine’s API to perform operations on documents with PHP. To learn more about the various operations you can perform on documents with Document Engine, visit Document Engine’s API Reference
This guide walks you through the steps necessary to start Document Engine. It also shows you how to use it to process documents. By the end, you’ll be able to merge two PDF documents into one using Document Engine’s HTTP API from Python.
PSPDFKit Document Engine can be evaluated without a trial license key, but with certain limitations (such as a red watermark added to documents). To evaluate with fewer limitations, get a trial key.
PSPDFKit does not collect any data during your evaluation of the SDK.
Requirements
Document Engine runs on a variety of platforms. The following operating systems are supported:
macOS Ventura, Monterey, Mojave, Catalina, or Big Sur
Ubuntu, Fedora, Debian, or CentOS. Ubuntu and Debian derivatives such as Kubuntu or Xubuntu are supported as well. Currently, 64-bit Intel (x86_64) and ARM (AArch64) processors are supported.
Regardless of your operating system, you’ll need at least 4 GB of RAM.
Installing Docker
Document Engine is distributed as a Docker container. To run it on your computer, you need to install a Docker runtime distribution for your operating system.
Install and start Docker Desktop for Mac. Refer to the Docker website for instructions.
Install and start Docker Desktop for Windows. Refer to the Docker website for instructions.
Install and start Docker Engine. Refer to the Docker website for instructions on how to install it for your Linux distribution.
After you install Docker, use these instructions to install Docker Compose.
Starting Document Engine
First, open your terminal emulator.
Use the terminal emulator integrated with your code editor or IDE. Alternatively, you can use Terminal.app or iTerm2.
Use the terminal emulator integrated with your code editor or IDE. Alternatively, you can use PowerShell.
Use the terminal emulator integrated with your code editor or IDE, or one bundled with your desktop environment.
Now run the following command:
docker run --rm -t -p 5000:5000 -e API_AUTH_TOKEN=secret pspdfkit/document-engine:1.3.0
This command might take a while to run, depending on your internet connection speed. Wait until you see a message like this in the terminal:
[info] 2024-02-05 18:56:45.286 Running Document Engine version 1.3.0
Document Engine is now up and running!
Installing Python
The interaction with Document Engine happens via its HTTP API: You send documents and commands in the request and receive the resulting file in the response. To do this, you’ll invoke the API from the Python script. But first, you need to install Python for your operating system:
To install Python, first you need to install the Xcode Command Line Tools. Install them by running the following command:
xcode-select --install
The easiest way to install Python on macOS is via Homebrew. Follow the instructions on the Homebrew website to install it. Then, to install Python, run:
brew install python
Verify the installation by running the following command in the terminal:
python3 --version
The output should start with Python 3.9 — you can ignore the rest of the message.
ℹ️ Note: ️If the output doesn’t match the above, try restarting the terminal app by typing exit and opening it again.
Now run the python3 --version command. The output should start with Python 3.9 — you can ignore the rest of the message.
Merging PDFs
To make HTTP requests to Document Engine’s API, you need an HTTP client library. For this scenario, you’ll use the excellent Requests package. Install it by running the following command:
python3 -m pip install requests==2.25.1
python -m pip install requests==2.25.1
python3 -m pip install requests==2.25.1
Now you can create a script to merge the PDFs. It’ll take two file paths as command-line arguments, send the files to Document Engine to merge them, and save the result in another file on disk. Create a merge.py file with the following content:
import sys
import json
import requests

if len(sys.argv) < 3:
  print("Too few arguments.")
  exit(1)

file1 = sys.argv[1]
file2 = sys.argv[2]

url = "http://localhost:5000/api/build"

payload= {
  "instructions": json.dumps({
    "parts": [
      {
        "file": "file1"
      },
      {
        "file": "file2"
      }
    ]
})}

files=[
  ('file1',('file1.pdf',open(file1,'rb'),'application/pdf')),
  ('file2',('file2.pdf',open(file2,'rb'),'application/pdf'))
]
headers = {
  'Authorization': 'Token token=secret'
}

response = requests.post(url, headers = headers, data = payload, files = files)

if response.status_code == 200:
  with open("result.pdf", "wb") as f:
    f.write(response.content)
else:
  print(
    f"Request to Document Engine failed with status code {response.status_code}: '{response.text}'."
  )
The script verifies that the number of arguments is correct and prepares the request data. It includes two files — file1 and file2 — and a list of instructions for Document Engine. By default, Document Engine’s output for the /api/build endpoint is the result of merging all documents or parts of the instructions. To learn more about the /api/build instructions, go to Document Engine’s API Reference.
The rest of the code deals with error handling, and if everything goes well, it saves the result in the result.pdf file in the current working directory.
You can check how it works in practice yourself! Pick any two PDFs on your computer (or use file1.pdf and file2.pdf if you don’t have any), and run the script:
Make sure to replace path/to/file1.pdf and path/to/file2.pdf with the actual location of the PDF files on your computer.
If you used the two files from the links above, you should see a five-page PDF document like what’s shown below.
That’s it! Now you know how to use Document Engine’s API to perform operations on documents with Python. To learn more about the various operations you can perform on documents with Document Engine, visit Document Engine’s API Reference.
This guide walks you through the steps necessary to start Document Engine. It also shows you how to use it to process documents. By the end, you’ll be able to merge two PDF documents into one using Document Engine’s HTTP API from Rust.
PSPDFKit Document Engine can be evaluated without a trial license key, but with certain limitations (such as a red watermark added to documents). To evaluate with fewer limitations, get a trial key.
PSPDFKit does not collect any data during your evaluation of the SDK.
Requirements
Document Engine runs on a variety of platforms. The following operating systems are supported:
macOS Ventura, Monterey, Mojave, Catalina, or Big Sur
Ubuntu, Fedora, Debian, or CentOS. Ubuntu and Debian derivatives such as Kubuntu or Xubuntu are supported as well. Currently, 64-bit Intel (x86_64) and ARM (AArch64) processors are supported.
Regardless of your operating system, you’ll need at least 4 GB of RAM.
Installing Docker
Document Engine is distributed as a Docker container. To run it on your computer, you need to install a Docker runtime distribution for your operating system.
Install and start Docker Desktop for Mac. Refer to the Docker website for instructions.
Install and start Docker Desktop for Windows. Refer to the Docker website for instructions.
Install and start Docker Engine. Refer to the Docker website for instructions on how to install it for your Linux distribution.
After you install Docker, use these instructions to install Docker Compose.
Starting Document Engine
First, open your terminal emulator.
Use the terminal emulator integrated with your code editor or IDE. Alternatively, you can use Terminal.app or iTerm2.
Use the terminal emulator integrated with your code editor or IDE. Alternatively, you can use PowerShell.
Use the terminal emulator integrated with your code editor or IDE, or one bundled with your desktop environment.
Now run the following command:
docker run --rm -t -p 5000:5000 -e API_AUTH_TOKEN=secret pspdfkit/document-engine:1.3.0
This command might take a while to run, depending on your internet connection speed. Wait until you see a message like this in the terminal:
[info] 2024-02-05 18:56:45.286 Running Document Engine version 1.3.0
Document Engine is now up and running!
Installing Rust
The interaction with Document Engine happens via its HTTP API. Documents and commands are sent in API request calls, and the resulting files are received in response. API calls are invoked from the Rust code, so you need to install Rust.
To install Rust:
Follow the instructions for your operating system in Rust’s installation guide.
Go to any directory in your system using your terminal. Create a new directory called merging-pdfs and go the newly created directory:
mkdir merging-pdfs
cd merging-pdfs
Create a new cargo project:
cargo new merging-pdfs-pspdfkit
Run the project with the cargo run command.
Merging PDFs with Rust
If you don’t have any sample documents, download and use these files: cover.pdf and document.pdf
Paste the following content into the Cargo.toml file in the merging-pdfs-pspdfkit project directory:
[dependencies]
tokio = { version = "1.23.0", features = ["full"] }
reqwest = { version = "0.11.13", features = ["json", "multipart"] }
serde_json = "1.0.91"
Next, replace /path/to/cover.pdf on line 24 and /path/to/document.pdf on line 30 with the actual paths to the example documents on your machine. Then, replace the contents of the src/main.rs file with this code:
use reqwest::Result;
use std::borrow::Cow;
use std::fs;
use std::fs::File;
use std::io::Write;
#[tokio::main]
asyncfn main() -> Result<()> {
// Multipart Requestlet body = serde_json::json!({
"parts": [
{
"file": "cover"
},
{
"file": "document"
}
],
"output": {
"type": "pdf"
}
});
let cover = fs::read("src/cover.pdf").unwrap();
let cover_part = reqwest::multipart::Part::bytes(cover)
.file_name("cover.pdf")
.mime_str("application/pdf")
.unwrap();
let document = fs::read("src/document.pdf").unwrap();
let document_part = reqwest::multipart::Part::bytes(document)
.file_name("document.pdf")
.mime_str("application/pdf")
.unwrap();
let instructions = serde_json::to_vec(&body).unwrap();
let instructions_bytes = Cow::from(instructions);
let instructions_part = reqwest::multipart::Part::bytes(instructions_bytes);
let form = reqwest::multipart::Form::new()
.part("cover", cover_part)
.part("document", document_part)
.part("instructions", instructions_part);
let client = reqwest::Client::new();
let res = client
.post("http://localhost:5000/api/build")
.header("Authorization", "Token token=secret")
.multipart(form)
.send()
.await?;
letmut result_file = File::create("result.pdf").expect("Error creating file");
result_file
.write_all(&res.bytes().await.unwrap())
.expect("Error writing to file");
Ok(())
}
Most of this code deals with creating and sending a multipart request containing files and instructions to Document Engine’s /api/build endpoint using Rust’s reqwest crate.
To run the code, ensure you’re in the merging-pdfs directory and type the following command in your terminal:
cargo run
To learn more about the various actions you can apply to PDFs using Document Engine, go to Document Engine’s API Reference.
This guide will walk you through the steps necessary to integrate PSPDFKit for Web backed by Document Engine into your project. By the end, you’ll be able to present a PDF document in the PSPDFKit UI.
PSPDFKit Document Engine can be evaluated without a trial license key, but with certain limitations (such as a red watermark added to documents). To evaluate with fewer limitations, get a trial key.
PSPDFKit does not collect any data during your evaluation of the SDK.
Requirements
Document Engine runs on a variety of platforms. The following operating systems are supported:
macOS Ventura, Monterey, Mojave, Catalina, or Big Sur
Ubuntu, Fedora, Debian, or CentOS. Ubuntu and Debian derivatives such as Kubuntu or Xubuntu are supported as well. Currently, 64-bit Intel (x86_64) and ARM (AArch64) processors are supported.
Regardless of your operating system, you’ll need at least 4 GB of RAM.
Installing Docker
Document Engine is distributed as a Docker container. To run it on your computer, you need to install a Docker runtime distribution for your operating system.
Install and start Docker Desktop for Mac. Refer to the Docker website for instructions.
Install and start Docker Desktop for Windows. Refer to the Docker website for instructions.
Install and start Docker Engine. Refer to the Docker website for instructions on how to install it for your Linux distribution.
After you install Docker, use these instructions to install Docker Compose.
Setting Up Document Engine
Copy the code snippet below and save it anywhere on your computer in a file called docker-compose.yml:
Use the terminal emulator integrated with your code editor or IDE. Alternatively, you can use Terminal.app or iTerm2.
Use the terminal emulator integrated with your code editor or IDE. Alternatively, you can use PowerShell.
Use the terminal emulator integrated with your code editor or IDE, or one bundled with your desktop environment.
Go to the directory where you saved the docker-compose.yml file:
cd <path-to-directory-with-docker-compose-yml>
Run the following:
docker-compose up
This command might take a while to run, depending on your internet connection speed. Wait until you see the following message in the terminal:
pspdfkit_1 | Access the web dashboard at http://localhost:5000/dashboard
Document Engine is now up and running!
Uploading a Document to Document Engine
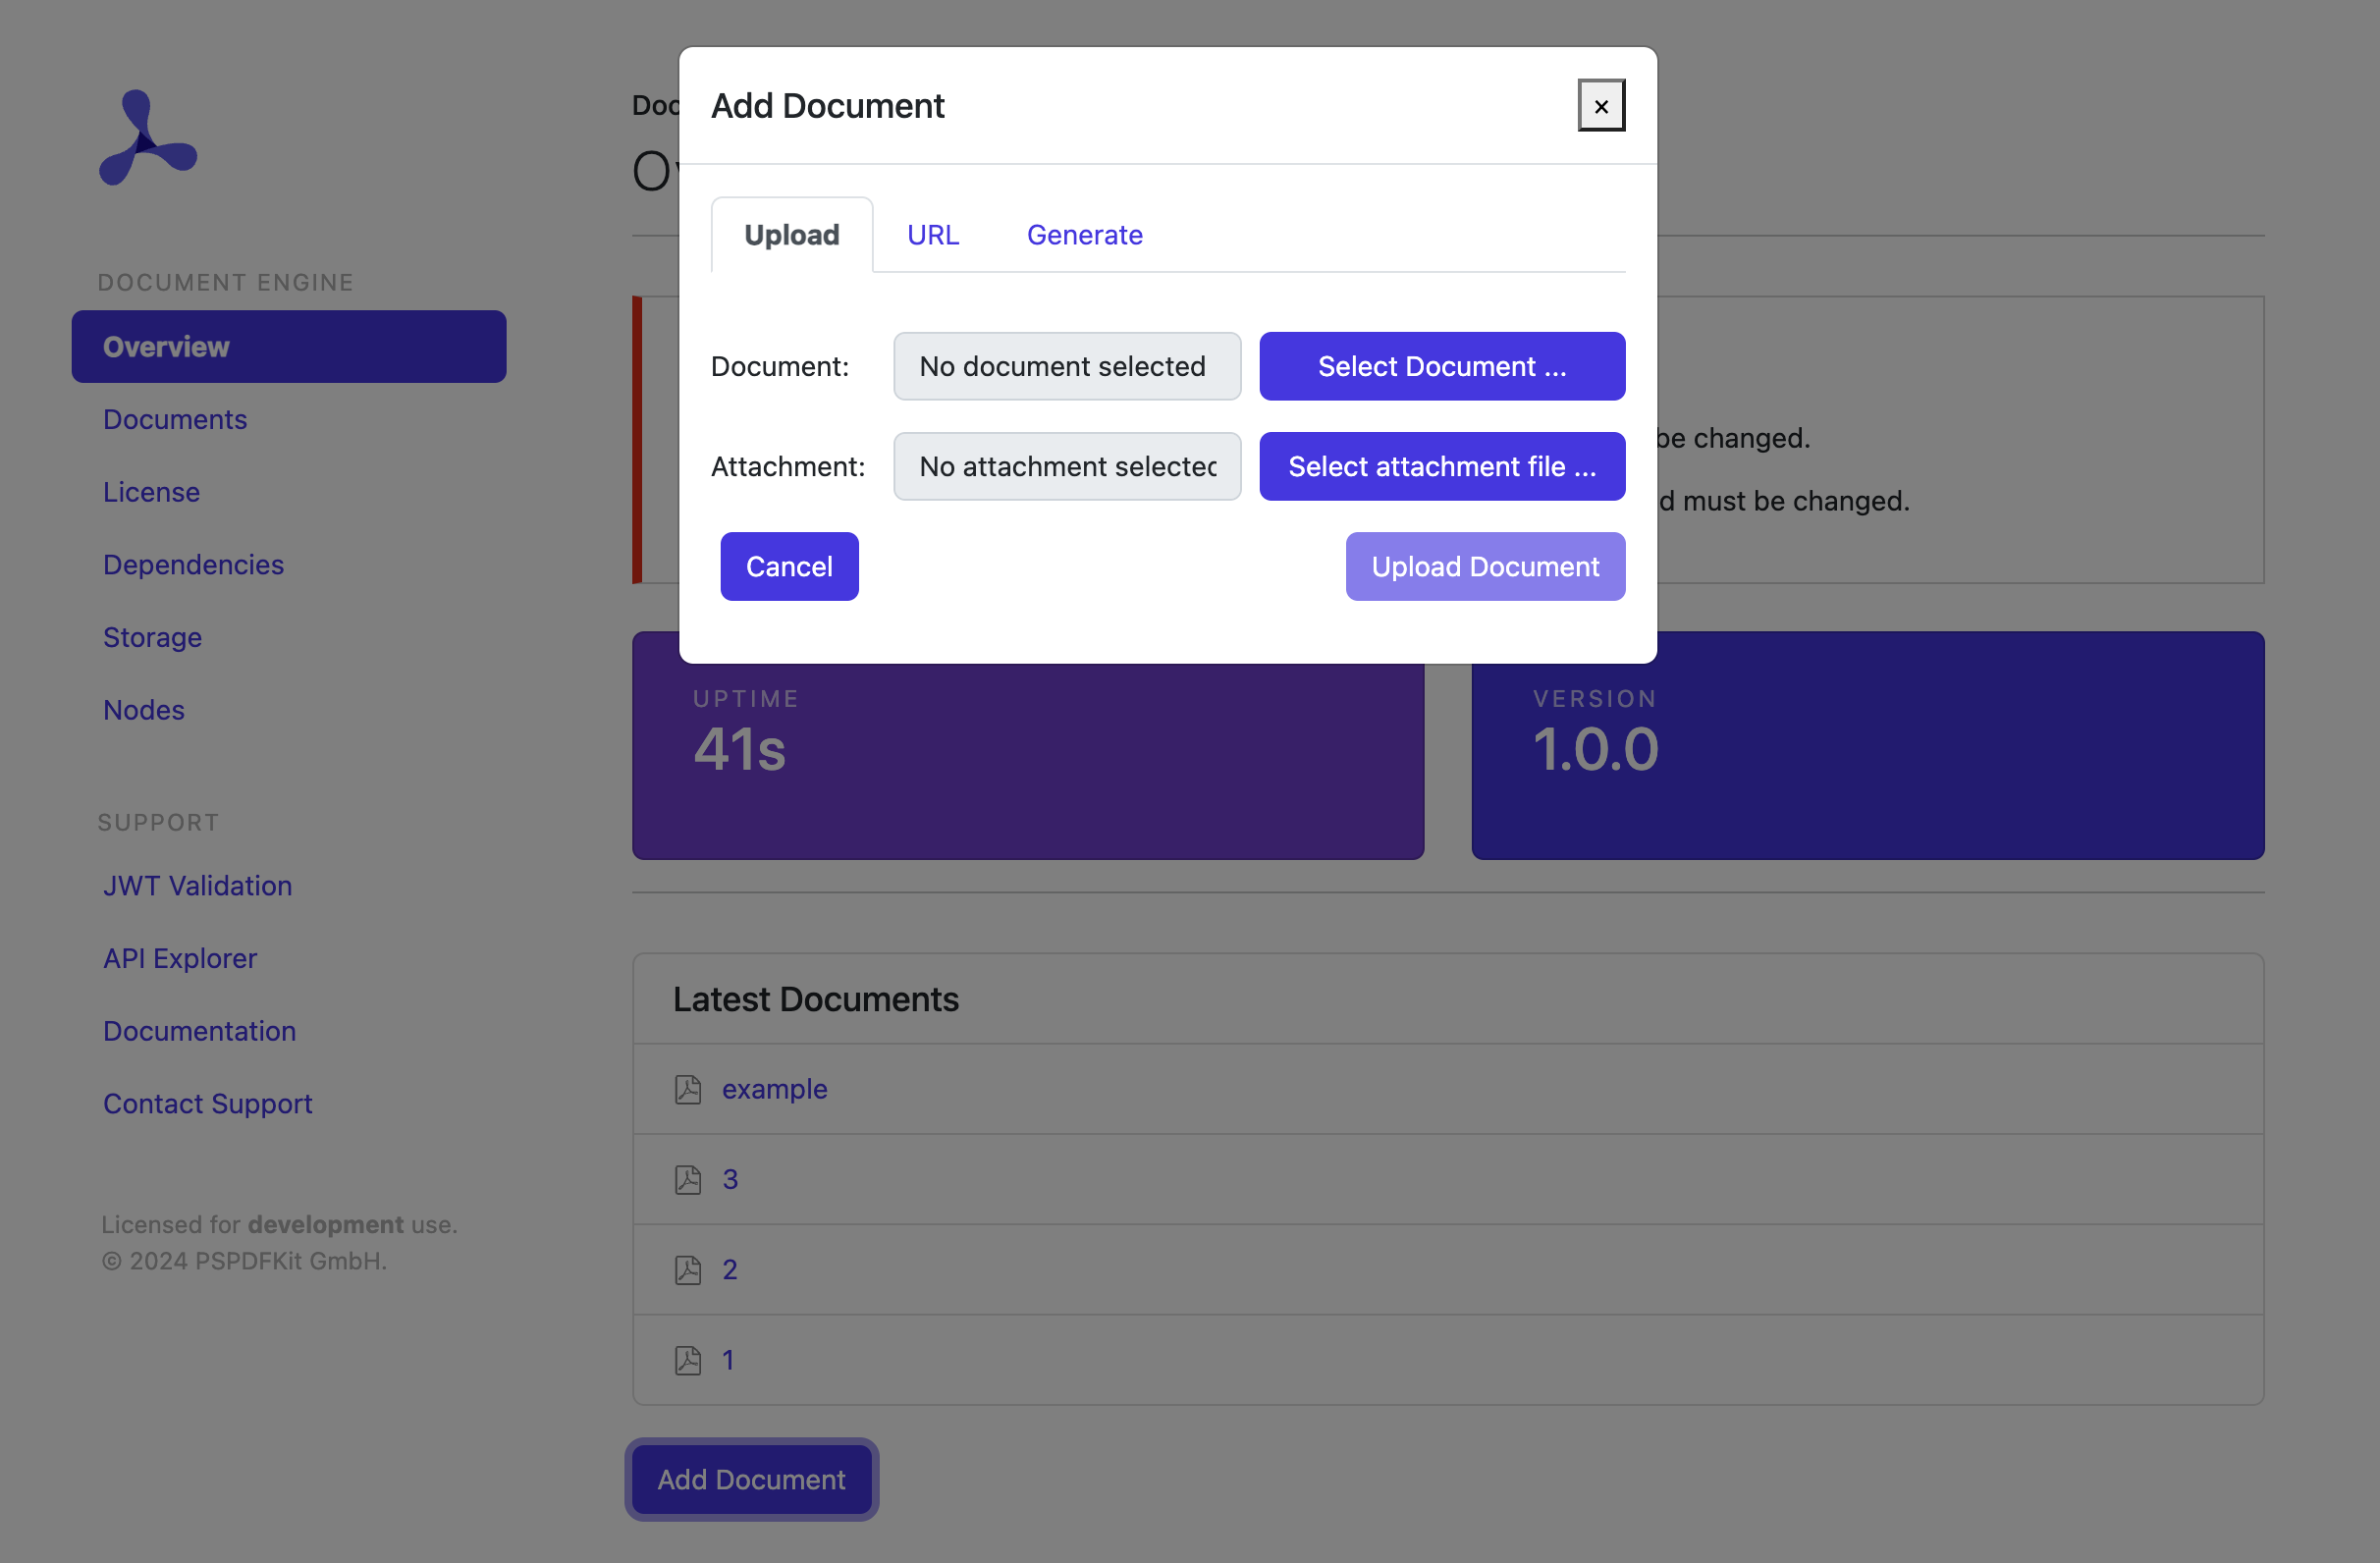
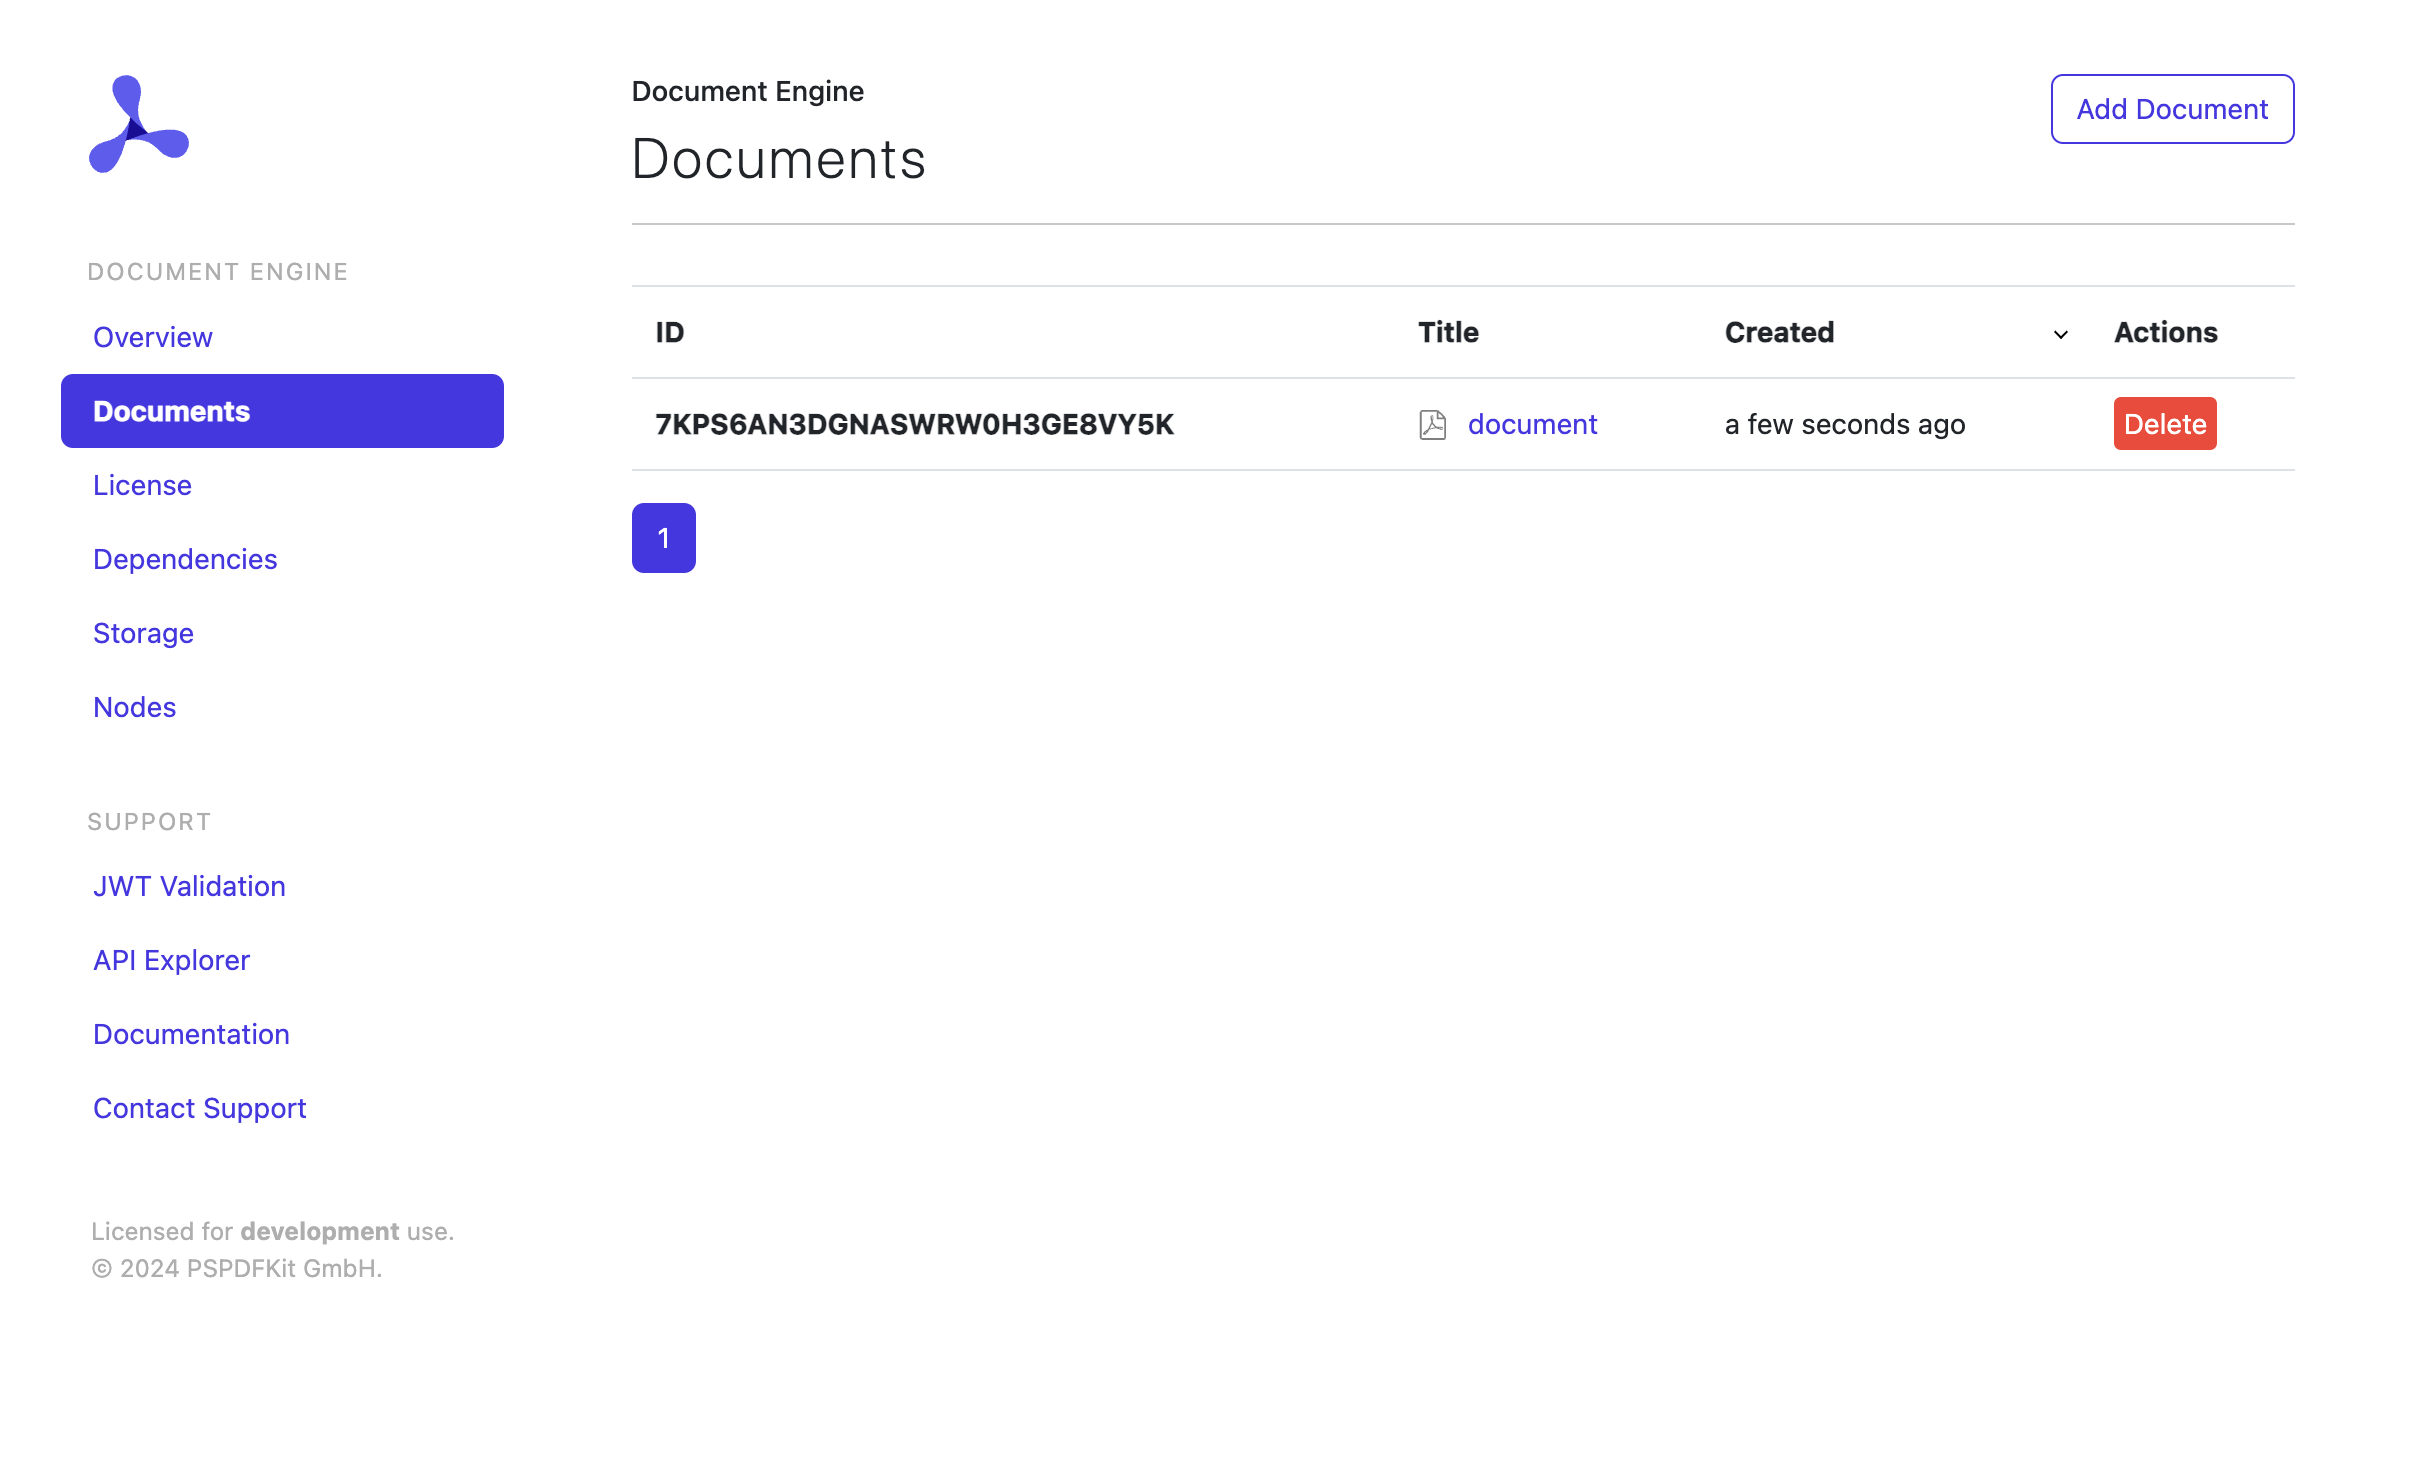
With Document Engine running, visit http://localhost:5000/dashboard and authenticate using “dashboard” for the username and “secret” for the password. Choose Add Document and upload the document you want to work with.
Once the document is uploaded, visit http://localhost:5000/dashboard/documents to see the list of available documents. Each document is identified by an ID. Take note of the ID of the document you just uploaded, as you’ll need it shortly.
The ID will look similar to 7KPS8X13JRB2G841X4V7EQ3T2J.
Installing Node.js
If you haven’t installed Node.js, head to the official guides and follow the instructions. By the end of the installation process, you should be able to run the following command:
node --version
The output should be something like v14. You can ignore any subsequent number.
Generating the Application
You’ll use Express, one of the most common Node.js web frameworks. To create a new Express application, you can use the official generator.
Run:
npx express-generator pspdfkit_example --view=ejs
This command will generate a project structure and instruct you on the steps to follow to install dependencies and start the project.
Once you’ve followed all the steps, you should be able to visit http://localhost:3000 to confirm the application is working as expected.
Adding a Page to View the Document
You need to create a page that will show a document stored inside Document Engine.
You’ll want this page to be available at http://localhost:3000/documents/:id, where the document ID is the ID automatically assigned by Document Engine when uploading a document.
To achieve this, create a new route to display a document and mount it in the application.
Create the document’s route:
./routes/documents.js
var express = require("express");
var router = express.Router();

router.get("/:documentId", function (req, res, next) {
  res.render("documents/show", { documentId: req.params.documentId });
});

module.exports = router;
Inside the route, retrieve the ID captured by the routing logic and assign it to a documentId variable you can refer to in the view.
Create a corresponding view with some minimal HTML that prints the document ID:
./views/documents/show.ejs
<h1>Show document <%= documentId %></h1>
Mount the new route in the application:
./app.js
var indexRouter = require('./routes/index');
 var usersRouter = require('./routes/users');
+var documentsRouter = require("./routes/documents");
 // ...
 // rest of the file
 // ...
 app.use('/', indexRouter);
 app.use('/users', usersRouter);
+app.use("/documents", documentsRouter);
Stop and restart the Express server.
You can now visit http://localhost:3000/documents/:id, replacing :id with the ID of the document you uploaded to the Document Engine dashboard.
The page should contain the text Show document, followed by your document ID.
Creating a JSON Web Token (JWT)
PSPDFKit requires the use of JWTs to authenticate and authorize a viewer session against Document Engine.
To create JWTs, install the jsonwebtoken dependency:
npm install --save jsonwebtoken
Stop and restart the Express server.
Working with JWTs requires a private and public key pair. The private key is used by the Express application, while the public key is used by Document Engine.
The public key has already been configured in the Document Engine docker-compose.yml file via the JWT_PUBLIC_KEY environment variable.
To configure the private key, create a config/pspdfkit/jwt.pem file with the following contents:
Refresh the page, and you’ll see the PSPDFKit for Web viewer showing the document you just uploaded. If you annotate the document and refresh the page, all changes will be automatically persisted.
This guide will walk you through the steps necessary to integrate PSPDFKit for Web backed by Document Engine into your project. By the end, you’ll be able to present a PDF document in the PSPDFKit UI.
PSPDFKit Document Engine can be evaluated without a trial license key, but with certain limitations (such as a red watermark added to documents). To evaluate with fewer limitations, get a trial key.
PSPDFKit does not collect any data during your evaluation of the SDK.
Requirements
Document Engine runs on a variety of platforms. The following operating systems are supported:
macOS Ventura, Monterey, Mojave, Catalina, or Big Sur
Ubuntu, Fedora, Debian, or CentOS. Ubuntu and Debian derivatives such as Kubuntu or Xubuntu are supported as well. Currently, 64-bit Intel (x86_64) and ARM (AArch64) processors are supported.
Regardless of your operating system, you’ll need at least 4 GB of RAM.
Installing Docker
Document Engine is distributed as a Docker container. To run it on your computer, you need to install a Docker runtime distribution for your operating system.
Install and start Docker Desktop for Mac. Refer to the Docker website for instructions.
Install and start Docker Desktop for Windows. Refer to the Docker website for instructions.
Install and start Docker Engine. Refer to the Docker website for instructions on how to install it for your Linux distribution.
After you install Docker, use these instructions to install Docker Compose.
Setting Up Document Engine
Copy the code snippet below and save it anywhere on your computer in a file called docker-compose.yml:
Use the terminal emulator integrated with your code editor or IDE. Alternatively, you can use Terminal.app or iTerm2.
Use the terminal emulator integrated with your code editor or IDE. Alternatively, you can use PowerShell.
Use the terminal emulator integrated with your code editor or IDE, or one bundled with your desktop environment.
Go to the directory where you saved the docker-compose.yml file:
cd <path-to-directory-with-docker-compose-yml>
Run the following:
docker-compose up
This command might take a while to run, depending on your internet connection speed. Wait until you see the following message in the terminal:
pspdfkit_1 | Access the web dashboard at http://localhost:5000/dashboard
Document Engine is now up and running!
Uploading a Document to Document Engine
With Document Engine running, visit http://localhost:5000/dashboard and authenticate using “dashboard” for the username and “secret” for the password. Choose Add Document and upload the document you want to work with.
Once the document is uploaded, visit http://localhost:5000/dashboard/documents to see the list of available documents. Each document is identified by an ID. Take note of the ID of the document you just uploaded, as you’ll need it shortly.
The ID will look similar to 7KPS8X13JRB2G841X4V7EQ3T2J.
Generating the Application
Now, the application using Document Engine needs to be provisioned.
To use Document Engine, you’ll need a web application library or framework. Depending on the chosen technology, different steps might be necessary. Refer to the technology/framework-specific guidelines for setting up the project.
Creating a JSON Web Token (JWT)
PSPDFKit requires the use of a JSON Web Token (JWT) to authenticate and authorize a viewer session against Document Engine.
You can generate JWTs using one of the libraries available in the programming language of your choice. The list of available libraries can be found at jwt.io.
When generating the JWT, make sure to use the RS256 signing algorithm and the private key below:
When it comes to claims, you must provide the document ID, the set of permissions, and an expiry time in the future. Note that some libraries might automatically inject the exp (expiration time) field, while other ones expect the field to be present in the payload. Check the documentation of the chosen JWT library to see how it’s handled:
To view the document in the browser, first you need to load the PSPDFKit for Web JavaScript library. Add the following script tag to the page that will present the document:
There are two variables that need to be passed in: documentId and jwt. Refer to the documentation of the web application framework you use to see how to pass variables to the page, or use hardcoded values. When you open the page, you’ll see the PSPDFKit for Web viewer showing the document you just uploaded. If you annotate the document and refresh the page, all changes will be automatically persisted.