How to Build an Angular Image Viewer with Viewer.js
Creating an image viewer using Angular and Viewer.js is an excellent way to enhance the image viewing capabilities of your web application. In this blog post, we’ll walk through the steps for building an image viewer using Angular and the Viewer.js library.
In the first part, we’ll cover how to render and customize an image viewer in the browser with Viewer.js. In the second part, we’ll look at how to build a fully featured image viewer with the PSPDFKit image viewer library. Our image viewer library provides some additional benefits, including:
- A prebuilt and polished UI for an improved user experience
- 15+ prebuilt annotation tools to enable document collaboration
- Browser-based text editing, page cropping, merging, rotating, and more
- Support for more file types with client-side PDF, MS Office, and image viewing
- Dedicated support from engineers to speed up integration
What Is Viewer.js?
Viewer.js is a JavaScript library for building image viewers. It provides a wide range of features for viewing images, including zooming, panning, and rotating. It also supports various image formats such as JPEG and PNG. Viewer.js is designed to be highly customizable, and it provides a variety of options for controlling the behavior of the viewer, such as customizing the toolbar buttons, enabling keyboard shortcuts, and more. The library is open source and is available under the MIT license.
Requirements
This tutorial assumes you have basic knowledge of Angular and some experience with JavaScript and web development. Make sure you’re using the latest versions of Angular and Viewer.js.
Before you begin, you’ll need to install the following tools:
-
Node.js version 14 or later
-
Visual Studio Code or another code editor of your choice

When you install Node.js,
npmis installed by default.
Setup
First, you’ll need to install the Angular command-line interface (CLI) if you haven’t already. You can do this by running the following command in your terminal:
npm install -g @angular/cli
yarn global add @angular/cli
Now, you can check the version of Angular:
ng version

This command will install the Angular CLI, which you’ll use to create and manage your Angular project.
Creating a New Angular Project
Once Angular is installed, you can create a new project by running the following command:
ng new my-image-viewer
The Angular CLI will ask you information about the app configuration. Accept the defaults by repeatedly pressing the Enter key.
This command will create a new directory called my-image-viewer, which contains all the files needed for an Angular project.
Now that you’ve created your project, navigate to it by running the following command in your terminal:
cd my-image-viewer
Installing Viewer.js
Next, you’ll need to install the Viewer.js library:
npm install viewerjs
Adding Viewer.js to Your Project
Once Viewer.js is installed, you need to add it to your Angular project by adding the following lines to the angular.json file after the styles and scripts arrays:
"styles": [
  "node_modules/viewerjs/dist/viewer.min.css",
],
"scripts": [
  "node_modules/viewerjs/dist/viewer.min.js",
]
Creating an Image Viewer Component
Now that Viewer.js is added to your project, you can create a new component to display your images. Do this by running the following command in your terminal:
ng generate component image-viewer
This command will create a new directory called image-viewer in your src/app directory, and it’ll contain all the necessary files for your component.
Adding an Image to Your Component
In the image-viewer component’s template file, add an img tag and bind the src attribute to a variable in your component’s class:
<!-- src/app/image-viewer/image-viewer.component.html -->
<img [src]="imageSrc" />
Initializing Viewer.js
In your component’s class, you need to import the Viewer.js library and initialize it on the img tag you created in the previous step:
// src/app/image-viewer/image-viewer.component.ts

import { Component, OnInit, Renderer2 } from '@angular/core';
import Viewer from 'viewerjs';

@Component({
  selector: 'app-image-viewer',
  templateUrl: './image-viewer.component.html',
  styleUrls: ['./image-viewer.component.css'],
})

export class ImageViewerComponent implements OnInit {
  constructor(private renderer: Renderer2) {}

  viewer: any;
  imageSrc = '../../assets/image-1.png';

  ngOnInit() {
    const img = this.renderer.selectRootElement('img');
    this.viewer = new Viewer(img, {
      inline: true,
    });
    this.viewer.zoomTo(1);
  }
}
For the imageSrc property, place your image in the assets directory and name it image-1.png. You can use any image you want.
Here, you used Angular’s Renderer2 to select the img tag in the template.
Renderer2 is an Angular service that’s used to abstract away the direct manipulation of the Document Object Model (DOM). It allows you to create and update elements, set properties and styles, and respond to events.
The ngOnInit() method gets called when the component is initialized. Inside this method, it’s getting the img element from the DOM, creating a new instance of Viewer, and passing the img element and some options to it. Then it’s calling the zoomTo(1) method on the viewer instance to set the zoom level to 1.
The image is defined by the imageSrc property, and it’s rendered in the template/HTML file.
Adding the Component to Your App
Finally, you need to add the image-viewer component to your app’s template.
You can do this by adding the following line to the app.component.html file in your src/app directory:
<app-image-viewer></app-image-viewer>
Running Your App
Now that you’ve completed all the steps, it’s time to test your image viewer. You can do this by running the following command in your terminal:
ng serve
This command will start a local development server and open your browser to the URL http://localhost:4200/. You’ll see the image you specified in the imageSrc variable in your image-viewer component displayed on the page, with the Viewer.js functionality added.
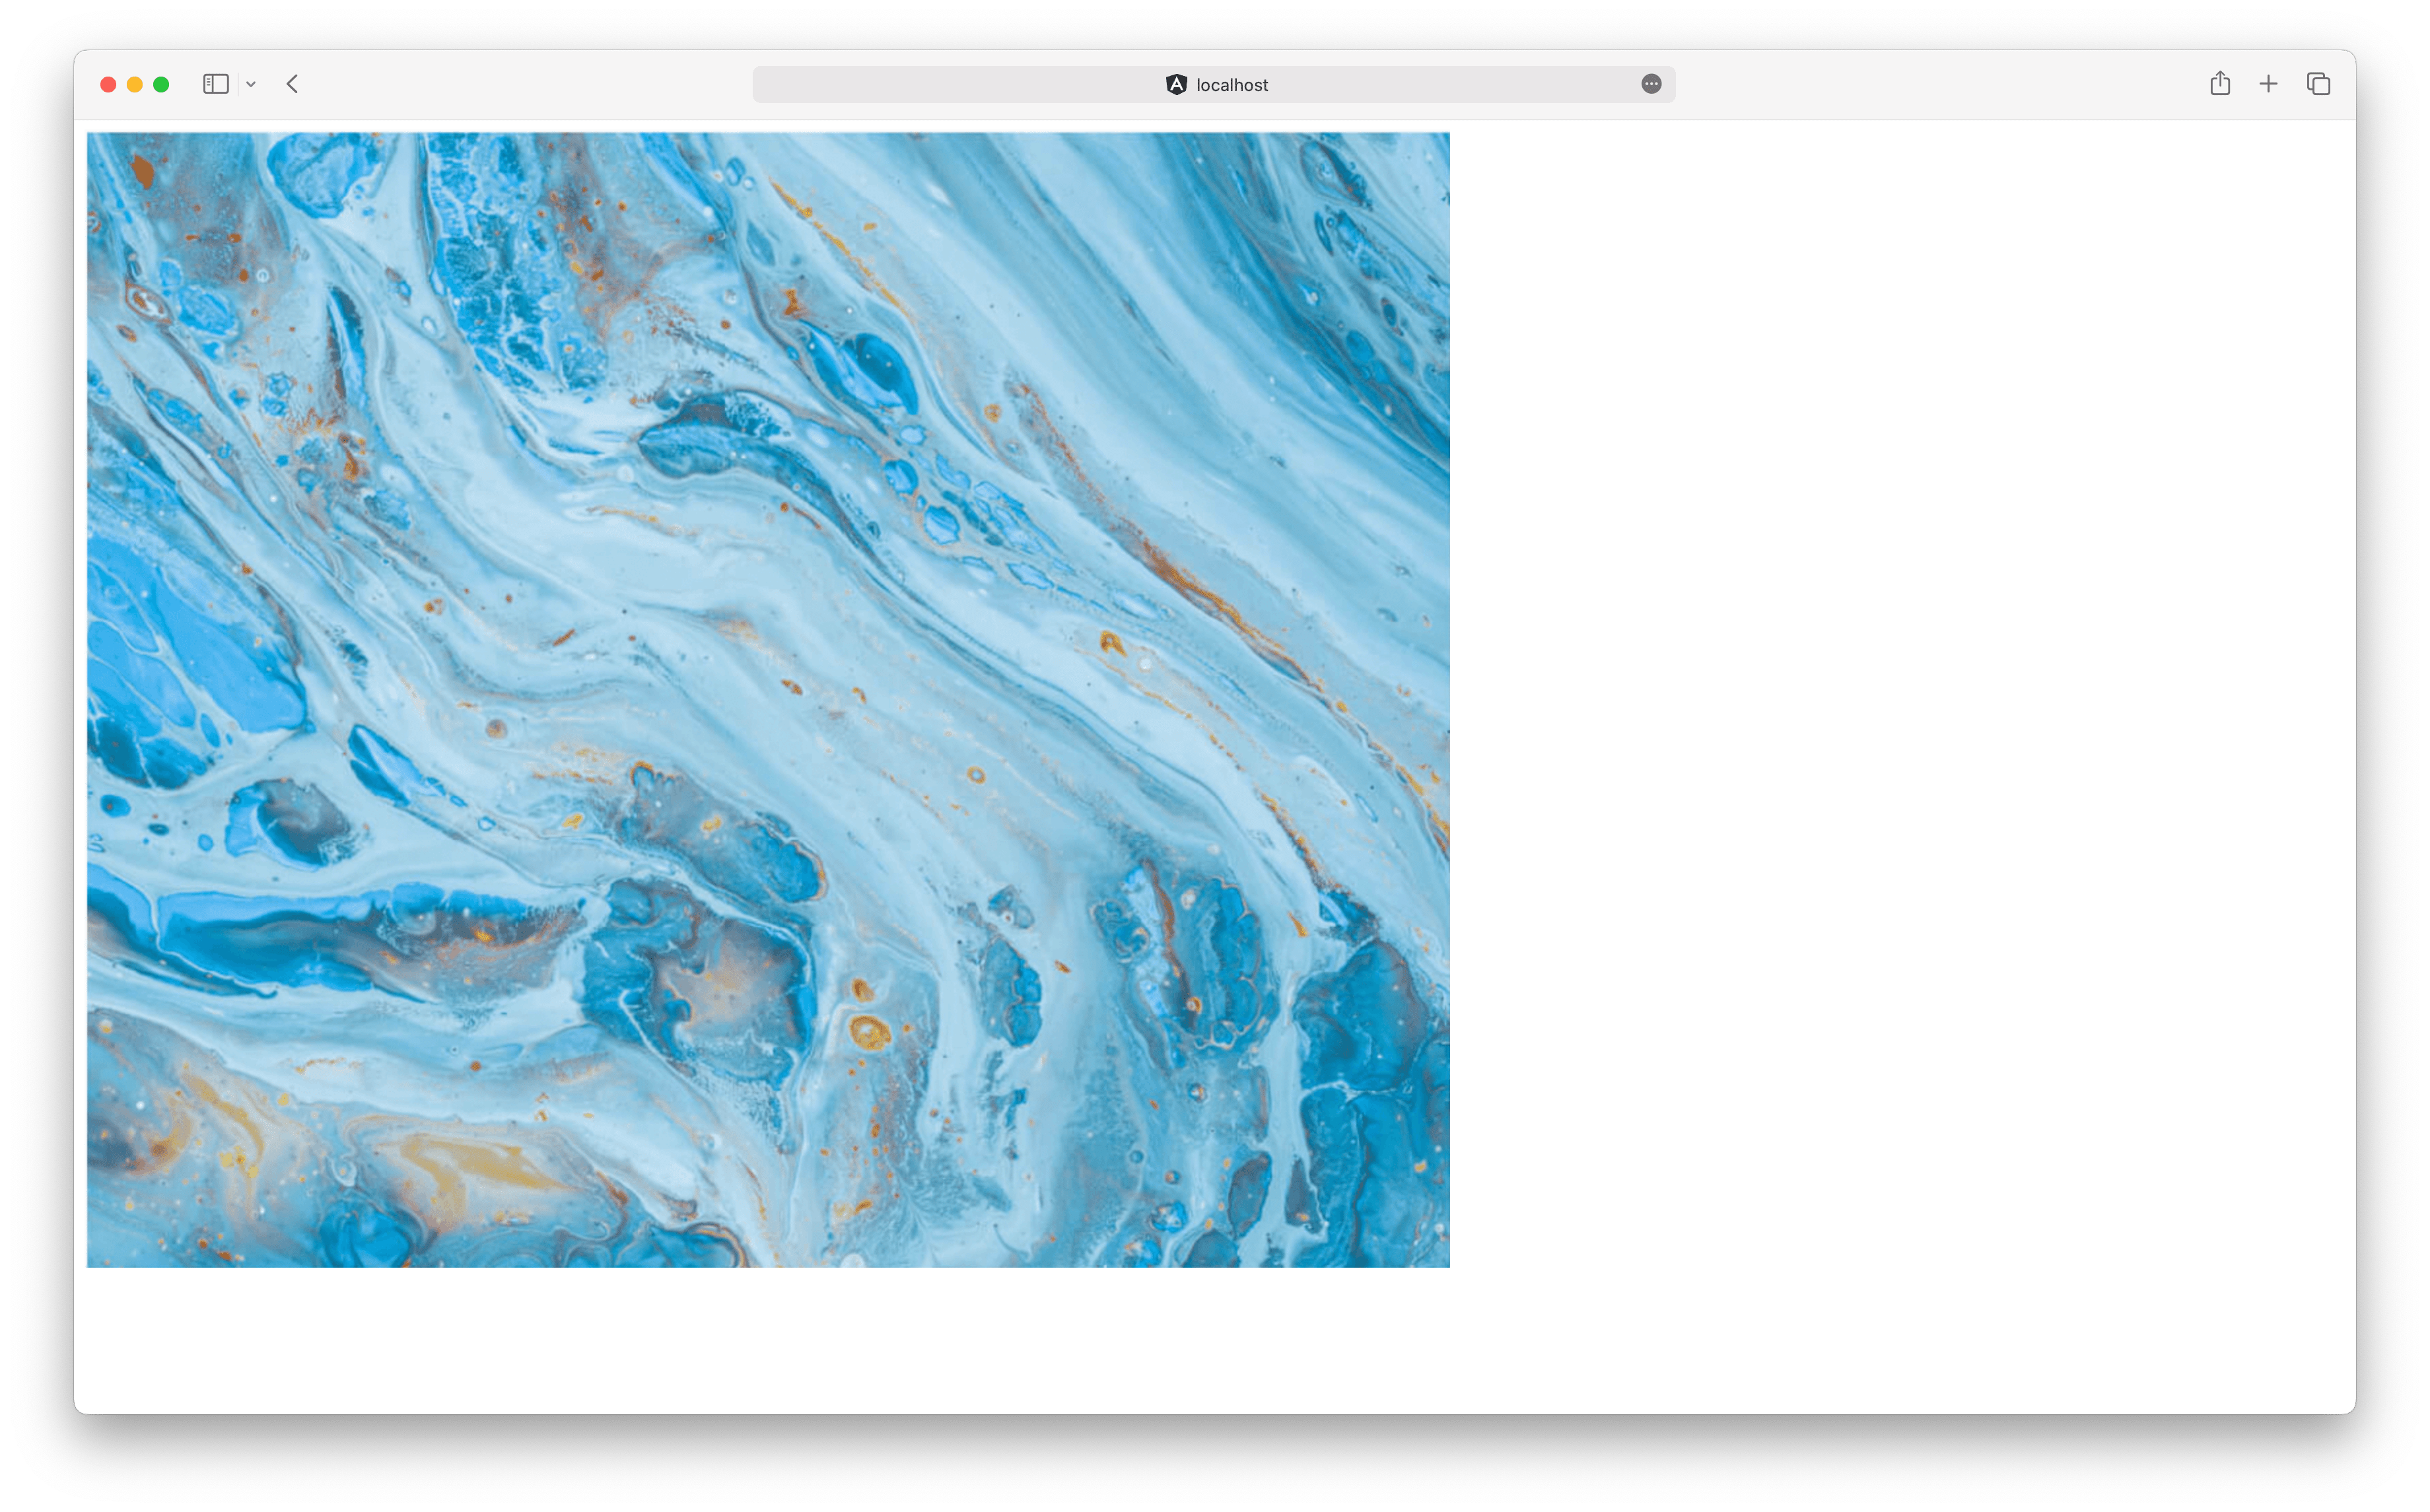
This is a basic example for building an Angular image viewer using Viewer.js, but you can customize the viewer using the Viewer.js options and events to match your needs.
Adding More Images
To add additional images to your viewer, you can create an array of image sources in your component’s class and use the viewer.show() method to change the current image.
Create an array called imageSources and add multiple image sources to it:
// src/app/image-viewer/image-viewer.component.ts

import { Component, OnInit, Renderer2 } from '@angular/core';
import Viewer from 'viewerjs';

@Component({
  selector: 'app-image-viewer',
  templateUrl: './image-viewer.component.html',
  styleUrls: ['./image-viewer.component.css'],
})
export class ImageViewerComponent implements OnInit {
  constructor(private renderer: Renderer2) {}
  viewer: any;

// Add an array of image sources.
  imageSources = [
    '../../assets/image-1.png',
    '../../assets/image-2.png',
    '../../assets/image-3.png',
  ];
  currentIndex = 0;

  ngOnInit() {
    const img = this.renderer.selectRootElement('img');

    this.viewer = new Viewer(img, {
      inline: true,
    });
  }

  showNextImage() {
    this.currentIndex++;
    if (this.currentIndex >= this.imageSources.length) {
      this.currentIndex = 0;
    }
    this.viewer.show(this.currentIndex);
  }
}
You can then use this showNextImage() method in your template file to add a button that allows the user to navigate between images:
<!-- src/app/image-viewer/image-viewer.component.html -->

<img [src]="imageSources[currentIndex]" class="img-size" />
<button (click)="showNextImage()">Next</button>

You can find the completed project on GitHub.
PSPDFKit Angular Image Viewer
We offer a commercial Angular image viewer library that can easily be integrated into your web application. Our Angular viewer supports rendering JPEG, PNG, TIFF, and PDF files in any modern browser and on any mobile device without any plugins.
Creating a New Angular Project
Now you’ll see how to integrate PSPDFKit into your Angular project.
First, create a new Angular project for the PSPDFKit integration:
ng new pspdfkit-web-example-angular
This will ask some configuration questions. Choose No for routing and CSS for the stylesheet. Now, change your directory to this project:
cd pspdfkit-web-example-angular
Adding PSPDFKit
Install pspdfkit as a dependency with npm or yarn:
npm install pspdfkit
yarn add pspdfkit
Now, add the following to your angular.json file. Angular will copy the PSPDFKit library assets to the assets directory before running your app:
"assets": [
 "src/favicon.ico",
	"src/assets",
+   {
+  	"glob": "**/*",
+		"input": "./node_modules/pspdfkit/dist/pspdfkit-lib/",
+		"output": "./assets/pspdfkit-lib/"
+	}
]
Displaying the PDF
Add the image you want to display to the src/assets directory. You can use our demo image as an example.
-
Replace the contents of
app.component.htmlwith the following:
<div class="app">
	<div class="toolbar">
		<img class="logo" src="/favicon.ico" height="32" alt="logo" />

		PSPDFKit Angular Application
	</div>

	<!-- We'll mount the PSPDFKit UI to this element. -->
	<div class="pspdfkit-container"></div>
</div>
-
Replace the contents of
app.component.tswith the following:
import { Component } from "@angular/core";
import PSPDFKit from "pspdfkit";

@Component({
  selector: "app-root",
  templateUrl: "./app.component.html",
  styleUrls: ["app.component.css"],
})
export class AppComponent {
  title = "PSPDFKit for Web Angular Example";

  ngAfterViewInit(): void {
    PSPDFKit.load({
		// Use the assets directory URL as a base URL. PSPDFKit will download its library assets from here.
      baseUrl: location.protocol + "//" + location.host + "/assets/",
      document: "/assets/image.png",
      container: ".pspdfkit-container",
      licenseKey: "YOUR_LICENSE_KEY_GOES_HERE", // Optional license key.
    }).then((instance) => {
      // For the sake of this demo, store the PSPDFKit for Web instance
      // on the global object so that you can open the dev tools and
      // play with the PSPDFKit API.

      (<any>window).instance = instance;
    });
  }
}
The license key is optional; however, you may see a watermark on your images without a key. To get a key, contact Sales.
If you try to run your project, you may get an error stating the mounting container has no height. To fix this issue, add the following styles to the src/app/app.component.css file:
:host {
	height: 100%;
}

.app {
	position: fixed;
	width: 100%;
	height: 100%;
	top: 0;
	right: 0;
	bottom: 0;
	left: 0;
}

.toolbar {
	position: relative;
	display: flex;
	align-items: center;
	height: 64px;
	width: 100%;
	padding: 0 24px;
	box-shadow: 0 1px 0 rgba(0, 0, 0, 0.1);
	font-family: sans-serif;
	font-size: 20px;
	font-weight: 500;
	color: rgba(0, 0, 0, 0.8);
}

.logo {
	margin-right: 20px;
}

.pspdfkit-container {
	height: calc(100% - 64px);
}
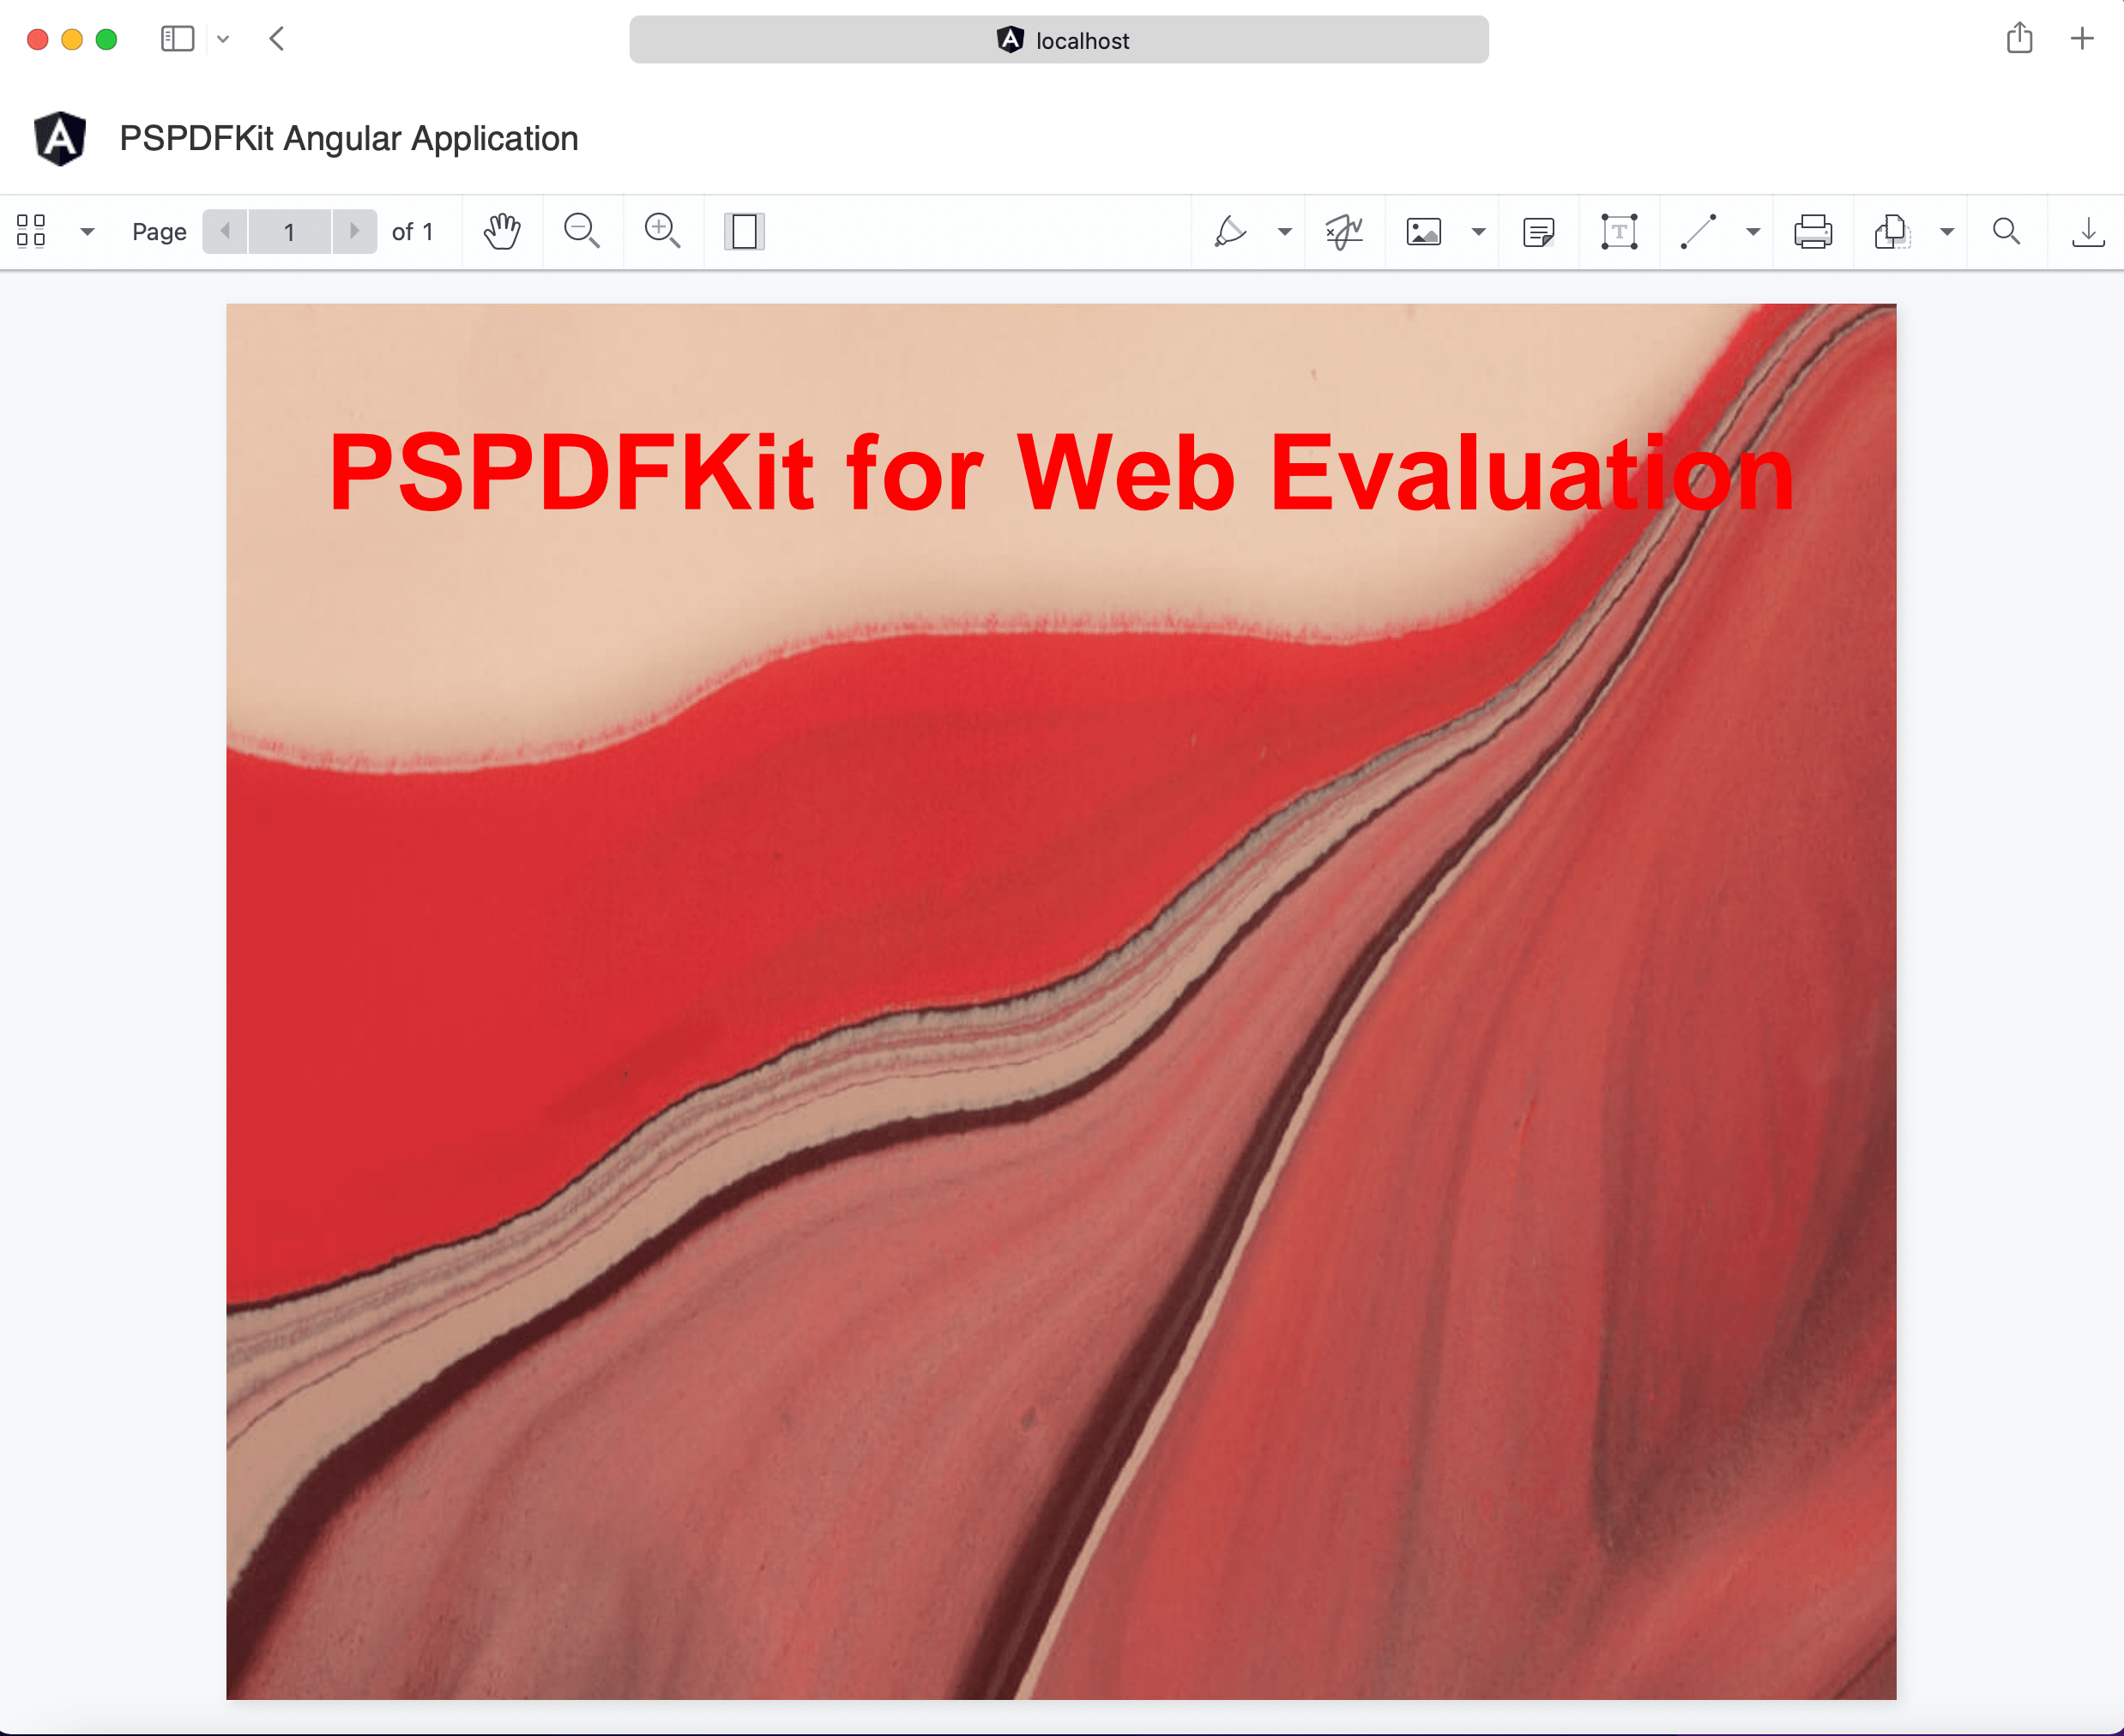
Start the app and open it in your default browser:
npm start
yarn start
Adding Even More Capabilities
Once you’ve deployed your viewer, you can start customizing it to meet your specific requirements or easily add more capabilities. To help you get started, here are some of our most popular Angular guides:
- Adding annotations
- Editing documents
- Filling PDF forms
- Adding signatures to documents
- Real-time collaboration
- Redaction
- UI customization
Conclusion
In this post, you first learned how to build an image viewer with the Viewer.js library. In the second part, you walked through how to create an image viewer with PSPDFKit for Web. We covered the basic steps of installing and setting up Angular and Viewer.js, creating a new image viewer component, adding images to the component, and initializing Viewer.js.
We created similar how-to blog posts using different web frameworks and libraries:
- How to Build a JavaScript Image Viewer with Viewer.js
- How to Build an Angular Image Viewer with PSPDFKit
- How to Build a Nuxt.js Image Viewer with PSPDFKit
- How to Build an ASP.NET Image Viewer with PSPDFKit
- How to Build a TypeScript Image Viewer with PSPDFKit
- How to Build a PDFium Image Viewer with PSPDFKit
To see a list of all web frameworks, start your free trial. Or, launch our demo to see our viewer in action.


