How to Build a TypeScript Image Viewer with PSPDFKit
In this post, we provide you with a step-by-step guide outlining how to deploy PSPDFKit’s TypeScript image viewer.
The State of JS 2021 results were recently published, and TypeScript is by far the most common alternative flavor of JavaScript. Developers seem to like TypeScript due to its type safety and the fact that it’s a superset of JavaScript. TypeScript adds static typing to JavaScript, which allows developers to catch errors at compile time instead of run time.
What Is a TypeScript Image Viewer?
A TypeScript image viewer uses TypeScript to render and view image documents in a web browser without the need to download it to your hard drive or use an external application like an image reader.
PSPDFKit TypeScript Image Viewer
We offer a commercial TypeScript image viewer library that can easily be integrated into your web application. It comes with 30+ features that let you view, annotate, edit, and sign documents directly in your browser. Out of the box, it has a polished and flexible UI that you can extend or simplify based on your unique use case.
- A prebuilt and polished UI for an improved user experience
- 15+ prebuilt annotation tools to enable document collaboration
- Browser-based text editing, page cropping, merging, rotating, and more
- Support for more file types with client-side PDF, MS Office, and image viewing
- Dedicated support from engineers to speed up integration
Example of Our TypeScript Image Viewer
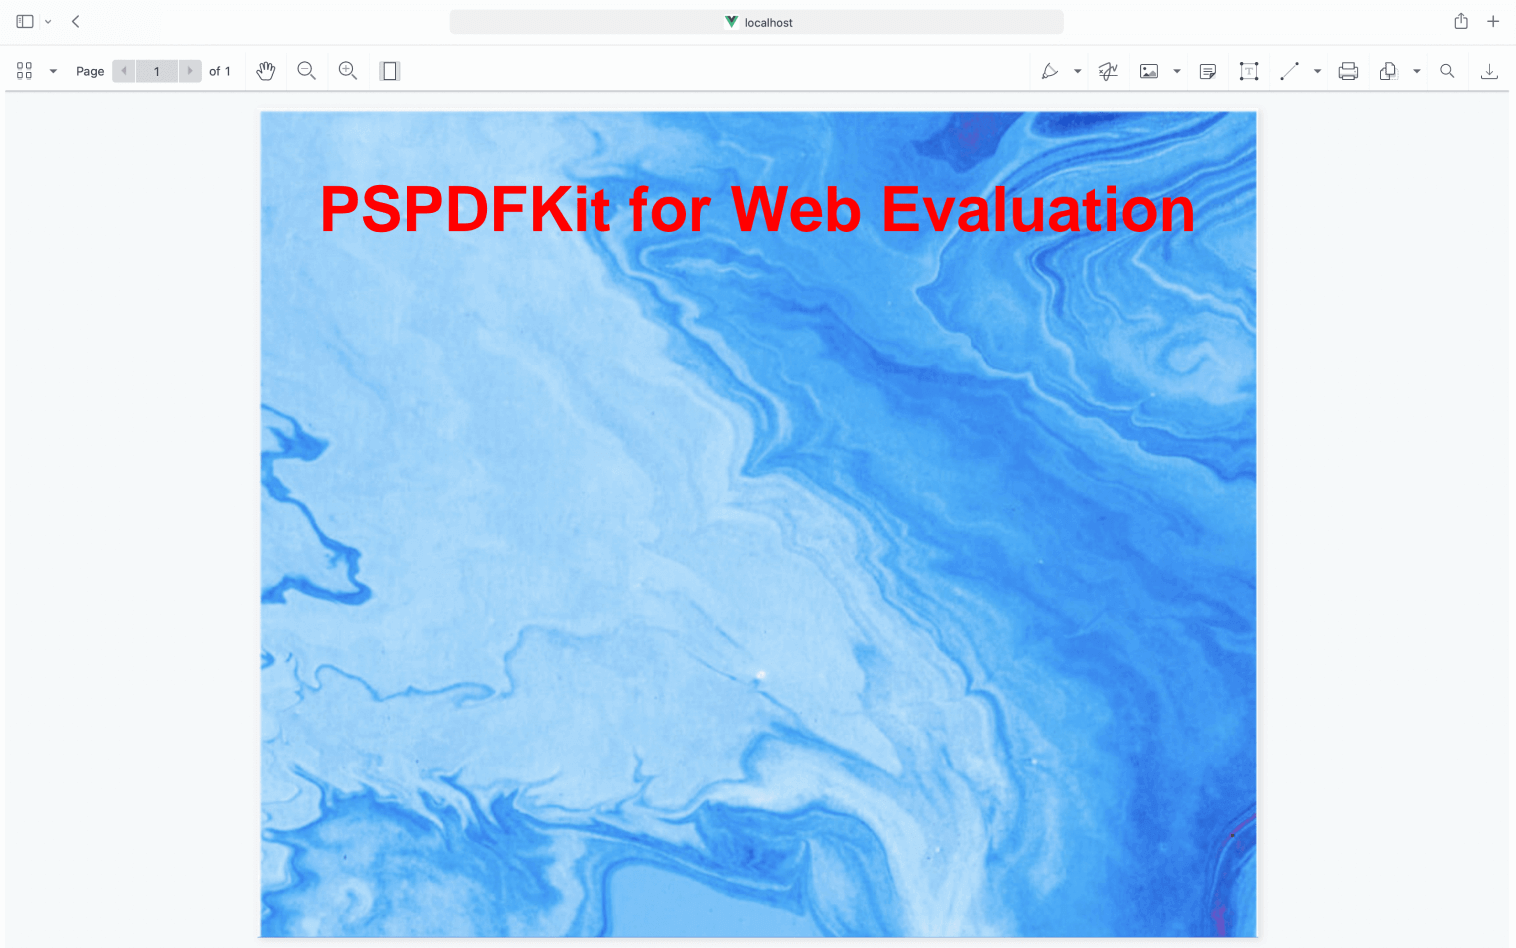
To see our image viewer in action, upload a JPG, PNG, or TIFF file by selecting Choose Example > Open Document (if you don’t see this, switch to the Standalone option). Once your image is displayed in the viewer, you can try drawing freehand, adding a note, or applying a crop or an e-signature.
Requirements to Get Started
To get started, you’ll need:
-
A package manager for installing the PSPDFKit library. You can use npm or Yarn. When you install Node.js,
npmis installed by default. -
TypeScript
You can install TypeScript globally by running the following command:
npm install -g typescript
Getting Started
-
Create a new folder and change your directory into it:
mkdir typescript-pspdfkit-viewer

cd typescript-pspdfkit-viewer
-
Create a
package.jsonfile by runningnpm init --yes. -
Create a new
tsconfig.jsonconfiguration file in the root of your project:
tsc --init
You can customize what rules you want the TypeScript compiler to follow. This post will use the following configuration:
// tsconfig.json
{
	"compilerOptions": {
		"removeComments": true,
		"preserveConstEnums": true,
		"module": "commonjs",
		"target": "es5",
		"sourceMap": true,
		"noImplicitAny": true,
		"esModuleInterop": true
	},
	"include": ["src/**/*"]
}
Check out the compiler options for more information.
Installing PSPDFKit and Configuring webpack
-
Install the PSPDFKit for Web library as a dependency:
npm install pspdfkit
-
You’ll use one of the most popular build tools, webpack, to bundle your project into a single file. It’ll help reduce the HTTP requests needed to load the image and minify your code.
Start by downloading the necessary dev dependencies:
npm i -D webpack webpack-cli webpack-dev-server ts-loader typescript html-webpack-plugin cross-env copy-webpack-plugin clean-webpack-plugin
Here’s what’s installed:
-
webpack— The webpack bundler. -
webpack-cli— The command-line interface for webpack. -
webpack-dev-server— A local server to run webpack in the browser. -
ts-loader— A package that teaches webpack how to compile TypeScript. -
typescript— The TypeScript compiler. -
clean-webpack-plugin— A plugin that cleans the output directory before building. -
copy-webpack-plugin— A plugin that copies files and directories to the output directory. -
html-webpack-plugin— A plugin that generates an HTML file from a template. -
cross-env— A package that allows you to set environment variables.
After the installation, you can see the dependencies in your package.json file:
"devDependencies": {
    "clean-webpack-plugin": "^4.0.0",
    "copy-webpack-plugin": "^10.2.4",
    "cross-env": "^7.0.3",
    "html-webpack-plugin": "^5.5.0",
    "ts-loader": "^9.2.7",
    "typescript": "^4.6.2",
    "webpack": "^5.70.0",
    "webpack-cli": "^4.9.2",
    "webpack-dev-server": "^4.7.4",
}-
To configure webpack, create a
configdirectory and place yourwebpackconfiguration file inside it:
mkdir config && touch config/webpack.js
-
If you’re using webpack 4, use the example file. If you’re using the latest version of webpack, currently
^5.70.0, use the following configuration:
// webpack.js
const path = require('path');
const HtmlWebpackPlugin = require('html-webpack-plugin');
const CopyWebpackPlugin = require('copy-webpack-plugin');

const filesToCopy = [
	// PSPDFKit files.
	{
		from: './node_modules/pspdfkit/dist/pspdfkit-lib',
		to: './pspdfkit-lib',
	},
	// Application CSS.
	{
		from: './src/index.css',
		to: './index.css',
	},
	// Example image.
	{
		from: './assets/image.png',
		to: './image.png',
	},
];

/**
 * webpack main configuration object.
 */
const config = {
	entry: path.resolve(__dirname, '../src/index.ts'),
	mode: 'development',
	devtool: 'inline-source-map',
	output: {
		path: path.resolve(__dirname, '../dist'),
		filename: '[name].js',
	},
	resolve: {
		extensions: ['.ts', '.tsx', '.js'],
	},
	module: {
		rules: [
			// All files with a `.ts` or `.tsx` extension will be handled by `ts-loader`.
			{
				test: /\.tsx?$/,
				loader: 'ts-loader',
				exclude: /node_modules/,
			},
		],
	},
	plugins: [
		// Automatically insert <script src="[name].js"><script> to the page.
		new HtmlWebpackPlugin({
			template: './src/index.html',
		}),

		// Copy the WASM/ASM and CSS files to the `output.path`.
		new CopyWebpackPlugin({ patterns: filesToCopy }),
	],

	optimization: {
		splitChunks: {
			cacheGroups: {
				// Creates a `vendor.js` bundle that contains external libraries (including `pspdfkit.js`).
				vendor: {
					test: /node_modules/,
					chunks: 'initial',
					name: 'vendor',
					priority: 10,
					enforce: true,
				},
			},
		},
	},
};

module.exports = config;
The entry point of your application will be the ../src/index.ts file, and the output will be bundled inside the dist folder. Note that you’re copying the image file, PSPDFKit files, and CSS files to the output path.
You created the module property containing the rules array to handle the TypeScript files. So, when webpack finds a file with the .ts or .tsx extension, it’ll use the ts-loader to compile it. Only then will the file be added to the dist build.
Displaying the Image File
-
Add the image you want to display to the
assetsdirectory. You can use our demo image as an example. -
Create an
index.htmlfile inside thesrcdirectory and add the following code:
<!DOCTYPE html>
<html>
	<head>
		<title>PSPDFKit for Web - TypeScript example</title>
		<link rel="stylesheet" href="index.css" />
	</head>
	<body>
		<div class="container"></div>
	</body>
</html>
This adds an empty <div> element to where PSPDFKit will be mounted.
-
You’ll declare the height of this element in your CSS file like this:
.container {
	height: 100vh;
}-
Now, create an
index.tsfile inside thesrcdirectory.
.ts is the extension used for TypeScript files. Later, you’ll run your code through the TypeScript transpiler to output a JavaScript version of the file (.js):
import PSPDFKit from 'pspdfkit';

function load(document: string) {
	console.log(`Loading ${document}...`);
	PSPDFKit.load({
		document,
		container: '.container',
	})
		.then((instance) => {
			console.log('PSPDFKit loaded', instance);
		})
		.catch(console.error);
}

load('image.png');
Here, you imported the PSPDFKit library and created a function that loads the image document.
Running the Project
-
Now, you need to write some scripts in the
package.jsonfile to start your server:
"scripts": {
    "build": "cross-env NODE_ENV=production webpack --config config/webpack.js",
    "prestart": "npm run build",
    "dev": "tsc",
    "start": "serve -l 8080 ./dist"
},-
You can run
npm startto start the server. Navigate tohttp://localhost:8080to see the contents of thedistdirectory.
Opening Different Image Files
The current viewer is loading the image file you have in the assets/image.png file. But you can also open different image files by adding an input field with the file type to the index.html file:
<body>
	<div>
		<input type="file" class="chooseFile" accept="image/*" />
	</div>
	<br />
	<div class="container"></div>
</body>
Now, go to the index.ts file and add the following code:
interface HTMLInputEvent extends Event {
	target: HTMLInputElement & EventTarget;
}

let objectUrl = '';

document.addEventListener('change', function (event: HTMLInputEvent) {
	if (
		event.target &&
		event.target.className === 'chooseFile' &&
		event.target.files instanceof FileList
	) {
		PSPDFKit.unload('.container');

		if (objectUrl) {
			URL.revokeObjectURL(objectUrl);
		}

		objectUrl = URL.createObjectURL(event.target.files[0]);
		load(objectUrl);
	}
});
Here, you added a change event listener to the <input> element. When the user selects a file, you’ll unload the current image and load the new one.

Adding Even More Capabilities
Once you’ve deployed your viewer, you can start customizing it to meet your specific requirements or easily add more capabilities. To help you get started, here are some of our most popular TypeScript guides:
- Adding annotations
- Editing documents
- Filling PDF forms
- Adding signatures to documents
- Real-time collaboration
- Redaction
- UI customization
Conclusion
You should now have our TypeScript image viewer up and running in your web application. If you hit any snags, don’t hesitate to reach out to our Support team for help.
You can also deploy our vanilla JavaScript image viewer or use one of our many web framework deployment options like React.js and Angular.
To see a list of all web frameworks, start your free trial. Or, launch our demo to see our viewer in action.

Hulya is a frontend web developer and technical writer at PSPDFKit who enjoys creating responsive, scalable, and maintainable web experiences. She’s passionate about open source, web accessibility, cybersecurity privacy, and blockchain.


