How to Create PDFs with React to PDF

In this blog post, you’ll learn how to generate a PDF from a React component. You’ll use the React to PDF package to take a screenshot of a website and then download the screenshot as a PDF file via a button click. The React to PDF library lets you generate PDFs client-side, which means you don’t have to worry about a server.
Before you start, it’s important to note that the screenshots you’ll be capturing aren’t vectorized. If you plan on zooming into the PDF, it’s likely the text will be blurred. Another consideration is that the PDF you generate won’t always capture the full page of the website; in this example, you’ll only capture the visible part of the page.
Installing React to PDF
To install React to PDF, use the following command in your terminal:
npm install react-to-pdf
If you try to install React to PDF via Create React App, you may get some errors, depending on the version of React.js, as currently, React to PDF isn’t supported by React v18:
However, while writing this article, we discovered that the library seems to be working on CodeSandbox with React v18.
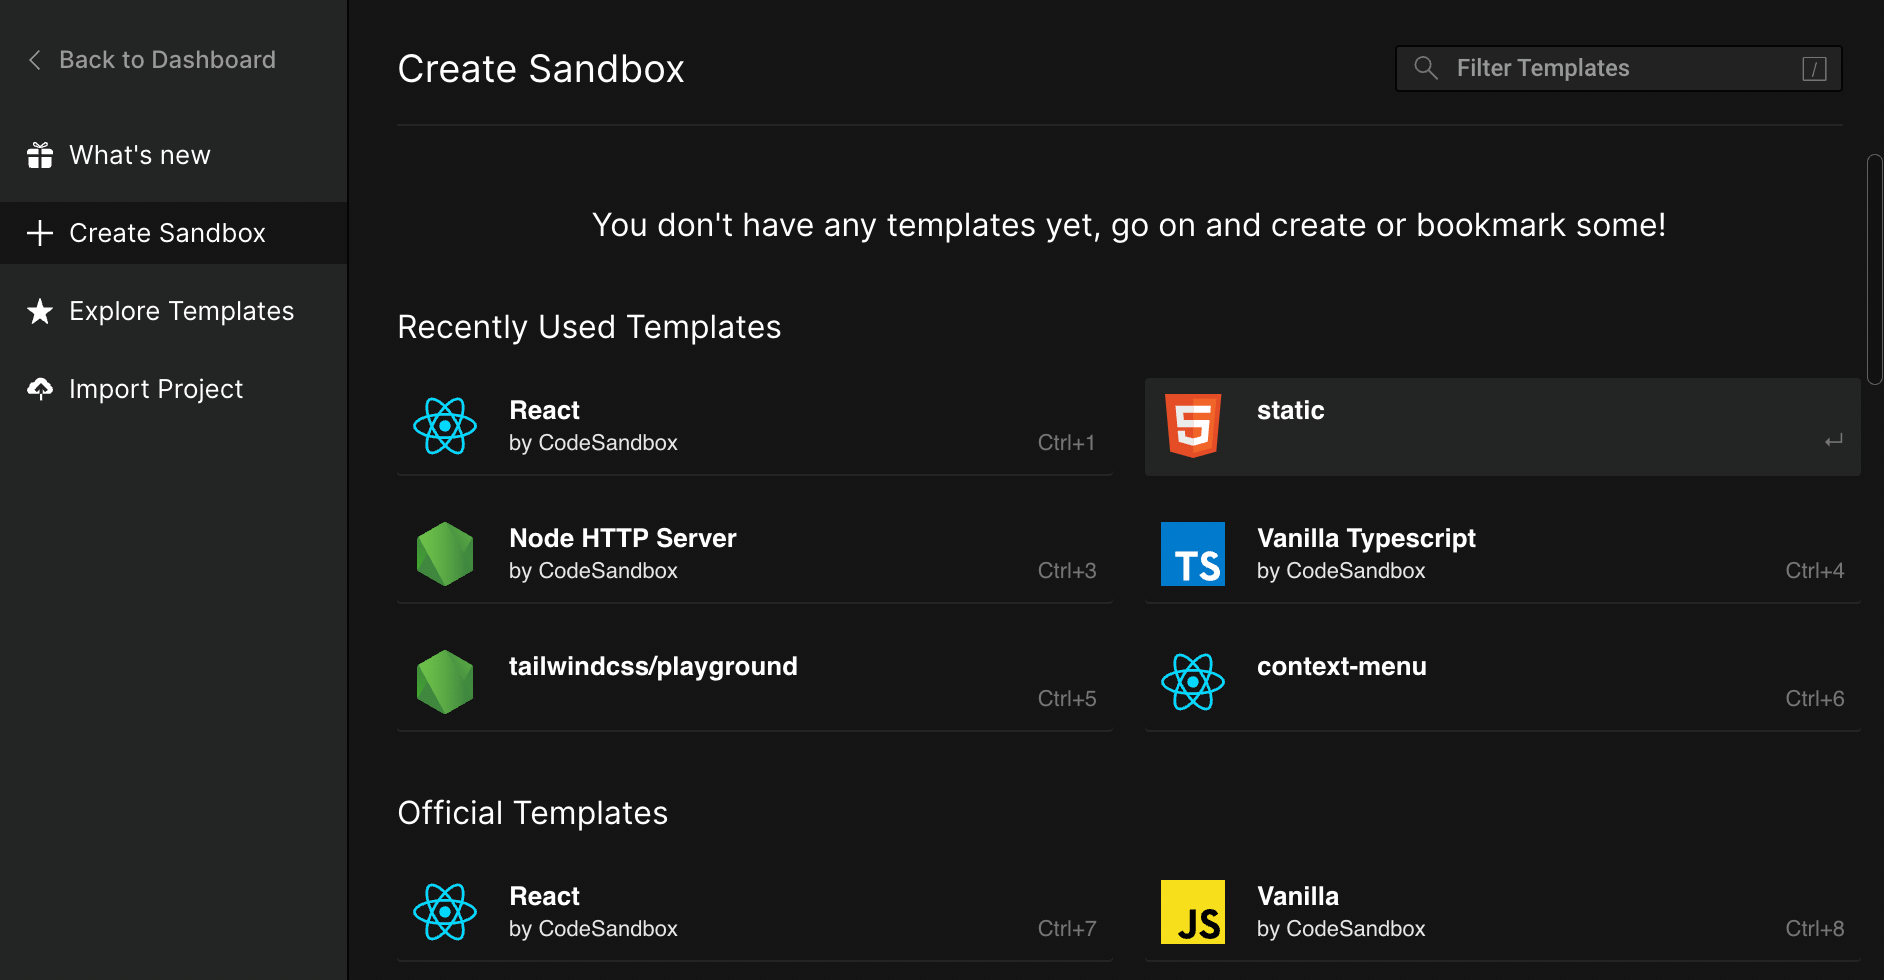
If you want to follow along, create a CodeSandbox account, and then create a sandbox with a React template.
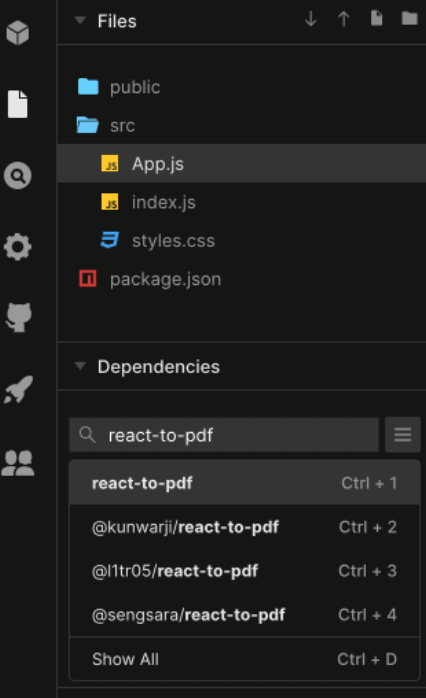
To add the React to PDF package to your project, find the Explorer tab and Dependencies section. Type react-to-pdf in the Add Dependency field. Find the package in the search results, and click on it to add it to your project.
Generating a PDF
In this tutorial, you’ll create a receipt template UI and download it as a PDF. To work with the React to PDF library, you’ll add a Generate PDF button to the UI.
Navigate to the App.js file in the src folder. Import Pdf from the React to PDF package.
React has a special hook called useRef, which you’ll use to create a reference to the Pdf component. The Pdf component takes targetRef and filename props:
import Pdf from 'react-to-pdf';
import { useRef } from 'react';

export default function App() {
	const ref = useRef();

	return (
		<div className="App">
			<Pdf targetRef={ref} filename="document.pdf">
				{({ toPdf }) => (
					<button onClick={toPdf} className="button">
						Generate PDF
					</button>
				)}
			</Pdf>
			<div ref={ref}>{/* Your UI goes here */}</div>
		</div>
	);
}
Here, the targetRef will reference the div element you want to render as a PDF. The filename will be the name of the PDF file. Inside the Pdf component, you’re rendering a button, and when it’s clicked, you’ll call the toPdf function.
Now, you can fill the referenced div with the content you want to display in the PDF. You can see the full code below:
import Pdf from 'react-to-pdf';
import { useRef, useState } from 'react';

export default function App() {
	const [inputValue, setInputValue] = useState({
		note: '',
		date: '',
		issued: '',
	});

	const handleChange = (e) => {
		const { name, value } = e.target;
		setInputValue({
			[name]: value,
		});
	};

	const ref = useRef();

	return (
		<div className="App">
			<Pdf targetRef={ref} filename="document.pdf">
				{({ toPdf }) => (
					<button onClick={toPdf} className="button">
						Generate PDF
					</button>
				)}
			</Pdf>

			<div ref={ref}>
				<div id="pspdfkit-header">
					<div className="header-columns">
						<div className="logotype">
							<img className="logo" src="logo.svg" alt="logo" />
							<p>Company</p>
						</div>

						<div>
							<p>[Company Info]</p>
						</div>
					</div>
				</div>

				<div className="page">
					<div>
						<h2>Receipt #</h2>
					</div>

					<div className="intro-table">
						<div className="intro-form intro-form-item">
							<p className="intro-table-title">Billed To:</p>
							<p>
								Company Ltd.
								<br />
								Address
								<br />
								Country
								<br />
								VAT ID: ATU12345678
							</p>
						</div>

						<div className="intro-form">
							<div className="intro-form-item-border">
								<p className="intro-table-title">
									Payment Date:
								</p>
								<p>November 22nd 2021</p>
							</div>

							<div className="intro-form-item-border">
								<p className="intro-table-title">
									Payment Method:
								</p>
								<p>Bank Transfer</p>
							</div>
						</div>
					</div>

					<div className="table-box">
						<table>
							<tbody>
								<tr className="heading">
									<td>Description</td>
									<td>QTY</td>
									<td>Unit Price</td>
									<td>Total</td>
								</tr>

								<tr className="item">
									<td></td>
									<td></td>
									<td></td>
									<td></td>
								</tr>

								<tr className="item">
									<td></td>
									<td></td>
									<td></td>
									<td></td>
								</tr>

								<tr className="item">
									<td></td>
									<td></td>
									<td></td>
									<td></td>
								</tr>

								<tr className="item">
									<td></td>
									<td></td>
									<td></td>
									<td></td>
								</tr>

								<tr className="item">
									<td></td>
									<td></td>
									<td></td>
									<td></td>
								</tr>

								<tr className="item">
									<td></td>
									<td></td>
									<td></td>
									<td></td>
								</tr>
							</tbody>
						</table>
					</div>

					<div className="summary-box">
						<table>
							<tbody>
								<tr className="item">
									<td></td>
									<td>Subtotal:</td>
									<td></td>
								</tr>

								<tr className="item">
									<td></td>
									<td>Discount:</td>
									<td></td>
								</tr>

								<tr className="item">
									<td></td>
									<td>Subtotal Less Discount:</td>
									<td></td>
								</tr>

								<tr className="item">
									<td></td>
									<td>Tax Rate:</td>
									<td></td>
								</tr>

								<tr className="item">
									<td></td>
									<td>Total Tax:</td>
									<td></td>
								</tr>

								<tr className="item">
									<td></td>
									<td>Shipping/Handling:</td>
									<td></td>
								</tr>

								<tr className="no-border-item">
									<td></td>
									<td>Total Due:</td>
									<td></td>
								</tr>

								<tr className="total">
									<td></td>
									<td>Amount Paid:</td>
									<td></td>
								</tr>
							</tbody>
						</table>
					</div>
				</div>

				<div className="page">
					<div>
						<h4>Thank you for your purchase!</h4>
					</div>

					<div className="form">
						<label htmlFor="notes" className="label">
							Notes:
						</label>
						<input
							type="text"
							id="notes"
							className="border-bottom"
							value={inputValue.note}
							onChange={handleChange}
						/>
					</div>

					<div className="signer">
						<div className="form signer-item">
							<label htmlFor="date" className="label">
								Date:
							</label>
							<input
								type="text"
								id="date"
								className="border-bottom"
								value={inputValue.date}
								onChange={handleChange}
							/>
						</div>

						<div className="form signer-item">
							<label htmlFor="signature" className="label">
								Issued by:
							</label>
							<input
								type="text"
								id="signature"
								className="border"
								value={inputValue.issued}
								onChange={handleChange}
							/>
						</div>
					</div>
				</div>
			</div>
		</div>
	);
}
Now, when you click the Generate PDF button, the document.pdf file will be downloaded to your computer.
Conclusion
In this post, you were able to successfully take a screenshot of a React component using the React to PDF package. If you’re looking to add more robust PDF capabilities, we offer a commercial React PDF library that can easily be integrated into your web application. It comes with 30+ features that let you view, annotate, edit, and sign documents directly in your browser. Out of the box, it has a polished and flexible UI that you can extend or simplify based on your unique use case.
You can also deploy our vanilla JavaScript PDF viewer or use one of our many web framework deployment options like React.js, Angular, and Vue.js. To see a list of all web frameworks, start your free trial. Or, launch our demo to see our viewer in action.

Hulya is a frontend web developer and technical writer at PSPDFKit who enjoys creating responsive, scalable, and maintainable web experiences. She’s passionate about open source, web accessibility, cybersecurity privacy, and blockchain.


