Presenting Popovers from SwiftUI
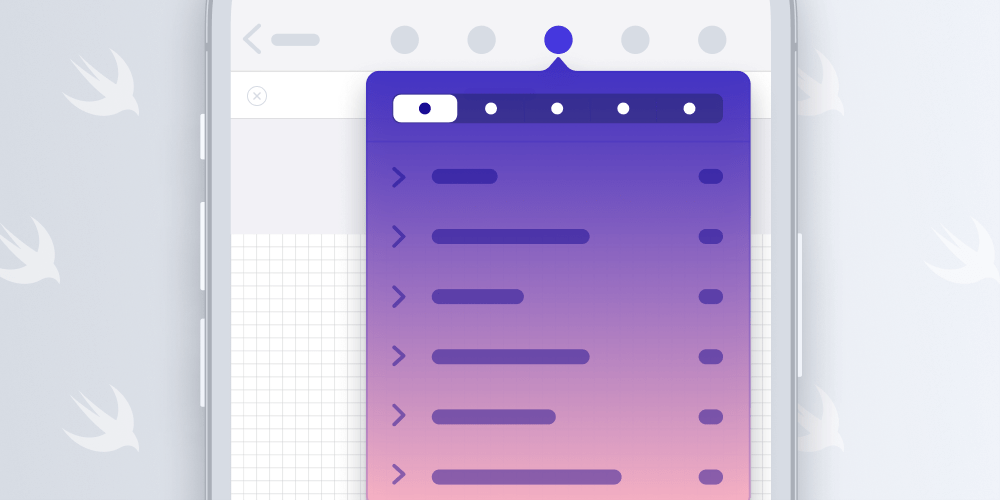
While working on our new SwiftUI wrappers for our iOS PDF SDK, I discovered an interesting problem. We offer various prebuilt view controllers such as search or an outline view, and these are usually presented as popovers on the navigation bar.
PDFViewController offers various convenience methods to take care of presentation. These methods take a sender for a popover to use as an anchor, which is the object the popover arrow points toward. It can be an instance of either UIView or UIBarButtonItem, but neither is available in SwiftUI. Is there a way to get such an anchor for toolbar buttons managed by SwiftUI?
Presenting Popovers from SwiftUI
Presenting a popover from a toolbar is straightforward with the .popover modifier:
@State var isShowingPopover = false

    var body: some View {
        PDFView(document: $document)
        .toolbar {
            ToolbarItem(placement: .navigationBarTrailing) {
                Button("Popover") {
                    isShowingPopover.toggle()
                }
                .popover(isPresented: $isShowingPopover) {
                    Text("Hi from a popover")
                        .padding()
                        .frame(width: 320, height: 100)
                }
            }
However, it appears as if this is currently buggy (FB8546290), and it doesn’t correctly dismiss the popover. Below is a video of the behavior.
Even basic things in SwiftUI are surprisingly buggy. I'm just trying to present a popover from the toolbar and it... jumps to the top right on the first tap outside, and second tap dismisses it? WAT?
— Peter Steinberger (@steipete) October 17, 2020
(Xcode 12.2b3 and iOS 14.2b3, same with stable) pic.twitter.com/SPsgY5blGi
It’s possible to wrap custom view controllers via UIViewControllerRepresentable and then present them via the popover modifier, but this seems inconvenient. Is there a better way?
Bar Buttons in Swift: The iOS 13 Way
In the first version of SwiftUI, buttons could be placed using the navigationBarItems modifier:
struct ContentView: View {
    var body: some View {
        Label("Example")
        .navigationTitle("Do Something")
        .navigationBarItems(trailing: EditButton())
    }
}
This code only works with the navigation bar, and it’s limited to one view each for the leading and trailing part of the navigation bar. To add multiple buttons, Apple suggests using a stack view, similar to the early days of UIKit when one also had to lay out a view manually to place multiple buttons.
Under the hood, there’s one UIBarButtonItem that hosts the SwiftUI view, and touches are handled via gesture recognizers. It’s easy to see that the buttons don’t exactly look like standard bar button items, and touch handling doesn’t expand into the status bar, which is the default for regular bar buttons.
To anchor a popover to a button, we can use a simple trick. We embed an empty UIView beneath each button, which we can then use to anchor the popover:
This is simple and elegant, and it doesn’t change the presentation of the buttons. You can see that this code already includes a reference to BarButtonWatcher, which is explained in the next section.
Bar Buttons in Swift: iOS 14 and Beyond
In iOS 14, SwiftUI now includes a unified Toolbar API:
(Any view).toolbar {
            ToolbarItem(placement: .navigationBarTrailing) {
                AnchorButton {
                    actions.send(.showOutline(sender: $0))
                } label: {
                    Image(systemName: "book")
                }
            }
This toolbar API can place buttons not only in the navigation bar, but also in the bottom toolbar and other places, depending on the platform.
Under the hood, Apple introspects SwiftUI views and converts them into proper UIBarButtonItems. While the AnchorButton we’ve been using successfully with the previous API is still generated, our second view is not embedded and the label image is being directly set as a bar button item. This can be verified with the view debugger:
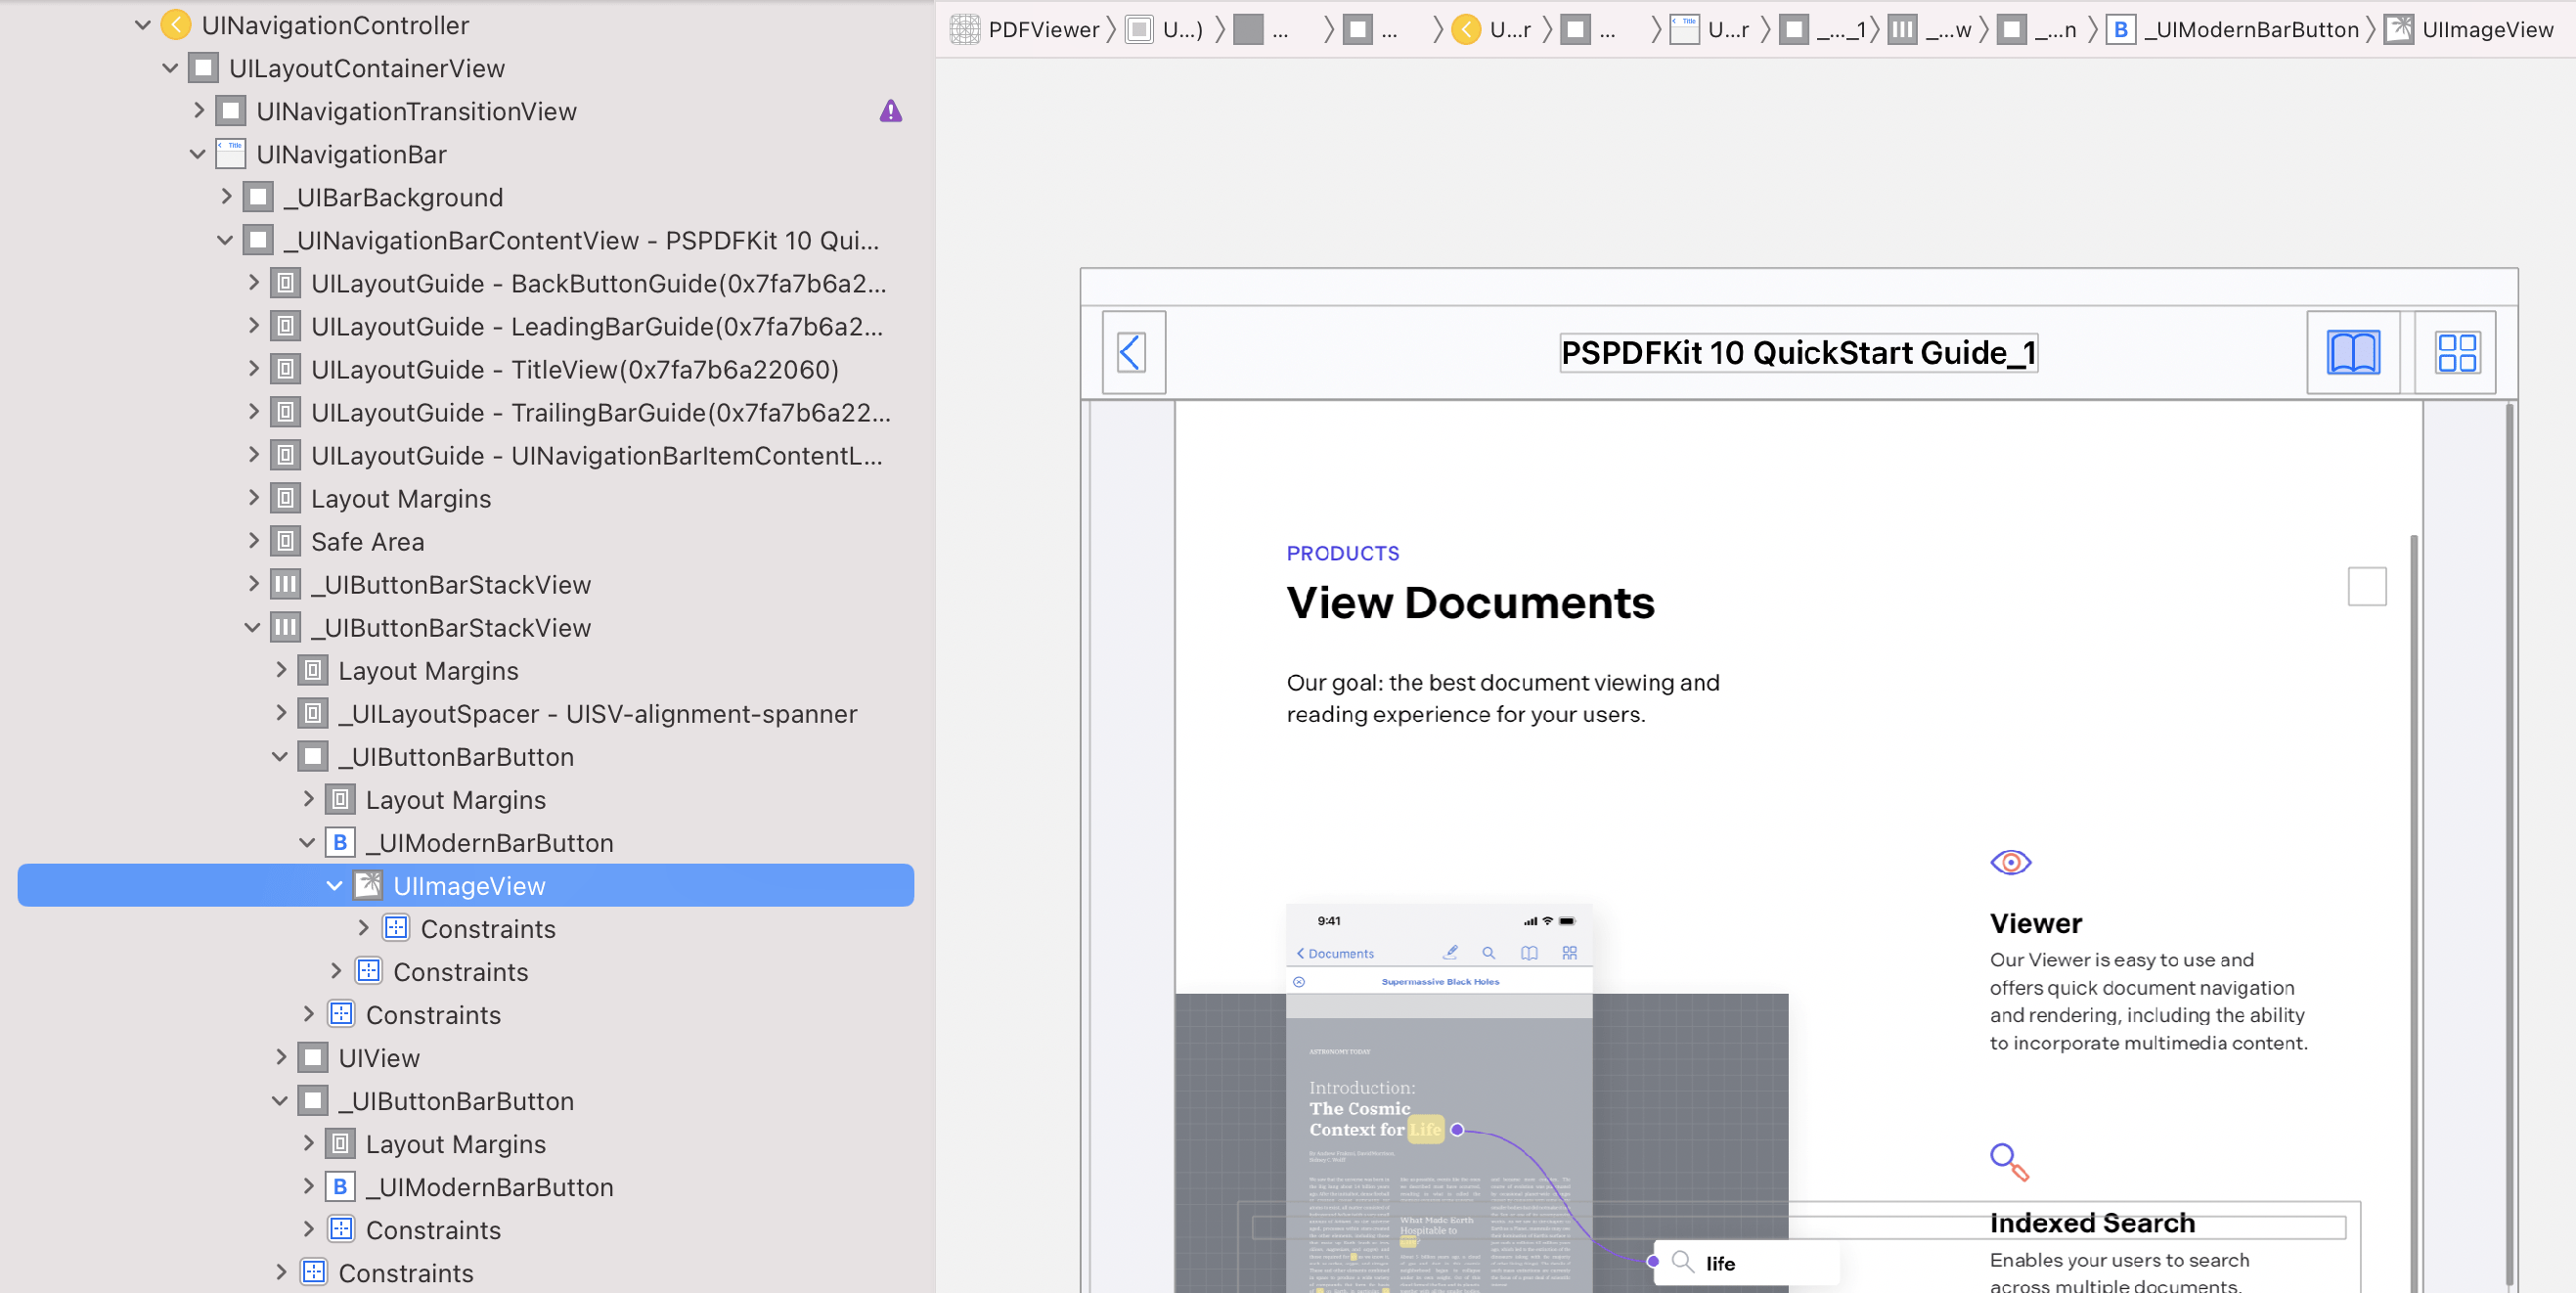
This also implies that we can’t use the same trick here anymore! Either we drop down to the previous API, or we find a way to get ahold of the bar button item used here.
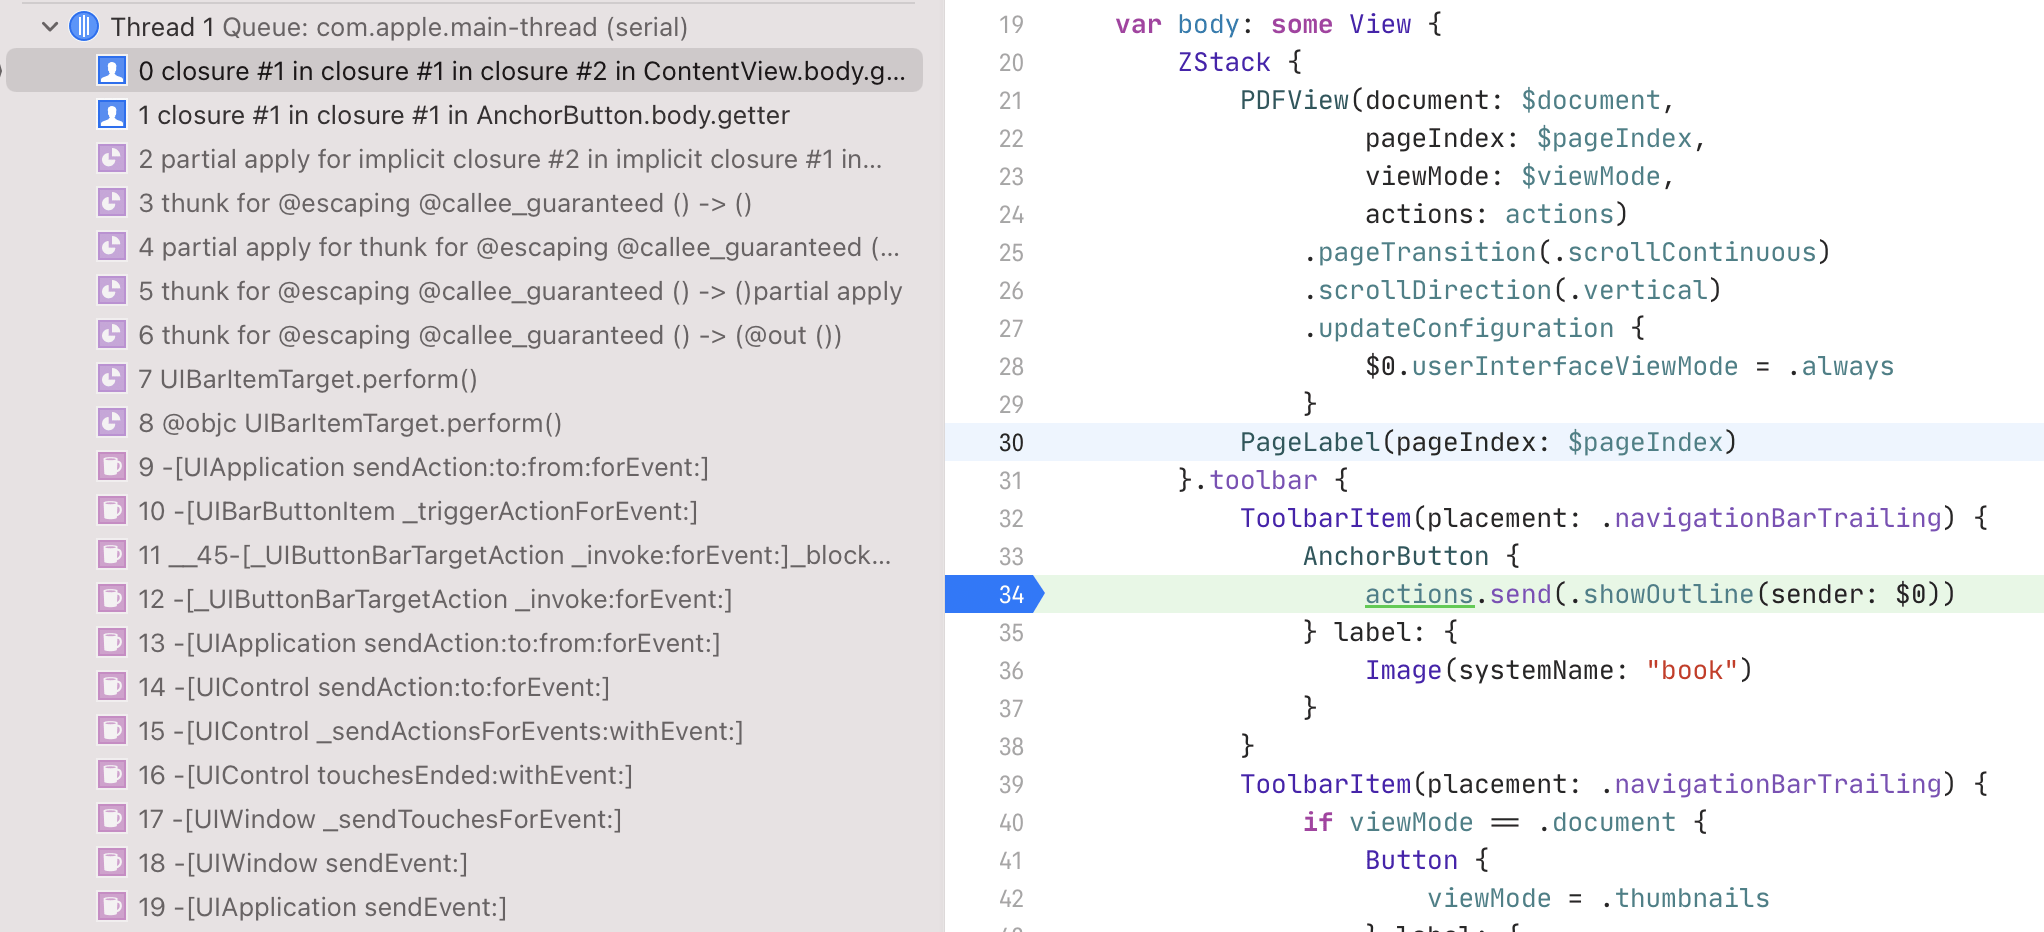
If we look at the stack trace when our action is being executed, we see quite a few entry points that are public APIs. I chose UIApplication.sendAction(_:to:from:for:) as the point to swizzle and wrote a watcher that will memorize a bar button item for the current run loop if one is passed through:
While this can be seen as hacky, it only uses public APIs and it fails gracefully. In the worst case, we can’t get ahold of a bar button item and the popover is presented centered on the screen.
For safe and fast swizzling in Swift, we use InterposeKit; however, you can use any other helper or just use the runtime to hook into sendAction.
Catalyst Special Considerations
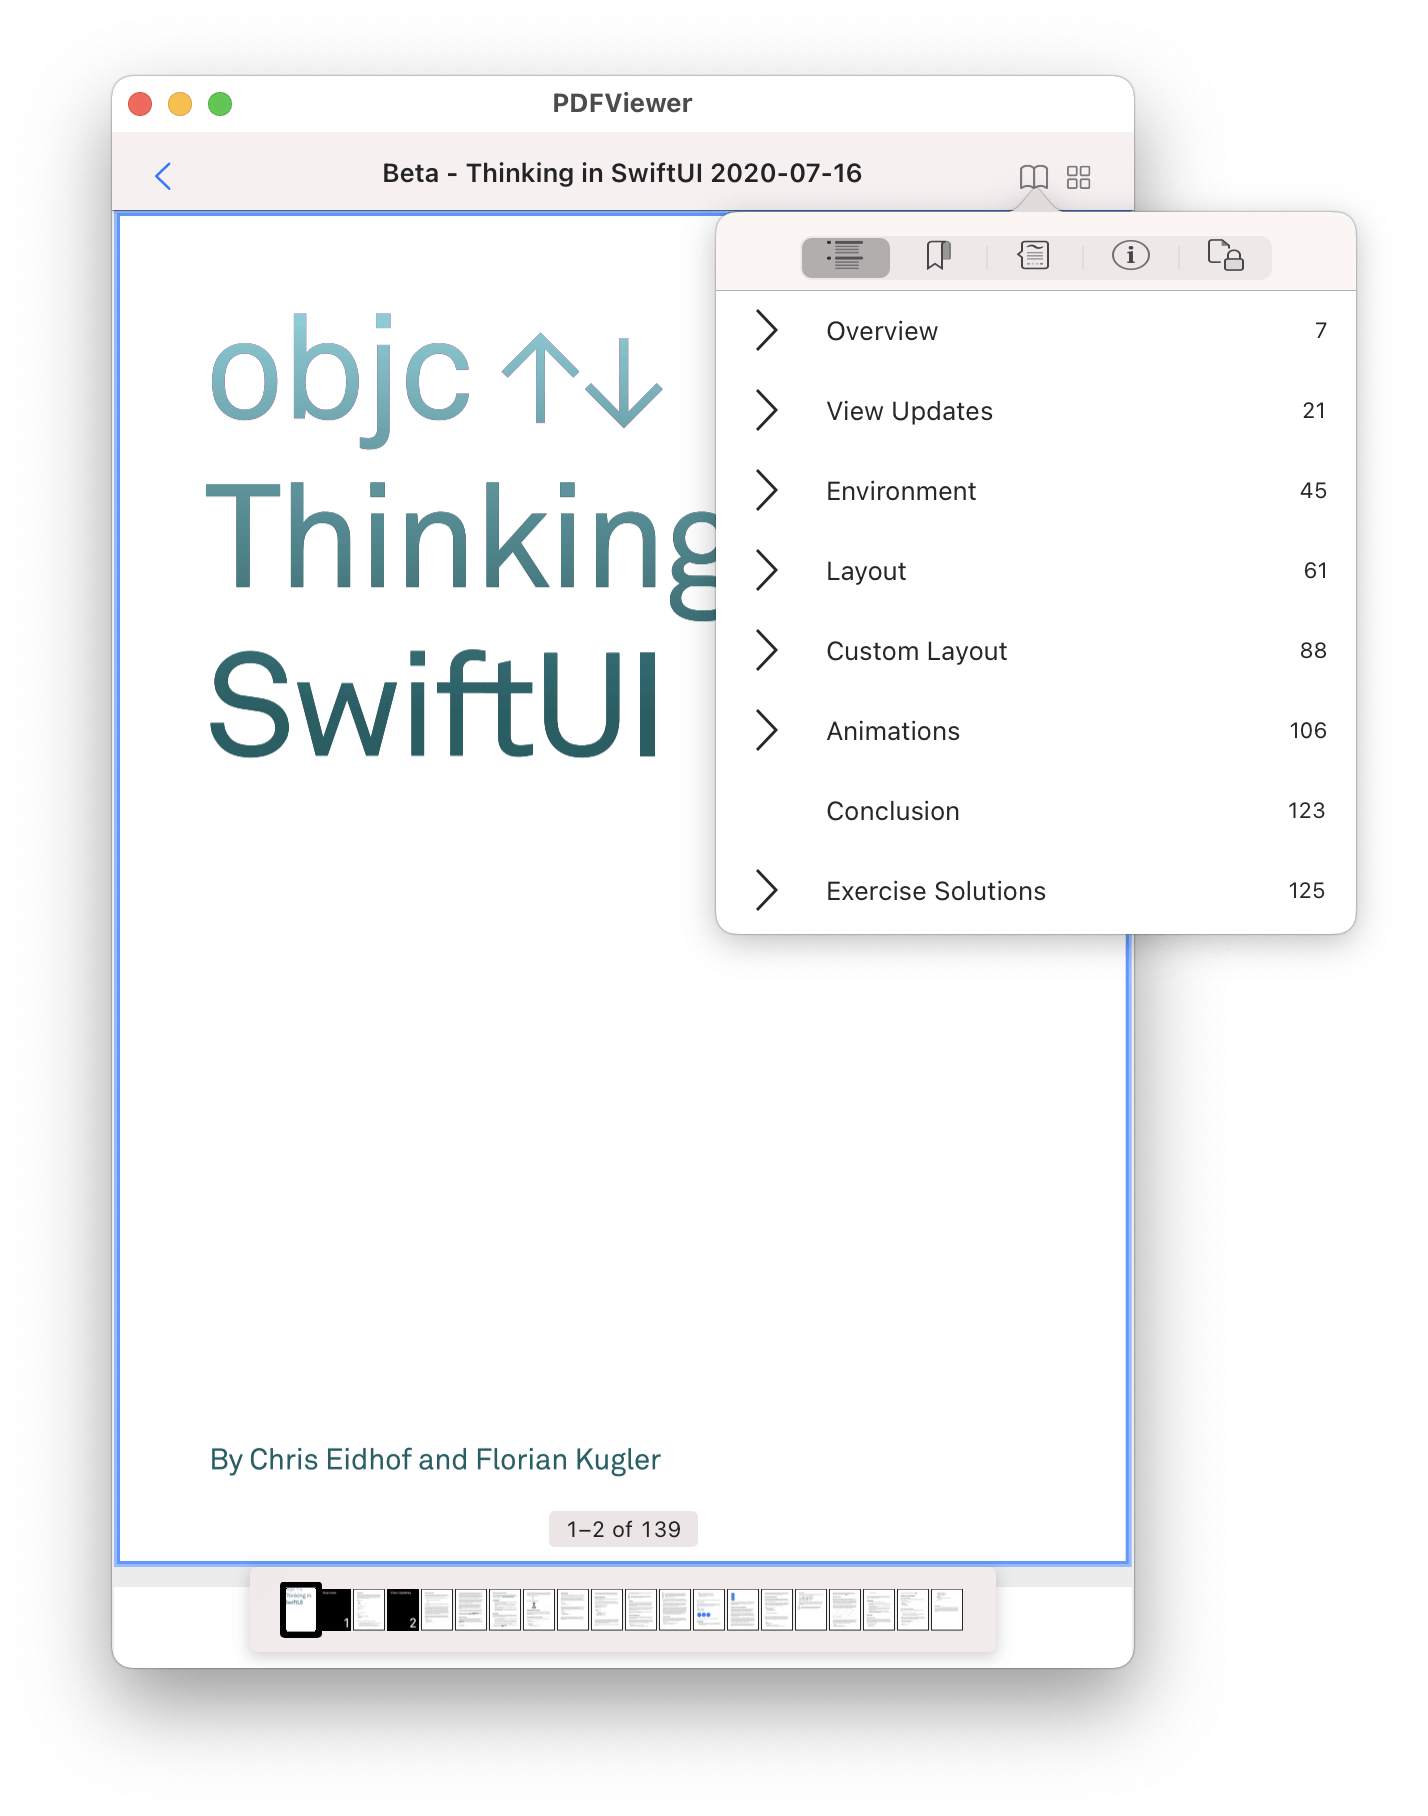
Heads up! While one would expect that Mac Catalyst also uses this new behavior, it seems like the toolbar management code here embeds views directly, so the iOS 13 approach works here as well. This is undocumented, so be ready to handle both view presentations.
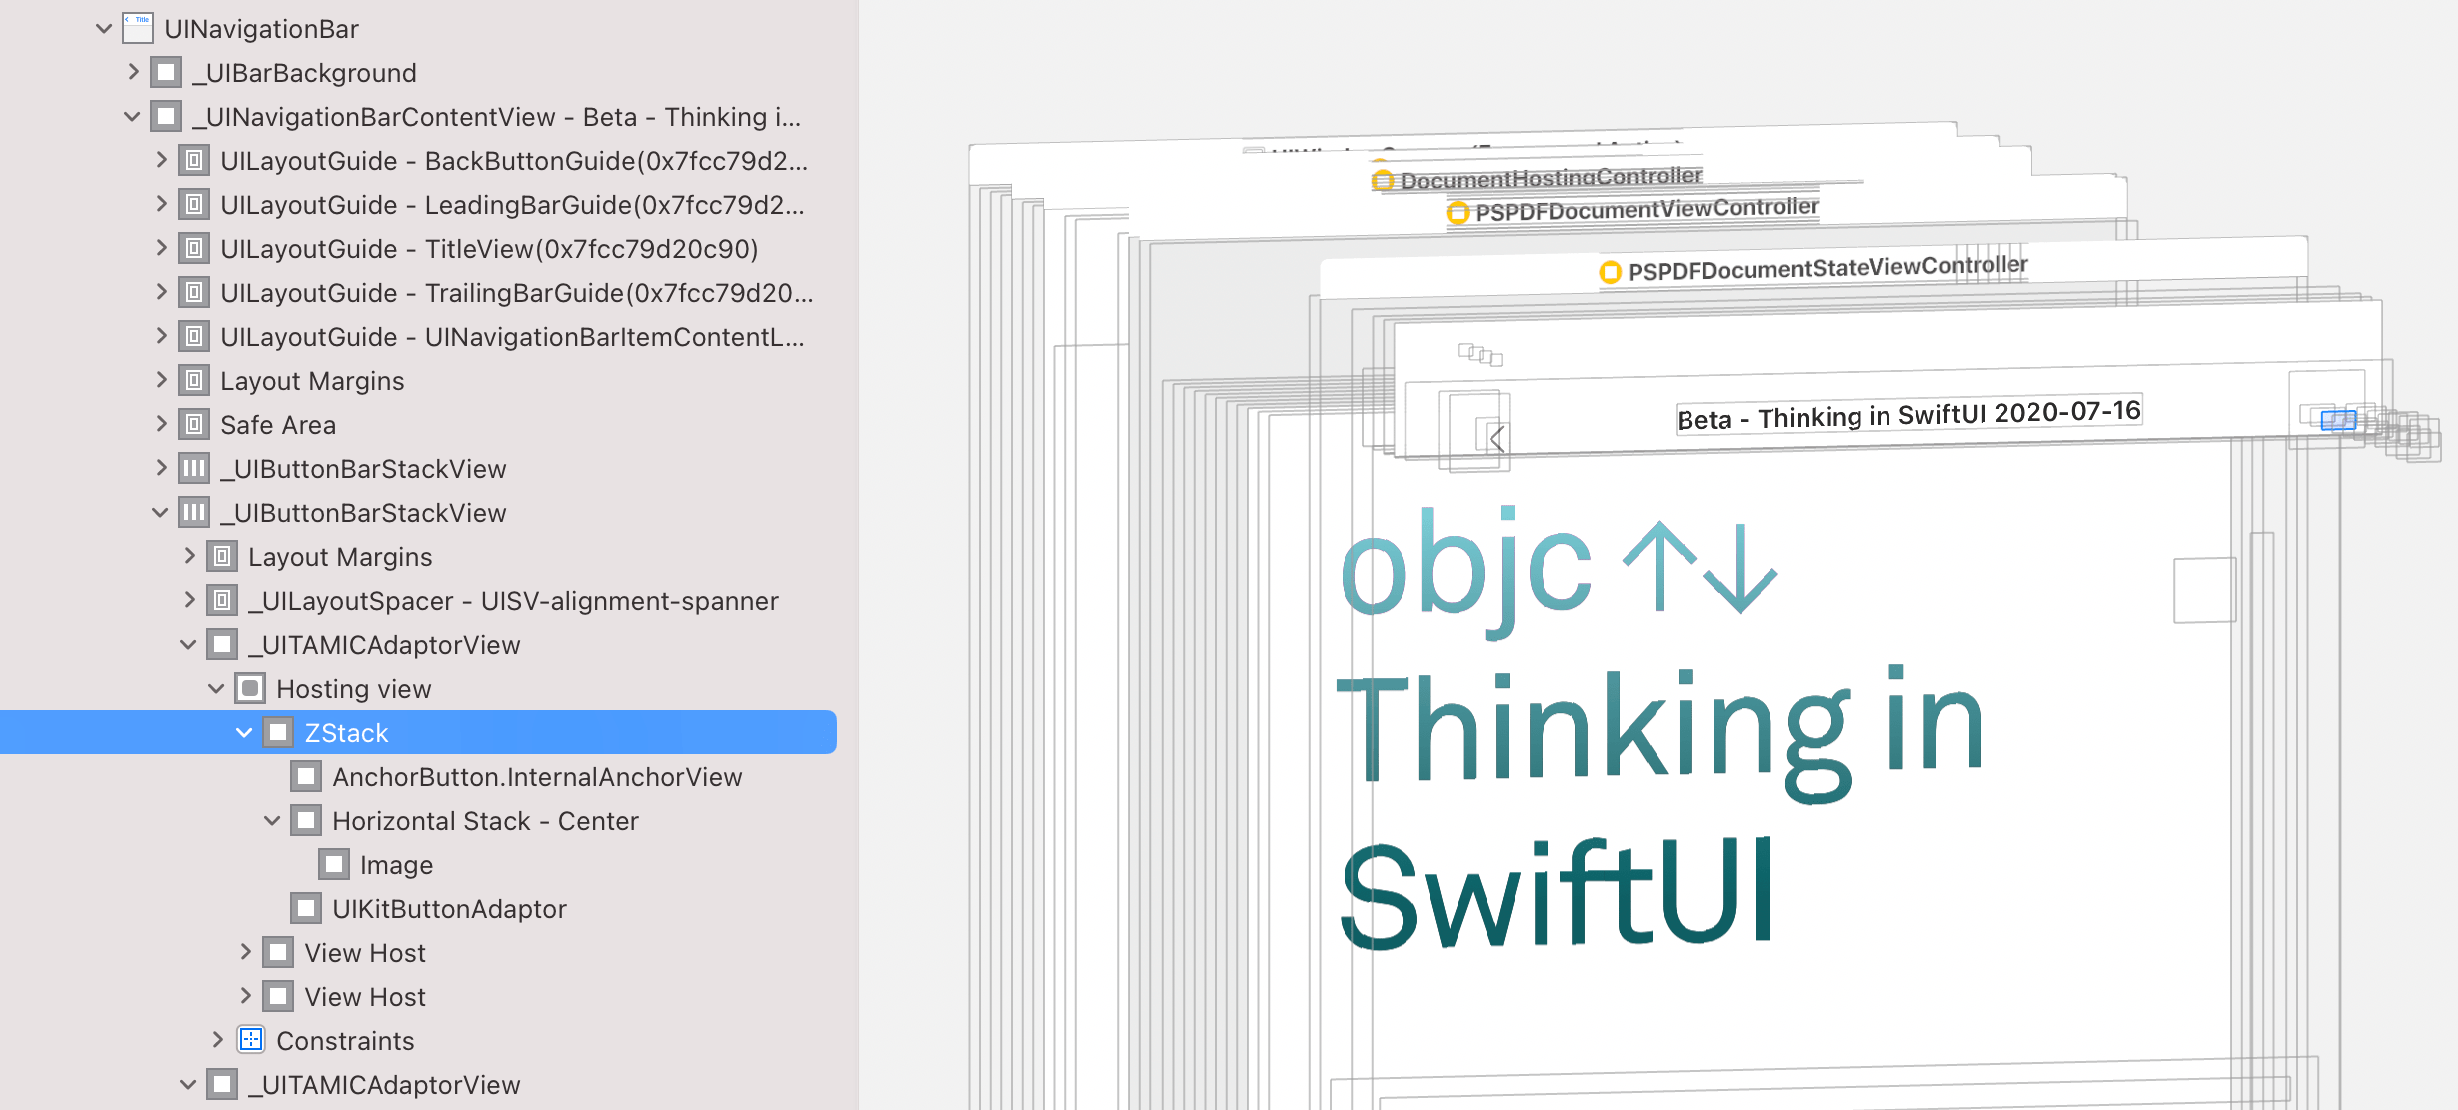
Internally, Apple uses a class named _UITAMICAdaptorView to embed SwiftUI into the navigation bar. This class is also used on iOS when the navigationBarItems API is being used.
Example Project
In our example, we combine both the BarButtonWatcher and the AnchorButton to build a solution that is cross-platform and works with both old and new APIs.
To play with this, check out the PDFViewerSwiftUI example on GitHub. You can also watch me build the entire SwiftUI wrapper for our SDK, including the bar button hack, in my recent talk for Swift Heroes 2020:
Conclusion
Today you learned that it’s absolutely possible to mix old and new code and present popovers from SwiftUI via various tricks, including using swizzling to get to data that’s not exposed in SwiftUI directly.
Both BarButtonWatcher.swift and AnchorButton.swift are open source. I hope this helps!


