Generate PDF Invoices with PDFKit in Node.js


This article was first published in April 2019 and was updated in October 2022.
A lot of Node.js web applications require dynamic PDF generation. When researching possible solutions, developers often stumble upon PDFKit, a JavaScript PDF generation library for Node.js and the browser.
In this tutorial, you’ll explore how to use PDFKit to generate PDF invoices with both static and dynamic data in your Node.js app. If you want to skip directly to the solution, you can take a look at the complete example on GitHub.
Getting Started
Before beginning, start a new npm package and pull in the dependencies needed for the project:
mkdir pdfkit-invoice
cd pdfkit-invoice
npm init -y
npm install --save pdfkit
Now you’re ready to start creating your first invoice.
Data Model
To make your invoice generator reusable, design a simple data model in the form of a JavaScript object. This model will hold all the information needed to generate the invoice. Here’s an example of how such an invoice object might look:
// index.js

const invoice = {
	shipping: {
		name: 'John Doe',
		address: '1234 Main Street',
		city: 'San Francisco',
		state: 'CA',
		country: 'US',
		postal_code: 94111,
	},
	items: [
		{
			item: 'TC 100',
			description: 'Toner Cartridge',
			quantity: 2,
			amount: 6000,
		},
		{
			item: 'USB_EXT',
			description: 'USB Cable Extender',
			quantity: 1,
			amount: 2000,
		},
	],
	subtotal: 8000,
	paid: 0,
	invoice_nr: 1234,
};
In the above object, there’s a shipping key that contains all the shipping information to print on the invoice. The items key contains an array of all items you want to print on the invoice (the amount is the sum for all pieces of this item in cents). The subtotal key contains the sum of all items in cents, and the paid field allows you to specify how much was already paid for this invoice. invoice_nr is used to identify the invoice.
Generating the PDF Invoice
With this data model, you’re now ready to generate a PDF file. Start by creating a function, createInvoice(invoice, path), which uses the invoice object to create a valid PDF invoice and then saves it to a file located at path.
Your invoice will consist of four visual parts:
-
A header that contains information about your company, including your company’s logo.
-
The address of the customer.
-
A table of all ordered items.
-
A generic footer to wrap up the invoice.
To create an empty PDF document, use the PDFDocument constructor of pdfkit. Then create stub methods for the four sections above. For now, start with generating the header and footer of the invoice:
// createInvoice.js

const fs = require('fs');
const PDFDocument = require('pdfkit');

function createInvoice(invoice, path) {
	let doc = new PDFDocument({ margin: 50 });

	generateHeader(doc); // Invoke `generateHeader` function.
	generateFooter(doc); // Invoke `generateFooter` function.

	doc.end();
	doc.pipe(fs.createWriteStream(path));
}

module.exports = {
	createInvoice,
};
Since you’re using Node.js, first export the createInvoice function from the createInvoice.js file and import it to the index.js file:
// index.js

const { createInvoice } = require('./createInvoice.js');

createInvoice(invoice, 'invoice.pdf');
Adding Static Data to the PDF
Now that you have an empty PDF page, it’s time to fill it with more information. Start with the two static sections, Header and Footer.
The API of pdfjs requires you to chain all drawing commands on the PDFDocument instance. Images can be loaded using the .image() method:
function generateHeader(doc) {
	doc.image('logo.png', 50, 45, { width: 50 })
		.fillColor('#444444')
		.fontSize(20)
		.text('ACME Inc.', 110, 57)
		.fontSize(10)
		.text('123 Main Street', 200, 65, { align: 'right' })
		.text('New York, NY, 10025', 200, 80, { align: 'right' })
		.moveDown();
}

function generateFooter(doc) {
	doc.fontSize(
		10,
	).text(
		'Payment is due within 15 days. Thank you for your business.',
		50,
		780,
		{ align: 'center', width: 500 },
	);
}
The generateHeader function loads an image file called logo.png. Make sure to add this file to your project directory. You can use our demo image as an example.
The .image() and .text() methods take x and y as the second and third argument, respectively. Use those coordinates to lay out the text however you want.
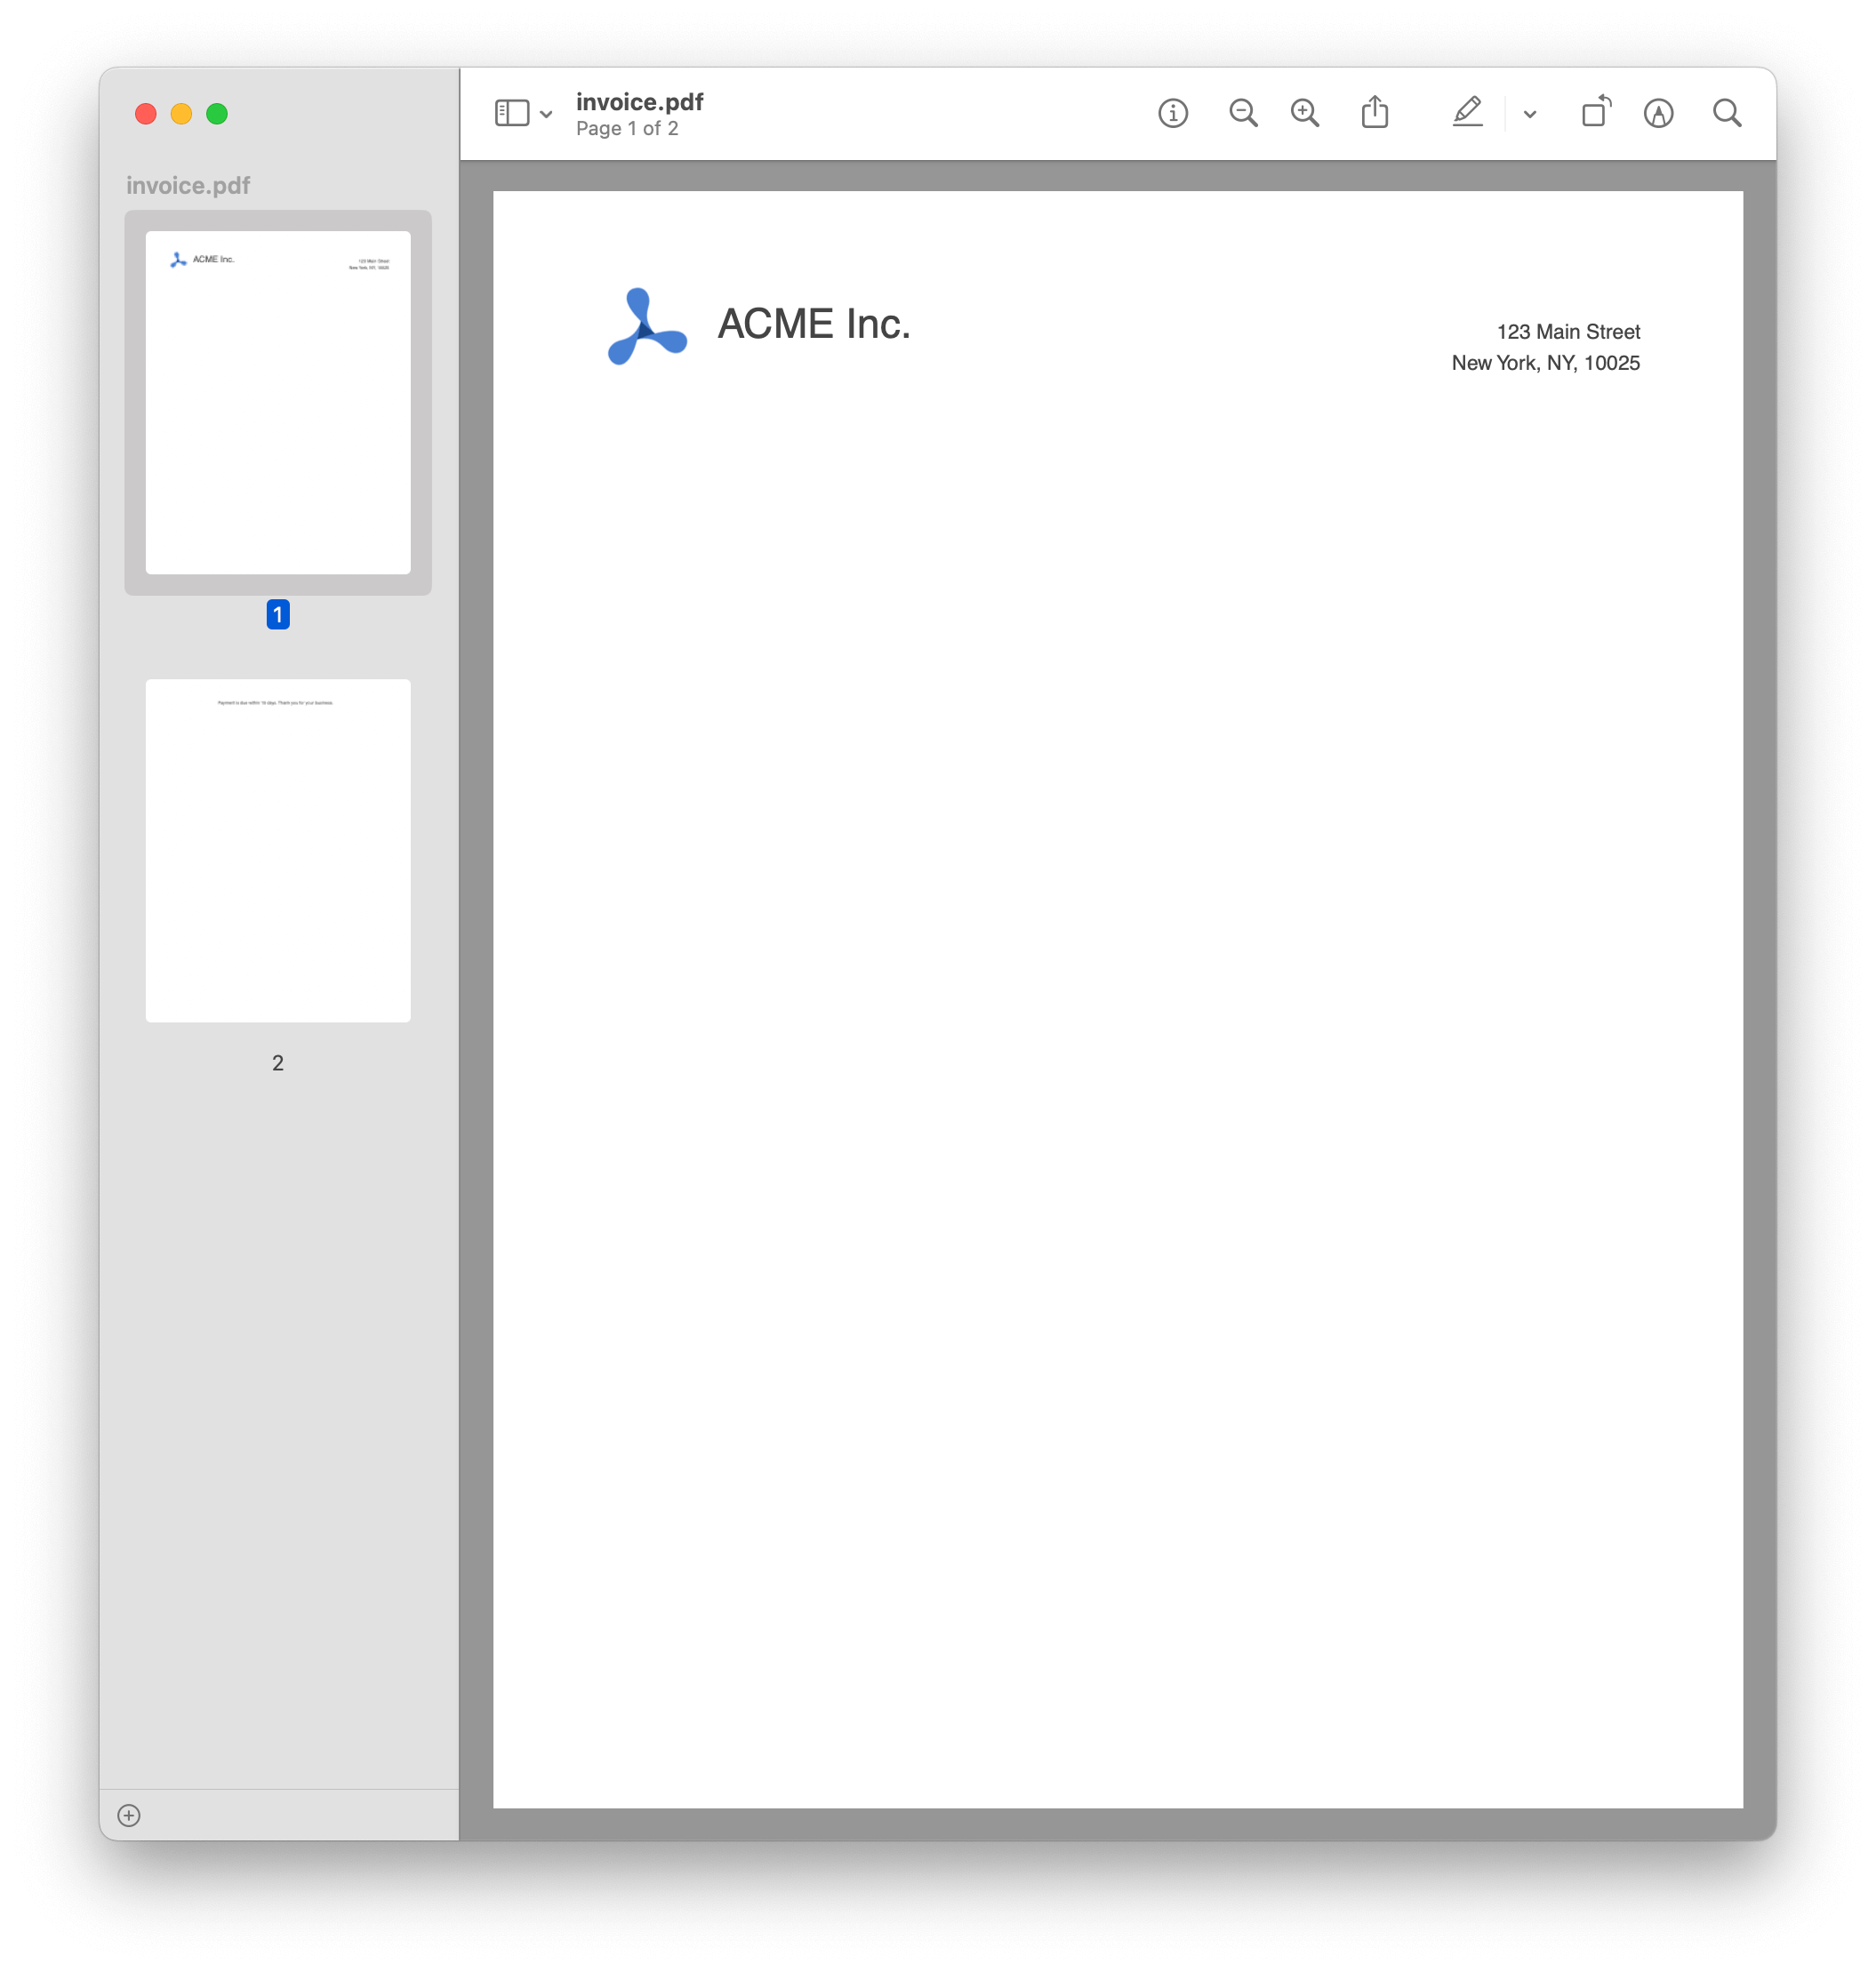
Run the Node.js script from your terminal by typing node index.js. This will generate the above PDF. But now you need to add dynamic data to it!
Adding Dynamic Data to the PDF
To add the dynamic bits to your PDF, you’ll rely on the data model outlined earlier. Start with the customer information section. Here, you want to print the address of your customer, which you can do by concatenating the dynamic values to the PDF rendering commands:
function generateCustomerInformation(doc, invoice) {
	const shipping = invoice.shipping;

	doc.text(`Invoice Number: ${invoice.invoice_nr}`, 50, 200)
		.text(`Invoice Date: ${new Date()}`, 50, 215)
		.text(`Balance Due: ${invoice.subtotal - invoice.paid}`, 50, 130)

		.text(shipping.name, 300, 200)
		.text(shipping.address, 300, 215)
		.text(
			`${shipping.city}, ${shipping.state}, ${shipping.country}`,
			300,
			130,
		)
		.moveDown();
}
The code block above uses a simplified layout. For a complete example, check out the example code on GitHub.
For the table, you’ll use a helper function that draws one row of the column. You can later loop over all the items in your invoice model and create table rows for them. To make sure the helper renders everything in one row, set the y coordinate as an argument to the function. Every row will have five columns, c1 to c5:
function generateTableRow(doc, y, c1, c2, c3, c4, c5) {
	doc.fontSize(10)
		.text(c1, 50, y)
		.text(c2, 150, y)
		.text(c3, 280, y, { width: 90, align: 'right' })
		.text(c4, 370, y, { width: 90, align: 'right' })
		.text(c5, 0, y, { align: 'right' });
}
Use this helper function to render one row for every line item:
function generateInvoiceTable(doc, invoice) {
	let i,
		invoiceTableTop = 330;

	for (i = 0; i < invoice.items.length; i++) {
		const item = invoice.items[i];
		const position = invoiceTableTop + (i + 1) * 30;
		generateTableRow(
			doc,
			position,
			item.item,
			item.description,
			item.amount / item.quantity,
			item.quantity,
			item.amount,
		);
	}
}
To keep the code examples in this post concise, we stripped out table headers and footers, along with some utility functions for formatting currency and dates. You can see the complete example code on GitHub.
In any case, once you add the table headers and footers, you’ll have a full invoice generated on demand using pdfkit in Node.js.

Conclusion
PDFKit allows us to generate PDF documents in Node.js and the browser. It’s ideally suited for tasks like dynamically generating PDF invoices for your web server. In the example above, you learned about PDFKit and used it to dynamically generate a PDF invoice from a simple object-based data model. You can check out the source code on GitHub.
If you want to display the PDF in a powerful PDF viewer or add advanced functionality such as digital signatures or PDF annotations, we recommend you give our server-backed deployment of PSPDFKit for Web a try.
If you’re interested in automating the PDF generation process, take a look at our PDF Generation SDK or our PDF Generation API, both of which let you generate PDF invoices from an HTML document. We also have a blog post that guides you through generating PDFs from HTML with Node.js.

Hulya is a frontend web developer and technical writer at PSPDFKit who enjoys creating responsive, scalable, and maintainable web experiences. She’s passionate about open source, web accessibility, cybersecurity privacy, and blockchain.


