How to Generate PDFs from HTML with Node.js


A while ago, we looked at how to generate invoices with dynamic data using PSPDFKit Server. Since then, we’ve released an exciting new feature, PDF Generation, that allows you to create PDF files directly from HTML. In this blog post, you’ll explore generating invoices from HTML using PSPDFKit Processor with Node.js.
Prerequisites
Before you get started, make sure you have Node.js installed on your computer. Then, start PSPDFKit Processor:
docker run --rm -p 5000:5000 pspdfkit/processor
That’s it! Now, on to the invoice.
Basic HTML to PDF
First, you’ll generate a simple PDF from HTML. You’ll write some boilerplate code now so that you can focus on designing your beautiful invoice template later on. Start by initializing the project and adding dependencies:
npm init # When prompted, accept the default answers.
npm install axios form-data mustache
Now, create a template.html file and add minimal markup to it:
<!DOCTYPE html>
<html>
  <head>
    <meta charset="utf-8" />
  </head>
  <body>
    <h1>Invoice</h1>
  </body>
</html>
And finally, create a generate.js file with the following contents:
const fs = require('fs');
const axios = require('axios');
const FormData = require('form-data');

// Prepare the PDF Generation schema.
const generation = {
	html: 'template.html',
};

// Read the HTML template from disk.
const template = fs.readFileSync('./template.html', { encoding: 'utf8' });

// Pack the data in a multipart request.
const body = new FormData();
body.append('template.html', template, { filename: 'template.html' });
body.append('generation', JSON.stringify(generation));

(async () => {
	// Send the request to Processor.
	const response = await axios.post('http://localhost:5000/process', body, {
		headers: body.getHeaders(),
		responseType: 'stream',
	});
	// Save the result to a file on disk.
	await response.data.pipe(fs.createWriteStream('invoice.pdf'));
})();
Let’s unwrap what’s happening here. First (lines 6-8), you’re preparing the PDF Generation schema that describes the HTML-to-PDF conversion. In this case, you just say you want the template.html file to be converted to PDF. Next (line 11), you’re reading the HTML template from disk. After that, you’re packaging all of this data in a multipart request (lines 14-16) and sending it to Processor to perform the actual generation (lines 20-22). The last step (line 25) saves the generation result on disk in the invoice.pdf file.
Now, when you run this script using node generate.js, you can open the invoice.pdf file and see the result:
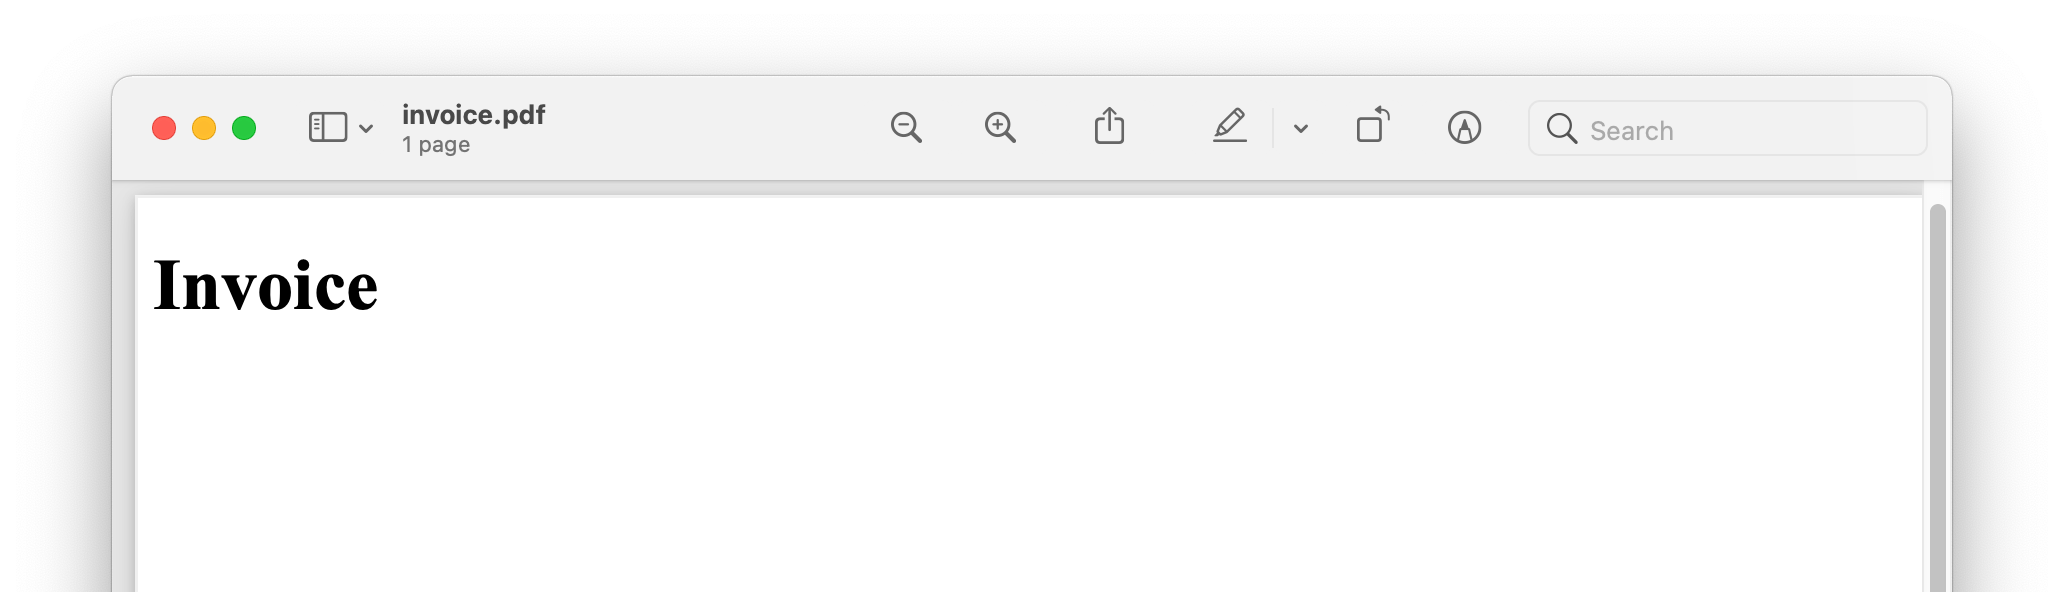
Great! You can see that the HTML file was correctly converted to PDF.
Dynamic Data
Generating invoices won’t be useful if you need to modify HTML every time you need to issue an invoice. A better approach is to treat the HTML as a template that you can fill in with relevant data. So now, you’ll use Mustache, a simple but flexible templating language. You’ll modify the code so that you can inject the first piece of dynamic data.
First, here’s the HTML template (note that the code snippet omits unchanged parts of the file):
-  <h1>Invoice</h1>
+  <h1>Invoice {{ invoiceNumber }}</h1>
The {{ invoiceNumber }} syntax that Mustache uses will inject the invoiceNumber variable at that place in the template. Now you need to modify the generation script so that the data gets injected before sending the HTML to Processor for generation:
const fs = require('fs');
const axios = require('axios');
const FormData = require('form-data');
+const Mustache = require('mustache');
+
+const data = {
+  invoiceNumber: "#12345"
+}

const generation = {
	html: 'template.html',
};

const template = fs.readFileSync('./template.html', { encoding: 'utf8' });
+const filledTemplate = Mustache.render(template, data);

const body = new FormData();
-body.append('template.html', template, { filename: "template.html" });
+body.append('template.html', filledTemplate, { filename: "template.html" });
body.append('generation', JSON.stringify(generation));

(async () => {
	const response = await axios.post('http://localhost:5000/process', body, {
		headers: body.getHeaders(),
		responseType: 'stream',
	});
	await response.data.pipe(fs.createWriteStream('invoice.pdf'));
})();
When you run the script this time, you should see that the invoice number placeholder was replaced with actual data:

Using template files like the above is a great approach, because you can fill the template with the data coming from any source.
Now you’ll add more data to the template, specifically the issuing company name and address, and the customer’s name and address. Add the following fields to the data object in the script:
const data = {
  invoiceNumber: "#12345",
+  companyDetails: ["Acme, Inc.", "3780  Woodlawn Drive", "53213 Milwaukee, WI"],
+  customerDetails: ["Big Co.", "1570  Coventry Court", "39531 Biloxi, MS"]
};
The company and customer details are an array, because ultimately, you want each of their elements to be placed on the separate line. Now, modify the template:
<h1>Invoice {{ invoiceNumber }}</h1>
+<div style="display: flex; justify-content: space-between">
+  <div>
+    {{#companyDetails}}
+      {{ . }}<br />
+    {{/companyDetails}}
+  </div>
+  <div>
+    {{#customerDetails}}
+      {{ . }}<br />
+    {{/customerDetails}}
+  </div>
+</div>
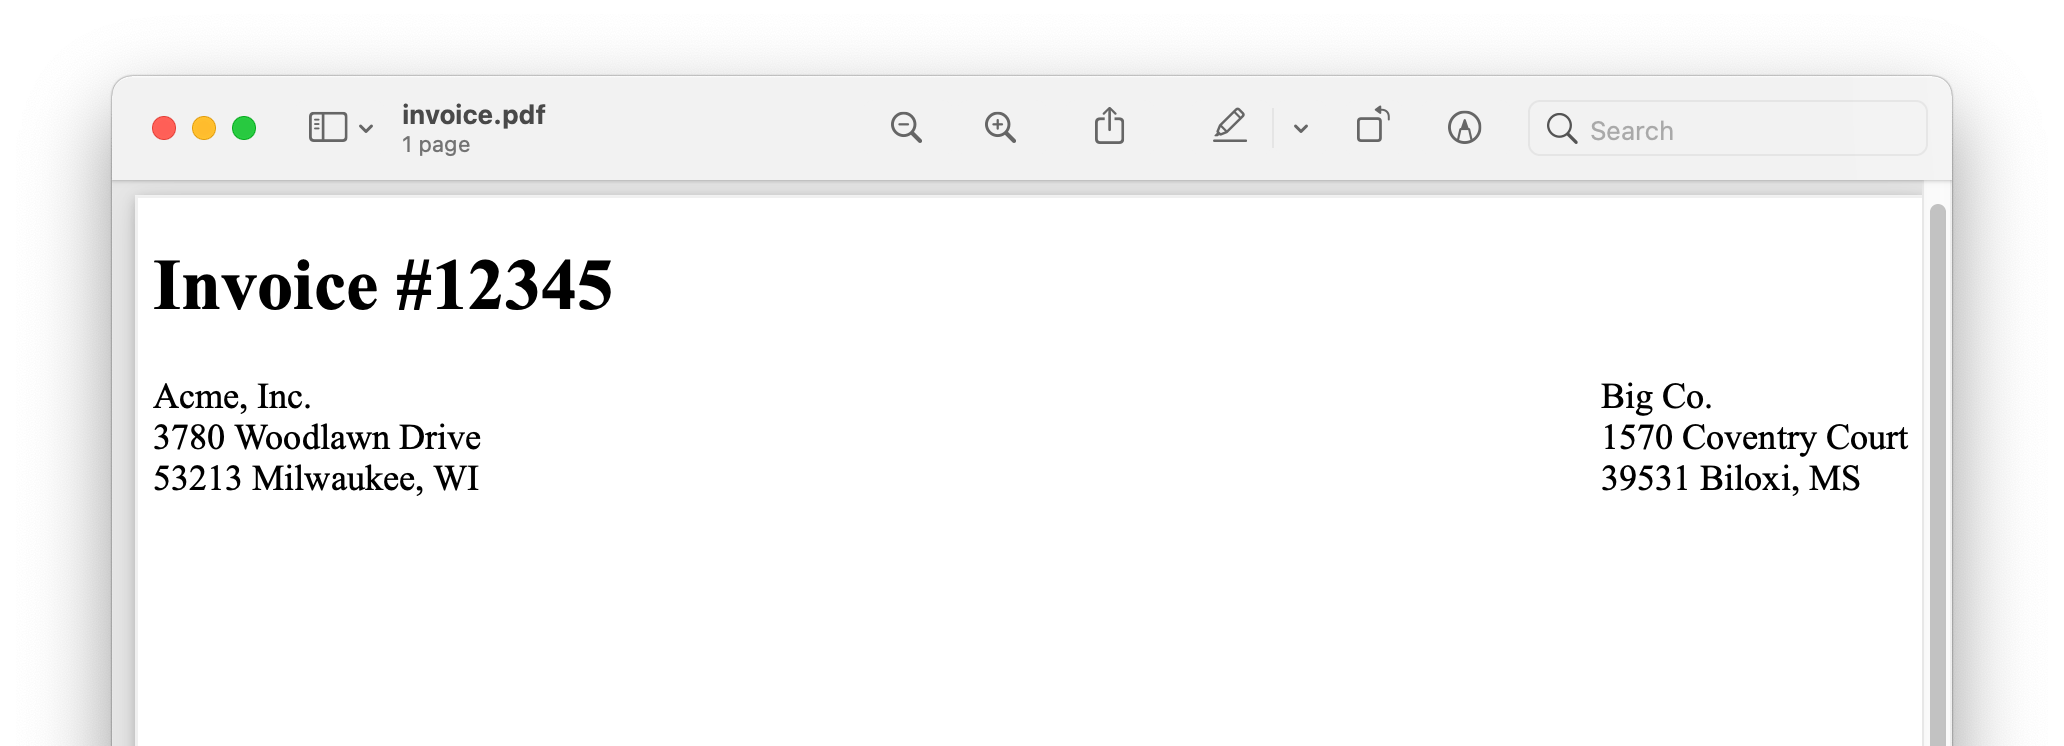
The {{# ...}} and {{/ ...}} tags loop over the elements of the specified array — in this case, companyDetails and customerDetails. The {{ . }} tag tells Mustache to insert the current element of the array at that place. The <br/> element makes sure there’s a line break between each part of the company and customer details, just as intended. You can run the script again and see the results:
Layout and Typography
Now that the generated invoice looks a little more complete, you can see it’s very bare. However, you can make it look a lot better by adding page margins and improving typography.
You’ll start with margins. All you need to do is to add a new layout key to the generation schema that specifies the page margins in millimeters:
const generation = {
  html: "template.html",
+  layout: {
+    margin: {
+      top: 25,
+      left: 20,
+      right: 20,
+      bottom: 20,
+    },
+  },
};
The result should look like this:
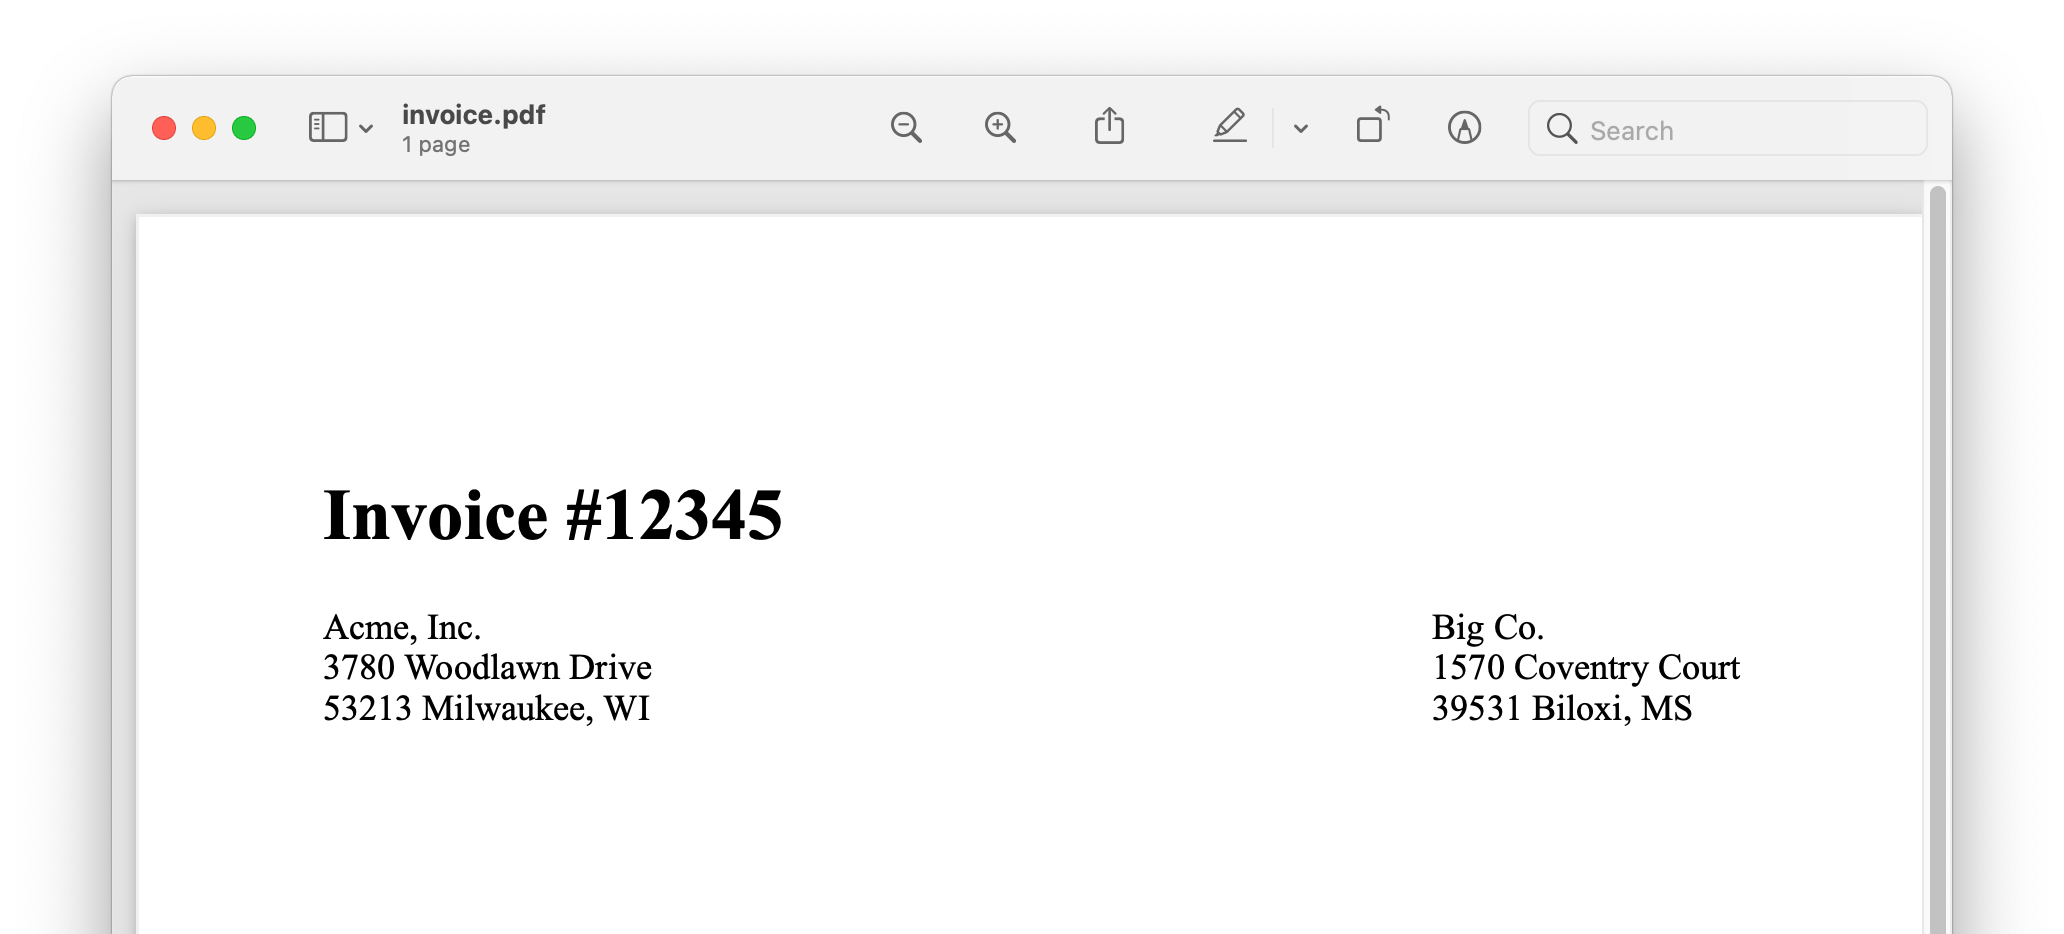
It’s much more readable now! You can make it even better by adding a custom font using a two-step process. First, declare that you’re sending additional assets (in this case, font files) for generation, and include them in the request:
const generation = {
  html: "template.html",
+  assets: ["Inter-Regular.ttf", "Inter-Bold.ttf"],
  layout: {
    margin: {
      top: 25,
      left: 20,
      right: 20,
      bottom: 20,
    },
  },
};

const template = fs.readFileSync("./template-5.html", { encoding: "utf8" });
const filledTemplate = Mustache.render(template, data);
+const interRegularFont = fs.createReadStream("./Inter-Regular.ttf");
+const interBoldFont = fs.createReadStream("./Inter-Bold.ttf");

const body = new FormData();
body.append("template.html", filledTemplate, { filename: "template.html" });
body.append("generation", JSON.stringify(generation));
+body.append("Inter-Regular.ttf", interRegularFont);
+body.append("Inter-Bold.ttf", interBoldFont);
In this example, you’re using regular and bold typefaces of the Inter font (download the regular and bold faces), but you can use whatever font you like. The second step is to actually use the font assets in the HTML template by declaring the font faces:
<html>
   <head>
     <meta charset="utf-8" />
+    <style>
+      @font-face {
+        font-family: "Inter";
+        font-style: normal;
+        font-weight: 400;
+        src: url(./Inter-Regular.ttf) format("woff2");
+      }
+
+      @font-face {
+        font-family: "Inter";
+        font-style: normal;
+        font-weight: 700;
+        src: url(./Inter-Bold.ttf) format("woff2");
+      }
+
+      html {
+        font-family: Inter;
+        font-size: 16px;
+      }
+    </style>
   </head>
   <body>
And that’s it! Now when you generate the invoice, you should see the new fonts being used:

Adding Invoice Items
The final piece of the puzzle is to add a table with invoice items. As with other data, you’ll add it to the generation script first:
+let items = [
+  { item: "Laptop", quantity: 1, pricePerUnit: 1999.99 },
+  { item: "USB-C/USB-A adapter", quantity: 3, pricePerUnit: 12.7 },
+  { item: "Charger", quantity: 1, pricePerUnit: 125.89 },
+].map((item) => {
+  item.price = item.quantity * item.pricePerUnit;
+  return item;
+});
+
+const total = items.reduce((total, item) => total + item.price, 0).toFixed(2);
+
+items = items.map((item) => {
+  item.pricePerUnit = item.pricePerUnit.toFixed(2);
+  item.price = item.price.toFixed(2);
+  return item;
+});

const data = {
  invoiceNumber: "#12345",
  companyDetails: ["Acme, Inc.", "3780  Woodlawn Drive", "53213 Milwaukee, WI"],
  customerDetails: ["Big Co.", "1570  Coventry Court", "39531 Biloxi, MS"],
+  items,
+  total,
};
After declaring the items, this code calculates the total price for each line item and a total for the invoice. Notice how, at the end, each price is converted to a fixed precision decimal using a toFixed method. Now the only thing that’s left is to render the items in the invoice:
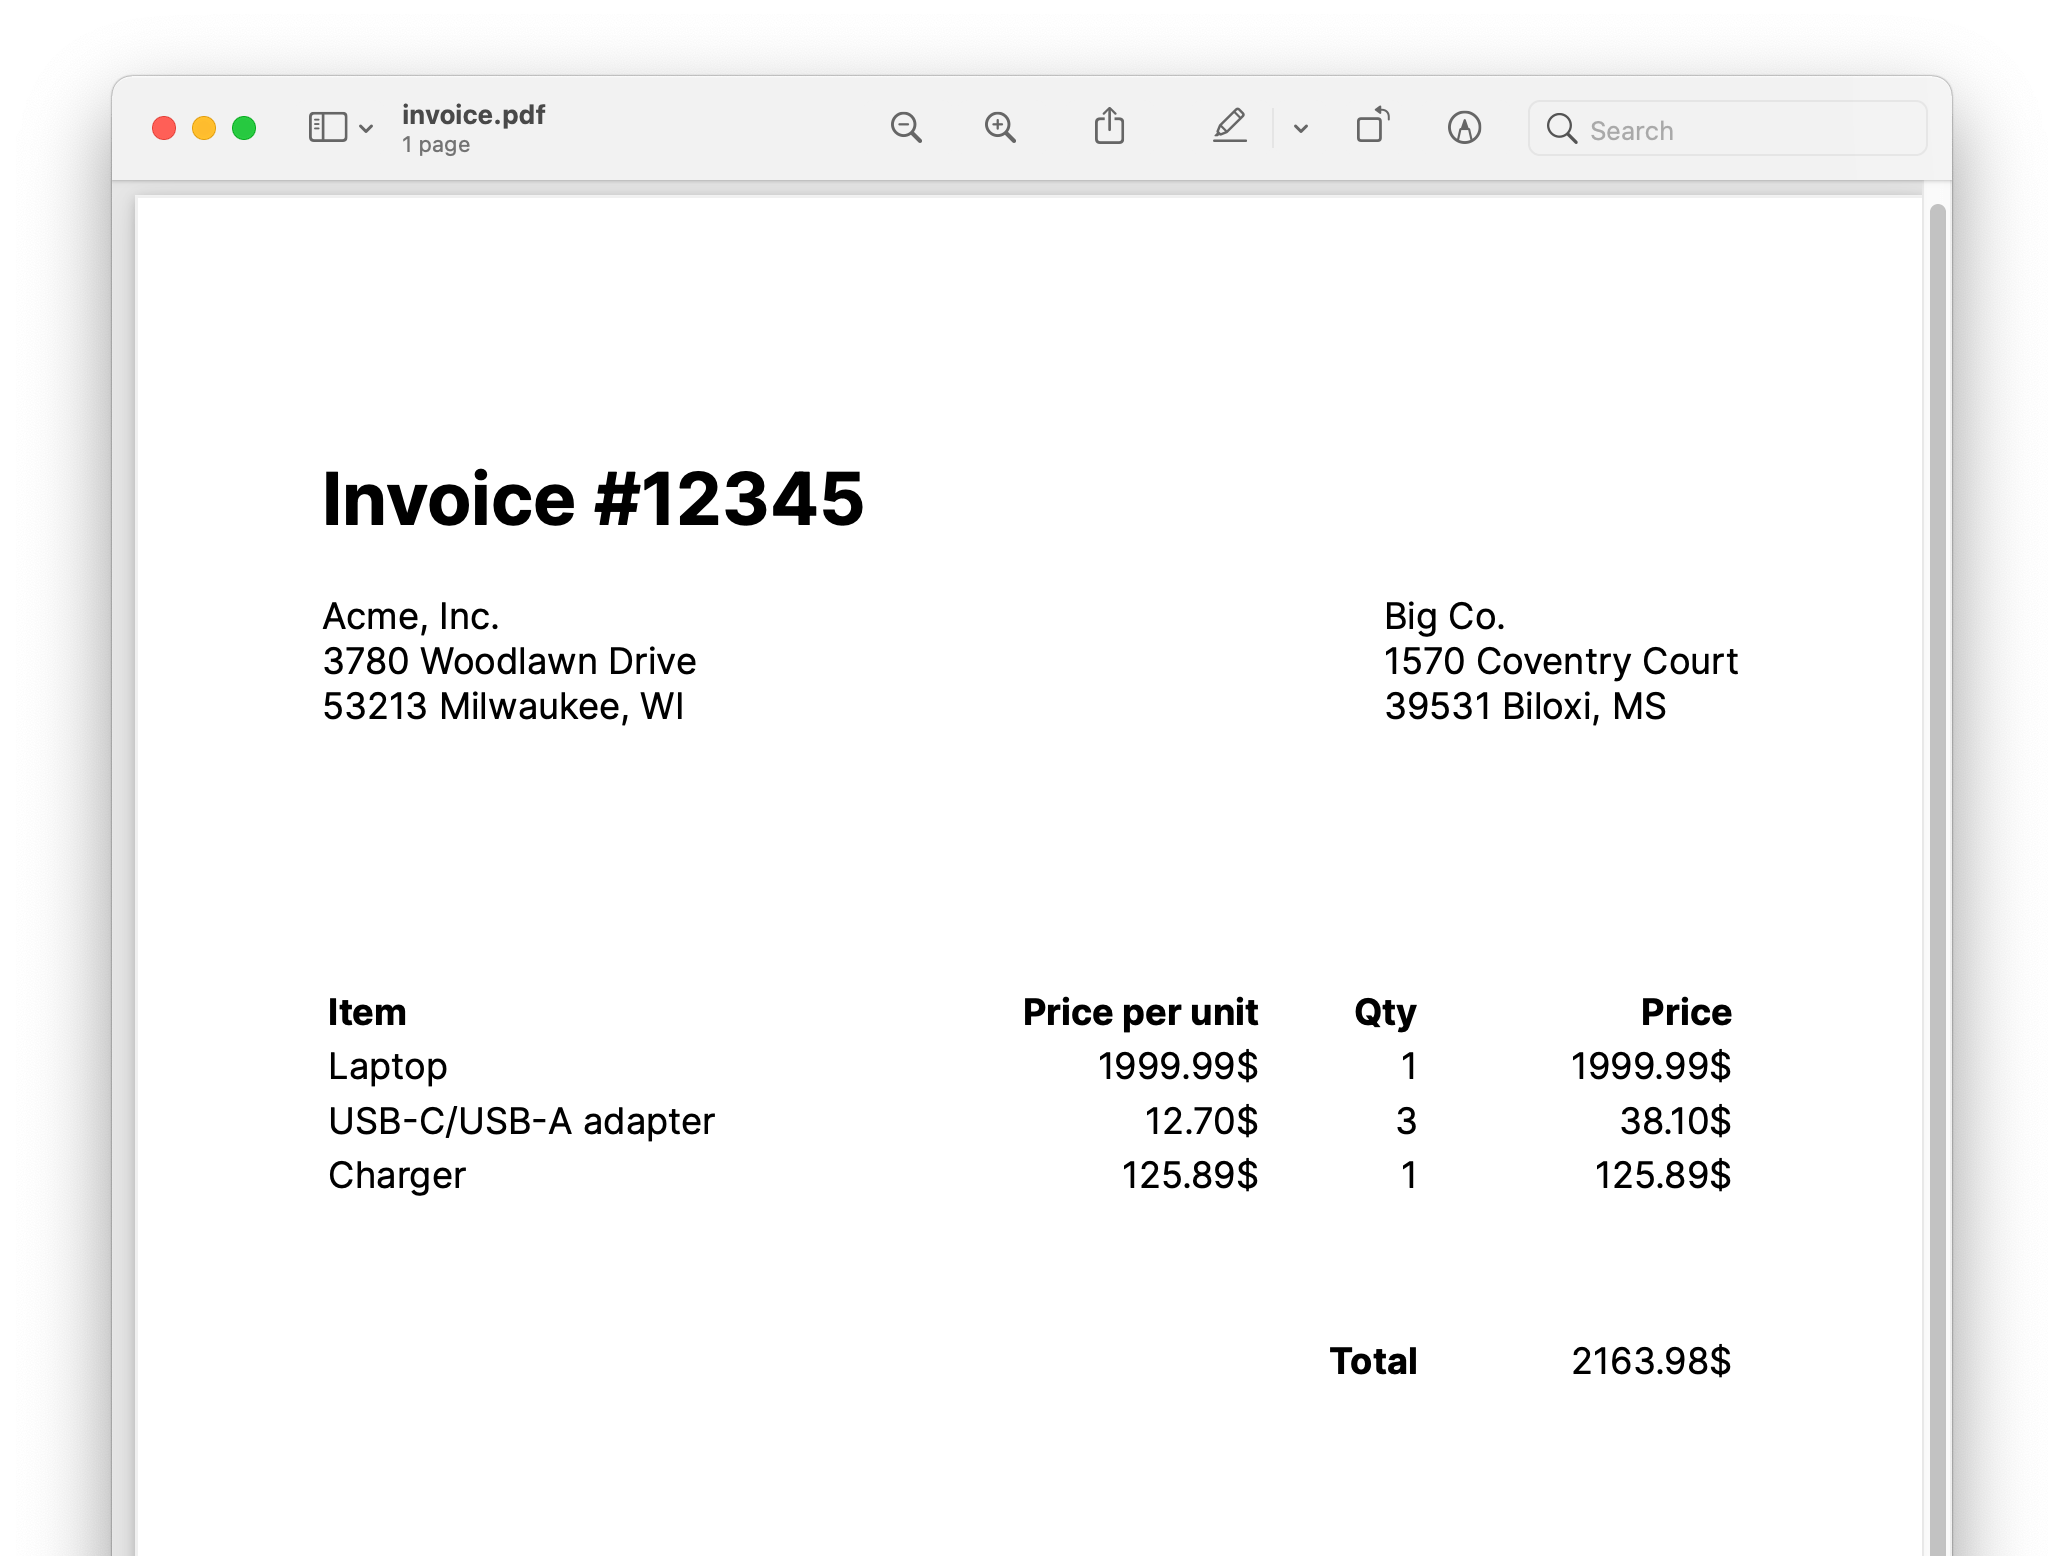
<body>
    <h1>Invoice {{ invoiceNumber }}</h1>
    <div style="display: flex; justify-content: space-between">
      <div>
        {{#companyDetails}} {{ . }}<br />
        {{/companyDetails}}
      </div>
      <div>
        {{#customerDetails}} {{ . }}<br />
        {{/customerDetails}}
      </div>
    </div>

+    <div style="margin-top: 7em">
+      <table style="width: 100%">
+        <tbody>
+          <tr style="font-weight: bold">
+            <td style="width: 40%">Item</td>
+            <td style="width: 20%; text-align: right">Price per unit</td>
+            <td style="width: 10%; text-align: right">Qty</td>
+            <td style="width: 20%; text-align: right">Price</td>
+          </tr>
+          {{#items}}
+          <tr>
+            <td>{{ item }}</td>
+            <td style="text-align: right">{{ pricePerUnit }}$</td>
+            <td style="text-align: right">{{ quantity }}</td>
+            <td style="text-align: right">{{ price }}$</td>
+          </tr>
+          {{/items}}
+          <tr style="height: 5em; vertical-align: bottom">
+            <td></td>
+            <td></td>
+            <td style="font-weight: bold; text-align: right">Total</td>
+            <td style="text-align: right">{{ total }}$</td>
+          </tr>
+        </tbody>
+      </table>
+    </div>
  </body>
You can see that you used the loop tag again to go over each item and render it in a table row. At the bottom, add a final row with a grand total for the invoice. After running the generation, you should see the final result:
Wrapping Up
And that’s it! In this blog post, you went from a basic HTML file to a full-fledged program for invoice generation. You can now tweak the design of the invoice using all the capabilities of HTML and CSS, and you can play around with different layouts provided by the PDF Generation schema.
For more information, make sure to check out our guides on layout considerations and how you can combine PDF creation from HTML with editing capabilities provided by Processor.