Requirements
-
Windows 10 or Windows 11
-
Visual Studio 2019 or above
Creating a New Project
-
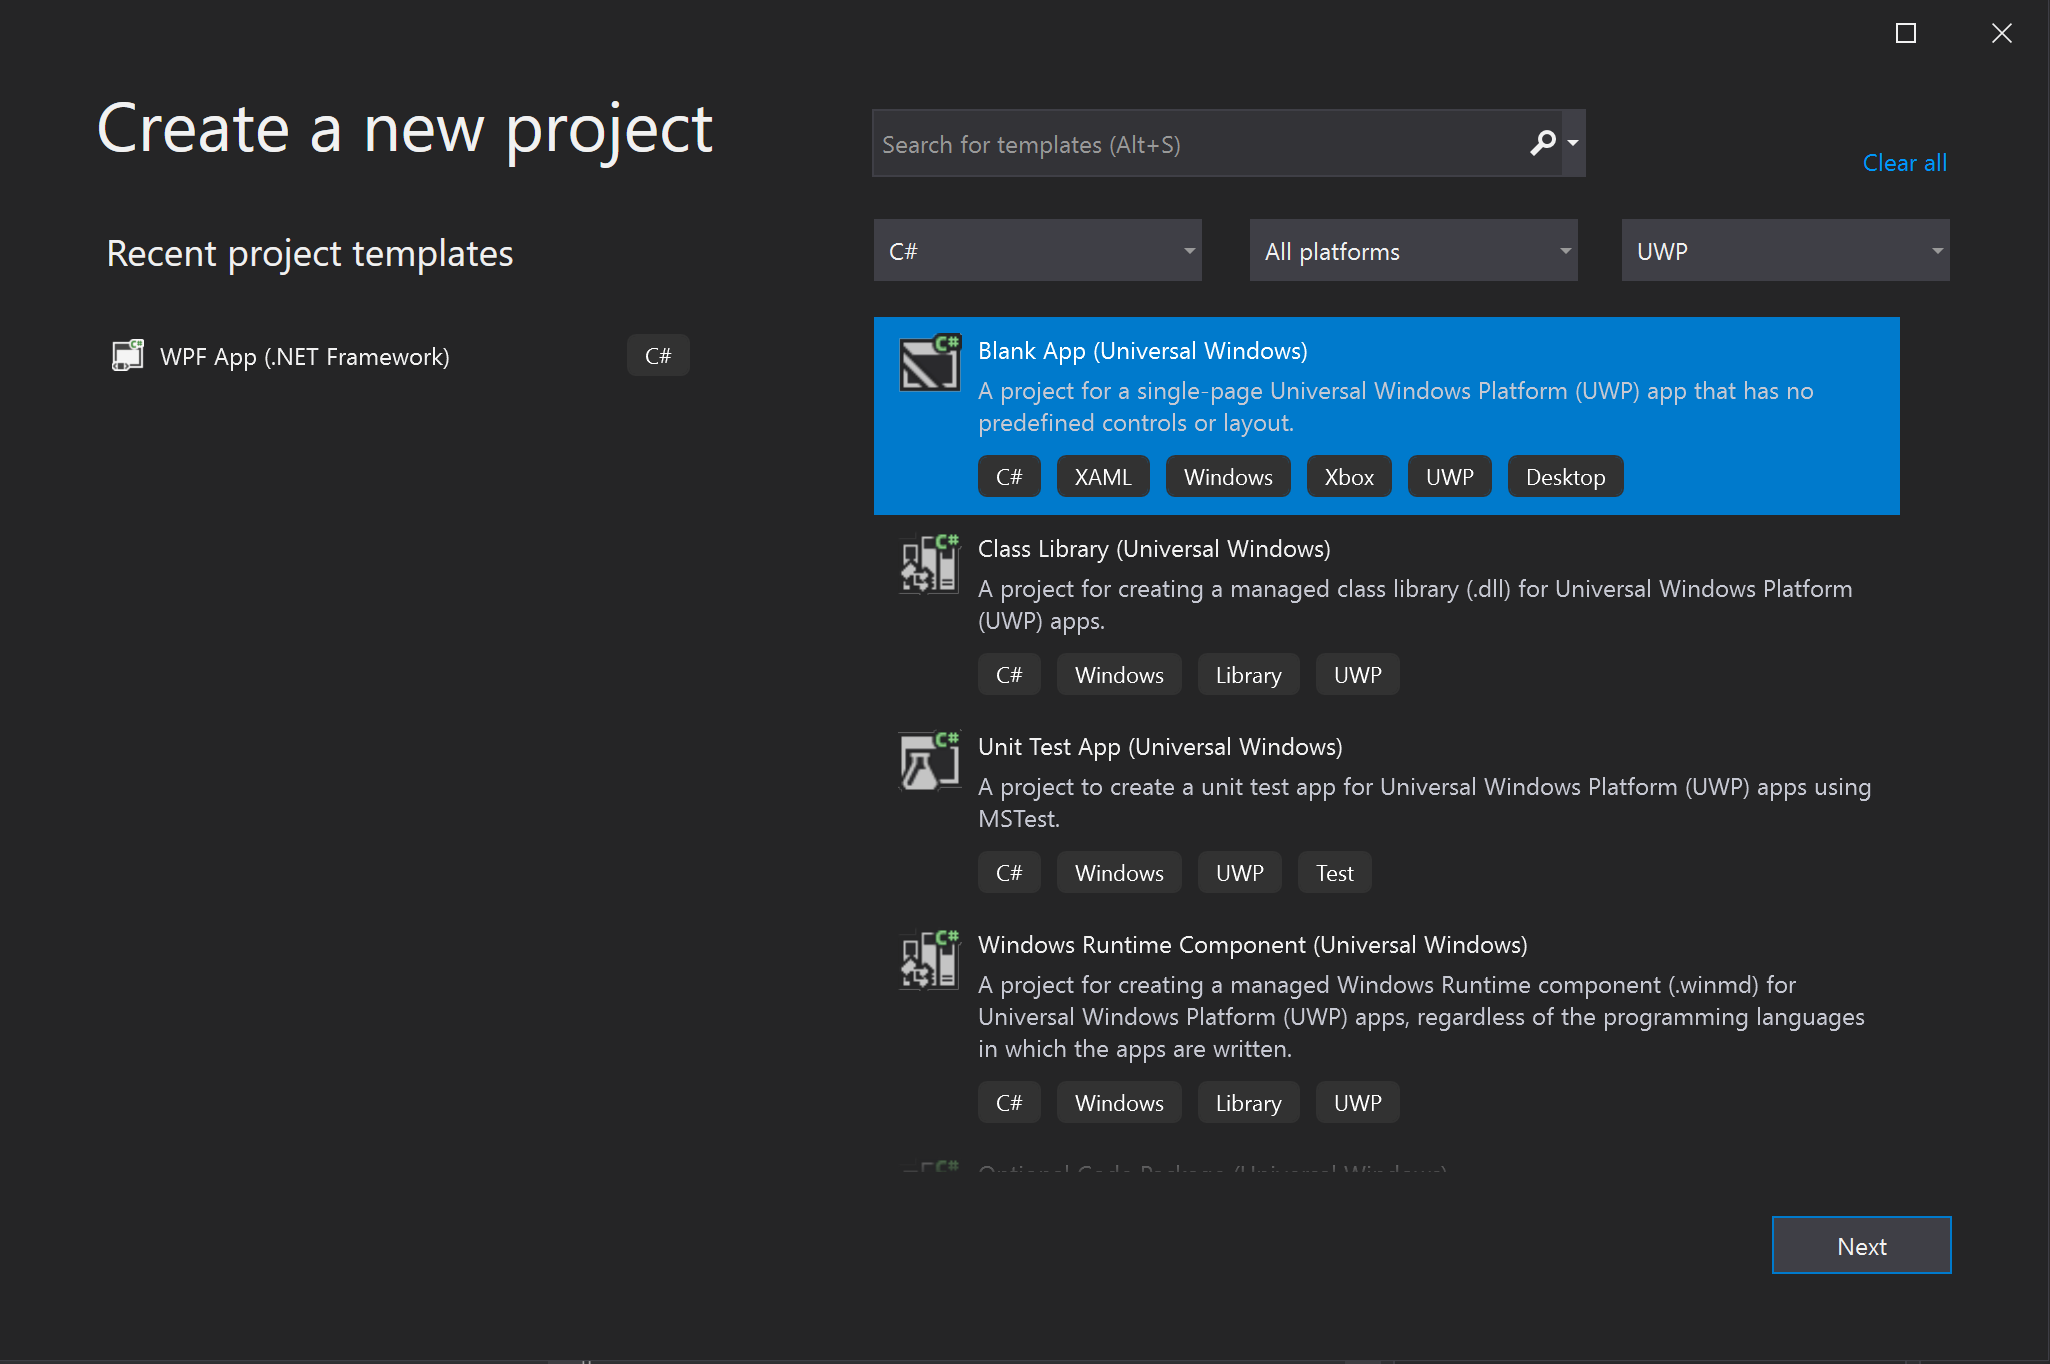
Open Visual Studio. Go to File > New > Project… and select Blank App (Universal Windows) from the template selection page.
-
Configure your project by setting the name and location:

-
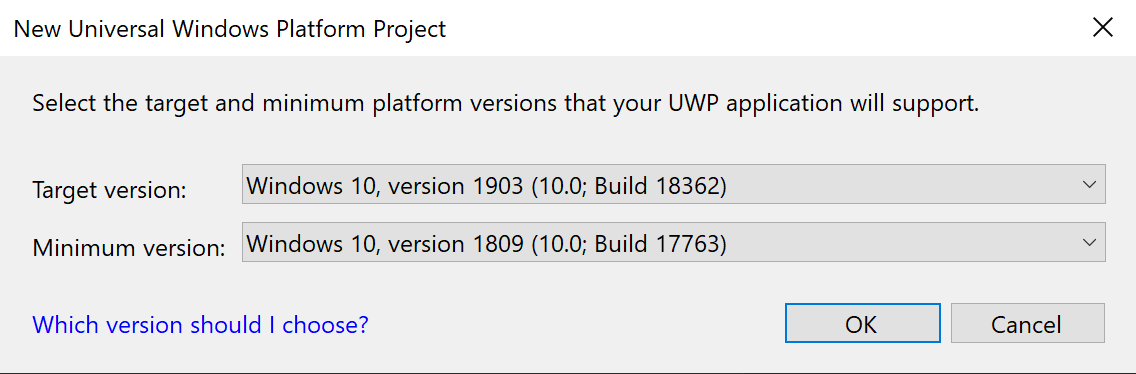
Specify the minimum and target versions. We’re using the defaults:
Adding PSPDFKit to Your Project
-
Open your app’s solution, and in the Solution Explorer, right-click on References and click on the menu item Manage NuGet Packages…. This will open the NuGet Package Manager for your solution.

-
Search for
pspdfkituwp, and you’ll find the package on nuget.org. -
On the right side, in the panel describing the package, click on the Install button to install the package.
-
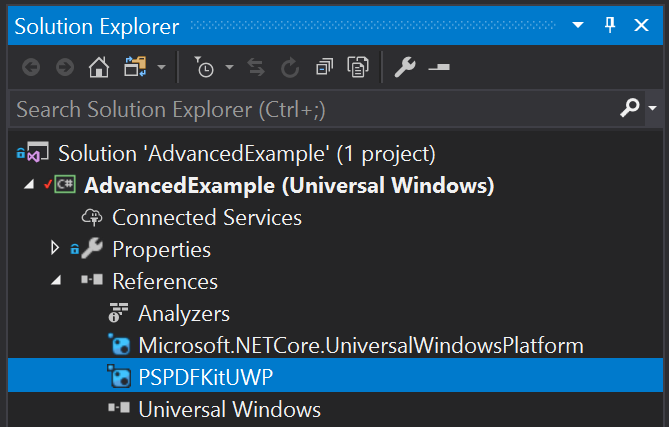
Once that’s complete, you’ll see a reference to the package in the Solution Explorer under References.
Rather than targeting a package held at nuget.org, you may set up a configuration to point to a local package. This can be useful for situations in which, for example, your build machines don’t have access to the internet.
-
Download the latest SDK ZIP file and unpack it wherever appropriate.
-
Create or edit a
nuget.configfile in the same directory as your solution file (e.g.PSPDFKitDemo.sln).
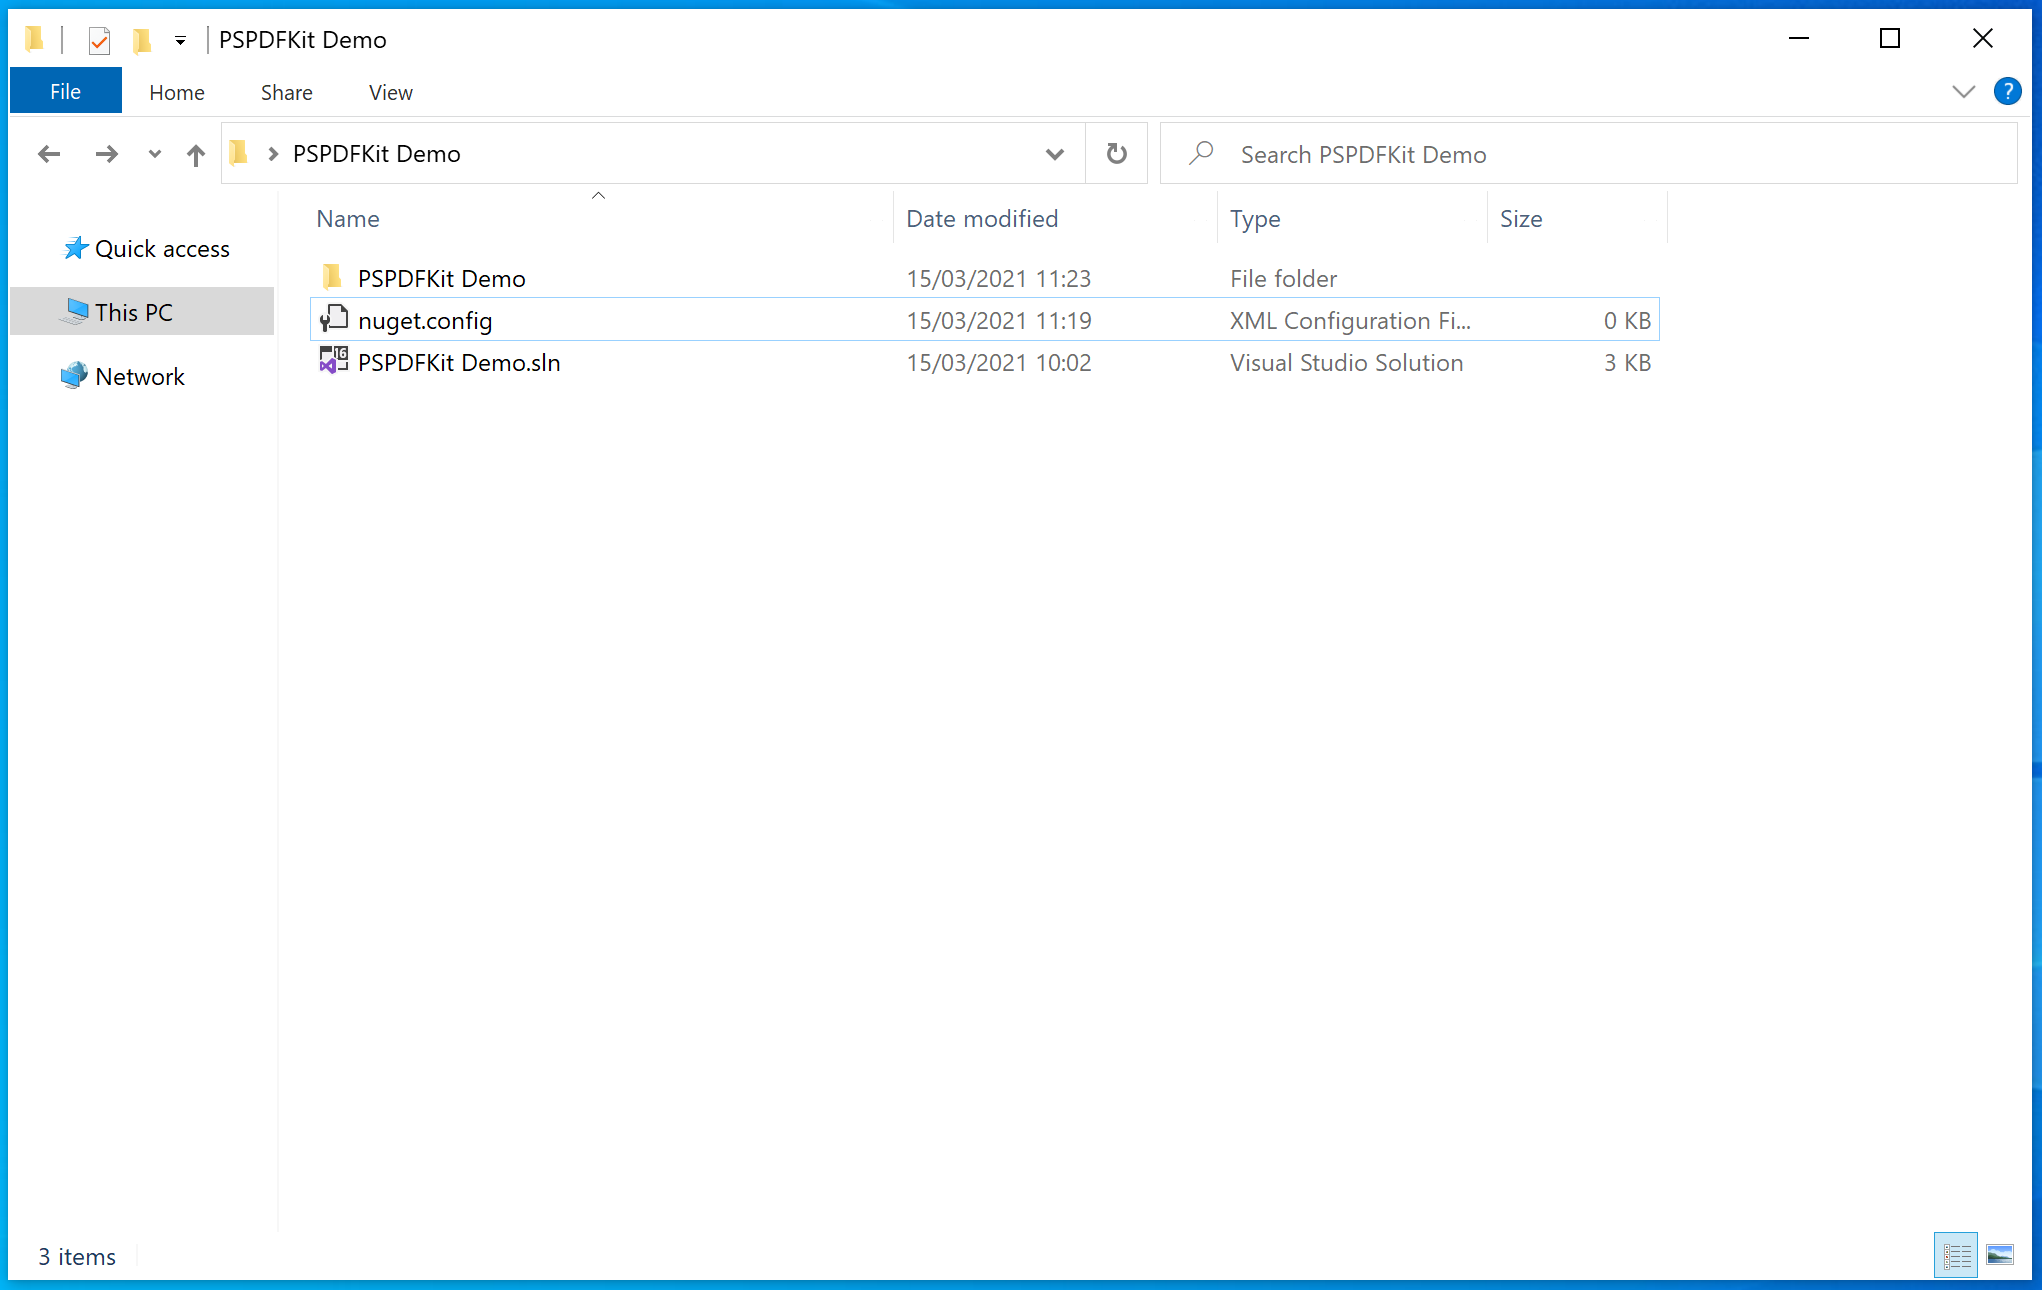
The contents of the file should contain an XML element, packageSources — which describes where to find NuGet packages — as a child of a root node named configuration. If the file already exists, add the extra packageSources entry shown below. If the file is blank, copy and paste the entirety of the following contents:
<?xml version="1.0" encoding="utf-8"?>
<configuration>
	<packageSources>
		<add key="PSPDFKitSource" value="path\to\directoryContainingNupkg" />
	</packageSources>
</configuration>
Edit the value of the contents to correctly refer to the location of the directory containing the PSPDFKitUWP.*.*.*.nupkg package — for example, C:\Users\me\nugetPackages\. Now save the file, and close and reopen your solution for Visual Studio to force a read of the NuGet configuration.
-
Open your app’s solution, and in the Solution Explorer, right-click on References and click on the menu item Manage NuGet Packages…. This will open the NuGet Package Manager for your solution.
-
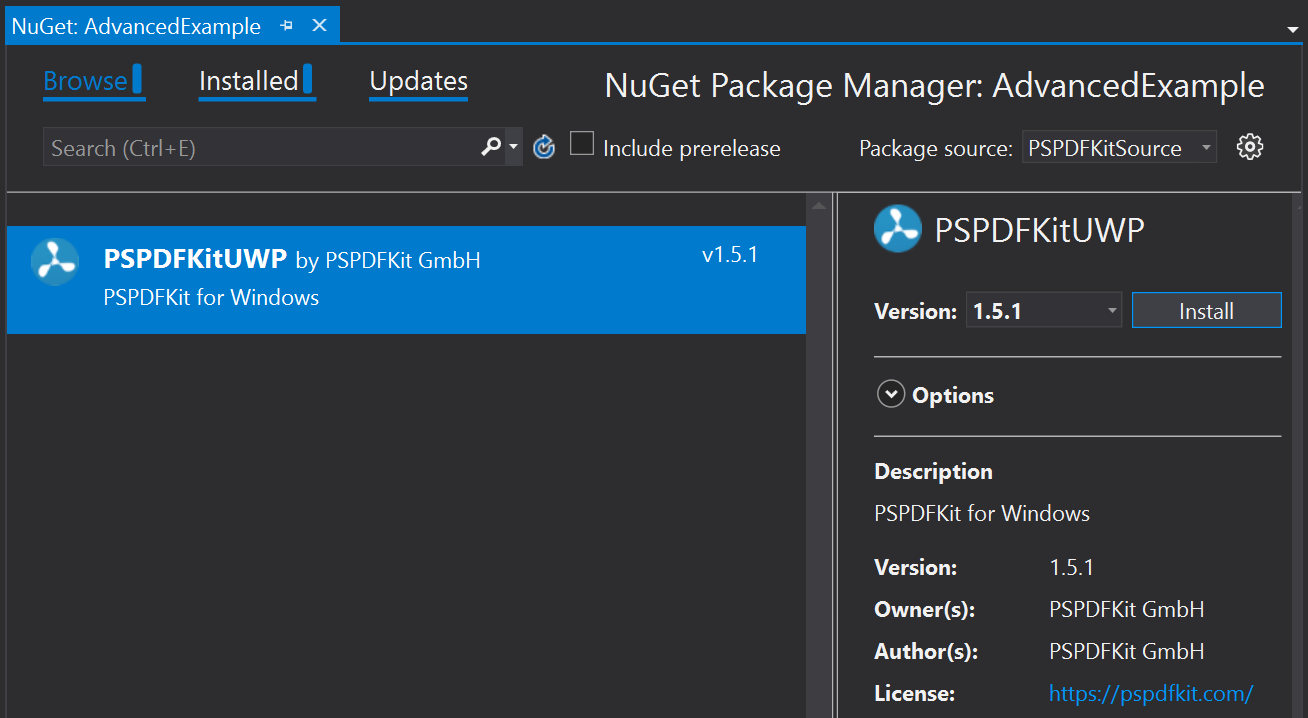
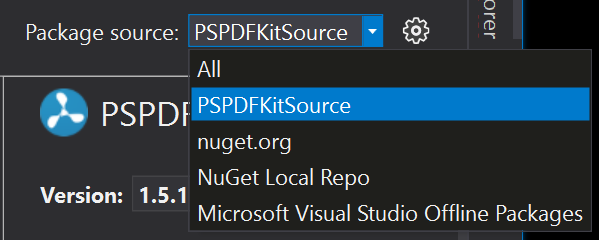
On the right-hand side of the manager in the Package source dropdown window, choose the entry
PSPDFKitSource(or whatever you decided to name it). You should then see the entry for PSPDFKitUWP by PSPDFKit GmbH.
-
On the right side, in the panel describing the package, click on the Install button to install the package.
-
Once that’s complete, you’ll see a reference to the package in the Solution Explorer under References.
Displaying a PDF
-
Open
MainPage.xamland paste the following XML as a child of the<Grid>element:
<Grid.RowDefinitions>
	<RowDefinition Height="*"/>
	<RowDefinition Height="52"/>
</Grid.RowDefinitions>
<ui:PdfView Grid.Row="0" Name="PdfView" />
<Button IsEnabled="False" Content="Open PDF" HorizontalAlignment="Left" Margin="10" Grid.Row="1" Name="Button_OpenPDF" Click="Button_OpenPDF_Click"/>
-
You’ll see a green line under
ui:PdfView. If you hover over it, you’ll be given the option for potential fixes. Apply the suggested fix, which will add the following namespace to<Page>:
<Page
	xmlns:ui="using:PSPDFKit.UI"
/>-
If you’ve purchased a license and assigned it to a bundle ID, you can add it here:
<ui:PdfView Grid.Row="0" Name="PdfView" License="..." />
If not, omitting the License property will initialize the PdfView in trial mode.
-
Open the
MainPage.xaml.csfile, add a delegate handler toPdfView.InitializationCompletedHandlerin the constructor, and add the button’s click handler function:
using PSPDFKit.Document;
using PSPDFKit.Pdf;
using PSPDFKit.UI;

public MainPage()
{
	InitializeComponent();

	// This handler is invoked once the `PdfView` has been initialized, and then the `PdfView.Controller` can be used.
	PdfView.InitializationCompletedHandler += delegate(PdfView sender, Document args)
	{
		// Now that the `PdfView` is ready, enable the button for opening a file.
		Button_OpenPDF.IsEnabled = true;
	};
}

private async void Button_OpenPDF_Click(object sender, RoutedEventArgs e)
{
	var picker = new Windows.Storage.Pickers.FileOpenPicker();
	picker.ViewMode = Windows.Storage.Pickers.PickerViewMode.Thumbnail;
	picker.SuggestedStartLocation = Windows.Storage.Pickers.PickerLocationId.DocumentsLibrary;
	picker.FileTypeFilter.Add(".pdf");

	var file = await picker.PickSingleFileAsync();
	if (file != null)
	{
		var document = DocumentSource.CreateFromStorageFile(file);
		await PdfView.Controller.ShowDocumentAsync(document);
	}
}
Note that you must wait for initialization of the PdfView to be complete before using PdfView.Controller.
-
In the Build toolbar, choose Debug and
x86orx64— whichever you prefer. -
Then, in the menu, select Build > Build Solution.
-
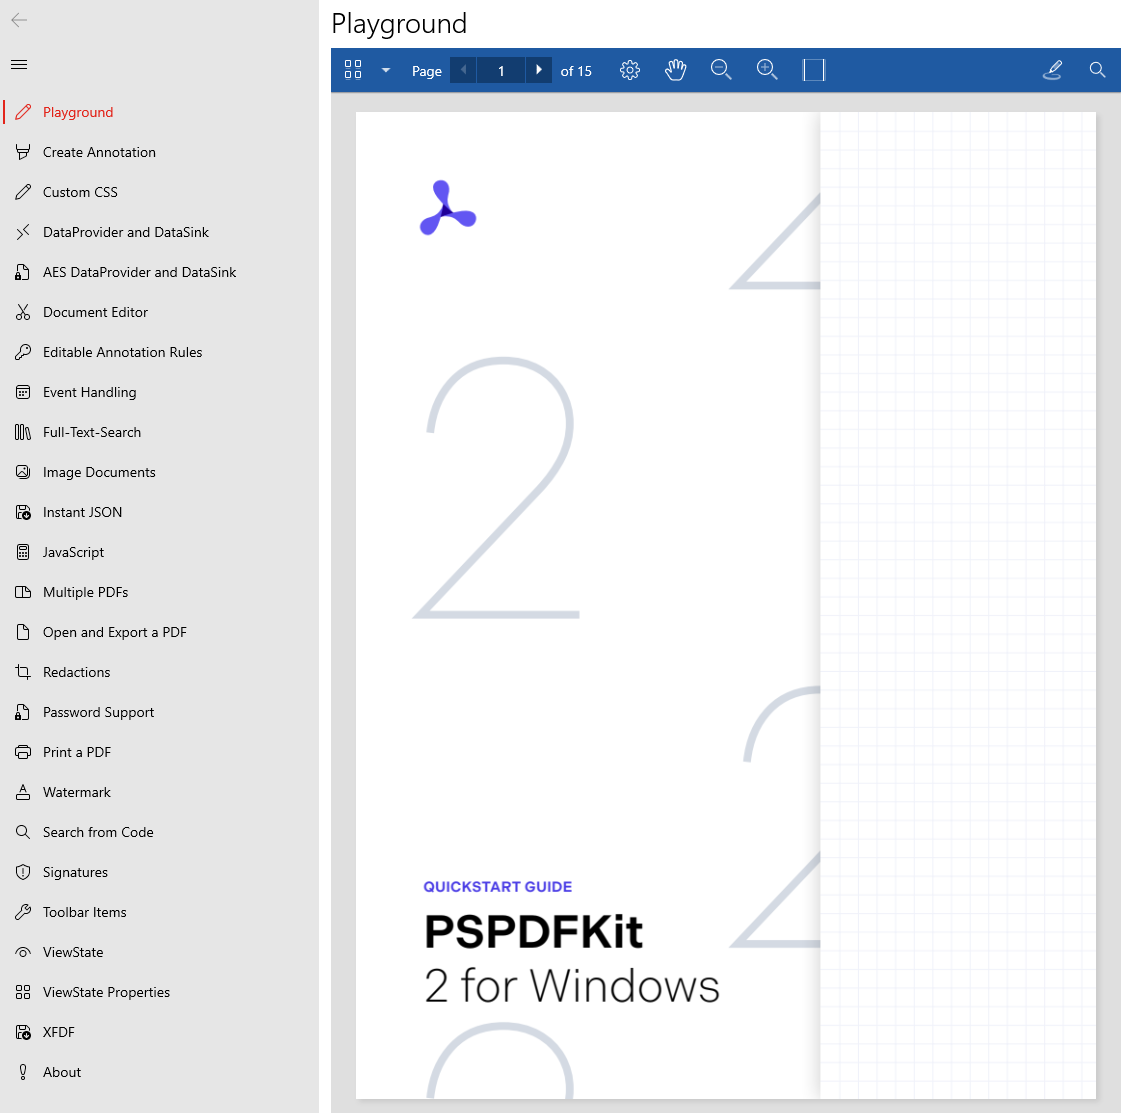
Start the application, and you should be able to open a PDF by clicking the Open button.
Next Steps
React Native for Windows UWP Support
PSPDFKit for Windows UWP comes with optional support for React Native. This makes it easy to add PDF support to your React Native Windows app. See our open source GitHub repository for details on how to integrate.
Support for .NET, WPF (Windows Presentation Foundation), and Xamarin
There’s ongoing work by Microsoft to allow integrating UWP controls in WPF apps. We also have a Xamarin library for UWP, and you can check out our Xamarin guide for more information.
Support for Windows 7/Windows 8.1
For companies that still need to support legacy Windows, we offer CEF as a replacement. This has a slightly higher performance impact (around 20–30 percent slower), but otherwise, it’s functionally equivalent; it just needs more direct interaction with JavaScript.
Mainstream support for Windows 7 ended on 13 January 2015, and mainstream support for Windows 8.1 ended on 9 January 2018. However, Microsoft will still offer paid extended support until January 2020/2023, respectively.