How to OCR PDFs with PSPDFKit API
 Jonathan D. Rhyne

In this post, you’ll learn how to OCR PDF files using our PDF OCR API. With our API, you receive 100 credits with the free plan. Different operations on a document consume different amounts of credits, so the number of PDF documents you can generate may vary. You’ll just need to create a free account to get access to your API key.
This post covers how to OCR PDF files using Python, PHP, JavaScript, and Java. It’s especially helpful for developers working with document-centric workflows who need an accurate and performant way to OCR a large number of documents.
With PSPDFKit OCR API, you’ll be able to automate the process of OCRing documents in your workflow.
PSPDFKit API
OCR is just one of our 30+ PDF API tools. You can combine our OCR tool with other tools to create complex document processing workflows. Once you create your account, you’ll be able to access all our PDF API tools.
Creating a Free PSPDFKit Account
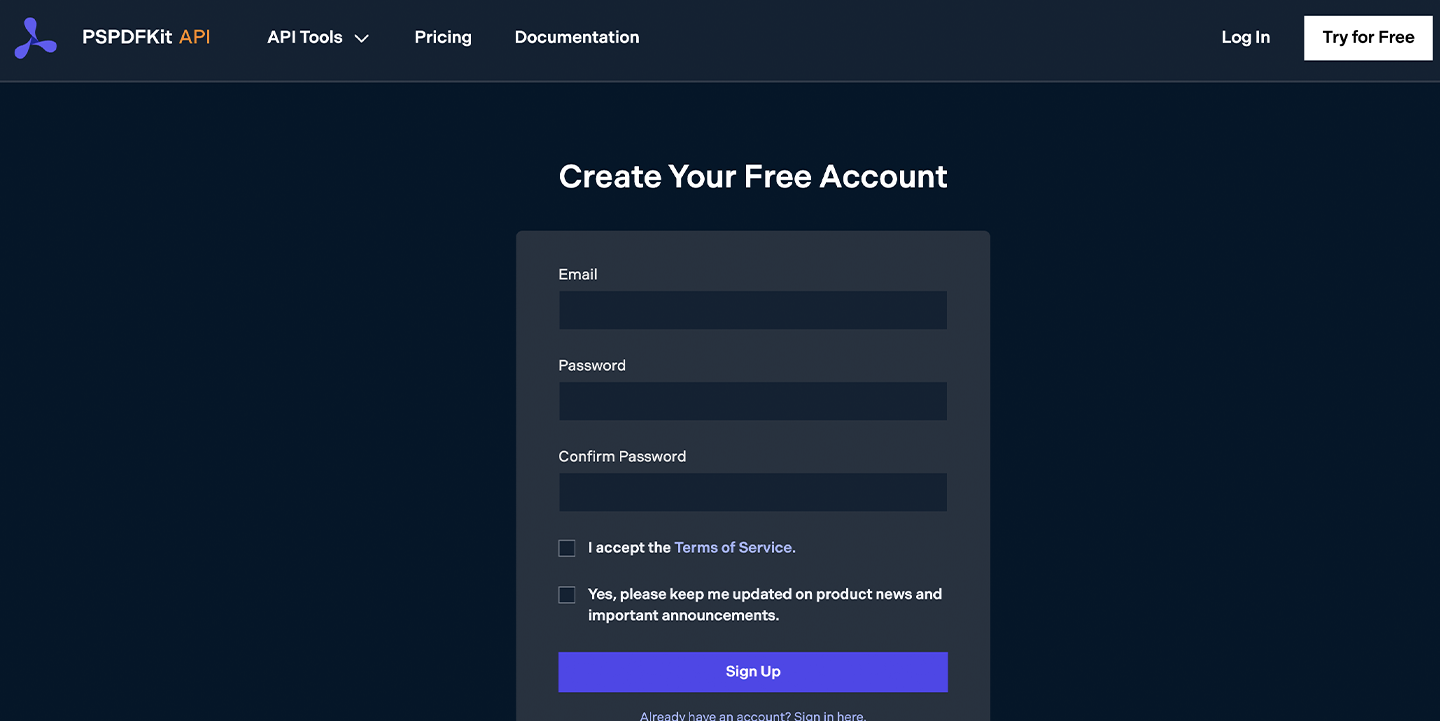
Go to our website and create your free account. You’ll see the page below.
Once you’ve created your account, navigate to Pricing and Plans to see your current plan.
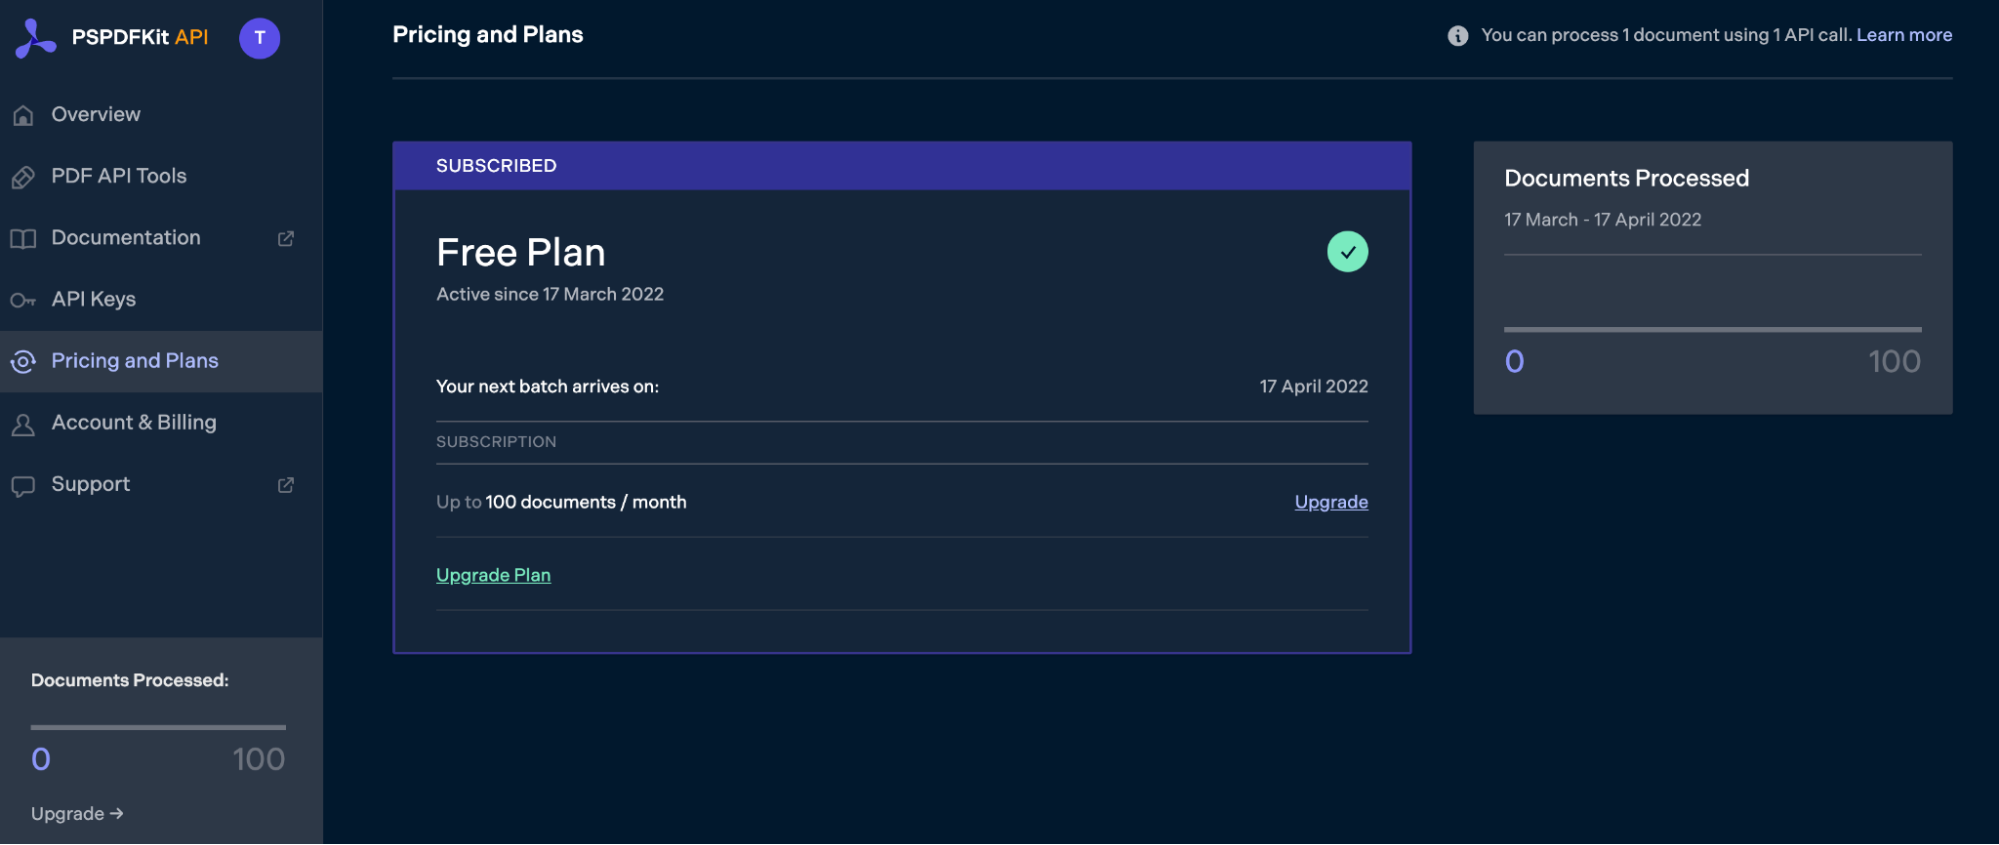
As you can see in the bottom-left corner, you’ll be given 100 free credits.
Obtaining the API Key
After you’ve verified your email, you can get your API key from the dashboard. In the menu on the left, select API Keys. You’ll see the following.
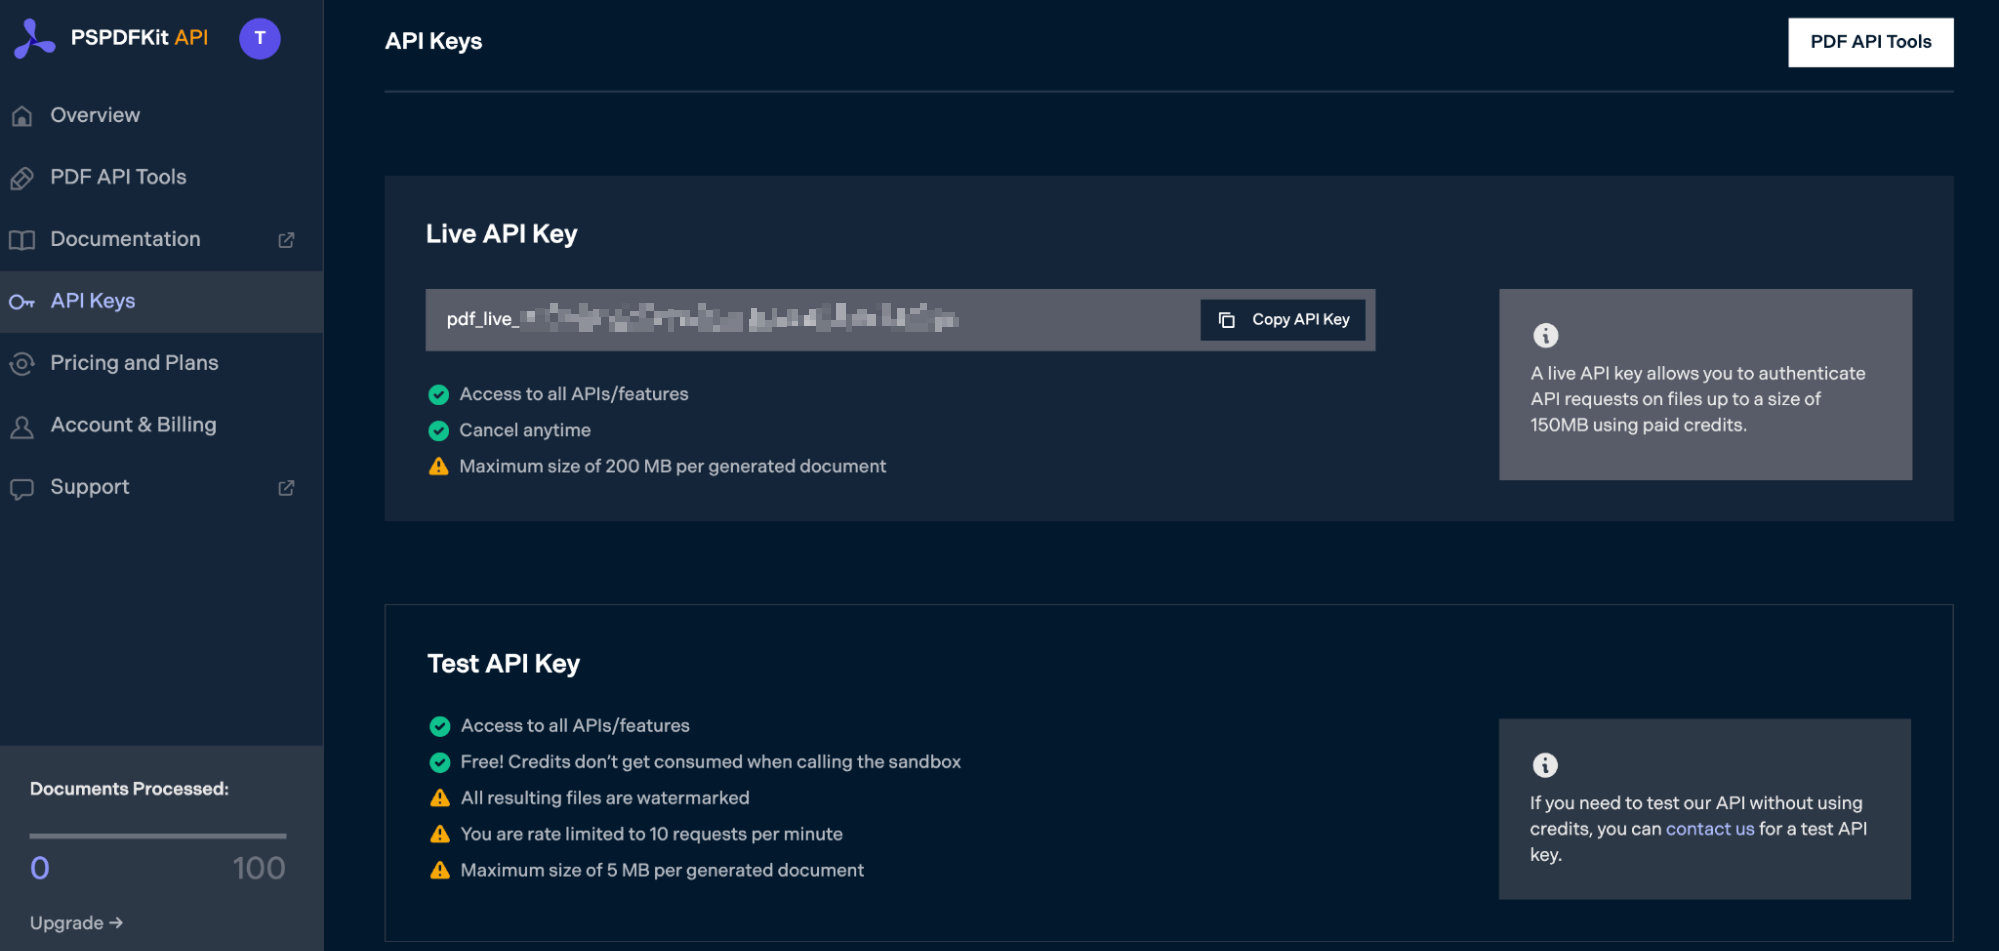
Copy the Live API Key, because you’ll need this for the OCR PDF API.
Regardless of which language you’re using, the steps above will be the same, so ensure you’ve followed them before proceeding.
How to OCR a PDF in Python
To get started:
-
Create a free account to access your live API key.
-
Install Python on your system. You can download Python here.
Setting Up Files and Folders
First, make sure you have all the dependencies set up:
python -m pip install requests
Now, create a folder called ocr_pdf and open it in a code editor. For this tutorial, you’ll use VS Code as your primary code editor. Next, create two folders inside ocr_pdf and name them input_documents and processed_documents.
Then, in the root folder, ocr_pdf, create a file called processor.py. This is the file where you’ll keep your code.
Writing the Code
Open the processor.py file and paste in the code below:
import requests
import json

instructions = {
  'parts': [
    {
      'file': 'scanned'
    }
  ],
  'actions': [
    {
      'type': 'ocr',
      'language': 'english'
    }
  ]
}

response = requests.request(
  'POST',
  'https://api.pspdfkit.com/build',
  headers = {
    'Authorization': 'Bearer pdf_live_<rest_of_your_api_key>'
  },
  files = {
    'scanned': open('input_documents/document.pdf', 'rb')
  },
  data = {
    'instructions': json.dumps(instructions)
  },
  stream = True
)

if response.ok:
  with open('processed_documents/result.pdf', 'wb') as fd:
    for chunk in response.iter_content(chunk_size=8096):
      fd.write(chunk)
else:
  print(response.text)
  exit()
Code Explanation
First, you’re importing all the requests and json dependencies. After that, you’re creating the instructions for the API call. You’re then using the requests module to make the API call, and if the response is successful, you’re storing the result in the processed_documents folder.

Make sure to replace
pdf_live_<rest_of_your_api_key>with your API key.
Output
To execute the code, use the command below:
python3 processor.py
Once the code has been successfully executed, you’ll see a new file in the processed_documents folder called result.pdf.
How to OCR a PDF in PHP
To get started:
-
Create a free account to access your live API key.
-
Install PHP on your system. You can download PHP here.
Setting Up Files and Folders
Now, create a folder called ocr_pdf and open it in a code editor. For this tutorial, you’ll use VS Code as your primary code editor. Next, create two folders inside ocr_pdf and name them input_documents and processed_documents. Now copy your PDF file to the input_documents folder and rename it to document.pdf.
Then, in the root folder, ocr_pdf, create a file called processor.php. This is the file where you’ll keep your code.
Writing the Code
Open the processor.php file and paste in the code below:
<?php

$FileHandle = fopen('processed_documents/result.pdf', 'w+');

$curl = curl_init();

$instructions = '{
  "parts": [
    {
      "file": "scanned"
    }
  ],
  "actions": [
    {
      "type": "ocr",
      "language": "english"
    }
  ]
}';

curl_setopt_array($curl, array(
  CURLOPT_URL => 'https://api.pspdfkit.com/build',
  CURLOPT_CUSTOMREQUEST => 'POST',
  CURLOPT_RETURNTRANSFER => true,
  CURLOPT_ENCODING => '',
  CURLOPT_POSTFIELDS => array(
    'instructions' => $instructions,
    'scanned' => new CURLFILE('input_documents/document.pdf')
  ),
  CURLOPT_HTTPHEADER => array(
    'Authorization: Bearer pdf_live_<rest_of_your_api_key>'
  ),
  CURLOPT_FILE => $FileHandle,
));

$response = curl_exec($curl);

curl_close($curl);

fclose($FileHandle);
Code Explanation
You’re first creating a FileHandle variable because this will help you save the file in the processed_documents folder. After that, you’re creating the instruction variable where all the instructions for the API are stored in the form of a JSON string. And finally, in the last part of the code, you’re making a CURL request.
Make sure to replace
pdf_live_<rest_of_your_api_key>with your API key.
Output
To execute the code, run the following command:
php processor.php
On successful execution, it’ll create a file in the processed_documents folder called result.pdf.
How to OCR a PDF in JavaScript
To get started, install:
-
axios — This package is used for making REST API calls.
-
Form-Data — This package is used for creating form data.
You can use the following command to install both of them:
npm install axios
npm install form-data
Setting Up Files and Folders
Now, create a folder called ocr_pdf and open it in a code editor. For this tutorial, you’ll use VS Code as your primary code editor. Next, create two folders inside ocr_pdf and name them input_documents and processed_documents. Now copy your PDF file to the input_documents folder and rename it to document.pdf.
Then, in the root folder, ocr_pdf, create a file called processor.js. This is the file where you’ll keep your code.
Writing the Code
Open the processor.js file and paste in the code below:
const axios = require('axios');
const FormData = require('form-data');
const fs = require('fs');

const formData = new FormData();
formData.append(
	'instructions',
	JSON.stringify({
		parts: [
			{
				file: 'scanned',
			},
		],
		actions: [
			{
				type: 'ocr',
				language: 'english',
			},
		],
	}),
);
formData.append(
	'scanned',
	fs.createReadStream('input_documents/document.pdf'),
);
(async () => {
	try {
		const response = await axios.post(
			'https://api.pspdfkit.com/build',
			formData,
			{
				headers: formData.getHeaders({
					Authorization: 'Bearer pdf_live_<rest_of_your_api_key>',
				}),
				responseType: 'stream',
			},
		);

		response.data.pipe(
			fs.createWriteStream('processed_documents/result.pdf'),
		);
	} catch (e) {
		const errorString = await streamToString(e.response.data);
		console.log(errorString);
	}
})();

function streamToString(stream) {
	const chunks = [];
	return new Promise((resolve, reject) => {
		stream.on('data', (chunk) => chunks.push(Buffer.from(chunk)));
		stream.on('error', (err) => reject(err));
		stream.on('end', () =>
			resolve(Buffer.concat(chunks).toString('utf8')),
		);
	});
}
Code Explanation
Here you have a form variable that contains the instructions for the API. You’re using createReadStream to read the input PDF file, and then you’re using the axios HTTP client to post the data to PSPDFKit API. The response of the API is stored in the processed_documents folder.
Make sure to replace
pdf_live_<rest_of_your_api_key>with your API key.
Output
To run the code, use the command below:
node processor.js
On successful execution, it’ll create a file in the processed_documents folder called result.pdf.
How to OCR PDFs in Java
To OCR PDFs in Java, you’ll install the dependencies after setting up the files and folders.
Setting Up Files and Folders
For this tutorial, you’ll use IntelliJ IDEA as your primary code editor. Create a new project called ocr_pdf and use the settings shown in the following image.
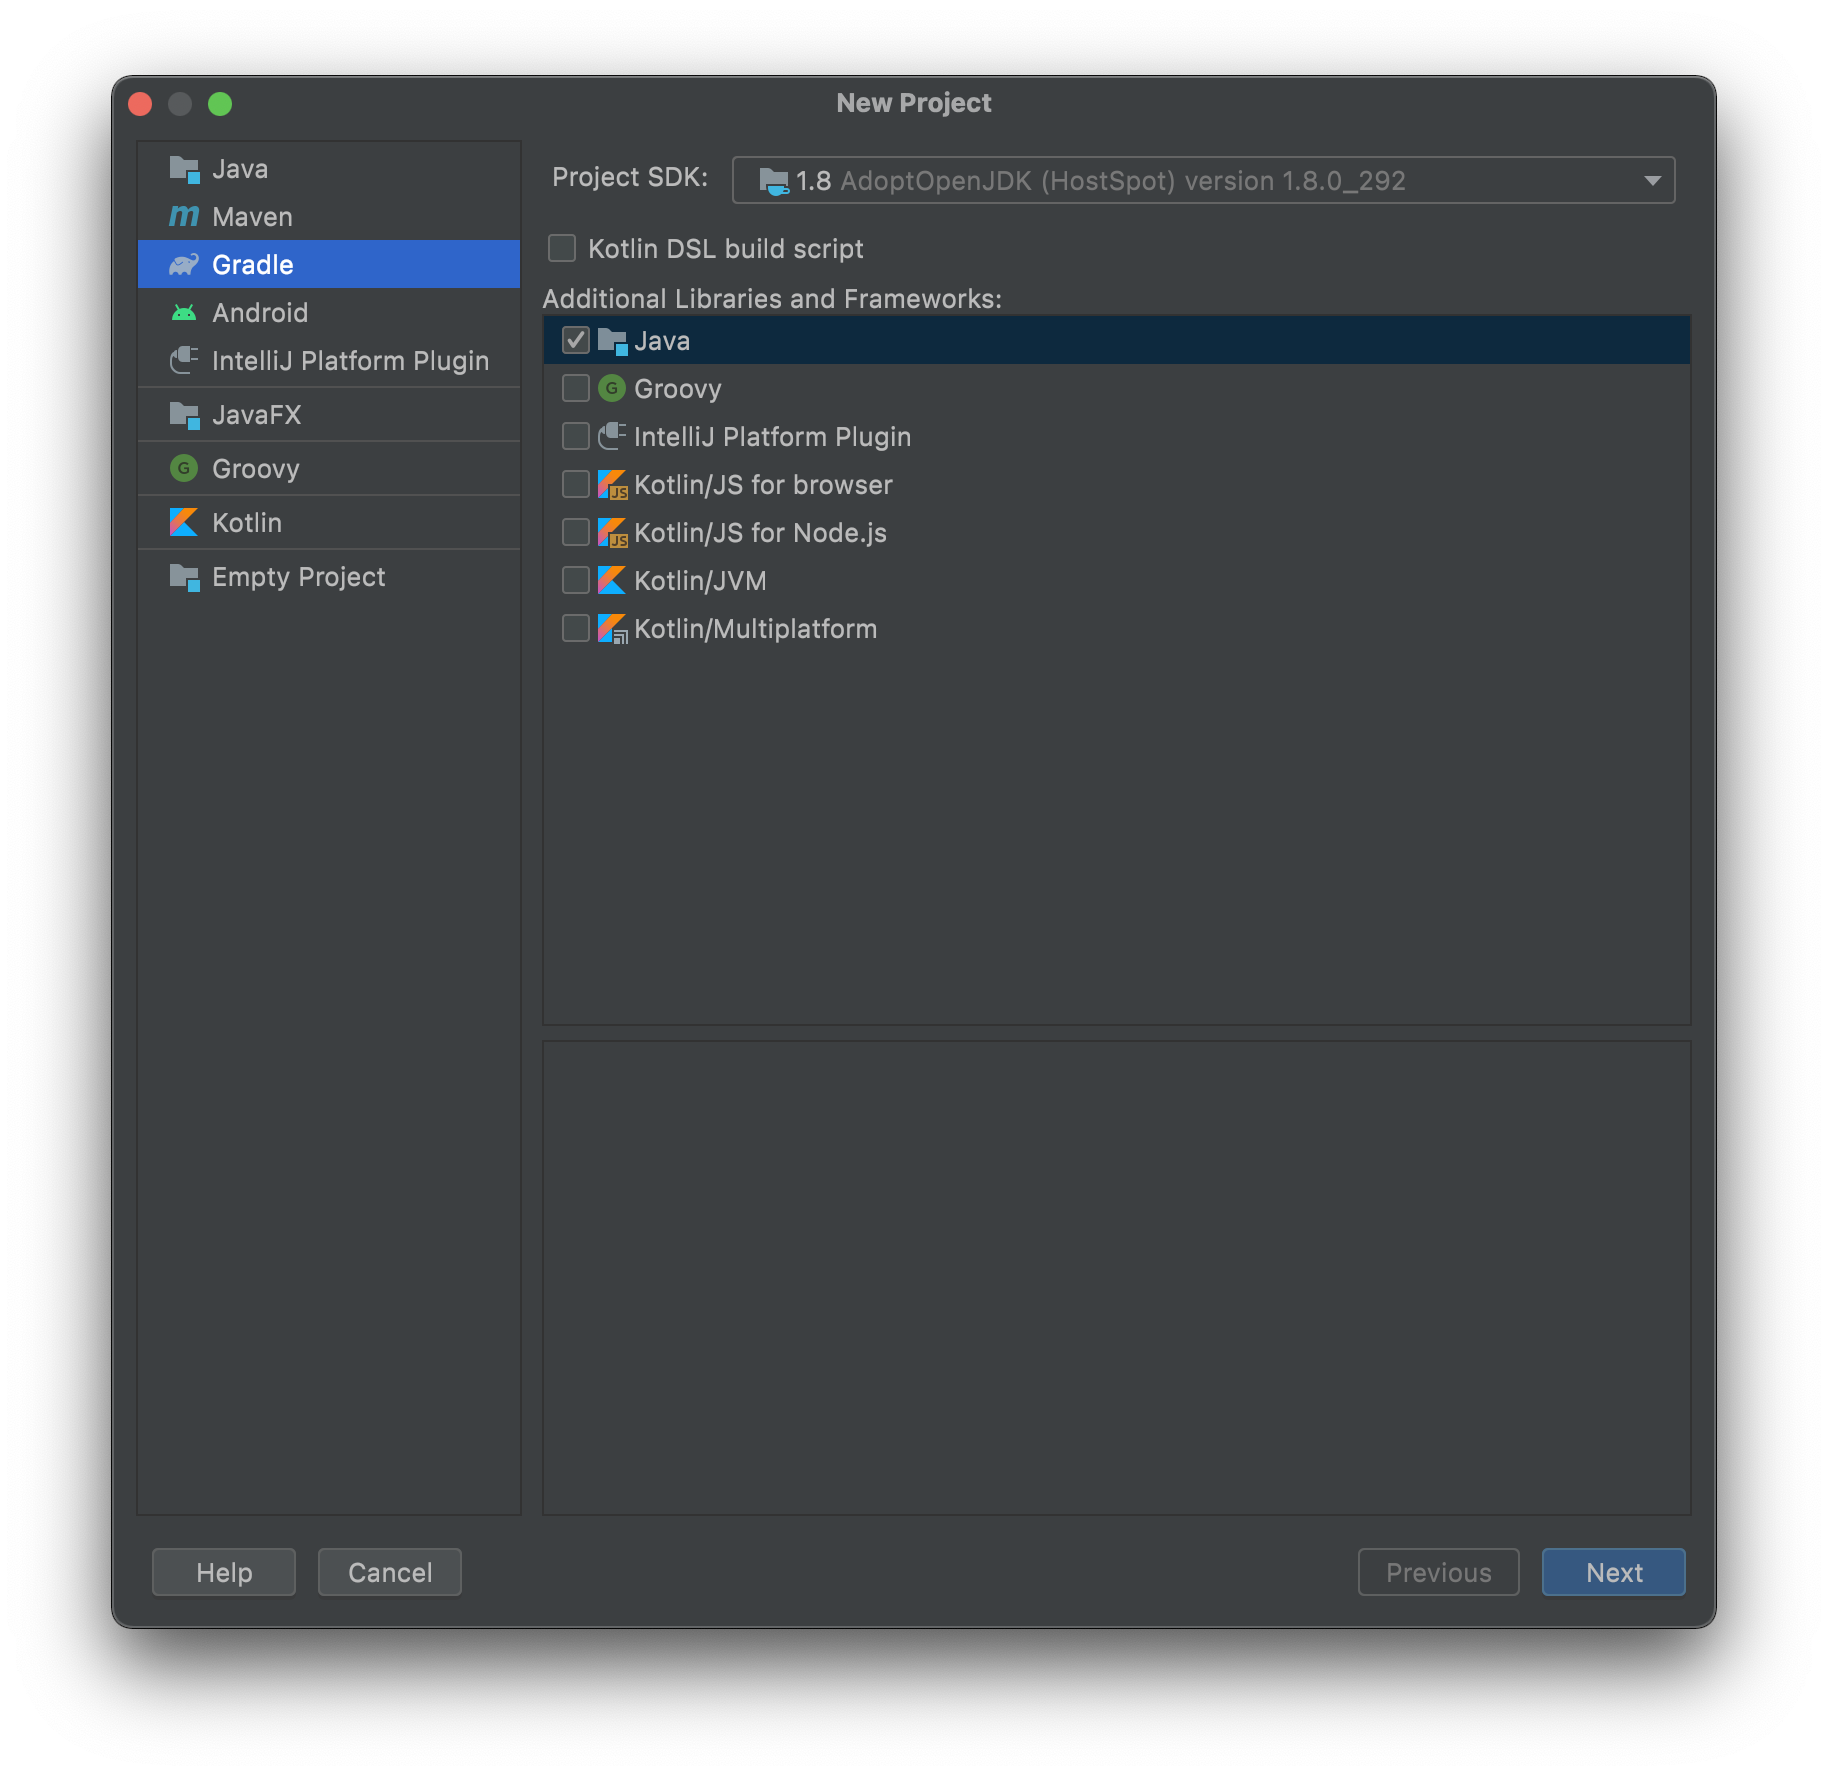
You can choose any location, but make sure to set
Javaas the language andGradleas the build system.
Create a new directory in your project. Right-click your project’s name and select New > Directory. From there, choose the src/main/java option. Once done, create a class file called Processor.java inside the src/main/java folder, and in the same folder, create two folders called input_documents and processed_documents.
After that, paste your PDF file inside the input_documents folder.
Installing the Dependencies
Next, you’ll install two libraries:
-
OkHttp — This library is used to make API requests.
-
JSON —This library will be used for parsing the JSON payload.
Open the build.gradle file and add the following dependencies to your project:
dependencies {
    implementation 'com.squareup.okhttp3:okhttp:4.9.2'
    implementation 'org.json:json:20210307'
}
Writing the Code
Open the processor.java file and paste in the code below:
import java.io.File;

import java.io.IOException;
import java.nio.file.FileSystems;
import java.nio.file.Files;
import java.nio.file.StandardCopyOption;

import org.json.JSONArray;

import org.json.JSONObject;
import okhttp3.MediaType;
import okhttp3.MultipartBody;
import okhttp3.OkHttpClient;
import okhttp3.Request;
import okhttp3.RequestBody;
import okhttp3.Response;

public final class Processor {
    public static void main(final String[] args) throws IOException {
        final RequestBody body = new MultipartBody.Builder()
                .setType(MultipartBody.FORM)
                .addFormDataPart(
                        "scanned",
                        "document.pdf",
                        RequestBody.create(
                                new File("input_documents/document.pdf"),
                                MediaType.parse("application/pdf")
                        )
                )
                .addFormDataPart(
                        "instructions",
                        new JSONObject()
                                .put("parts", new JSONArray()
                                        .put(new JSONObject()
                                                .put("file", "scanned")
                                        )
                                )
                                .put("actions", new JSONArray()
                                        .put(new JSONObject()
                                                .put("type", "ocr")
                                                .put("language", "english")
                                        )
                                ).toString()
                )
                .build();

        final Request request = new Request.Builder()
                .url("https://api.pspdfkit.com/build")
                .method("POST", body)
                .addHeader("Authorization", "Bearer pdf_live_<rest_of_your_api_key>")
                .build();

        final OkHttpClient client = new OkHttpClient()
                .newBuilder()
                .build();

        final Response response = client.newCall(request).execute();

        if (response.isSuccessful()) {
            Files.copy(
                  response.body().byteStream(),
                  FileSystems.getDefault().getPath("procesed_documents/result.pdf"),
                  StandardCopyOption.REPLACE_EXISTING
            );
        } else {
            // Handle the error
            throw new IOException(response.body().string());
        }
    }
}
Code Explanation
You’re importing all the packages required to run the code. Next you create the Processor class. Then in the main function, you’re first creating the request body for the API call that contains all the instructions to OCR the PDF. After that, you’re calling the API to process the instructions.
Make sure to replace
pdf_live_<rest_of_your_api_key>with your API key.
Output
To execute the code, click the run button located to the right of your configuration.
On successful execution of code, you’ll see two new PDF files in the processed_documents folder.
Conclusion
In this post, you learned how to easily OCR PDF documents using our PDF OCR API. You can integrate these functions into your existing applications and workflows. To get started with a free trial, sign up.

Jonathan joined PSPDFKit in 2014. As CEO, Jonathan defines the company’s vision and strategic goals, bolsters the team culture, and steers product direction. When he’s not working, he enjoys being a dad, photography, and soccer.