How to Use jsPDF and Angular to Generate PDFs

Whether you need to create invoices, reports, or downloadable documents, converting web content into PDF format can significantly enhance the functionality of your Angular application. In this post, we’ll walk you through the process of generating PDFs using Angular — first with a basic approach using jspdf, and then with a more powerful approach using PSPDFKit for Web.
Prerequisites
Step 1 — Angular Installation
Start by installing Angular CLI, a powerful tool for creating and managing Angular projects. Open your terminal and run the following command:
npm install -g @angular/cli
This command installs Angular CLI globally on your system, allowing you to create and manage Angular projects.
Step 2 — Creating a New Angular Project
With Angular CLI installed, you can create a new Angular project. Navigate to the directory where you want to create your project and run the following command:
ng new angular-pdf-generator
Angular CLI will prompt you to choose various project configuration options. You can either accept the defaults or customize them according to your preferences.
After creating the project, navigate to the project directory using the following command:
cd angular-pdf-generator
Step 3 — Installing the Required Packages
To generate PDFs in Angular, you’ll use two libraries: jspdf and jspdf-autotable. Install them using npm:
npm install jspdf jspdf-autotable
These packages will enable you to create and customize PDFs within your Angular application.
Step 4 — Creating a PDF Generation Component
Angular follows a component-based architecture. Create a component dedicated to PDF generation. Run the following command:
ng generate component pdf-generator
This command will generate a new component named pdf-generator with associated files for HTML, CSS, and TypeScript.
Step 5 — Writing the PDF Generation Code
Inside the pdf-generator component, open the pdf-generator.component.ts file. In this file, you’ll write the code responsible for generating PDFs:
import { Component } from '@angular/core';
import jsPDF from 'jspdf';
import autoTable from 'jspdf-autotable';

@Component({
	selector: 'app-pdf-generator',
	templateUrl: './pdf-generator.component.html',
	styleUrls: ['./pdf-generator.component.css'],
})
export class PdfGeneratorComponent {
	generatePDF() {
		// Create a new PDF document.
		const doc = new jsPDF();

		// Add content to the PDF.
		doc.setFontSize(16);
		doc.text('My Angular PDF Generator', 10, 10);
		doc.setFontSize(12);
		doc.text(
			'This is a comprehensive guide on generating PDFs with Angular.',
			10,
			20,
		);

		// Create a table using `jspdf-autotable`.
		const headers = [['Name', 'Email', 'Country']];
		const data = [
			['David', 'david@example.com', 'Sweden'],
			['Castille', 'castille@example.com', 'Spain'],
			// ...
		];

		autoTable(doc, {
			head: headers,
			body: data,
			startY: 30, // Adjust the `startY` position as needed.
		});

		// Save the PDF.
		doc.save('table.pdf');
	}
}
Here, the code defines an Angular component named PdfGeneratorComponent that generates a PDF document with text and a table when a button is clicked. It uses the jsPDF library for PDF creation and jspdf-autotable for building tables within the PDF. The PDF is saved with the name table.pdf.
Now open the pdf-generator.component.html file. Add a button element that will trigger the generatePDF() function when clicked. Place this button within your component’s template:
<div>
	<button (click)="generatePDF()">Generate PDF</button>
</div>
Step 6 — Displaying the PDF Generation Component
Now that you have your PdfGeneratorComponent, you’ll display it in your Angular application. Open the app.component.html file and add the <app-pdf-generator></app-pdf-generator> tag inside the template:
<div>
	<!-- Your navigation or other content can go here -->
	<app-pdf-generator></app-pdf-generator>
</div>
Make sure to include PdfGeneratorComponent in the declarations array of the @NgModule decorator in your app.module.ts file to ensure that Angular recognizes and can use the PdfGeneratorComponent in your application.
Your app.module.ts file will look something like this:
import { NgModule } from '@angular/core';
import { BrowserModule } from '@angular/platform-browser';

import { AppComponent } from './app.component';
import { PdfGeneratorComponent } from './pdf-generator/pdf-generator.component';

@NgModule({
	declarations: [AppComponent, PdfGeneratorComponent],
	imports: [BrowserModule],
	providers: [],
	bootstrap: [AppComponent],
})
export class AppModule {}
Step 7 — Starting the Development Server
To see your Angular application in action, start the development server with the following command:
ng serve
Your application will be available at http://localhost:4200/. The application will display a Generate PDF button. When this button is clicked, the PDF will be generated as specified in the generatePDF() function.

Angular PDF Generation Library: PSPDFKit for Web
While the steps outlined above demonstrate PDF generation using jsPDF, an alternative approach is to use a specialized library like PSPDFKit for Web. This JavaScript library is designed for generating and manipulating PDF documents in Angular-based web applications. PSPDFKit for Web offers a wide range of capabilities, making it a powerful tool for your PDF needs:
-
Create from template — Insert text or images and prefill forms.
-
Generate from images — Convert JPGs, PNGs, or TIFFs into PDF.
-
Assemble documents — Merge multiple PDFs and insert pages.
-
Thumbnail previews — Render pages as thumbnail images.
-
Saving options — Save PDFs to an array buffer, local storage, or a remote server.
-
Headless — Optionally, generate PDFs without displaying the user interface.
-
Client-side — Create PDFs directly in a browser (no server needed).
-
Extendable — Add viewing, forms, signing, annotation, and more.
How to Generate PDFs from a Template Using PSPDFKit and Angular
Now, you’ll learn how to use PSPDFKit with Angular to generate PDF documents from predefined PDF templates by merging them with data. This can be incredibly useful for various applications, like generating invoices, contracts, tickets, or any structured documents.
Prerequisites
Before you begin, make sure you have your Angular project set up and that you’ve integrated PSPDFKit according to the Angular getting started guide.
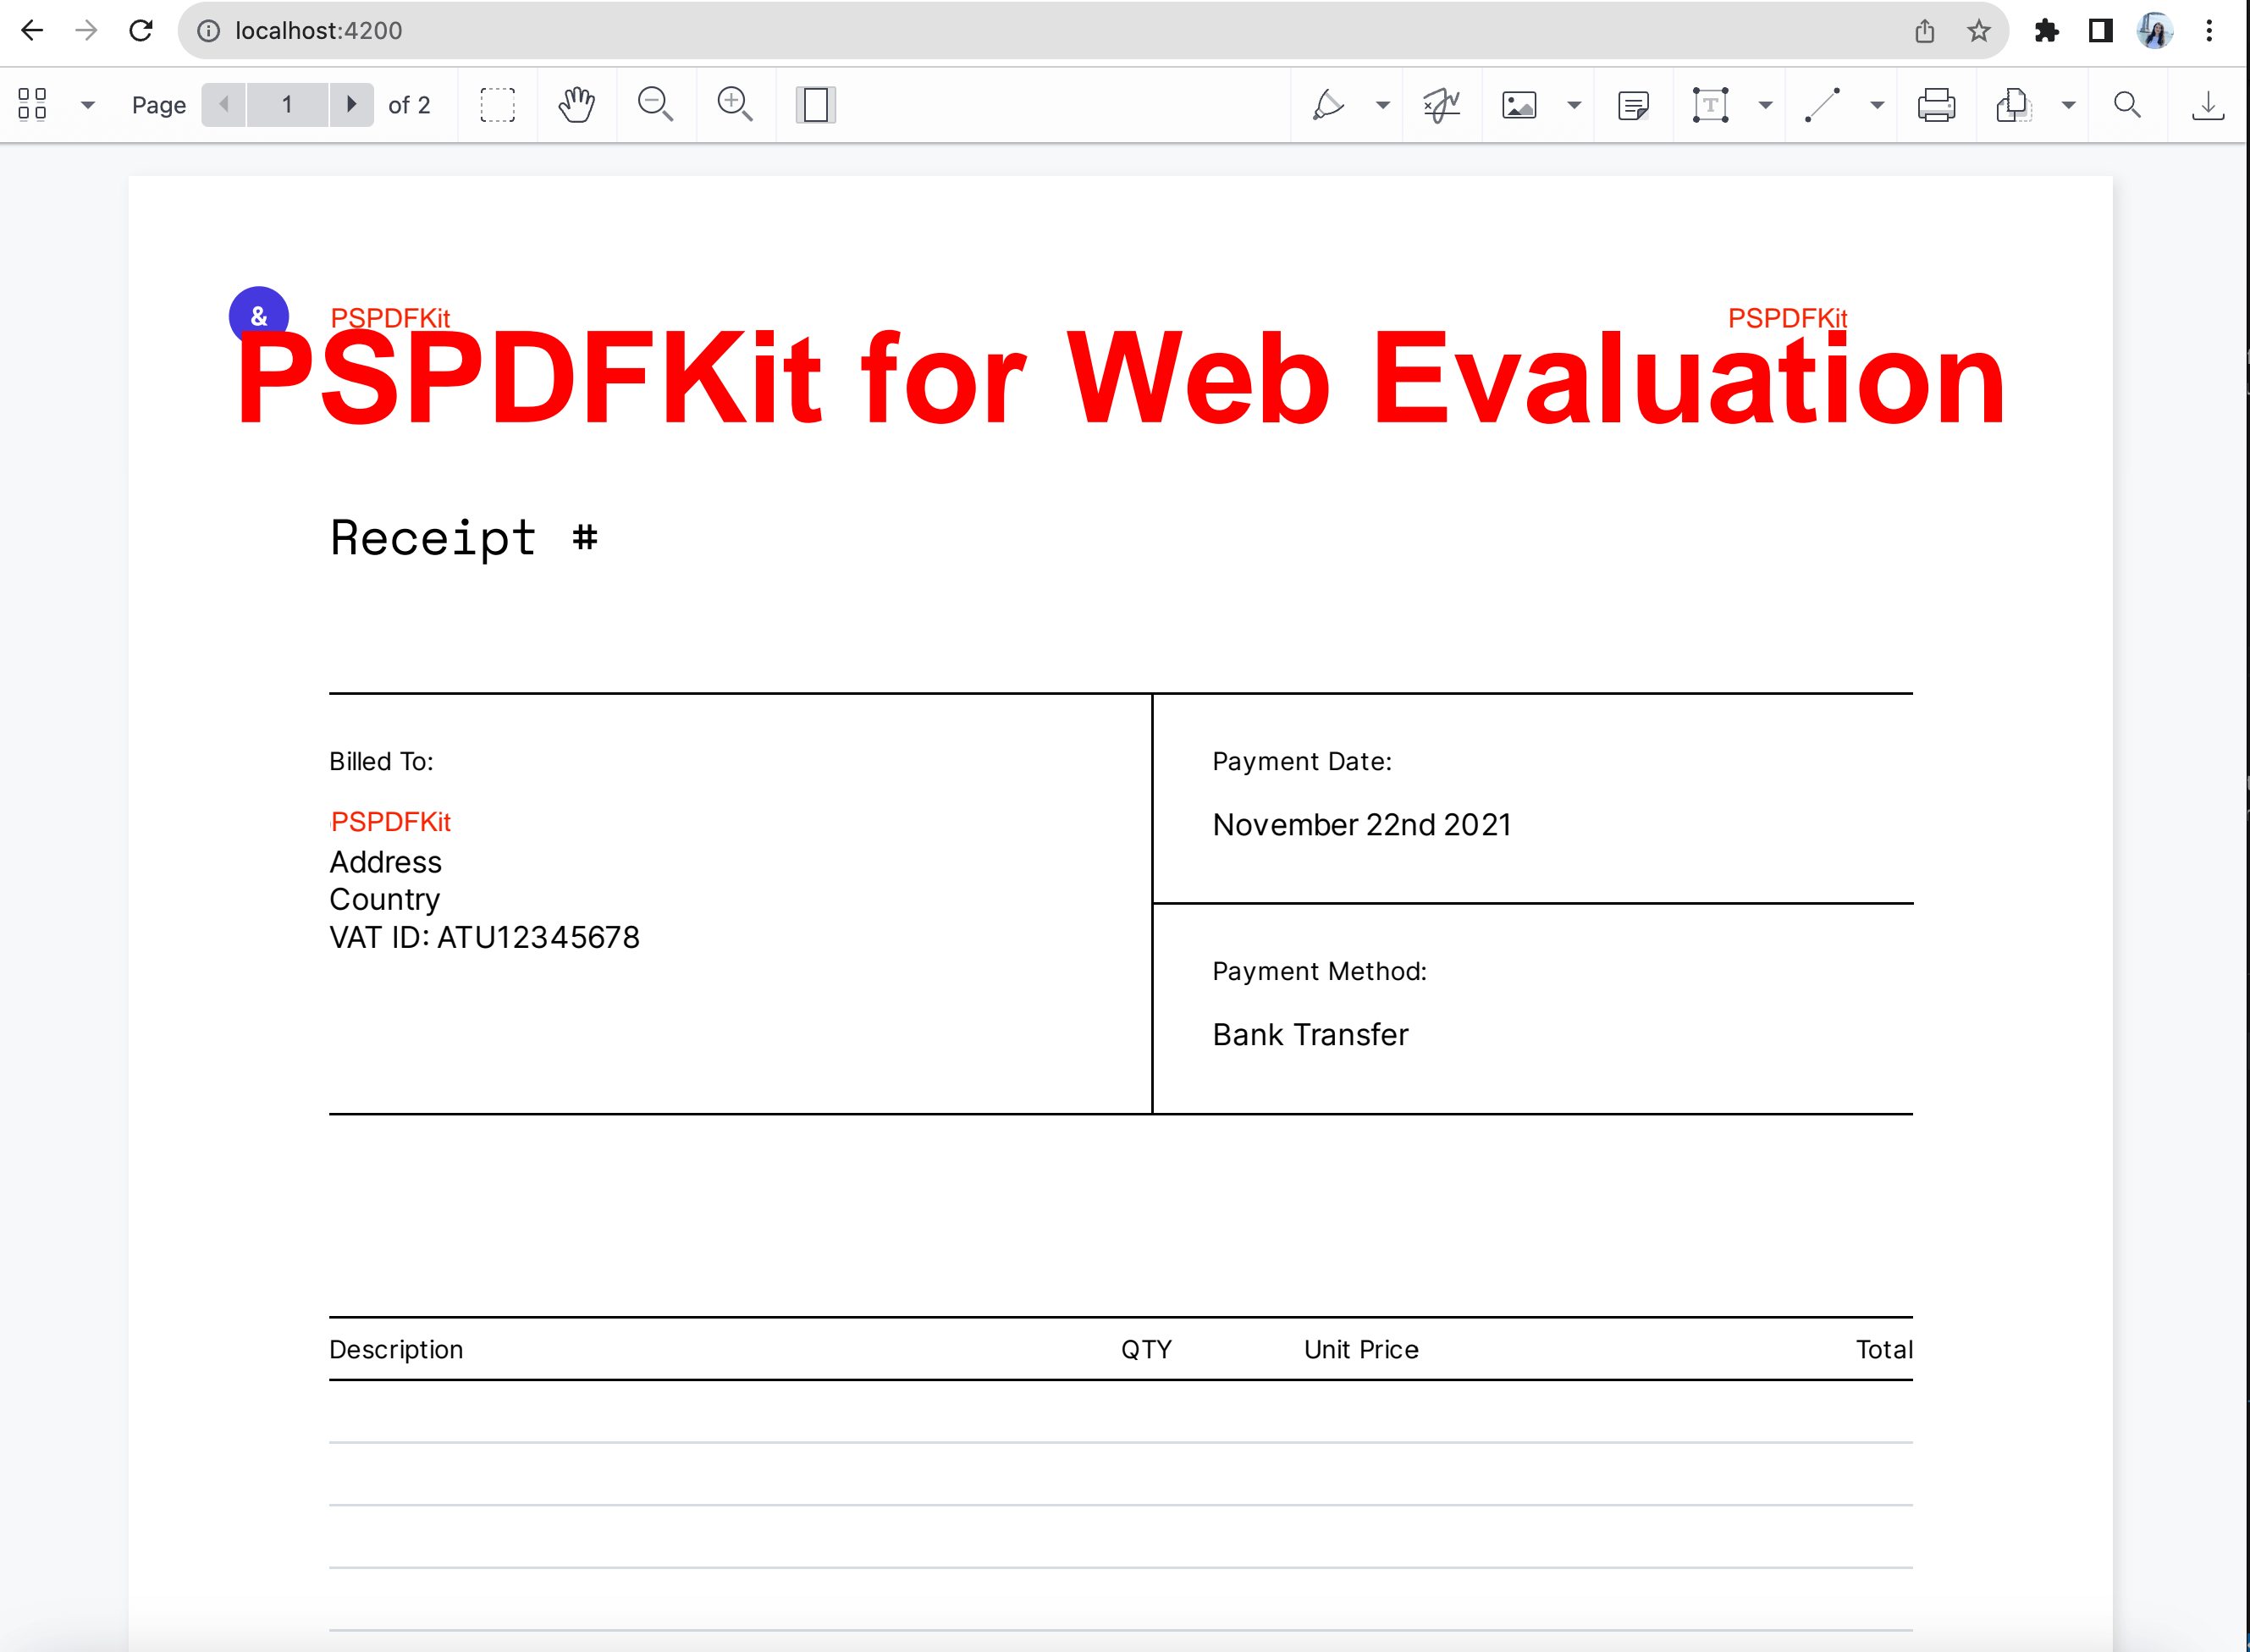
Step 1 — Loading the PDF Document
First, you need to load the PDF document you want to populate with data. Depending on your use case, you can load it in a PDF viewer with a user interface (UI) or in headless mode without a UI. The example here uses the headless mode:
// src/app/app.component.ts

import { Component } from '@angular/core';
import PSPDFKit from 'pspdfkit';

@Component({
	selector: 'app-root',
	templateUrl: './app.component.html',
	styleUrls: ['./app.component.css'],
})
export class AppComponent {
	title = 'PSPDFKit for Web Angular Example';

	ngAfterViewInit() {
		(async () => {
			const baseUrl =
				location.protocol + '//' + location.host + '/assets/';

			const instance: any = await PSPDFKit.load({
				baseUrl,
				document: '/assets/document.pdf', // Specify the path to your PDF template.
				container: '#pspdfkit-container',
				headless: true, // Load in headless mode.
			});
		})();
	}
}
Step 2 — Populating the Document with Data
To populate the document, you can overlay annotations onto the PDF template. Here’s how you can do this by creating a TextAnnotation:
// Create a free text annotation.
const textAnnotation = new PSPDFKit.Annotations.TextAnnotation({
	boundingBox: bbox, // Set the bounding box of the text annotation.
	fontSize: 8,
	text: {
		format: 'plain', // Specify the format (e.g. 'plain' or 'html').
		value: data.company, // The actual text content.
	},
	pageIndex: 0, // The page index to overlay the text on.
	fontColor: PSPDFKit.Color.RED,
	backgroundColor: PSPDFKit.Color.WHITE,
});

// Add the annotations to the document.
await instance.create(textAnnotation);
-
boundingBox— Define the position and size of the text annotation. -
fontSize— Set the font size. -
text— Provide the text content within the value property. -
pageIndex— Specify the page index where you want to overlay the text.
Repeat this process for other data points that you want to overlay on the document.
Step 3 — Flattening the Annotations (Optional)
You can optionally flatten the annotations to prevent modification:
await instance.exportPDF({ flatten: true });
Flattening the annotations makes the PDF template appear as though the text was originally part of the document.
Here’s the complete code for populating the PDF template with data:
// src/app/app.component.ts

import { Component } from '@angular/core';
import PSPDFKit from 'pspdfkit';

@Component({
	selector: 'app-root',
	templateUrl: './app.component.html',
	styleUrls: ['app.component.css'],
})
export class AppComponent {
	title = 'PSPDFKit for Web Angular Example';

	ngAfterViewInit() {
		// Load the PDF document in headless mode.
		(async () => {
			const baseUrl =
				location.protocol + '//' + location.host + '/assets/';
			const searchQuery = 'Company Ltd.';

			try {
				const res = await fetch('/assets/data.json');
				if (res.ok) {
					const data = await res.json(); // Define and initialize 'data'.
					// Now you can use 'data' here.

					// Load the PDF document in headless mode.
					const instance: any = await PSPDFKit.load({
						baseUrl,
						document: '/assets/document.pdf', // Specify the path to your PDF template.
						container: '#pspdfkit-container',
						headless: true,
					});

					// Create a free text annotation.
					const textAnnotation = new PSPDFKit.Annotations.TextAnnotation(
						{
							// COMPANY bounding box.
							boundingBox: new PSPDFKit.Geometry.Rect({
								height: 9.0675048828125,
								left: 60.375,
								top: 37.739990234375,
								width: 46.905006408691406,
							}),
							fontSize: 8,
							text: {
								format: 'plain', // Specify the format (e.g. 'plain' or 'html').
								value: data.company, // The actual text content.
							},
							pageIndex: 0,
							fontColor: PSPDFKit.Color.RED,
							backgroundColor: PSPDFKit.Color.WHITE,
						},
					);

					const textAnnotation2 = new PSPDFKit.Annotations.TextAnnotation(
						{
							// [Company Info] bounding box.
							boundingBox: new PSPDFKit.Geometry.Rect({
								height: 9.0675048828125,
								left: 478.6350402832031,
								top: 37.739990234375,
								width: 82.69503784179688,
							}),
							fontSize: 8,
							text: {
								format: 'plain',
								value: data.companyInfo,
							},
							pageIndex: 0,
							fontColor: PSPDFKit.Color.RED,
							backgroundColor: PSPDFKit.Color.WHITE,
						},
					);

					// Company Ltd. bounding box.
					const bbox = (await instance.search(searchQuery))
						.first()
						.rectsOnPage.get(0);

					const textAnnotation3 = new PSPDFKit.Annotations.TextAnnotation(
						{
							boundingBox: bbox,
							fontSize: 8,
							text: {
								format: 'plain',
								value: data.companyName,
							},
							pageIndex: 0,
							fontColor: PSPDFKit.Color.RED,
							backgroundColor: PSPDFKit.Color.WHITE,
						},
					);

					// Add the annotations to the document.
					await instance.create([
						textAnnotation,
						textAnnotation2,
						textAnnotation3,
					]);
					// Flatten the annotations.
					const pdfBuffer = await instance.exportPDF({
						flatten: true,
					});

					// Load the PDF with the UI.
					await PSPDFKit.load({
						baseUrl,
						document: pdfBuffer, // Use the flattened PDF.
						container: '#pspdfkit-container',
					});
				} else {
					// Handle server error.
					console.error(
						'Server returned an error:',
						res.status,
						res.statusText,
					);
				}
			} catch (error) {
				console.error(
					'An error occurred while fetching or parsing data:',
					error,
				);
			}
		})();
	}
}
With these steps, you’ve learned how to use PSPDFKit and Angular to generate PDFs from templates by merging them with data. This approach is powerful for creating structured documents in various applications.
Run your project with the following command:
npm start
For a detailed explanation, check out our guide on how to generate PDFs from a template using JavaScript.
Conclusion
In summary, while basic libraries like jspdf can fulfill simpler PDF generation needs, PSPDFKit for Web excels in scenarios where you require more advanced capabilities, better control, and enhanced functionality. It’s the go-to choice for projects that involve creating structured documents, managing various aspects of PDF files, and empowering your Angular application with a versatile PDF generation and manipulation library.
To get started, you can either:
-
Start your free trial to test the library and see how it works in your application.
-
Launch our demo to see the viewer in action.

Hulya is a frontend web developer and technical writer at PSPDFKit who enjoys creating responsive, scalable, and maintainable web experiences. She’s passionate about open source, web accessibility, cybersecurity privacy, and blockchain.


