How to Manipulate and Edit PDFs in .NET with PdfSharpCore

PdfSharpCore is a powerful open source library that allows you to generate, modify, edit, and manipulate PDF documents in .NET applications. In this tutorial, you’ll learn how to set up a .NET project with PdfSharpCore, along with how to perform common PDF manipulations, such as adding text and images, and merging, extracting, and even deleting pages from a PDF. Additionally, you’ll learn about PSPDFKit GdPicture.NET Library, which offers more advanced features for complex .NET projects.
Prerequisites
-
.NET SDK installed on your system.
-
A code editor, such as Visual Studio Code or Visual Studio.
Step 1 — Setting Up a .NET Core Project
Open your terminal and create a new .NET console application using the .NET command-line interface (CLI):
dotnet new console --name MyPDFEditorApp
cd MyPDFEditorApp
Step 2 — Installing the PdfSharpCore Package
Now, install the PdfSharpCore package using the .NET CLI:
dotnet add package PdfSharpCore
Step 3 — Adding Text to Existing PDFs
Begin by adding text to an existing PDF document. For this tutorial, make sure you have an existing PDF file, input.pdf, in your project folder.
Open the Program.cs file in your code editor and add the following code:
using PdfSharpCore.Pdf;
using PdfSharpCore.Drawing;
using PdfSharpCore.Pdf.IO;

class Program
{
    static void Main()
    {
        // Open an existing PDF document.
        PdfDocument pdfDocument = PdfReader.Open("input.pdf", PdfDocumentOpenMode.Modify);

        // Get the first page of the document.
        PdfPage page = pdfDocument.Pages[0];

        // Create a graphics object to draw on the page.
        XGraphics gfx = XGraphics.FromPdfPage(page);

        // Define the font and size.
        XFont font = new XFont("Arial", 12);

        // Define the text to be added.
        string text = "Hello, PDFSharpCore!";

        // Draw the text on the page.
        gfx.DrawString(text, font, XBrushes.Black, new XPoint(100, 100));

        // Save the changes to the PDF.
        pdfDocument.Save("output.pdf");
        pdfDocument.Close();
    }
}
Run the application with dotnet run and open the output.pdf file to see the result.
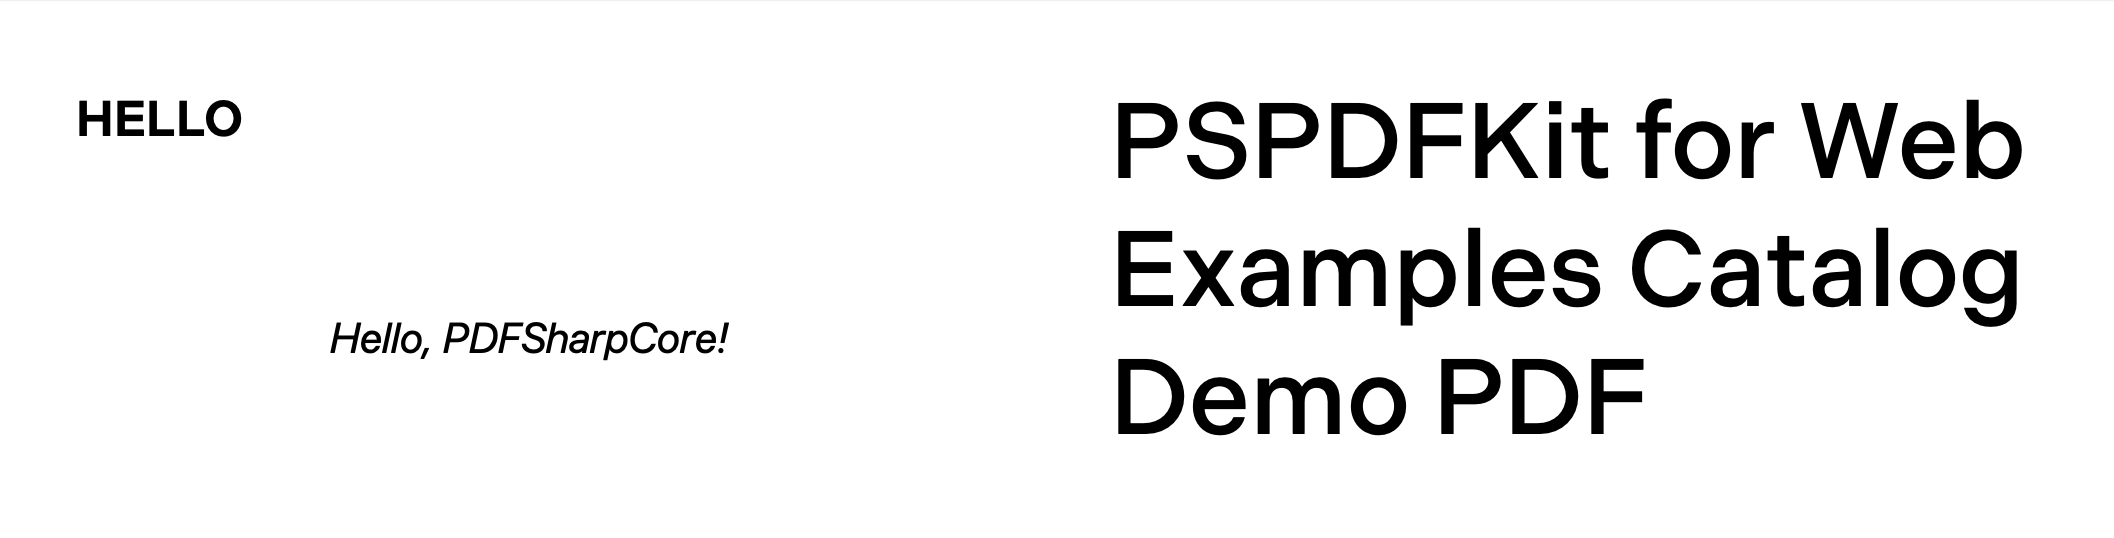
This will add the text “Hello, PDFSharpCore!” to the first page of the PDF document.
Step 4 — Adding Images to PDFs
Next, add an image to a PDF document. Make sure you have an image.png file in your project folder. This is the image that will be added to the PDF document:
using PdfSharpCore.Pdf;
using PdfSharpCore.Drawing;
using PdfSharpCore.Pdf.IO;

class Program
{
    static void Main()
    {
        // Open an existing PDF document.
        PdfDocument pdfDocument = PdfReader.Open("input.pdf", PdfDocumentOpenMode.Modify);

        // Get the first page of the document.
        PdfPage page = pdfDocument.Pages[0];

        // Create a graphics object to draw on the page.
        XGraphics gfx = XGraphics.FromPdfPage(page);

        // Load the image to be added.
        XImage image = XImage.FromFile("image.png");

        // Define the position and size of the image.
        double x = 100;
        double y = 100;
        double width = 200;
        double height = 100;

        // Draw the image on the page.
        gfx.DrawImage(image, x, y, width, height);

        // Save the changes to the PDF.
        pdfDocument.Save("output.pdf");
        pdfDocument.Close();
    }
}
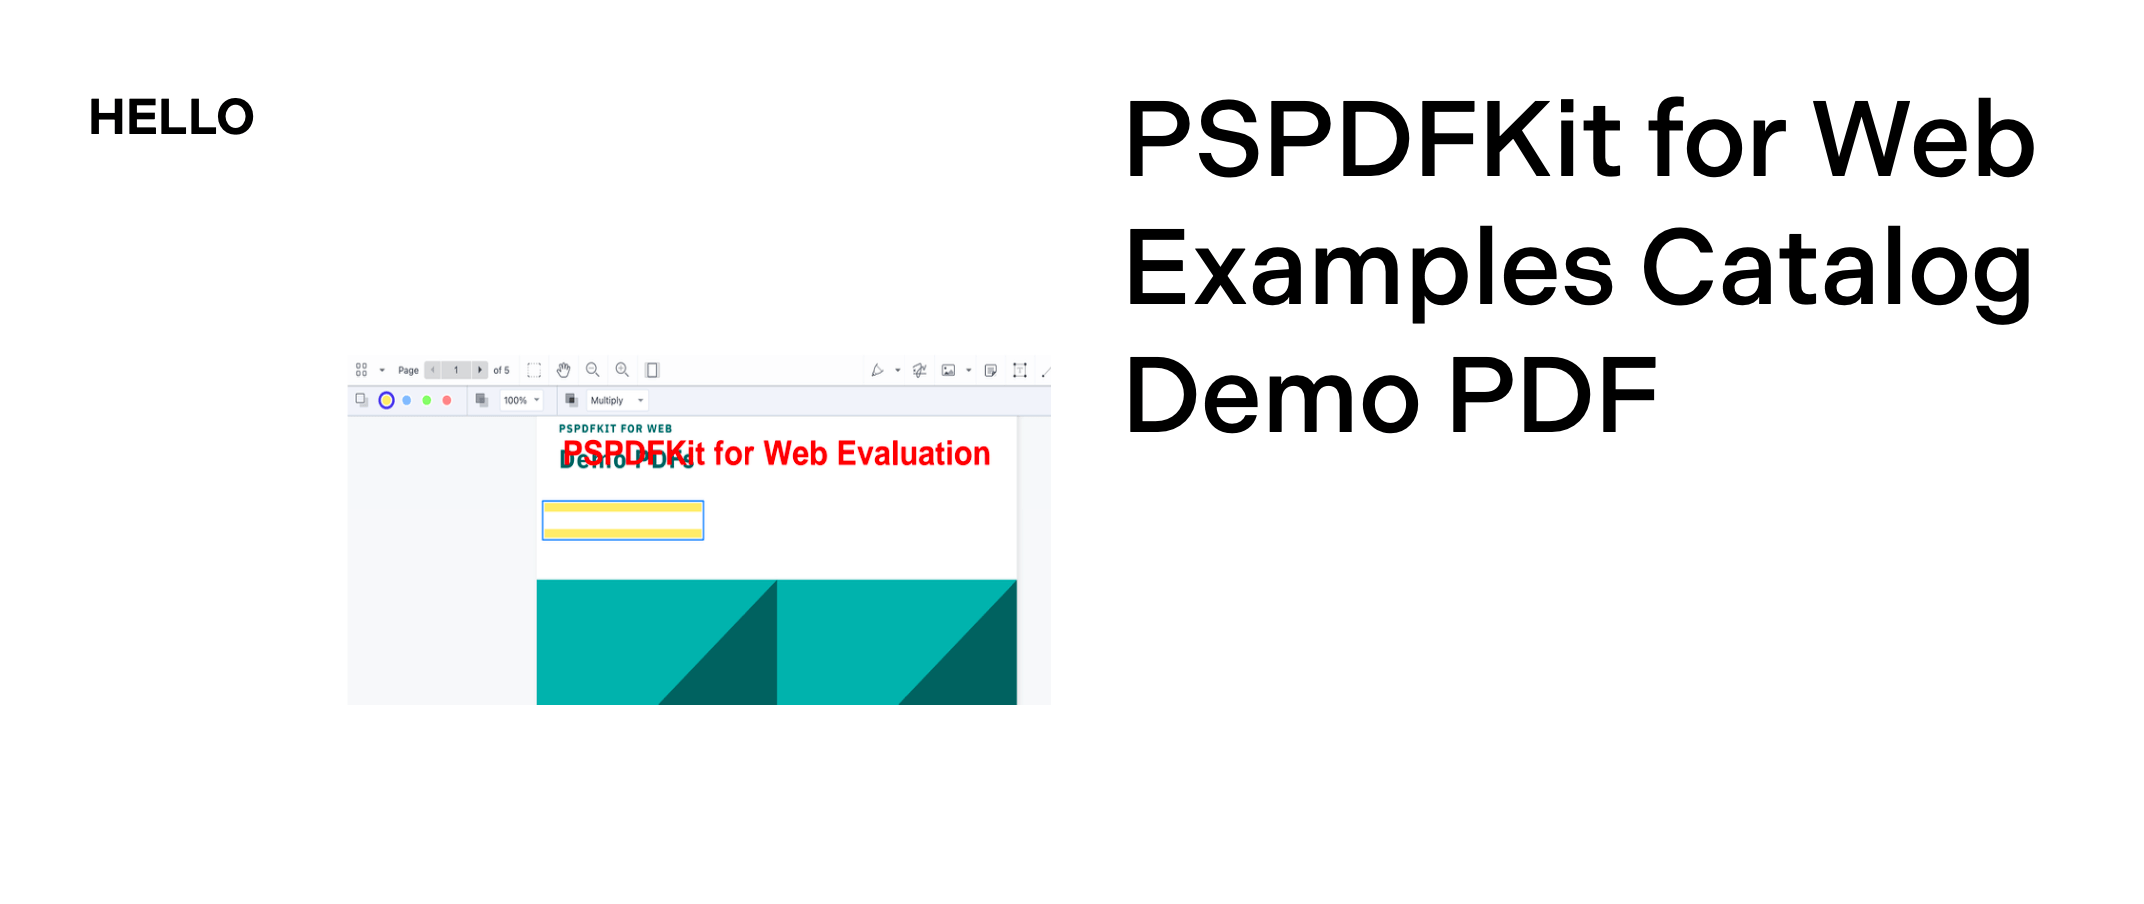
In this code, you load the image.png file using XImage.FromFile, and you specify the position and size where you want the image to be drawn on the PDF page using the x, y, width, and height variables. The gfx.DrawImage method is then used to add the image to the PDF page.
Step 5 — Merging PDFs
Now, you’ll merge multiple PDF documents into a single PDF. Make sure you have two PDF files, named document1.pdf and document2.pdf, in your project folder:
using PdfSharpCore.Pdf;
using PdfSharpCore.Pdf.IO;

class Program
{
    static void Main()
    {
        // Open the first PDF document.
        PdfDocument pdfDocument1 = PdfReader.Open("document1.pdf", PdfDocumentOpenMode.Import);

        // Open the second PDF document.
        PdfDocument pdfDocument2 = PdfReader.Open("document2.pdf", PdfDocumentOpenMode.Import);

        // Create a new PDF document
        PdfDocument mergedDocument = new PdfDocument();

        // Copy pages from the first document to the merged document.
        foreach (PdfPage page in pdfDocument1.Pages)
        {
            mergedDocument.AddPage(page);
        }

        // Copy pages from the second document to the merged document.
        foreach (PdfPage page in pdfDocument2.Pages)
        {
            mergedDocument.AddPage(page);
        }

        // Save the merged document.
        mergedDocument.Save("merged_document.pdf");
        mergedDocument.Close();
    }
}
The code demonstrates the process of combining two PDF documents, document1.pdf and document2.pdf, into a new PDF named merged_document.pdf.
Step 6 — Extracting Pages from a PDF
Next, you’ll extract specific pages from an existing PDF and save them as a new PDF:
using PdfSharpCore.Pdf.IO;

class Program
{
    static void Main()
    {
        // Open the existing PDF document.
        PdfDocument pdfDocument = PdfReader.Open("input.pdf", PdfDocumentOpenMode.Import);

        // Create a new PDF document.
        PdfDocument newDocument = new PdfDocument();

        // Specify the page numbers to be extracted (e.g. 1 and 3).
        int[] pageNumbersToExtract = { 1, 3 };

        // Copy the specified pages from the existing document to the new document.
        foreach (int pageNumber in pageNumbersToExtract)
        {
            PdfPage page = pdfDocument.Pages[pageNumber - 1]; // Subtract 1 as pages are zero-based
            newDocument.AddPage(page);
        }

        // Save the new document with extracted pages.
        newDocument.Save("extracted_pages.pdf");
        newDocument.Close();
    }
}
This code extracts specific pages from an existing PDF document and creates a new PDF document containing only the extracted pages.
Step 7 — Deleting Pages from a PDF
Finally, you’ll delete specific pages from a PDF document. In this example, you’re deleting pages 2 and 4 and creating a new PDF document without those pages:
using PdfSharpCore.Pdf.IO;

class Program
{
    static void Main()
    {
        // Open the existing PDF document.
        PdfDocument pdfDocument = PdfReader.Open("input.pdf", PdfDocumentOpenMode.Import);

        // Create a new PDF document.
        PdfDocument newDocument = new PdfDocument();

        // Specify the page numbers to be deleted (e.g. 2 and 4).
        int[] pageNumbersToDelete = { 2, 4 };

        // Copy all pages from the existing document to the new document, excluding the ones to be deleted.
        for (int pageNumber = 0; pageNumber < pdfDocument.PageCount; pageNumber++)
        {
            if (!pageNumbersToDelete.Contains(pageNumber + 1))
            {
                PdfPage page = pdfDocument.Pages[pageNumber];
                newDocument.AddPage(page);
            }
        }

        // Save the new document with deleted pages.
        newDocument.Save("modified_document.pdf");
        newDocument.Close();
    }
}
PSPDFKit GdPicture.NET Library
While both PdfSharpCore and PSPDFKit GdPicture.NET Library offer PDF manipulation capabilities for .NET applications, PSPDFKit GdPicture.NET Library stands out as a more comprehensive and feature-rich solution. Here are some reasons why PSPDFKit GdPicture.NET Library can be considered better:
-
Extensive Capabilities — PSPDFKit GdPicture.NET Library provides a wide range of functionalities, including OCR, barcode processing, PDF editing, document conversion, scanning, and image processing. It outperforms many other .NET document imaging technologies available on the market.
-
OCR (Optical Character Recognition) — PSPDFKit GdPicture.NET Library supports OCR, which enables the extraction of text from scanned documents and images. This feature is essential for applications that require text recognition and data extraction from PDFs.
-
Advanced PDF Editing — PSPDFKit GdPicture.NET Library offers more advanced PDF editing capabilities, such as editing text, images, and annotations, as well as adding watermarks, digital signatures, and form fields to PDF documents.
-
Comprehensive Support — PSPDFKit has a reputation for providing excellent customer support and regular updates to address any issues or introduce new features. This ensures that your application remains up to date and well-maintained.
-
Integration-Friendly — PSPDFKit GdPicture.NET Library is designed to seamlessly integrate into your existing .NET applications, making it easier to adopt and implement in your projects.
-
Documentation and Resources — PSPDFKit offers comprehensive documentation, tutorials, and sample code, making it easier for developers to get started and leverage the library’s full potential.
To get started with PSPDFKit GdPicture.NET Library, follow our getting started guide.
Conclusion
In this tutorial, you explored the PdfSharpCore library for manipulating and editing PDFs in .NET applications. You learned how to add text and images, and merge, extract, and even delete pages from existing PDF documents. While PdfSharpCore is a valuable open source option for basic PDF manipulation needs, consider using PSPDFKit GdPicture.NET Library for more advanced features, such as OCR, PDF editing, barcode processing, and document conversion, making it a comprehensive solution for demanding .NET projects.
To see a list of all web frameworks, you can contact our Sales team. Or, launch our demo to see our viewer in action.

Hulya is a frontend web developer and technical writer at PSPDFKit who enjoys creating responsive, scalable, and maintainable web experiences. She’s passionate about open source, web accessibility, cybersecurity privacy, and blockchain.