How to Watermark a PDF Using JavaScript
 Vyom Srivastava

In this post, you’ll learn how to watermark a PDF using our Watermark PDF JavaScript API. With our API, you can process up to 100 PDF files per month for free. You’ll just need to create a free account to access your API key.
This post will be especially helpful for developers working with JavaScript in document-heavy workflows who need to programmatically watermark PDFs.
Watermarks are used to identify and mark proprietary documents and discourage unauthorized use. In the context of a PDF, a watermark is usually found in the form of text or an image that appears on a document like a stamp. The most common example is applying a CONFIDENTIAL watermark to sensitive documents.
PSPDFKit API
Watermarking PDFs is just one of the operations possible with our 30+ PDF API tools. You can combine our deletion tool with other tools to create complex document processing workflows, such as:
-
Converting MS Office files and images into PDFs and then watermarking them
-
Duplicating or deleting PDF pages before watermarking a PDF
-
Merging or flattening PDFs and then watermarking the resulting document
Once you create your account, you’ll be able to access all our PDF API tools.
Step 1 — Creating a Free Account on PSPDFKit
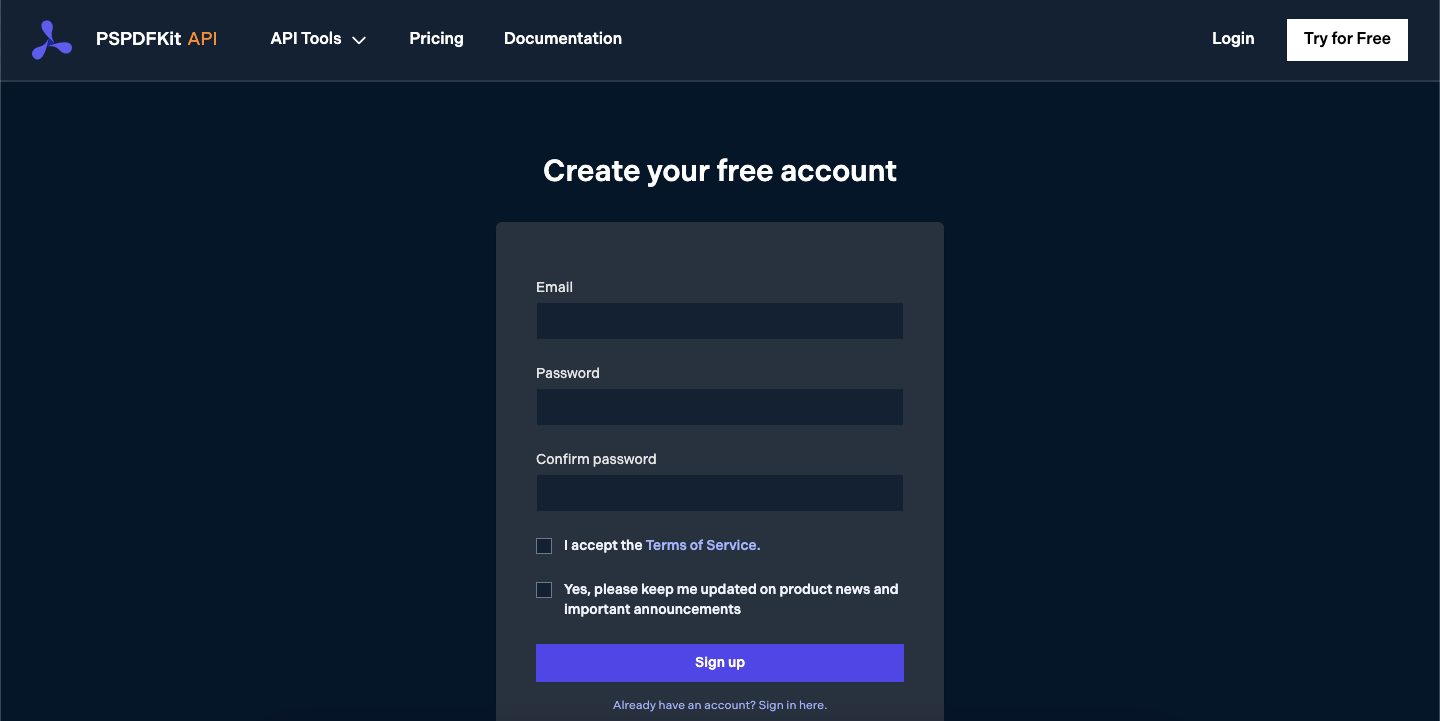
Go to our website, where you’ll see the page below, prompting you to create your free account.
Once you’ve created your account, you’ll be welcomed by the page below, which shows an overview of your plan details.
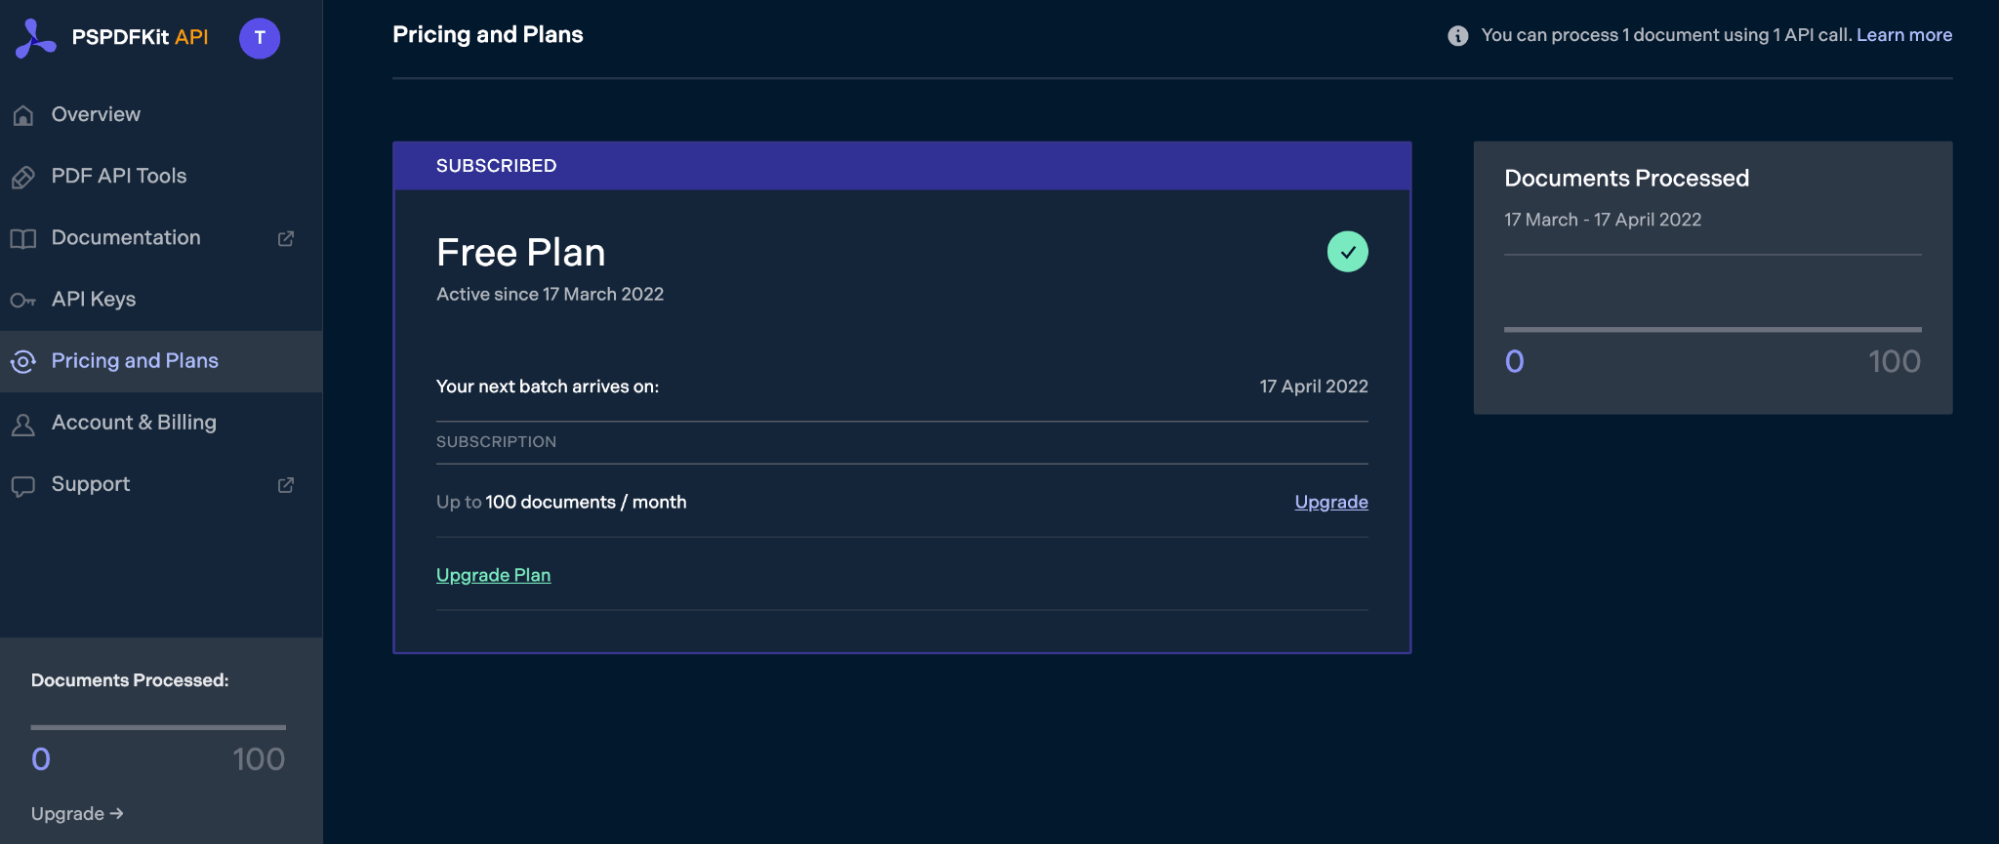
As you can see in the bottom-left corner, you’ll start with 100 documents to process, and you’ll be able to access all our PDF API tools.
Step 2 — Obtaining the API Key
After you’ve verified your email, you can get your API key from the dashboard. In the menu on the left, click API Keys. You’ll see the following page, which is an overview of your keys:
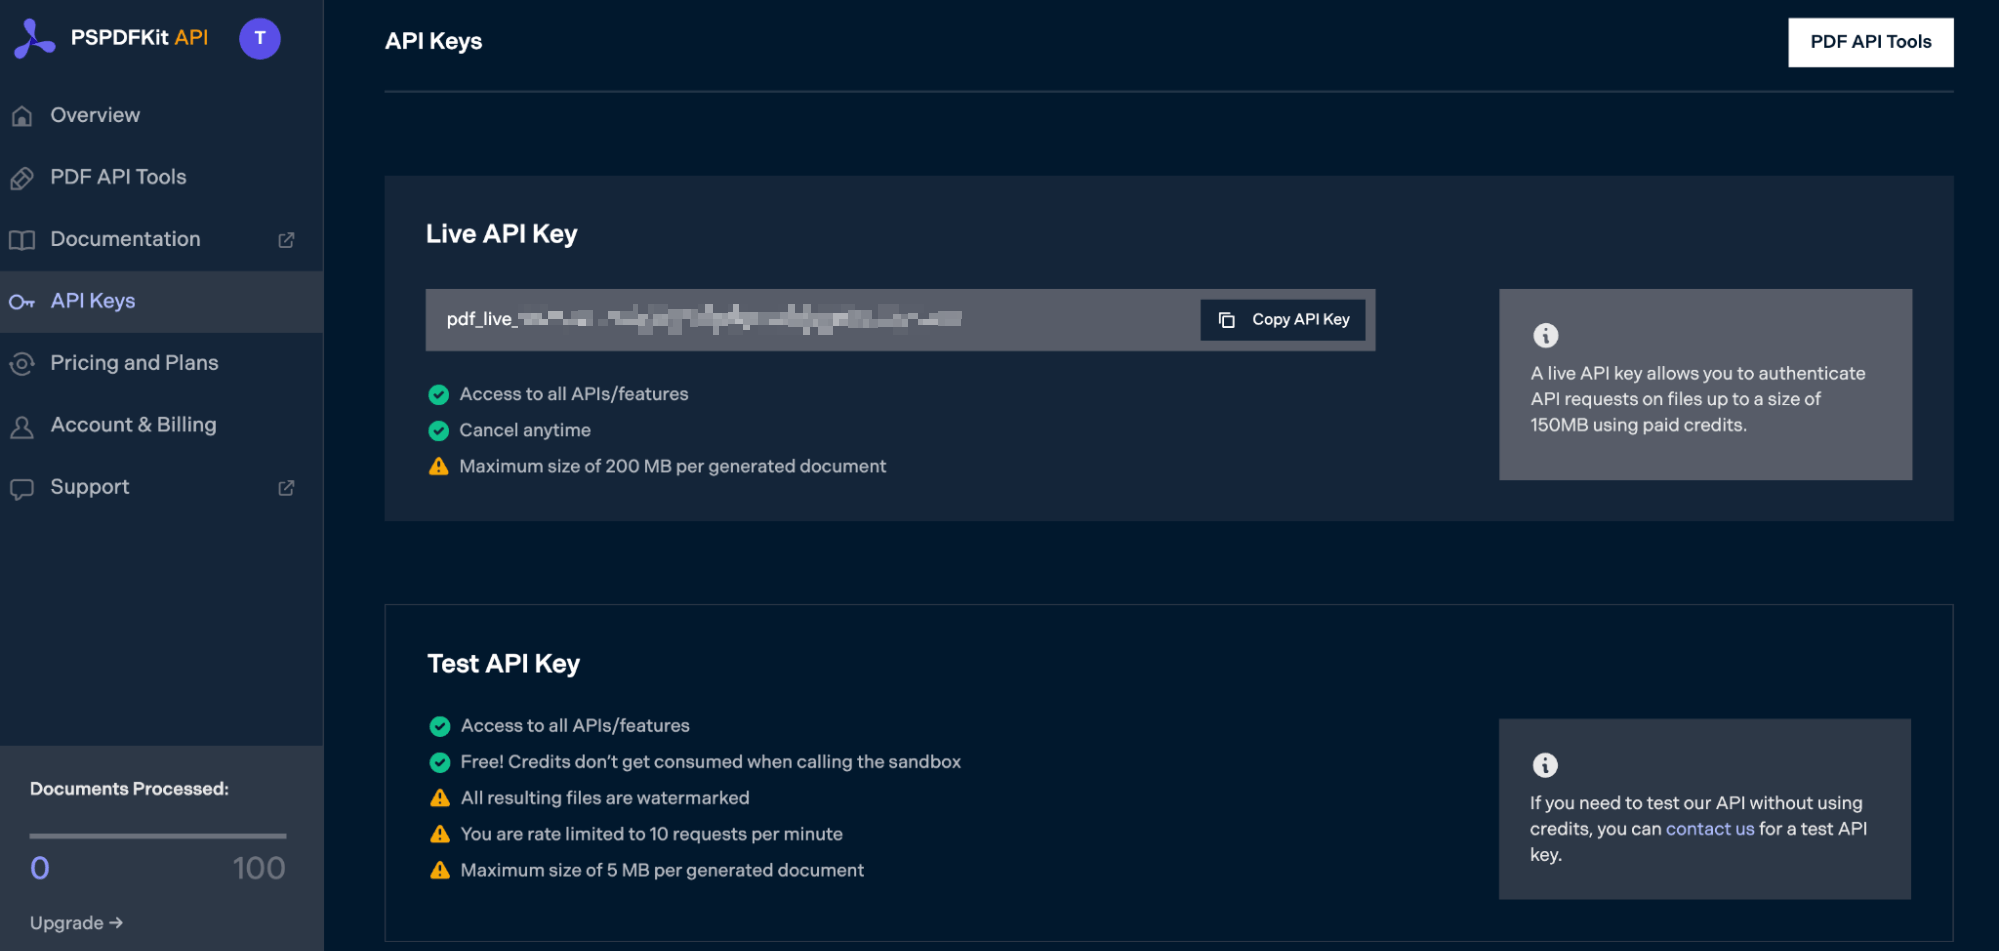
Copy the Live API Key, because you’ll need this for the Watermark PDF API.
Step 3 — Setting Up Folders and Files
First, create a folder called watermark_pdf and open it in a code editor. For this tutorial, you’ll use VS Code as your primary code editor. Next, create two folders inside watermark_pdf and name them input_documents and processed_documents.
Now, copy your PDF file to the input_documents folder and rename it to document.pdf. Then, place an image that you want to use to watermark the PDF pages in this folder and name it logo.png.
Finally, in the root folder, watermark_pdf, create a file called processor.js. This is the file where you’ll keep your code.
Your folder structure will look like this:
watermark_pdf
├── input_documents
|    └── document.pdf
|    └── logo.png
├── processed_documents
└── processor.js
Step 4 — Installing Dependencies
To get started watermarking PDFs, you first need to install the following dependencies:
-
axios — This package is used for making REST API calls.
-
Form-Data — This package is used for creating form data.
Use the commands below to install both of them:
npm install form-data
npm install axios
Step 5 — Writing the Code
Now, open the processor.js file and paste the code below into it:
const axios = require('axios');
const FormData = require('form-data');
const fs = require('fs');

const formData = new FormData();
formData.append(
	'instructions',
	JSON.stringify({
		parts: [
			{
				file: 'document',
			},
		],
		actions: [
			{
				type: 'watermark',
				image: 'logo',
				width: '25%',
			},
		],
	}),
);
formData.append(
	'document',
	fs.createReadStream('input_documents/document.pdf'),
);
formData.append(
	'logo',
	fs.createReadStream('input_documents/logo.png'),
);
(async () => {
	try {
		const response = await axios.post(
			'https://api.pspdfkit.com/build',
			formData,
			{
				headers: formData.getHeaders({
					Authorization: 'Bearer YOUR_API_KEY_HERE',
				}),
				responseType: 'stream',
			},
		);

		response.data.pipe(
			fs.createWriteStream('processed_documents/result.pdf'),
		);
	} catch (e) {
		const errorString = await streamToString(e.response.data);
		console.log(errorString);
	}
})();

function streamToString(stream) {
	const chunks = [];
	return new Promise((resolve, reject) => {
		stream.on('data', (chunk) => chunks.push(Buffer.from(chunk)));
		stream.on('error', (err) => reject(err));
		stream.on('end', () =>
			resolve(Buffer.concat(chunks).toString('utf8')),
		);
	});
}
ℹ️ Note: Make sure to replace
YOUR_API_KEY_HEREwith your API key.
Code Explanation
Here, you use a formData variable that contains the instructions for the API. You first use createReadStream to read the input PDF file. You then use the axios.post function that’ll make the POST request to the API. The response of the API is stored in the processed_documents folder.
Output
To run the code, use the command below:
node processor.js
On the successful execution of the code, you’ll see a new processed file named result.pdf in the processed_documents folder.
The folder structure will look like this:
watermark_pdf
├── input_documents
|    └── document.pdf
|    └── logo.png
├── processed_documents
|    └── result.pdf
└── processor.js
Final Words
In this post, you learned how to easily and automatically watermark PDF documents for your JavaScript application using our Watermark PDF API.
You can integrate these functions into your existing applications to watermark PDF pages. With the same API token, you can also perform other operations, such as merging documents into a single PDF, running OCR, duplicating pages, and more. To get started with a free trial, sign up here.