How to Convert PDF to JPG Using Java
 Vyom Srivastava
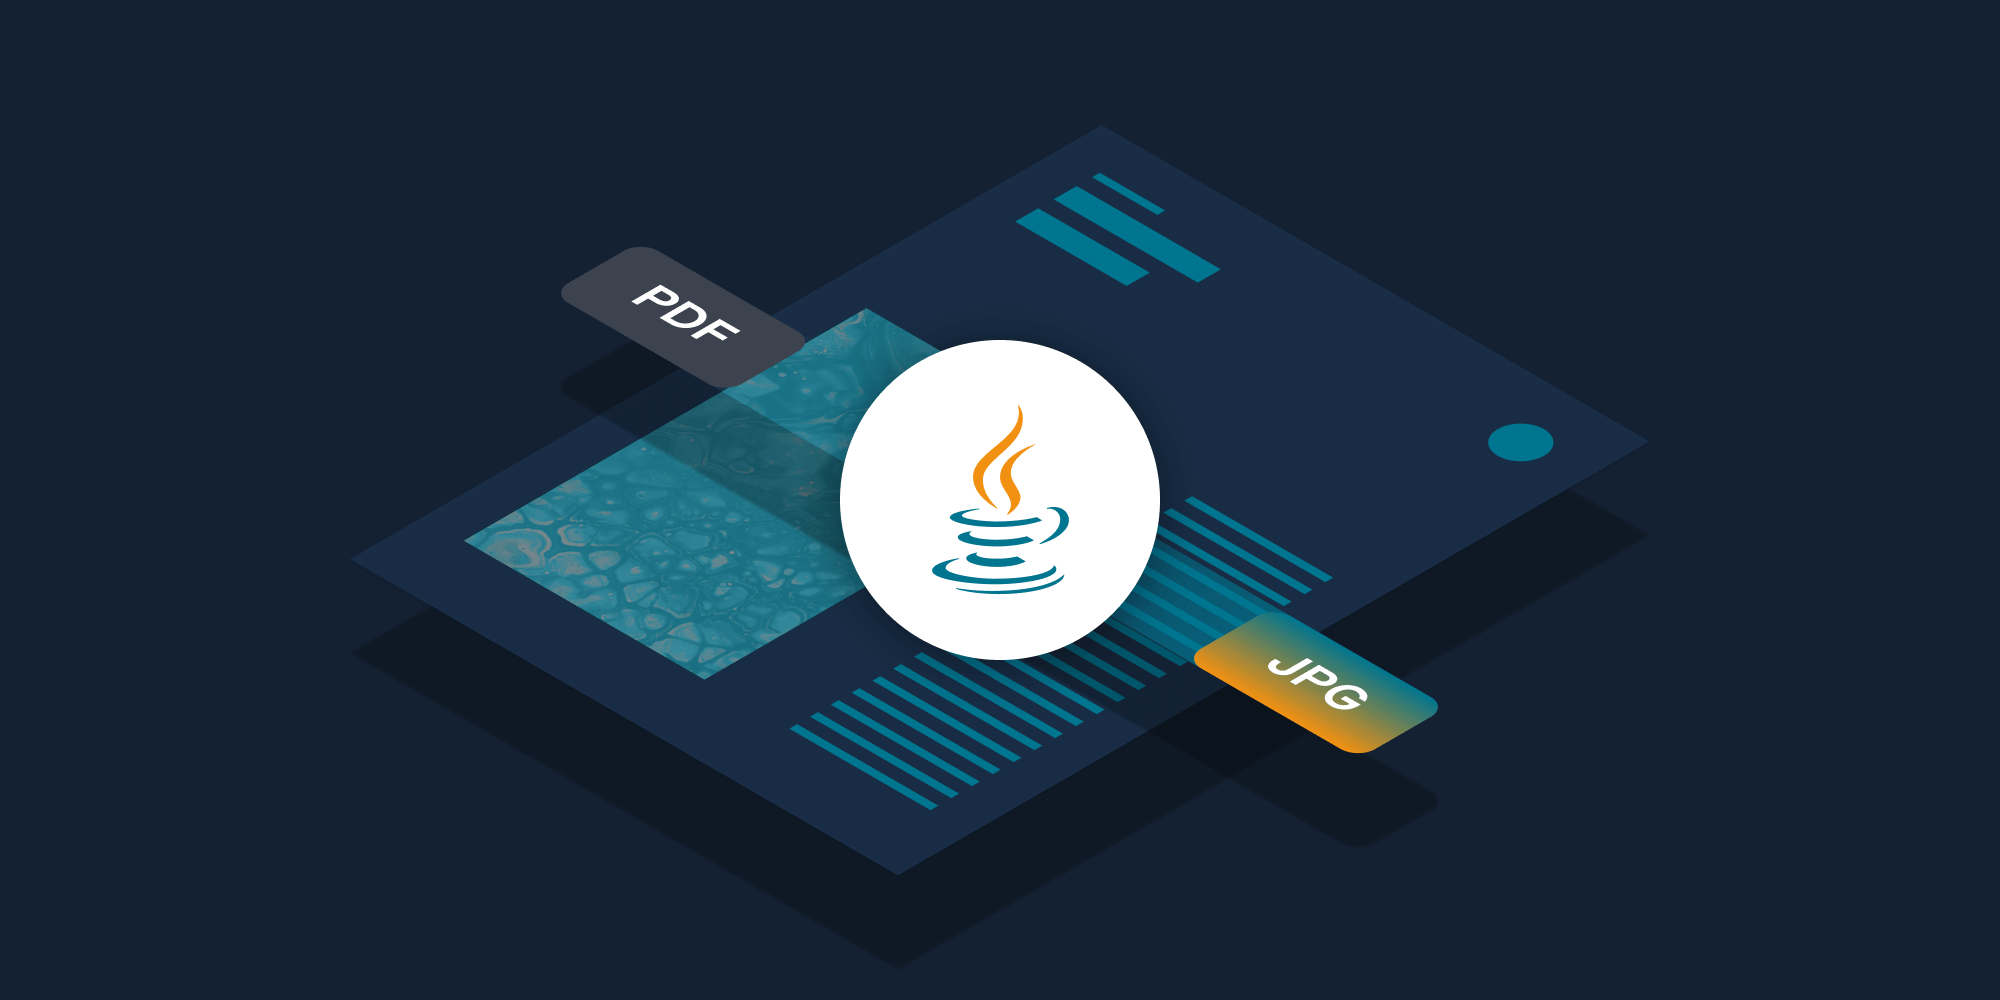
In this post, you’ll learn how to convert PDF files to JPG images using PSPDFKit’s PDF to JPG Java API. With our API, you can convert up to 100 files per month for free. All you need to do is create a free account to get access to your API key.
PSPDFKit API
Document conversion is just one of our 30+ PDF API tools. You can combine our conversion tool with other tools to create complex document processing workflows. With PSPDFKit API, you’ll be able to convert PDFs to image formats and vice versa. You can also integrate the ability to convert Office files, HTML files, and various other file formats to PDFs and images into your application.
Additionally, you can use the API to perform operations on PDFs before converting them into images, such as:
-
Merging several PDFs into one
-
Editing, watermarking, and flattening PDFs
-
Removing or duplicating specific PDF pages
Once you create your account, you’ll be able to access all our PDF API tools.
Step 1 — Creating a Free Account on PSPDFKit
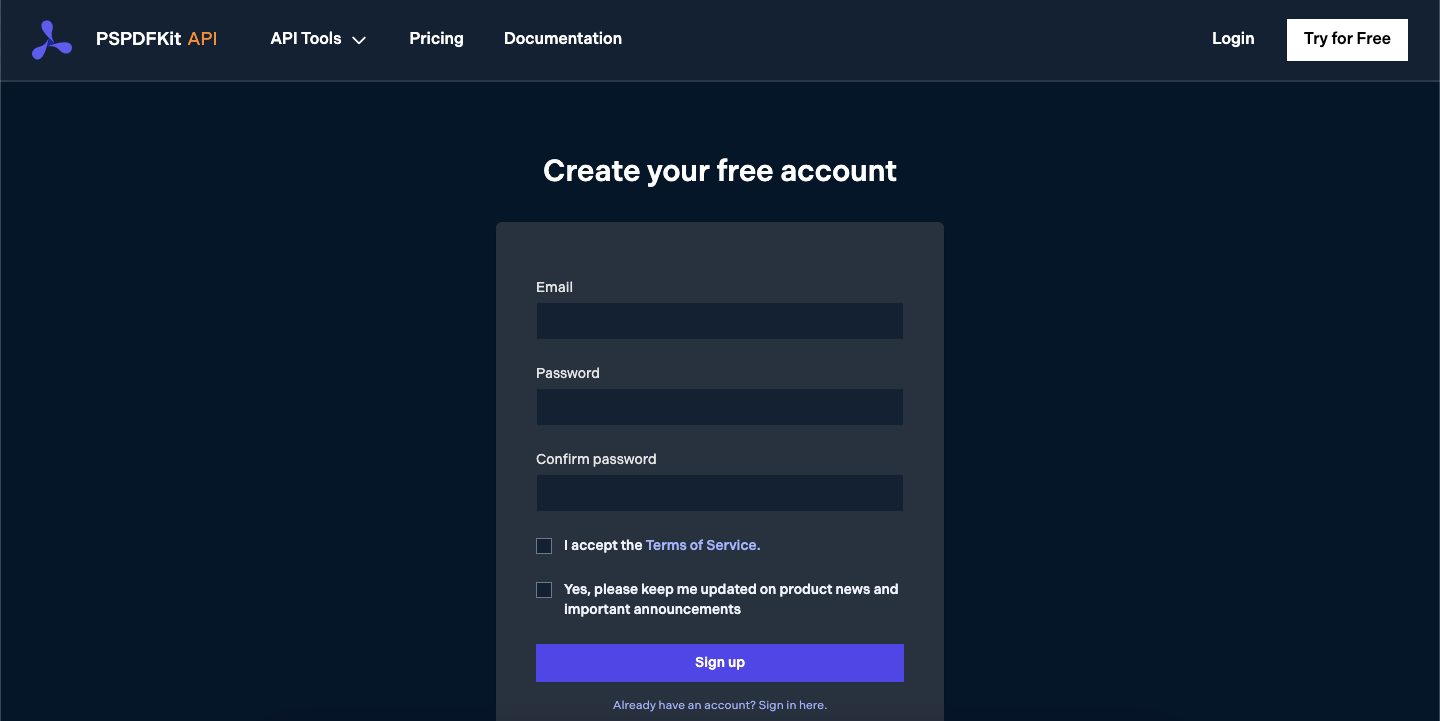
Go to our website, where you’ll see the page below, prompting you to create your free account.
Once you’ve created your account, you’ll be welcomed by the page below, which shows an overview of your plan details.
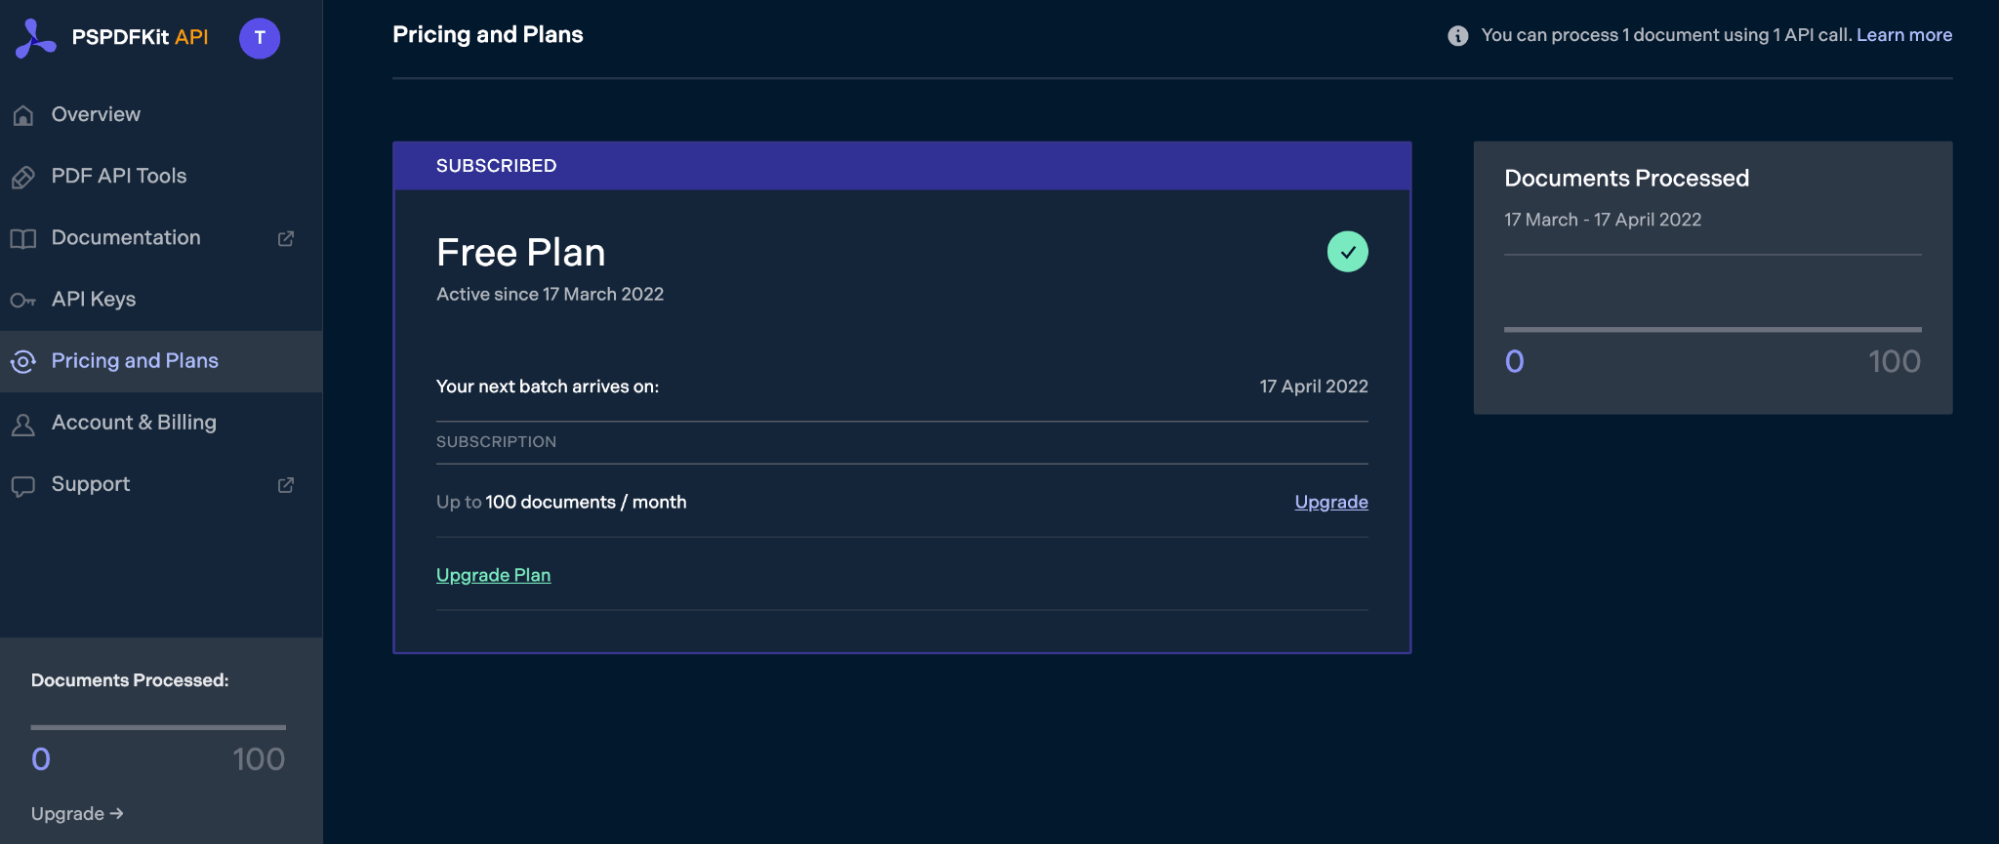
As you can see in the bottom-left corner, you’ll start with 100 documents to process, and you’ll be able to access all our PDF API tools.
Step 2 — Obtaining the API Key
After you’ve verified your email, you can get your API key from the dashboard. In the menu on the left, click API Keys. You’ll see the following page, which is an overview of your keys:
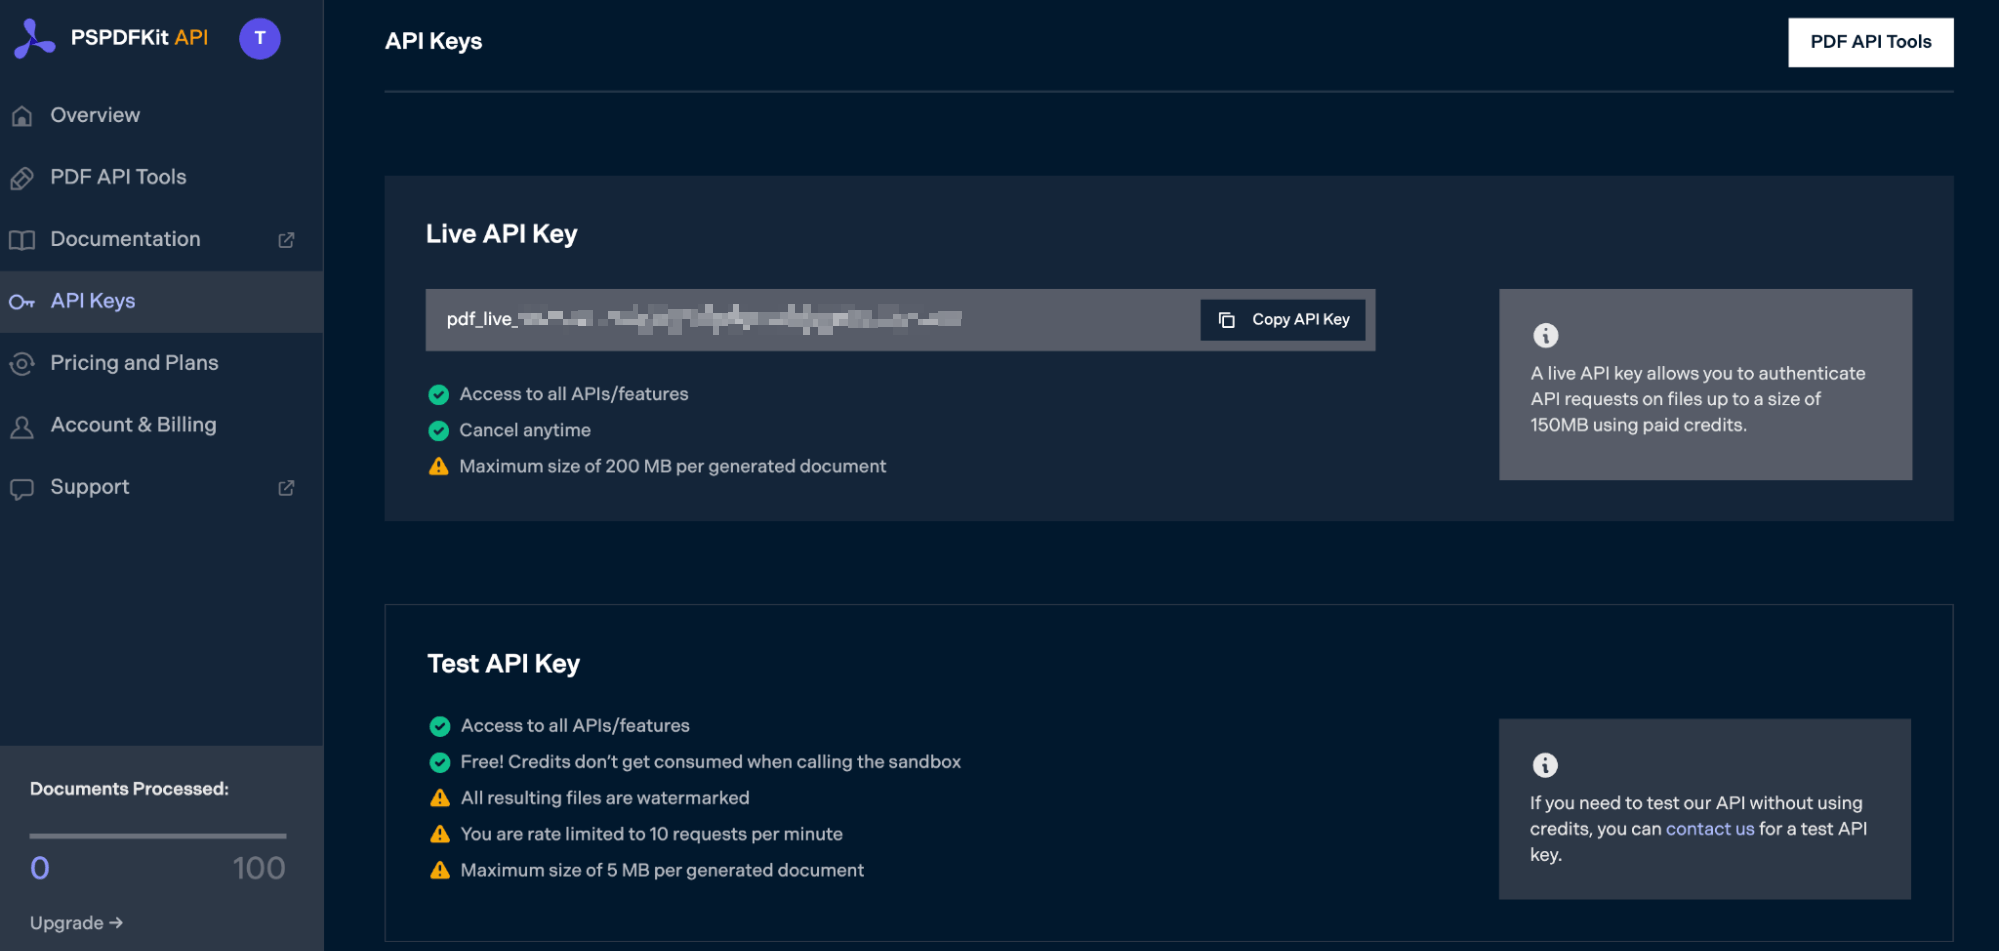
Copy the Live API Key, because you’ll need this for the PDF to JPG API.
Step 3 — Setting Up Folders and Files
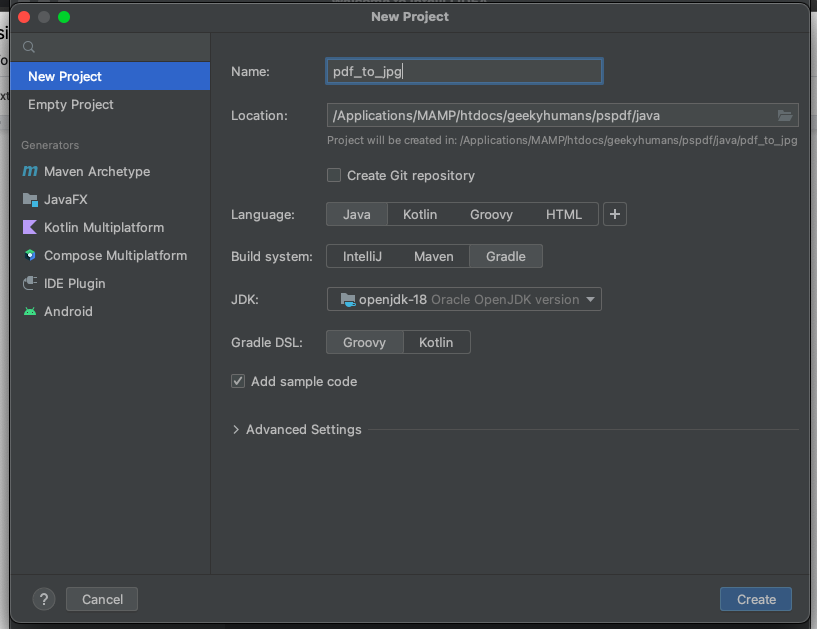
For this tutorial, you’ll use IntelliJ IDEA as your primary code editor. Next, create a new project called pdf_to_jpg. You can choose any location, but make sure to select Java as the language, Gradle as the build system, and Groovy as the Gradle DSL.
Create a new directory in your project. Right-click on your project’s name and select New > Directory. From there, choose the src/main/java option. Once done, create a class file inside the src/main/java folder called processor.java, and create two folders called input_documents and processed_documents in the root folder.
After that, paste your PDF file inside the input_documents folder. You can use our demo document as an example.
Your folder structure will look like this:
pdf_to_jpg
├── input_documents
|    └── document.pdf
├── processed_documents
├── src
|    └── main
|        └── java
|            └── processor.java
Step 4 — Installing Dependencies
Next, you’ll install two libraries:
-
OkHttp — This library makes API requests.
-
JSON — This library will parse the JSON payload.
Open the build.gradle file and add the following dependencies to your project:
dependencies {
implementation 'com.squareup.okhttp3:okhttp:4.9.2'
implementation 'org.json:json:20210307'
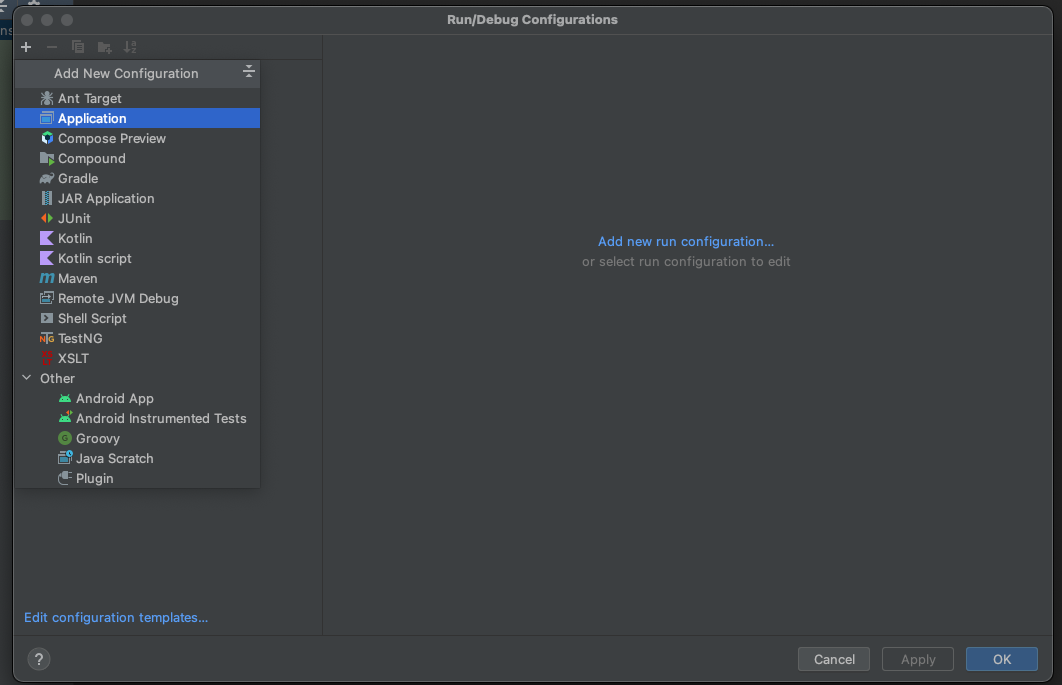
}Once done, click the Add Configuration button in IntelliJ IDEA. This will open a dropdown menu.
![]()
Next, select Application from the menu:
Now, fill the form with the required details. Most of the fields will be prefilled, but you need to select java 18 in the module field and add -cp pdf_to_jpg.main as the main class and Processor in the field below it.
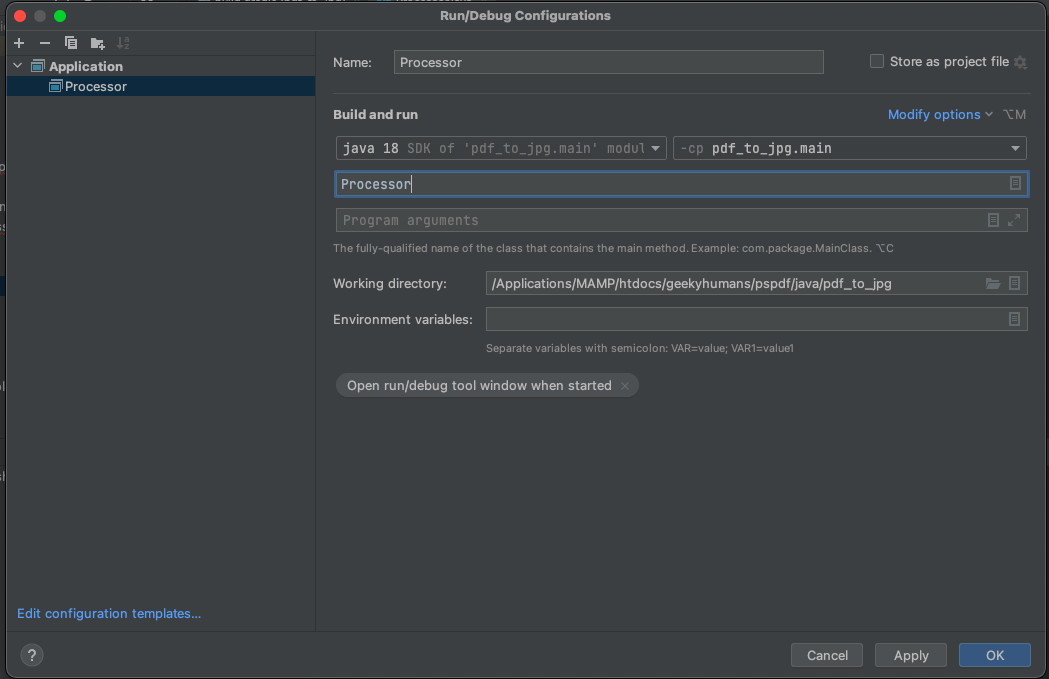
To apply settings, click the Apply button.
Step 5 — Writing the Code
Now, open the processor.java file and paste the code below into it:
import java.io.File;
import java.io.IOException;
import java.nio.file.FileSystems;
import java.nio.file.Files;
import java.nio.file.StandardCopyOption;

import org.json.JSONArray;
import org.json.JSONObject;

import okhttp3.MediaType;
import okhttp3.MultipartBody;
import okhttp3.OkHttpClient;
import okhttp3.Request;
import okhttp3.RequestBody;
import okhttp3.Response;

public final class Processor {
    public static void main(final String[] args) throws IOException {
        final RequestBody body = new MultipartBody.Builder()
                .setType(MultipartBody.FORM)
                .addFormDataPart(
                        "document",
                        "document.pdf",
                        RequestBody.create(
                                new File("input_documents/document.pdf"),
                                MediaType.parse("application/pdf")
                        )
                )
                .addFormDataPart(
                        "instructions",
                        new JSONObject()
                                .put("parts", new JSONArray()
                                        .put(new JSONObject()
                                                .put("file", "document")
                                        )
                                )
                                .put("output", new JSONObject()
                                        .put("type", "image")
                                        .put("format", "jpg")
                                        .put("dpi", 500)
                                ).toString()
                )
                .build();

        final Request request = new Request.Builder()
                .url("https://api.pspdfkit.com/build")
                .method("POST", body)
                .addHeader("Authorization", "Bearer YOUR API KEY HERE")
                .build();

        final OkHttpClient client = new OkHttpClient()
                .newBuilder()
                .build();

        final Response response = client.newCall(request).execute();

        if (response.isSuccessful()) {
            Files.copy(
                    response.body().byteStream(),
                    FileSystems.getDefault().getPath("processed_documents/image.jpg"),
                    StandardCopyOption.REPLACE_EXISTING
            );
        } else {
            // Handle the error.
            throw new IOException(response.body().string());
        }
    }
}
ℹ️ Note: Make sure to replace
YOUR_API_KEY_HEREwith your API key.
Code Explanation
In the code above, you’re importing all the packages required to run the code and creating a class called processor. In the main function, you’re first creating the request body for the API call that contains all the instructions for converting the PDF. After that, you’re calling the API to process the instructions.
You’re then calling the execute() function and passing the request variable. The response of the API is then stored in the folder called processed_documents.
Output
To execute the code, click the Run button (which is a little green arrow). This is next to the field that says Processor, which is where you set the configuration.

On the successful execution of the code, you’ll see a new processed file named image.jpg in the processed_documents folder.
The folder structure will look like this:
pdf_to_jpg
├── input_documents
|    └── document.pdf
├── processed_documents
|    └── image.jpg
├── src
|    └── main
|        └── java
|            └── processor.java
Final Words
In this post, you learned how to easily and seamlessly convert PDF files to JPG images for your Java application using our PDF to JPG Java API.
You can integrate all of these functions into your existing applications. With the same API token, you can also perform other operations, such as merging several documents into a single PDF, adding watermarks, and more. To get started with a free trial, sign up here.