How to Generate PDF Invoices from HTML in Node.js
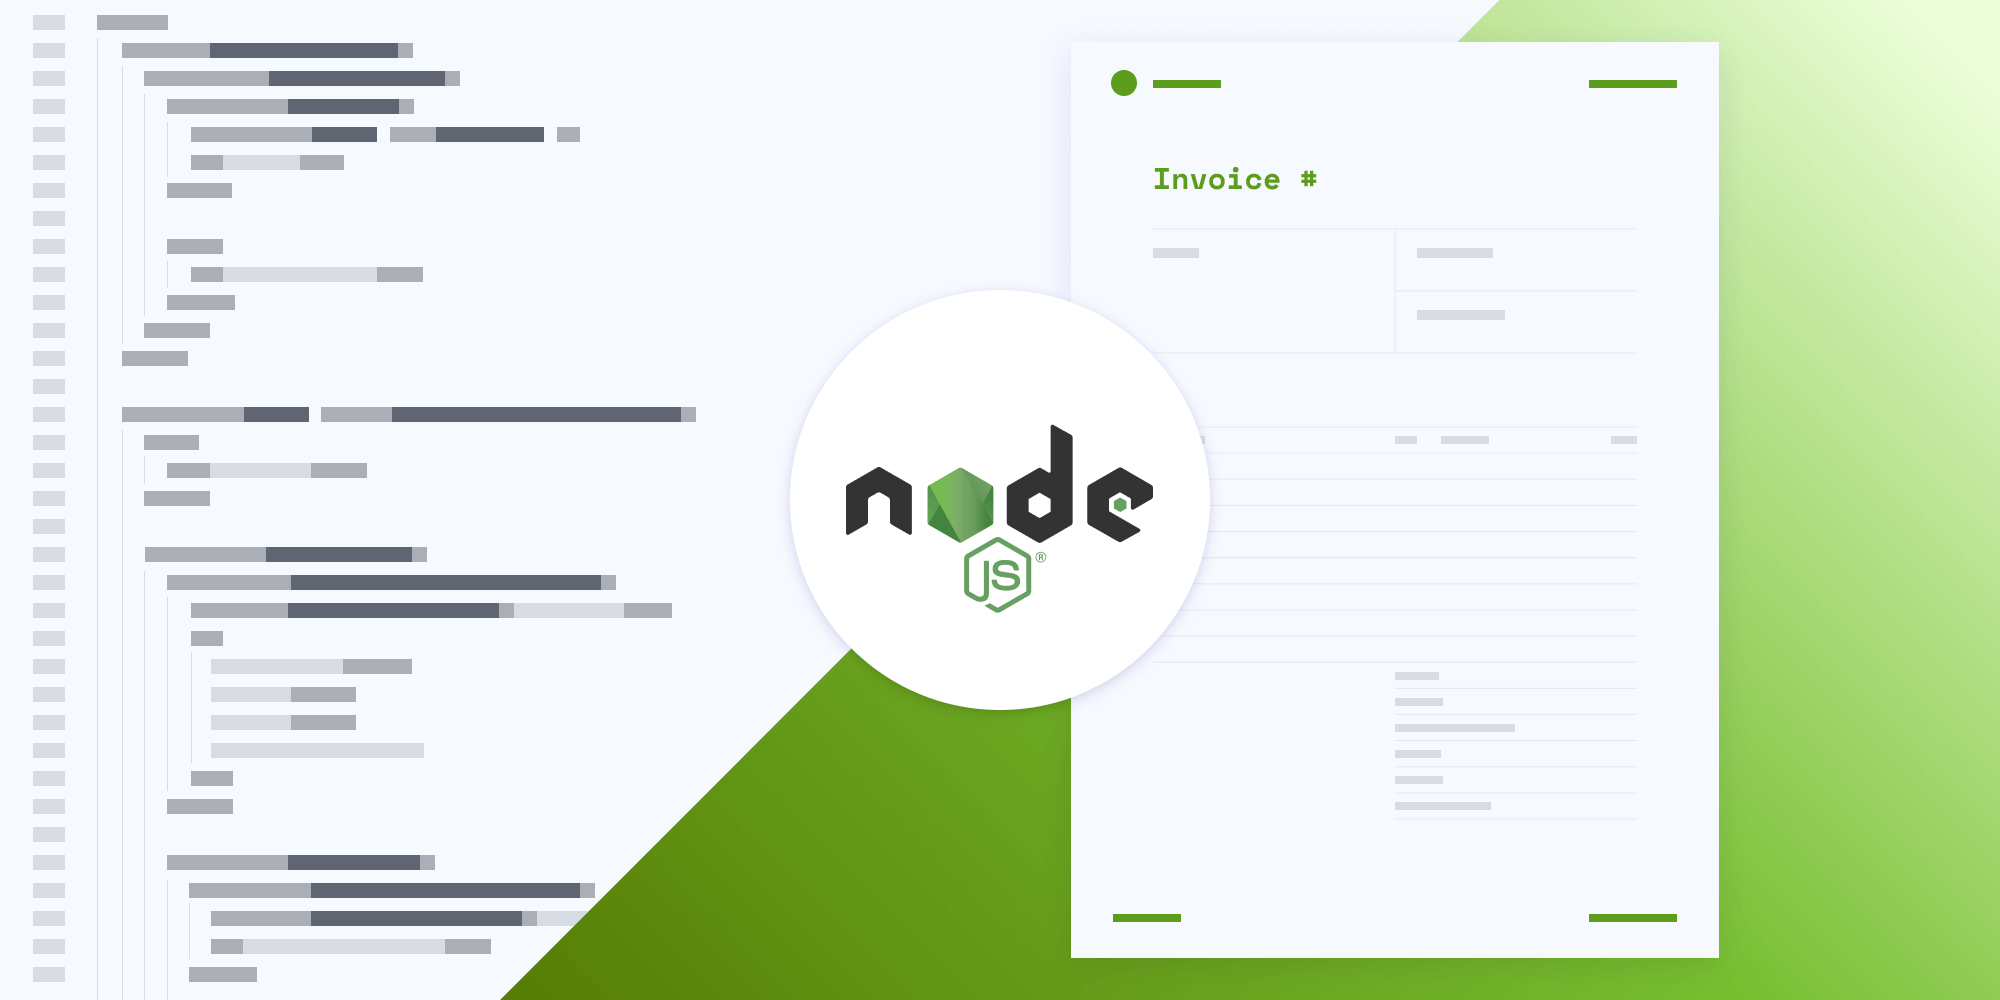
In this post, you’ll learn how to generate PDF invoices from HTML using our Node.js PDF Generator API. With our API, you can generate 100 PDF invoices per month for free. To access your API key, sign up for a free account.
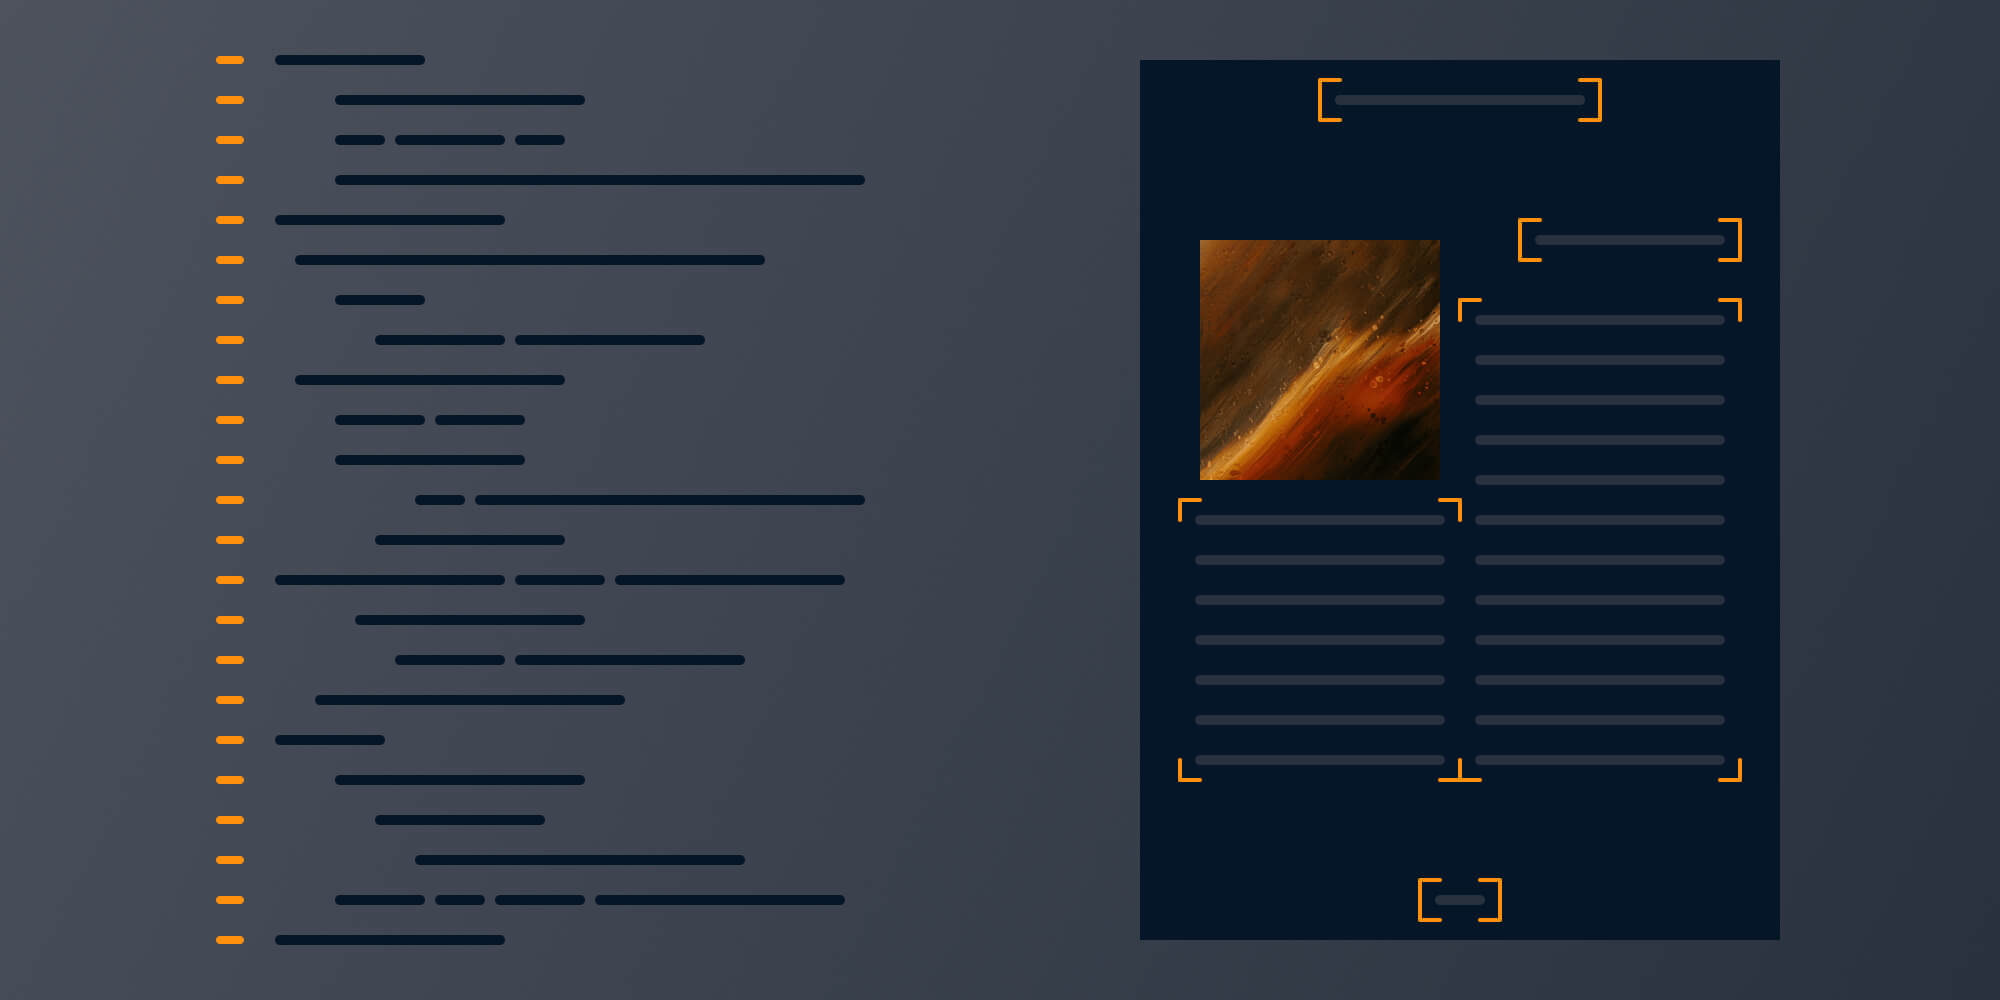
To help you get started, we’ve provided a free invoice template in HTML and CSS that can be customized to meet your specific requirements. You can easily style your invoices by updating the CSS file with your own custom images and fonts.
If your invoices are longer than one page, you can add a header and footer section to your HTML file that repeats across all your pages. This ensures that the information you typically add to the top and bottom of your invoices (like the address, logo, page numbers, etc.) is displayed across all the pages.
Requirements
To get started, you’ll need:
To access your PSPDFKit API key, sign up for a free account. Your account lets you generate 100 documents for free every month. Once you’ve signed up, you can find your API key in the Dashboard > API Keys section.
Setup
Download the invoice template and extract the contents of the ZIP file into a folder. You’ll get an HTML file, Inter fonts, a Space Mono font, an SVG logo, and a README file.
Open the folder in your preferred code editor. Then, open the terminal.
-
Create a new Node.js project by running:
npm init --yes
This will create a package.json file in the root of your project.
-
Now, to interact with the PSPDFKit PDF Generator API, install Axios, which is an HTTP client for Node.js, and Form-Data, which is a library for converting file data to
multipart/form-datastreams.
Run these commands to install Axios and Form-Data:
npm install axios
npm install form-data
Creating a CSS File
If you open the index.html file, you’ll see the styles between the opening and closing <style> tag. Copy the styles to a new file called style.css, and save it in the same folder:
@font-face {
	font-family: 'Inter';
	src: url('Inter-Regular.ttf') format('truetype');
	font-weight: 400;
	font-style: normal;
}

@font-face {
	font-family: 'Inter';
	src: url('Inter-Medium.ttf') format('truetype');
	font-weight: 500;
	font-style: normal;
}

@font-face {
	font-family: 'Inter';
	src: url('Inter-Bold.ttf') format('truetype');
	font-weight: 700;
	font-style: normal;
}

@font-face {
	font-family: 'Space Mono';
	src: url('SpaceMono-Regular.ttf') format('truetype');
	font-weight: 400;
	font-style: normal;
}

body {
	font-size: 0.75rem;
	font-family: 'Inter', sans-serif;
	font-weight: 400;
	color: #000000;
	margin: 0 auto;
	position: relative;
}

#pspdfkit-header {
	font-size: 0.625rem;
	text-transform: uppercase;
	letter-spacing: 2px;
	font-weight: 400;
	color: #717885;
	margin-top: 2.5rem;
	margin-bottom: 2.5rem;
	width: 100%;
}

.header-columns {
	display: flex;
	justify-content: space-between;
	padding-left: 2.5rem;
	padding-right: 2.5rem;
}

.logo {
	height: 1.5rem;
	width: auto;
	margin-right: 1rem;
}

.logotype {
	display: flex;
	align-items: center;
	font-weight: 700;
}

h2 {
	font-family: 'Space Mono', monospace;
	font-size: 1.25rem;
	font-weight: 400;
}

h4 {
	font-family: 'Space Mono', monospace;
	font-size: 1rem;
	font-weight: 400;
}

.page {
	margin-left: 5rem;
	margin-right: 5rem;
}

.intro-table {
	display: flex;
	justify-content: space-between;
	margin: 3rem 0 3rem 0;
	border-top: 1px solid #000000;
	border-bottom: 1px solid #000000;
}

.intro-form {
	display: flex;
	flex-direction: column;
	border-right: 1px solid #000000;
	width: 50%;
}

.intro-form:last-child {
	border-right: none;
}

.intro-table-title {
	font-size: 0.625rem;
	margin: 0;
}

.intro-form-item {
	padding: 1.25rem 1.5rem 1.25rem 1.5rem;
}

.intro-form-item:first-child {
	padding-left: 0;
}

.intro-form-item:last-child {
	padding-right: 0;
}

.intro-form-item-border {
	padding: 1.25rem 0 0.75rem 1.5rem;
	border-bottom: 1px solid #000000;
}

.intro-form-item-border:last-child {
	border-bottom: none;
}

.form {
	display: flex;
	flex-direction: column;
	margin-top: 6rem;
}

.no-border {
	border: none;
}

.border {
	border: 1px solid #000000;
}

.border-bottom {
	border: 1px solid #000000;
	border-top: none;
	border-left: none;
	border-right: none;
}

.signer {
	display: flex;
	justify-content: space-between;
	gap: 2.5rem;
	margin: 2rem 0 2rem 0;
}

.signer-item {
	flex-grow: 1;
}

input {
	color: #4537de;
	font-family: 'Space Mono', monospace;
	text-align: center;
	margin-top: 1.5rem;
	height: 4rem;
	width: 100%;
	box-sizing: border-box;
}

input#date,
input#notes {
	text-align: left;
}

input#signature {
	height: 8rem;
}

.intro-text {
	width: 60%;
}

.table-box table,
.summary-box table {
	width: 100%;
	font-size: 0.625rem;
}

.table-box table {
	padding-top: 2rem;
}

.table-box td:first-child,
.summary-box td:first-child {
	width: 50%;
}

.table-box td:last-child,
.summary-box td:last-child {
	text-align: right;
}

.table-box table tr.heading td {
	border-top: 1px solid #000000;
	border-bottom: 1px solid #000000;
	height: 1.5rem;
}

.table-box table tr.item td,
.summary-box table tr.item td {
	border-bottom: 1px solid #d7dce4;
	height: 1.5rem;
}

.summary-box table tr.no-border-item td {
	border-bottom: none;
	height: 1.5rem;
}

.summary-box table tr.total td {
	border-top: 1px solid #000000;
	border-bottom: 1px solid #000000;
	height: 1.5rem;
}

.summary-box table tr.item td:first-child,
.summary-box table tr.total td:first-child {
	border: none;
	height: 1.5rem;
}

#pspdfkit-footer {
	font-size: 0.5rem;
	text-transform: uppercase;
	letter-spacing: 1px;
	font-weight: 500;
	color: #717885;
	margin-top: 2.5rem;
	bottom: 2.5rem;
	position: absolute;
	width: 100%;
}

.footer-columns {
	display: flex;
	justify-content: space-between;
	padding-left: 2.5rem;
	padding-right: 2.5rem;
}
To access the styles from index.html, use the <link> tag. While referring to the stylesheet file, just use the name of the file and don’t create nested paths:
<!DOCTYPE html>
<html lang="en">
	<head>
		<meta
			http-equiv="Content-Type"
			content="text/html; charset=UTF-8"
		/>
		<link rel="stylesheet" href="style.css" />
		<title>Receipt</title>
	</head>
</html>
Interacting with the API
Now, import the axios, form-data, and fs modules to the index.js file using the require() function. Place the index.js file in the root directory of your project:
const axios = require('axios');
const FormData = require('form-data');
const fs = require('fs');
Preparing the Payload
Create the FormData object with the constructor. This constructor returns an empty FormData object:
const formData = new FormData();
FormData has a method called append, and it takes key-value pairs. The value can be a string, a binary large object (blob), or a file stream.
Since you’re sending files and images that are binary data, use the Node.js fs module to read the files. Then, append it to the FormData object.
You’re passing the instructions key with the value of a JSON stringified object that contains your html file and assets like styles, fonts, and the logo. The instructions JSON is referencing files by the name of their parts that are appended in the form data as files:
const formData = new FormData();

formData.append(
	'instructions',
	JSON.stringify({
		parts: [
			{
				html: 'index.html',
				assets: [
					'style.css',
					'Inter-Regular.ttf',
					'Inter-Medium.ttf',
					'Inter-Bold.ttf',
					'SpaceMono-Regular.ttf',
					'logo.svg',
				],
			},
		],
	}),
);

formData.append('index.html', fs.createReadStream('index.html'));
formData.append('style.css', fs.createReadStream('style.css'));
formData.append(
	'Inter-Regular.ttf',
	fs.createReadStream('Inter-Regular.ttf'),
);
formData.append(
	'Inter-Medium.ttf',
	fs.createReadStream('Inter-Medium.ttf'),
);
formData.append(
	'Inter-Bold.ttf',
	fs.createReadStream('Inter-Bold.ttf'),
);
formData.append(
	'SpaceMono-Regular.ttf',
	fs.createReadStream('SpaceMono-Regular.ttf'),
);
formData.append('logo.svg', fs.createReadStream('logo.svg'));
Making the Request with Axios
Now, make a POST request to the https://api.pspdfkit.com/build endpoint using the axios library. Also, don’t forget to replace YOUR_API_KEY with your API key:
(async () => {
	try {
		const response = await axios.post(
			'https://api.pspdfkit.com/build',
			formData,
			{
				headers: formData.getHeaders({
					Authorization: 'Bearer YOUR_API_KEY', // Replace with your API key.
				}),
				responseType: 'stream',
			},
		);

		response.data.pipe(fs.createWriteStream('result.pdf'));
	} catch (e) {
		if (e.response) {
			const errorString = await streamToString(e.response.data);
			console.log(errorString);
		} else {
			console.log(e);
		}
	}
})();

function streamToString(stream) {
	const chunks = [];
	return new Promise((resolve, reject) => {
		stream.on('data', (chunk) => chunks.push(Buffer.from(chunk)));
		stream.on('error', (err) => reject(err));
		stream.on('end', () =>
			resolve(Buffer.concat(chunks).toString('utf8')),
		);
	});
}
Here, you’re setting the responseType to stream to get the response as a readable stream; hence, you can pipe the response into a writable file stream named result.pdf.
Generating the PDF
Now, run the Node script from the terminal. This’ll generate the result.pdf file:
node index.js
You can see the full JavaScript code here:
const axios = require('axios');
const FormData = require('form-data');
const fs = require('fs');

const formData = new FormData();
formData.append(
	'instructions',
	JSON.stringify({
		parts: [
			{
				html: 'index.html',
				assets: [
					'style.css',
					'Inter-Regular.ttf',
					'Inter-Medium.ttf',
					'Inter-Bold.ttf',
					'SpaceMono-Regular.ttf',
					'logo.svg',
				],
			},
		],
	}),
);
formData.append('index.html', fs.createReadStream('index.html'));
formData.append('style.css', fs.createReadStream('style.css'));
formData.append(
	'Inter-Regular.ttf',
	fs.createReadStream('Inter-Regular.ttf'),
);
formData.append(
	'Inter-Medium.ttf',
	fs.createReadStream('Inter-Medium.ttf'),
);
formData.append(
	'Inter-Bold.ttf',
	fs.createReadStream('Inter-Bold.ttf'),
);
formData.append(
	'SpaceMono-Regular.ttf',
	fs.createReadStream('SpaceMono-Regular.ttf'),
);
formData.append('logo.svg', fs.createReadStream('logo.svg'));

(async () => {
	try {
		const response = await axios.post(
			'https://api.pspdfkit.com/build',
			formData,
			{
				headers: formData.getHeaders({
					Authorization: 'Bearer YOUR_API_KEY', // Replace with your API key.
				}),
				responseType: 'stream',
			},
		);

		response.data.pipe(fs.createWriteStream('result.pdf'));
	} catch (e) {
		if (e.response) {
			const errorString = await streamToString(e.response.data);
			console.log(errorString);
		} else {
			console.log(e);
		}
	}
})();

function streamToString(stream) {
	const chunks = [];
	return new Promise((resolve, reject) => {
		stream.on('data', (chunk) => chunks.push(Buffer.from(chunk)));
		stream.on('error', (err) => reject(err));
		stream.on('end', () =>
			resolve(Buffer.concat(chunks).toString('utf8')),
		);
	});
}
Conclusion
In this post, you generated a PDF invoice from an HTML template using our Node.js PDF generation API. We created similar PDF invoice generation blog posts using sample code from other programming languages:
In addition to templates for generating invoices, we created free templates for other commonly used documents, like receipts, certificates, and reports. If you’re interested in generating other types of documents in Node.js, check out the following posts:
- Generating PDF receipts using Node.js
- Generating PDF certificates using Node.js
- Generating PDF reports using Node.js
All our templates are available for you to download on our PDF Generator API page. Feel free to customize or add any CSS to the template to fit your use case or help reflect your company’s brand.

Hulya is a frontend web developer and technical writer at PSPDFKit who enjoys creating responsive, scalable, and maintainable web experiences. She’s passionate about open source, web accessibility, cybersecurity privacy, and blockchain.