How to Implement the Revealed Area Annotation with Custom Renderers

At PSPDFKit, we’re proud of the different ways our SDK can be used. Among the many examples we showcase in our Web Catalog, you may have spotted the Hide/Reveal Area example. This example is interesting because, while the “hidden area” annotation can be achieved using regular annotation styles, the “revealed area” example is achieved not with any specialized annotation type, but by making use of custom renderers.
What Are Custom Renderers?
Custom renderers allow you to override or customize the standard rendering of annotations. You can implement a custom renderer by providing a callback that returns a DOM node that can either be appended to or replace the normal annotation. Appending to the annotation will allow you to extend the appearance of the annotation rendered by PSPDFKit, whereas replacing it will give you complete control over how the annotation looks.
Although working with the Custom Renderer API is relatively straightforward for users, the Hide/Reveal Area example is a bit more complex to implement than other use cases. This is due to the requirements of the custom renderer function. To understand why this is, let’s take a look at what was involved when creating the Catalog example.
Implementation
To start with, we need to write a function that can be passed to PSPDFKit as the custom renderer. This should only be used for revealed area annotations, since, as we mentioned, the hidden area annotation is a regular standard annotation:
// The custom renderer function is passed an object containing the
// annotation we are working with.
const AnnotationRenderer = ({ annotation }) => {
  if (!isRevealAnnotation(annotation)) {
    // Don't alter annotations that are not designated revealed area
    // annotations.
    return null;
  }

  const node = document.createElement("div");
  node.className = "Revealed-Area";

  // We will need elements positioned around the annotation bounding box
  // to obscure the surrounding area.
  node.innerHTML = `
    <div class="Revealed-Area-Top"></div>
    <div class="Revealed-Area-Bottom"></div>
    <div class="Revealed-Area-Left"></div>
    <div class="Revealed-Area-Right"></div>
    <div class="Revealed-Area-TopLeft"></div>
    <div class="Revealed-Area-TopRight"></div>
    <div class="Revealed-Area-BottomLeft"></div>
    <div class="Revealed-Area-BottomRight"></div>
    <div class="Revealed-Area-Center"></div>
  `;

  // Block pointer events from passing through the obscured areas and
  // reaching the document.
  node.style.pointerEvents = "all";

  node.onclick = () => {
    const selectedAnnotation = instance.getSelectedAnnotation();
    if (!selectedAnnotation) {
      // If an annotation is not selected, focus the revealed area in the
      // next macrotask.
      setTimeout(() => instance.setSelectedAnnotation(annotation.id), 0);
    }
  };

  return {
    node,
    append: true
  };
};
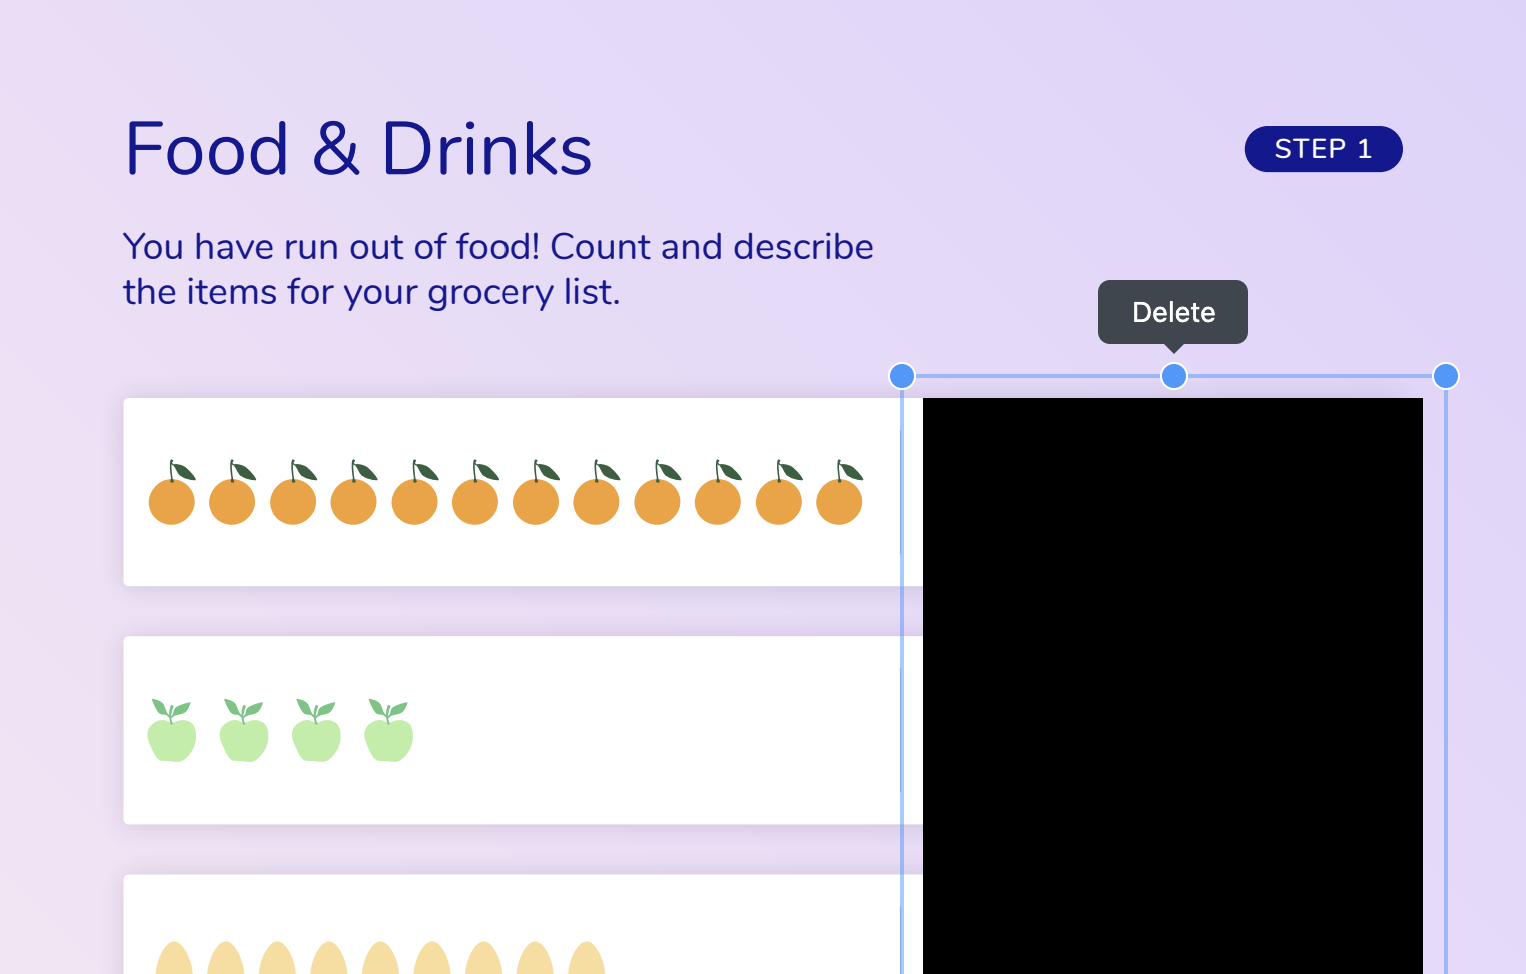
As you can see, here we are emulating a see-through rectangle by placing opaque black areas at the eight sides and corners of the annotation bounding box, covering the rest of the document. If you take a look at our stylesheet in the example repository, you’ll see that each of these elements is assigned its absolute position relative to the annotation.
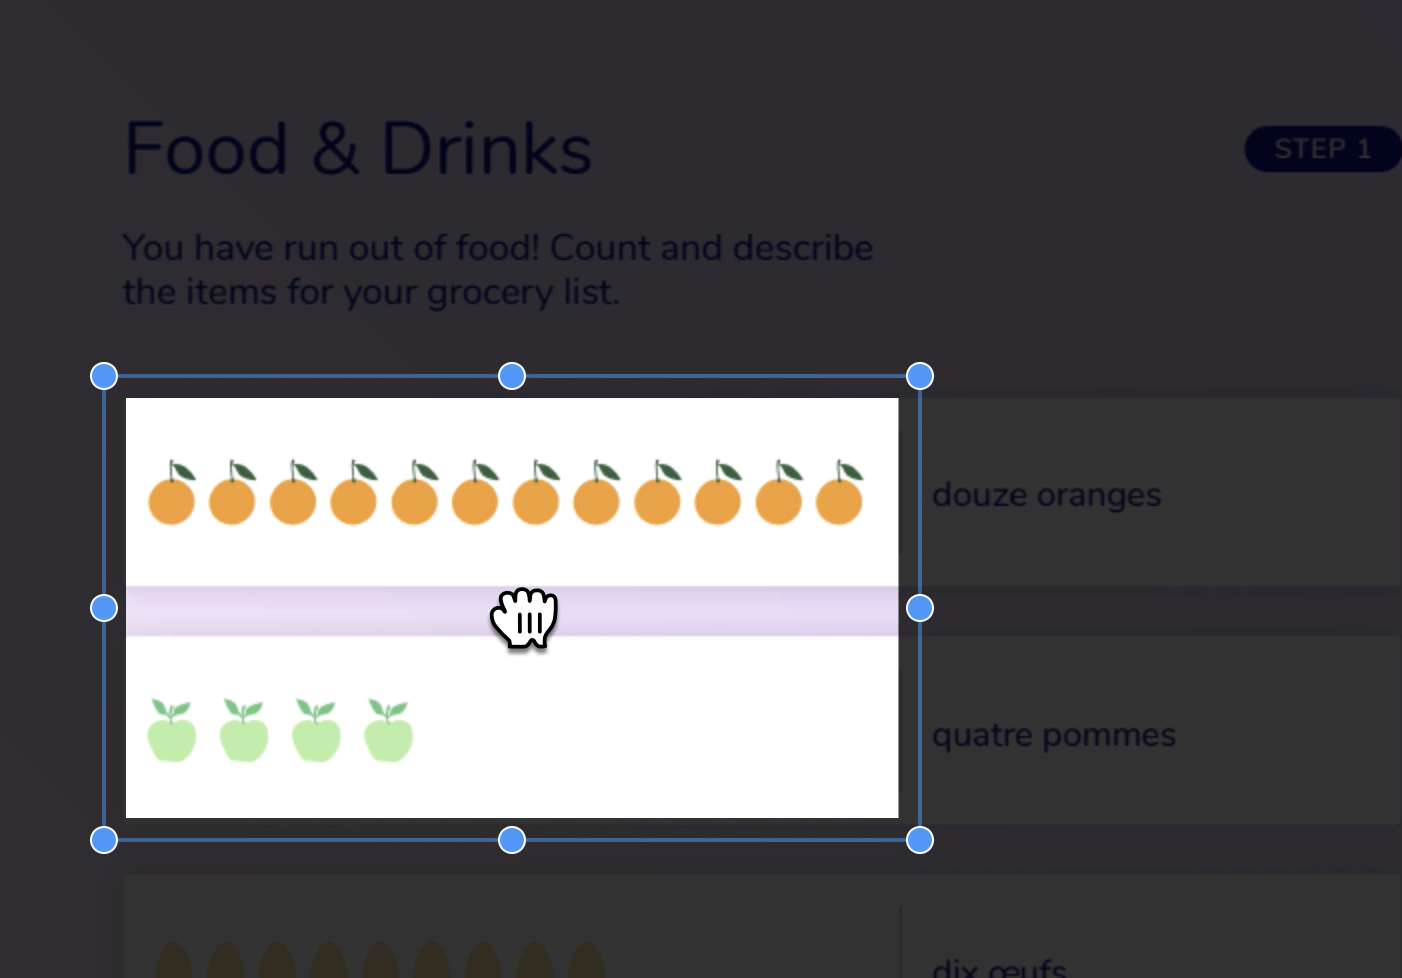
Another interesting thing to note is that the obscured elements become semi-opaque when the annotation is being dragged or resized. This helps the user find their way around the document easily when moving or resizing the annotation instead of relying only on the visible portion of the revealed area. The following JavaScript snippet demonstrates how listeners are attached to mouse events to enable this behavior using attributes. These are then queried with CSS to change the appearance of the obscured areas:
function registerIsDragAndResizeDetector() {
  // This is used to determine whether to toggle the attribute responsible for
  // making the surrounding areas opaque or semi-transparent.
  let isDraggingOrResizing = false;

  instance.contentDocument.onmousedown = event => {
    if (
      // We use event delegation to see if the user pressed on the annotation
      // border or a resize handle.
      svgElementHasClass(event.target, "PSPDFKit-Selection-Outline-Border") ||
      svgElementHasClass(event.target, "PSPDFKit-Resize-Anchor")
    ) {
      isDraggingOrResizing = true;
    }
  };

  instance.contentDocument.onmouseup = () => {
    isDraggingOrResizing = false;
    instance.contentDocument.body.removeAttribute(
      "data-is-dragging-or-resizing",
      "true"
    );
  };

  instance.contentDocument.onmousemove = function(event) {
    // We only change the appearance when the mouse first moves.

    if (event.buttons !== 1 || !isDraggingOrResizing) {
      return;
    }

    instance.contentDocument.body.setAttribute(
      "data-is-dragging-or-resizing",
      "true"
    );
  };
}
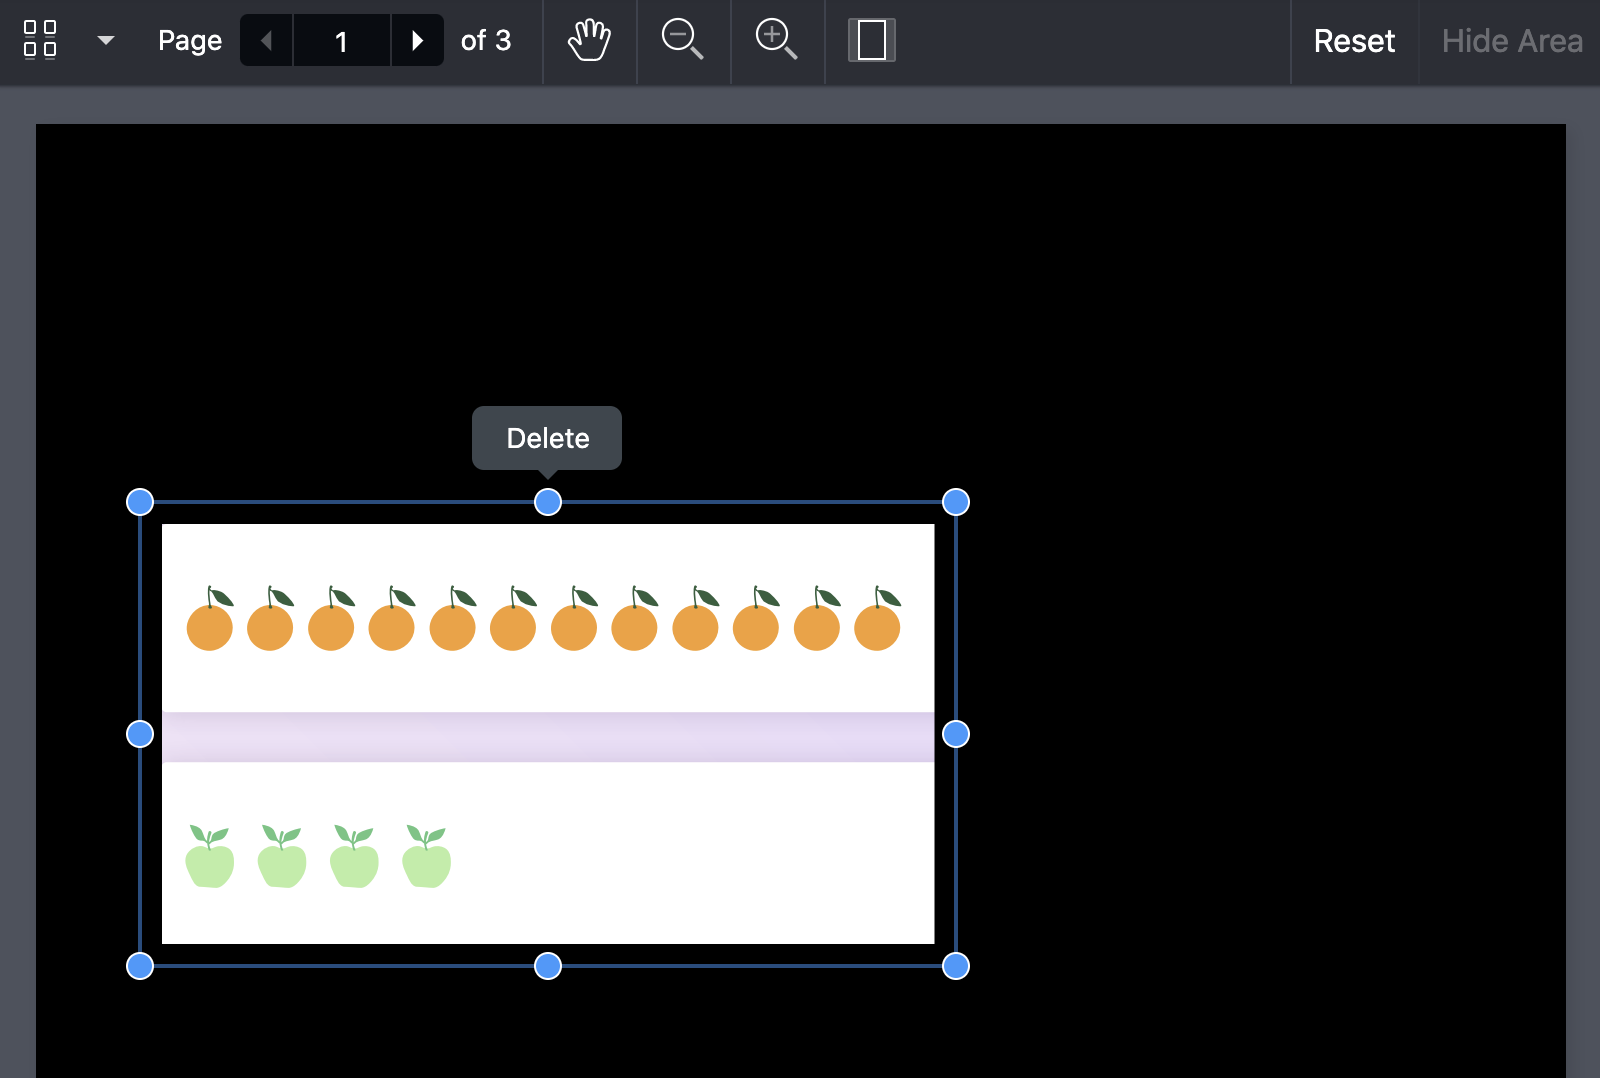
Dynamically Updating the Toolbar
The last thing we can look at is the toolbar logic. Depending on whether or not the current page already has a revealed area present, the respective toolbar button will be replaced with the Reset button. By keeping the toolbar up to date, we ensure the UI always reflects the current status of the document.
We do this by setting custom toolbar items when loading PSPDFKit, as well as when:
-
The current page index changes.
-
A hidden/revealed area is created.
-
A hidden/revealed area is deleted.
if (currentPageHasRevealedArea) {
  items.push({
    type: "custom",
    title: "Reset",

    // Only one type of annotation can be present on the page at once, so
    // we can safely remove any of them by calling this function.
    onPress: () => removeAnnotationsFromPage(currentPageIndex)
  });
} else {
  items.push({
    type: "custom",
    title: "Reveal Area",
    onPress: () => addRevealedArea(currentPageIndex),
    disabled: currentPageHasHiddenArea
  });
}

if (currentPageHasHiddenArea) {
  items.push({
    type: "custom",
    title: "Reset",
    onPress: () => removeAnnotationsFromPage(currentPageIndex)
  });
} else {
  items.push({
    type: "custom",
    title: "Hide Area",
    onPress: () => addHiddenArea(currentPageIndex),
    disabled: currentPageHasRevealedArea
  });
}
As seen in the above example, we use the disabled property to enforce the fact that only one revealed or hidden area can be present on the page at a time. Making use of this property also indicates to the user in advance that the action is not applicable, making the UI more understandable at a glance.
Conclusion
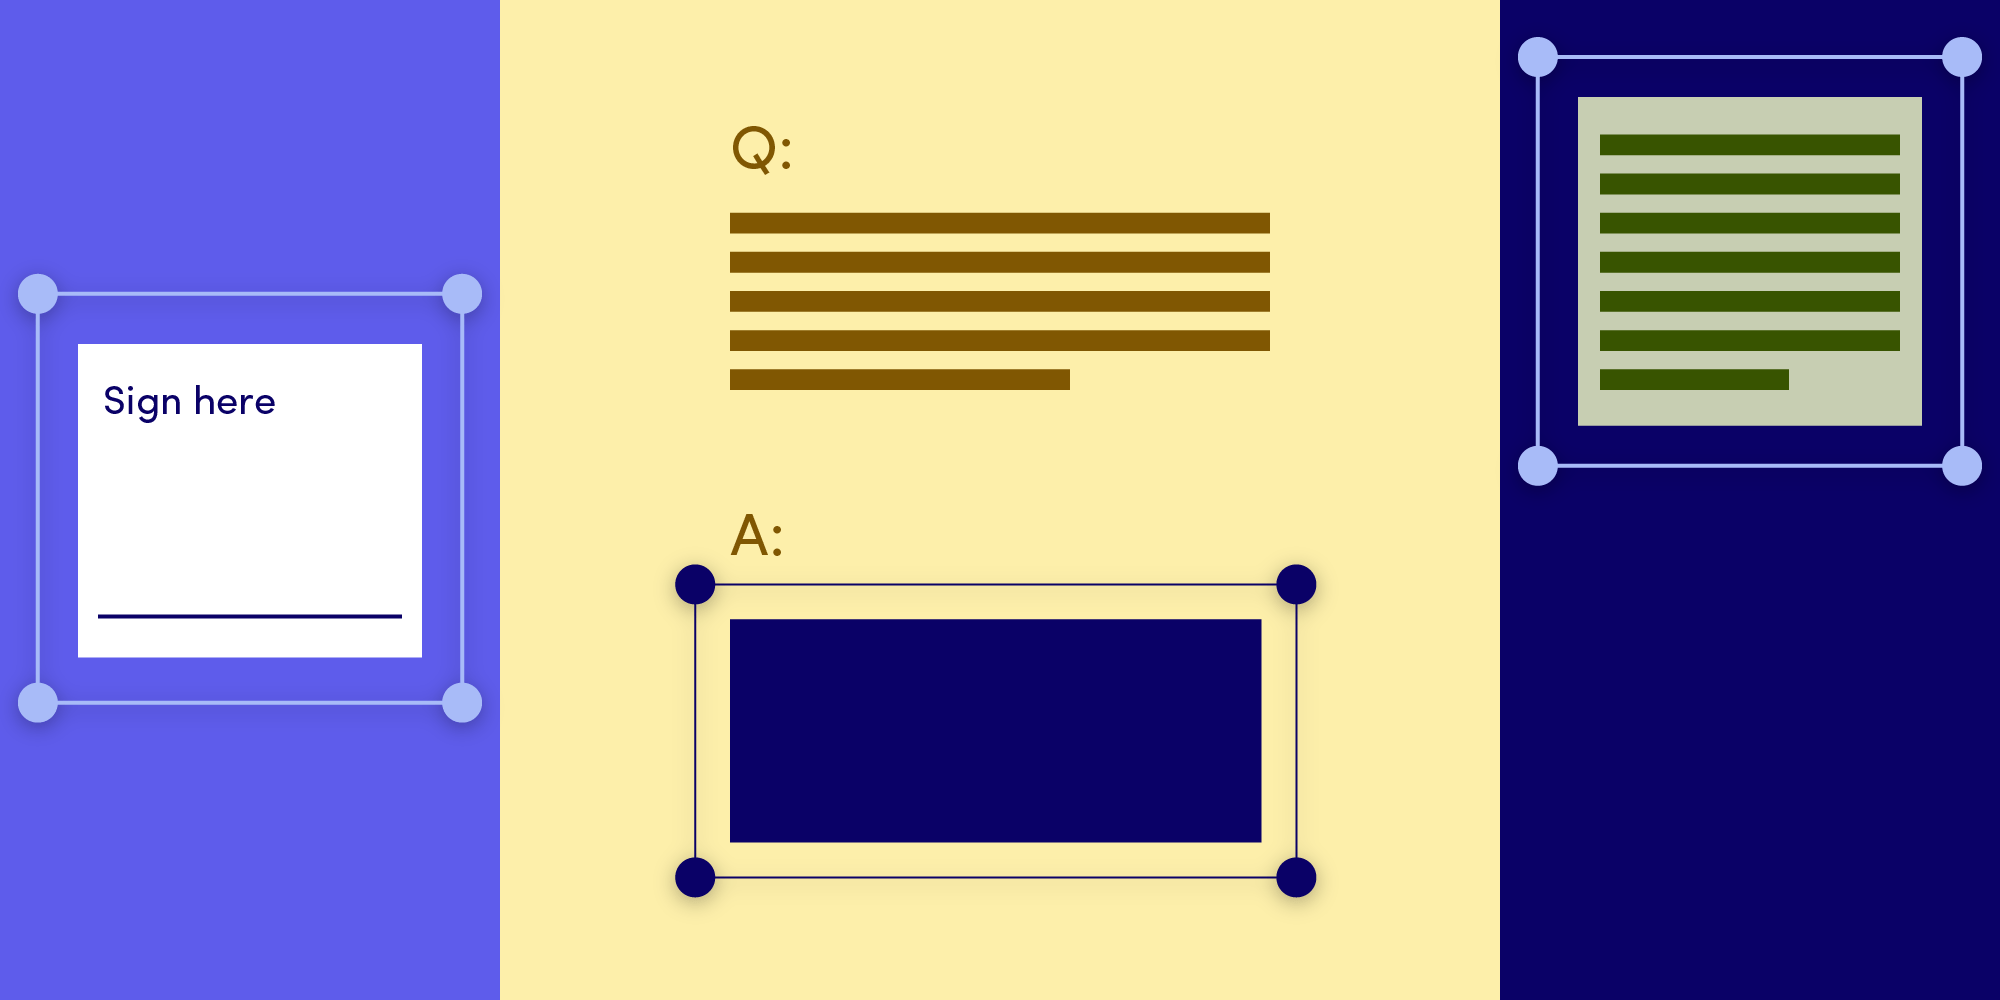
We’ve seen how to implement the reveal annotation — an example of a more advanced custom rendered annotation. But what would this be useful for? A few things come to mind. For example, perhaps you are dealing with sensitive pages in a document, where the user should only be able to see a certain part of the document. This can also be useful in software designed for students — for example, to obscure an area containing the solution to a problem. Another potential use case is if you want to highlight a certain portion of a document, like in a signing scenario. You may not want to completely hide the rest of the page, in which case you can just set the background color of the surrounding area to semi-opaque black.
In a production environment, perhaps you will not give this level of control to your end users — the use cases we just mentioned do not necessarily require designing and placing the customized annotations themselves. Nevertheless, they speak to the level of flexibility on offer using the DOM in combination with PSPDFKit APIs! If you’d like to find out more about custom renderers, take a look at our detailed guide on the topic.


