Open a PDF in Elm

In this article, we’ll look at the basics of opening a PDF in Elm, “a delightful language for reliable webapps.” We’ll also cover using Elm’s various interop features to integrate with PDF.js.
First Iteration: No Interop
Our first goal will be simple: to see a PDF page rendered in our Elm app. The following commands will install what we need and create our project structure:
npm install --global elm elm-live
mkdir elm-pdf
cd elm-pdf
elm init
mkdir public
touch src/Main.elm public/index.html
You’ll also need a PDF to work with (here’s one). Place the file in the public folder.
Now, edit public/index.html to look as follows:
<!DOCTYPE html>
<html>
  <head>
    <title>Elm PDF</title>
    <style>
      body {
        background: #eee;
        text-align: center;
        font: normal 14px/1em sans-serif;
      }
      canvas {
        box-shadow: 2px 2px 8px #ddd;
      }
    </style>
  </head>
  <body>
    <div id="elm-node"></div>
    <script src="//mozilla.github.io/pdf.js/build/pdf.js"></script>
    <script src="elm.js"></script>
    <script>
      let url = "sample.pdf";

      window["pdfjs-dist/build/pdf"].getDocument(url).promise.then(pdf => {
        let node = document.getElementById("elm-node");
        Elm.Main.init({ node });

        pdf.getPage(1).then(page => {
          let viewport = page.getViewport(1.0);
          let canvas = document.getElementById("canvas");
          let canvasContext = canvas.getContext("2d");
          canvas.height = viewport.height;
          canvas.width = viewport.width;
          page.render({ canvasContext, viewport });
        });
      });
    </script>
  </body>
</html>
Nothing too exciting here. We’re loading PDF.js and Elm and initializing them. Note that PDF.js is expecting a canvas element to render to, which we’ll create in Elm next.
Edit src/Main.elm as follows:
module Main exposing (init, main, update, view)

import Browser
import Html exposing (canvas)
import Html.Attributes exposing (id)


main =
    Browser.sandbox { init = init, update = update, view = view }


-- MODEL


init =
    {}


-- UPDATE


update msg model =
    model


-- VIEW


view model =
    canvas [ id "canvas" ] []
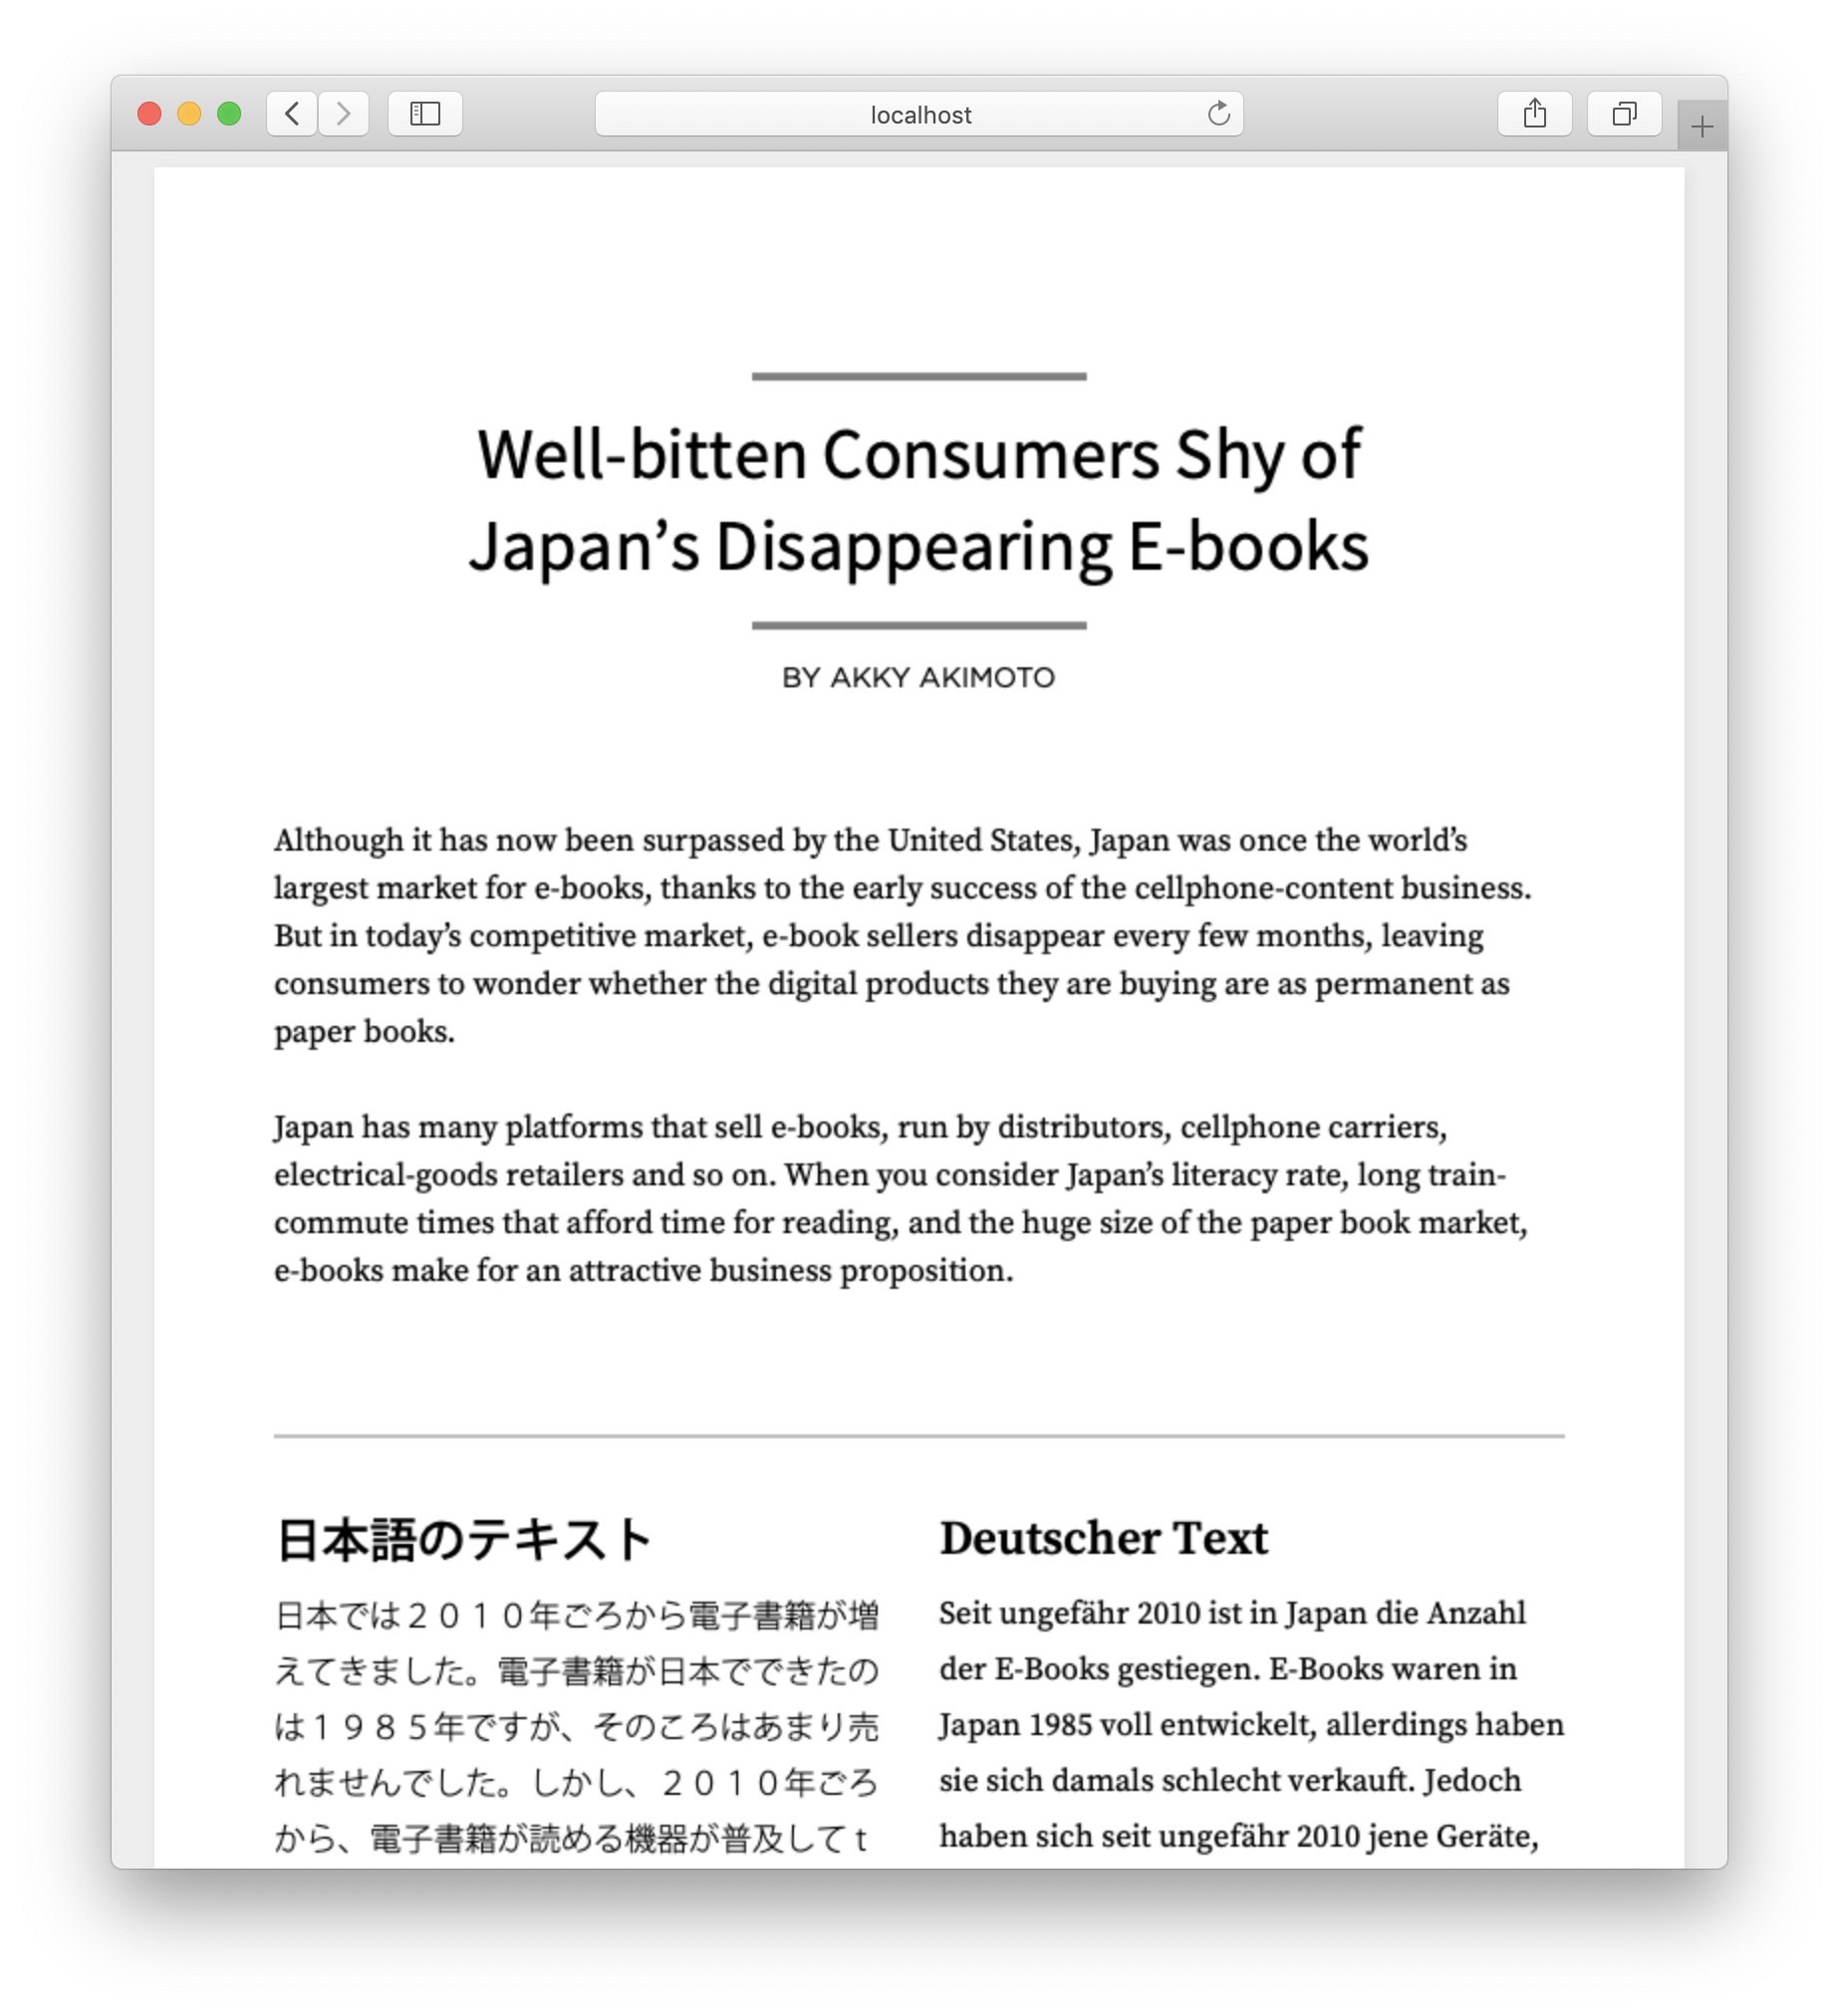
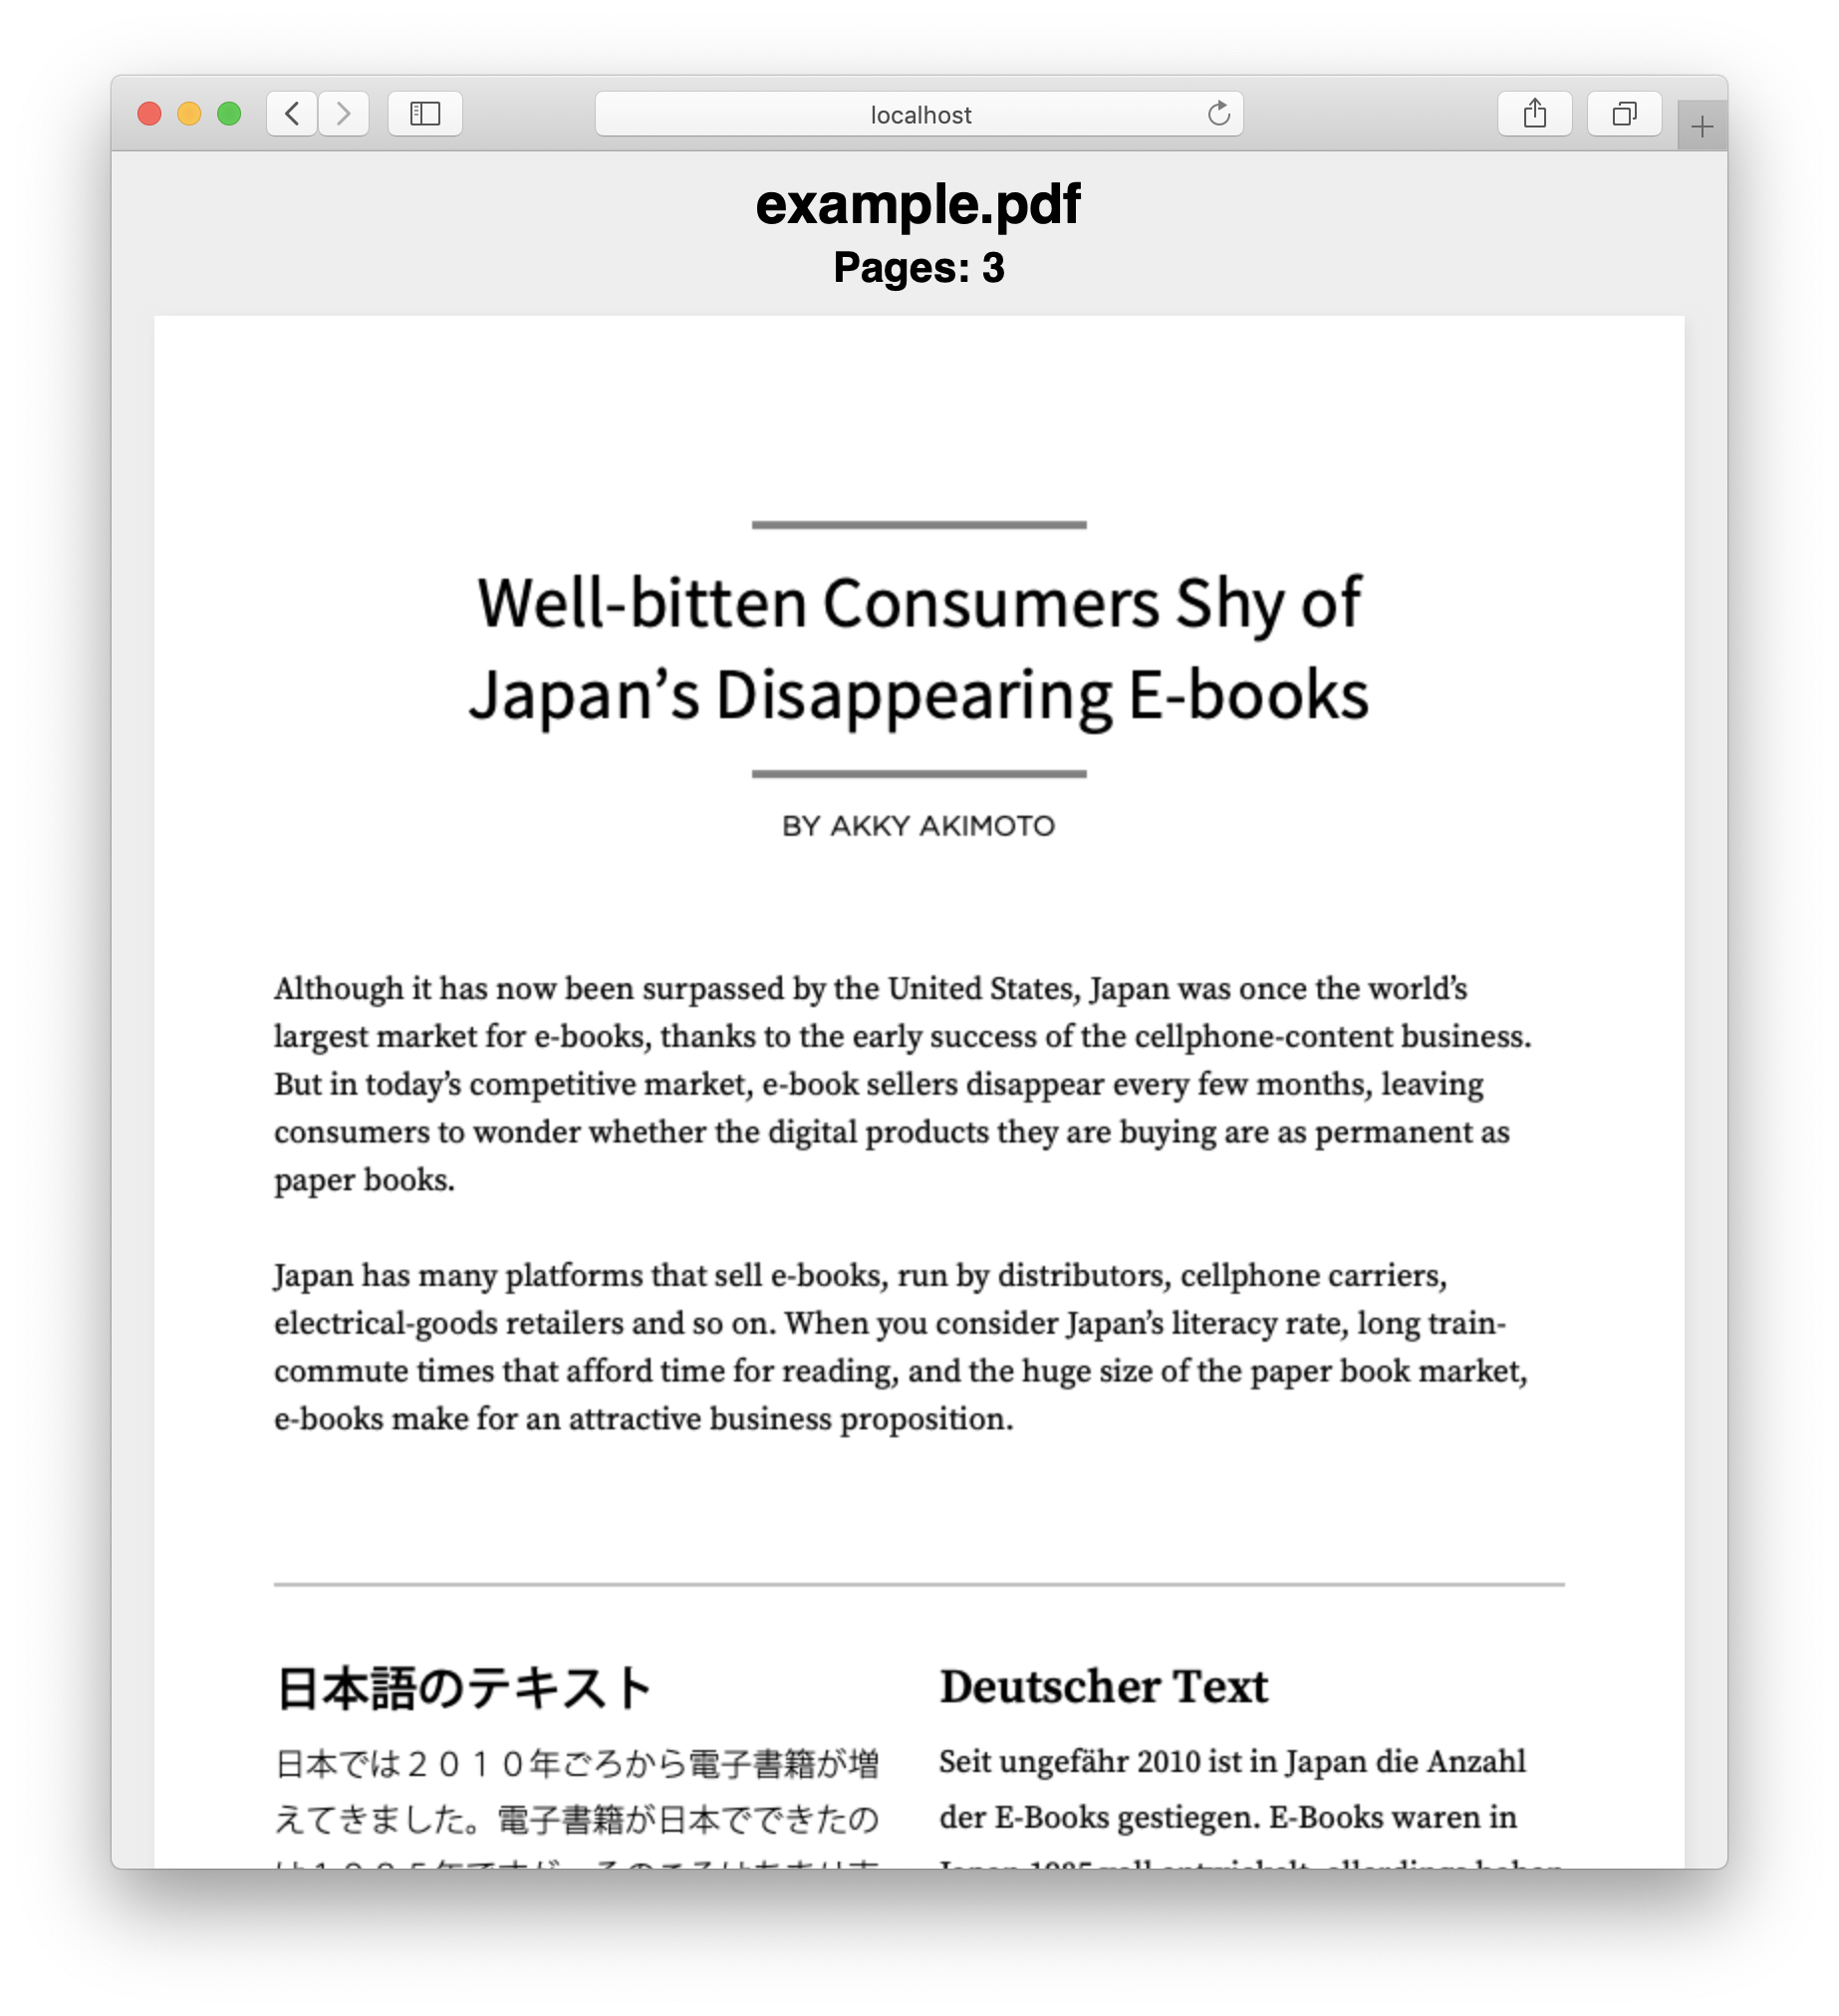
Now when we run our app, we should see the PDF document rendered:
elm-live src/Main.elm --dir=public --open -- --output=public/elm.js
This is OK, but not very Elm-centric. Let’s see how we can improve it using Elm’s JavaScript interop features.
Second Iteration: Flags
The simplest form of JS interop in Elm is that of flags. These allow us to pass in additional data when initializing our Elm program.
Let’s try showing some information about the PDF by passing it to Elm.
First, we update our initialization JS to pass in the flags:
let flags = { title: url, numPages: pdf.numPages };
Elm.Main.init({ node, flags });
On the other side, Elm needs some type information about the flags before it allows them in:
module Main exposing (Model, Msg(..), init, main, update, view)

import Browser
import Html exposing (Html, canvas, div, h1, h2, text)
import Html.Attributes exposing (id)


-- MODEL


type alias Flags =
    { title : String
    , numPages : Int
    }


type alias Model =
    { title : String
    , numPages : Int
    }


init : Flags -> ( Model, Cmd Msg )
init flags =
    ( Model flags.title flags.numPages, Cmd.none )


-- UPDATE


type Msg
    = NoOp


update : Msg -> Model -> ( Model, Cmd Msg )
update msg model =
    ( model, Cmd.none )


-- VIEW


view : Model -> Html Msg
view model =
    div
        []
        [ h1 [] [ text model.title ]
        , h2 [] [ text ("Pages: " ++ String.fromInt model.numPages) ]
        , canvas [ id "canvas" ] []
        ]


---- PROGRAM ----


main : Program Flags Model Msg
main =
    Browser.element
        { init = init
        , update = update
        , view = view
        , subscriptions = \_ -> Sub.none
        }
A few things to note here:
-
Our
initfunction now accepts aFlagsargument, which it uses to create a model. Currently, ourFlagsandModeltypes are identical, but this is likely to change as our model becomes more complex. -
Our
mainfunction now returns aBrowser.element. Unlike asandbox, anelementcan talk to the outside world viaflags, as we do here, andports, which we’ll cover in the next section.
The PDF should now be displayed, along with the metadata we passed in.
This is a bit better, but flags are only useful for passing in the initial configuration or data to our app. What if we want to interact with the PDF via Elm?
Third Iteration: Ports
More sophisticated interop in Elm requires the use of ports. These allow us to pass messages between JS and Elm while our program is running.
Let’s try creating some buttons in Elm to paginate through the PDF document:
port module Main exposing (Model, Msg(..), init, main, update, view)

import Browser
import Html exposing (Html, br, button, canvas, div, h1, h2, header, text)
import Html.Attributes exposing (id)
import Html.Events exposing (onClick)


-- MODEL


type alias Flags =
    { title : String
    , numPages : Int
    , pageNum : Int
    }


type alias Model =
    { title : String
    , numPages : Int
    , pageNum : Int
    }


init : Flags -> ( Model, Cmd Msg )
init flags =
    ( Model flags.title flags.numPages flags.pageNum, Cmd.none )


-- UPDATE


type Msg
    = PrevPage
    | NextPage


update : Msg -> Model -> ( Model, Cmd Msg )
update msg model =
    case msg of
        PrevPage ->
            let
                pageNum =
                    if model.pageNum <= 1 then
                        1

                    else
                        model.pageNum - 1
            in
            ( { model | pageNum = pageNum }, paginate pageNum )

        NextPage ->
            let
                pageNum =
                    if model.pageNum >= model.numPages then
                        model.numPages

                    else
                        model.pageNum + 1
            in
            ( { model | pageNum = pageNum }, paginate pageNum )


-- PORT


port paginate : Int -> Cmd msg


-- VIEW


view : Model -> Html Msg
view model =
    div
        []
        [ header []
            [ h1 [] [ text model.title ]
            , h2 [] [ text ("Page: " ++ String.fromInt model.pageNum ++ " of " ++ String.fromInt model.numPages) ]
            , button [ onClick PrevPage ] [ text "< Prev Page" ]
            , button [ onClick NextPage ] [ text "Next Page >" ]
            ]
        , br [] []
        , canvas [ id "canvas" ] []
        ]


---- PROGRAM ----


main : Program Flags Model Msg
main =
    Browser.element
        { init = init
        , update = update
        , view = view
        , subscriptions = \_ -> Sub.none
        }
A few things to note here:
-
We have a new
portnamedpaginate. This gives us a defined interface we can use to send data from Elm to JS. -
Our
viewnow contains buttons that call ourupdatefunction when clicked. -
Our
updatefunction handles the incoming clicks and calls ourpaginateport with the appropriate page number.
On the JS side, we need to subscribe to the port to listen for messages from Elm. We’ll also reorganize our initialization code a little to enable us to render a given page:
let url = "sample.pdf";

window["pdfjs-dist/build/pdf"].getDocument(url).promise.then(pdf => {
  let pageNum = 1;
  let node = document.getElementById("elm-node");
  let flags = { title: url, numPages: pdf.numPages, pageNum: pageNum };
  let app = Elm.Main.init({ node, flags });

  function renderPage(num) {
    pdf.getPage(num).then(page => {
      let viewport = page.getViewport(1.0);
      let canvas = document.getElementById("canvas");
      let canvasContext = canvas.getContext("2d");
      canvas.height = viewport.height;
      canvas.width = viewport.width;
      page.render({ canvasContext, viewport });
    });
  }

  app.ports.paginate.subscribe(function(num) {
    renderPage(num);
  });

  renderPage(pageNum);
});
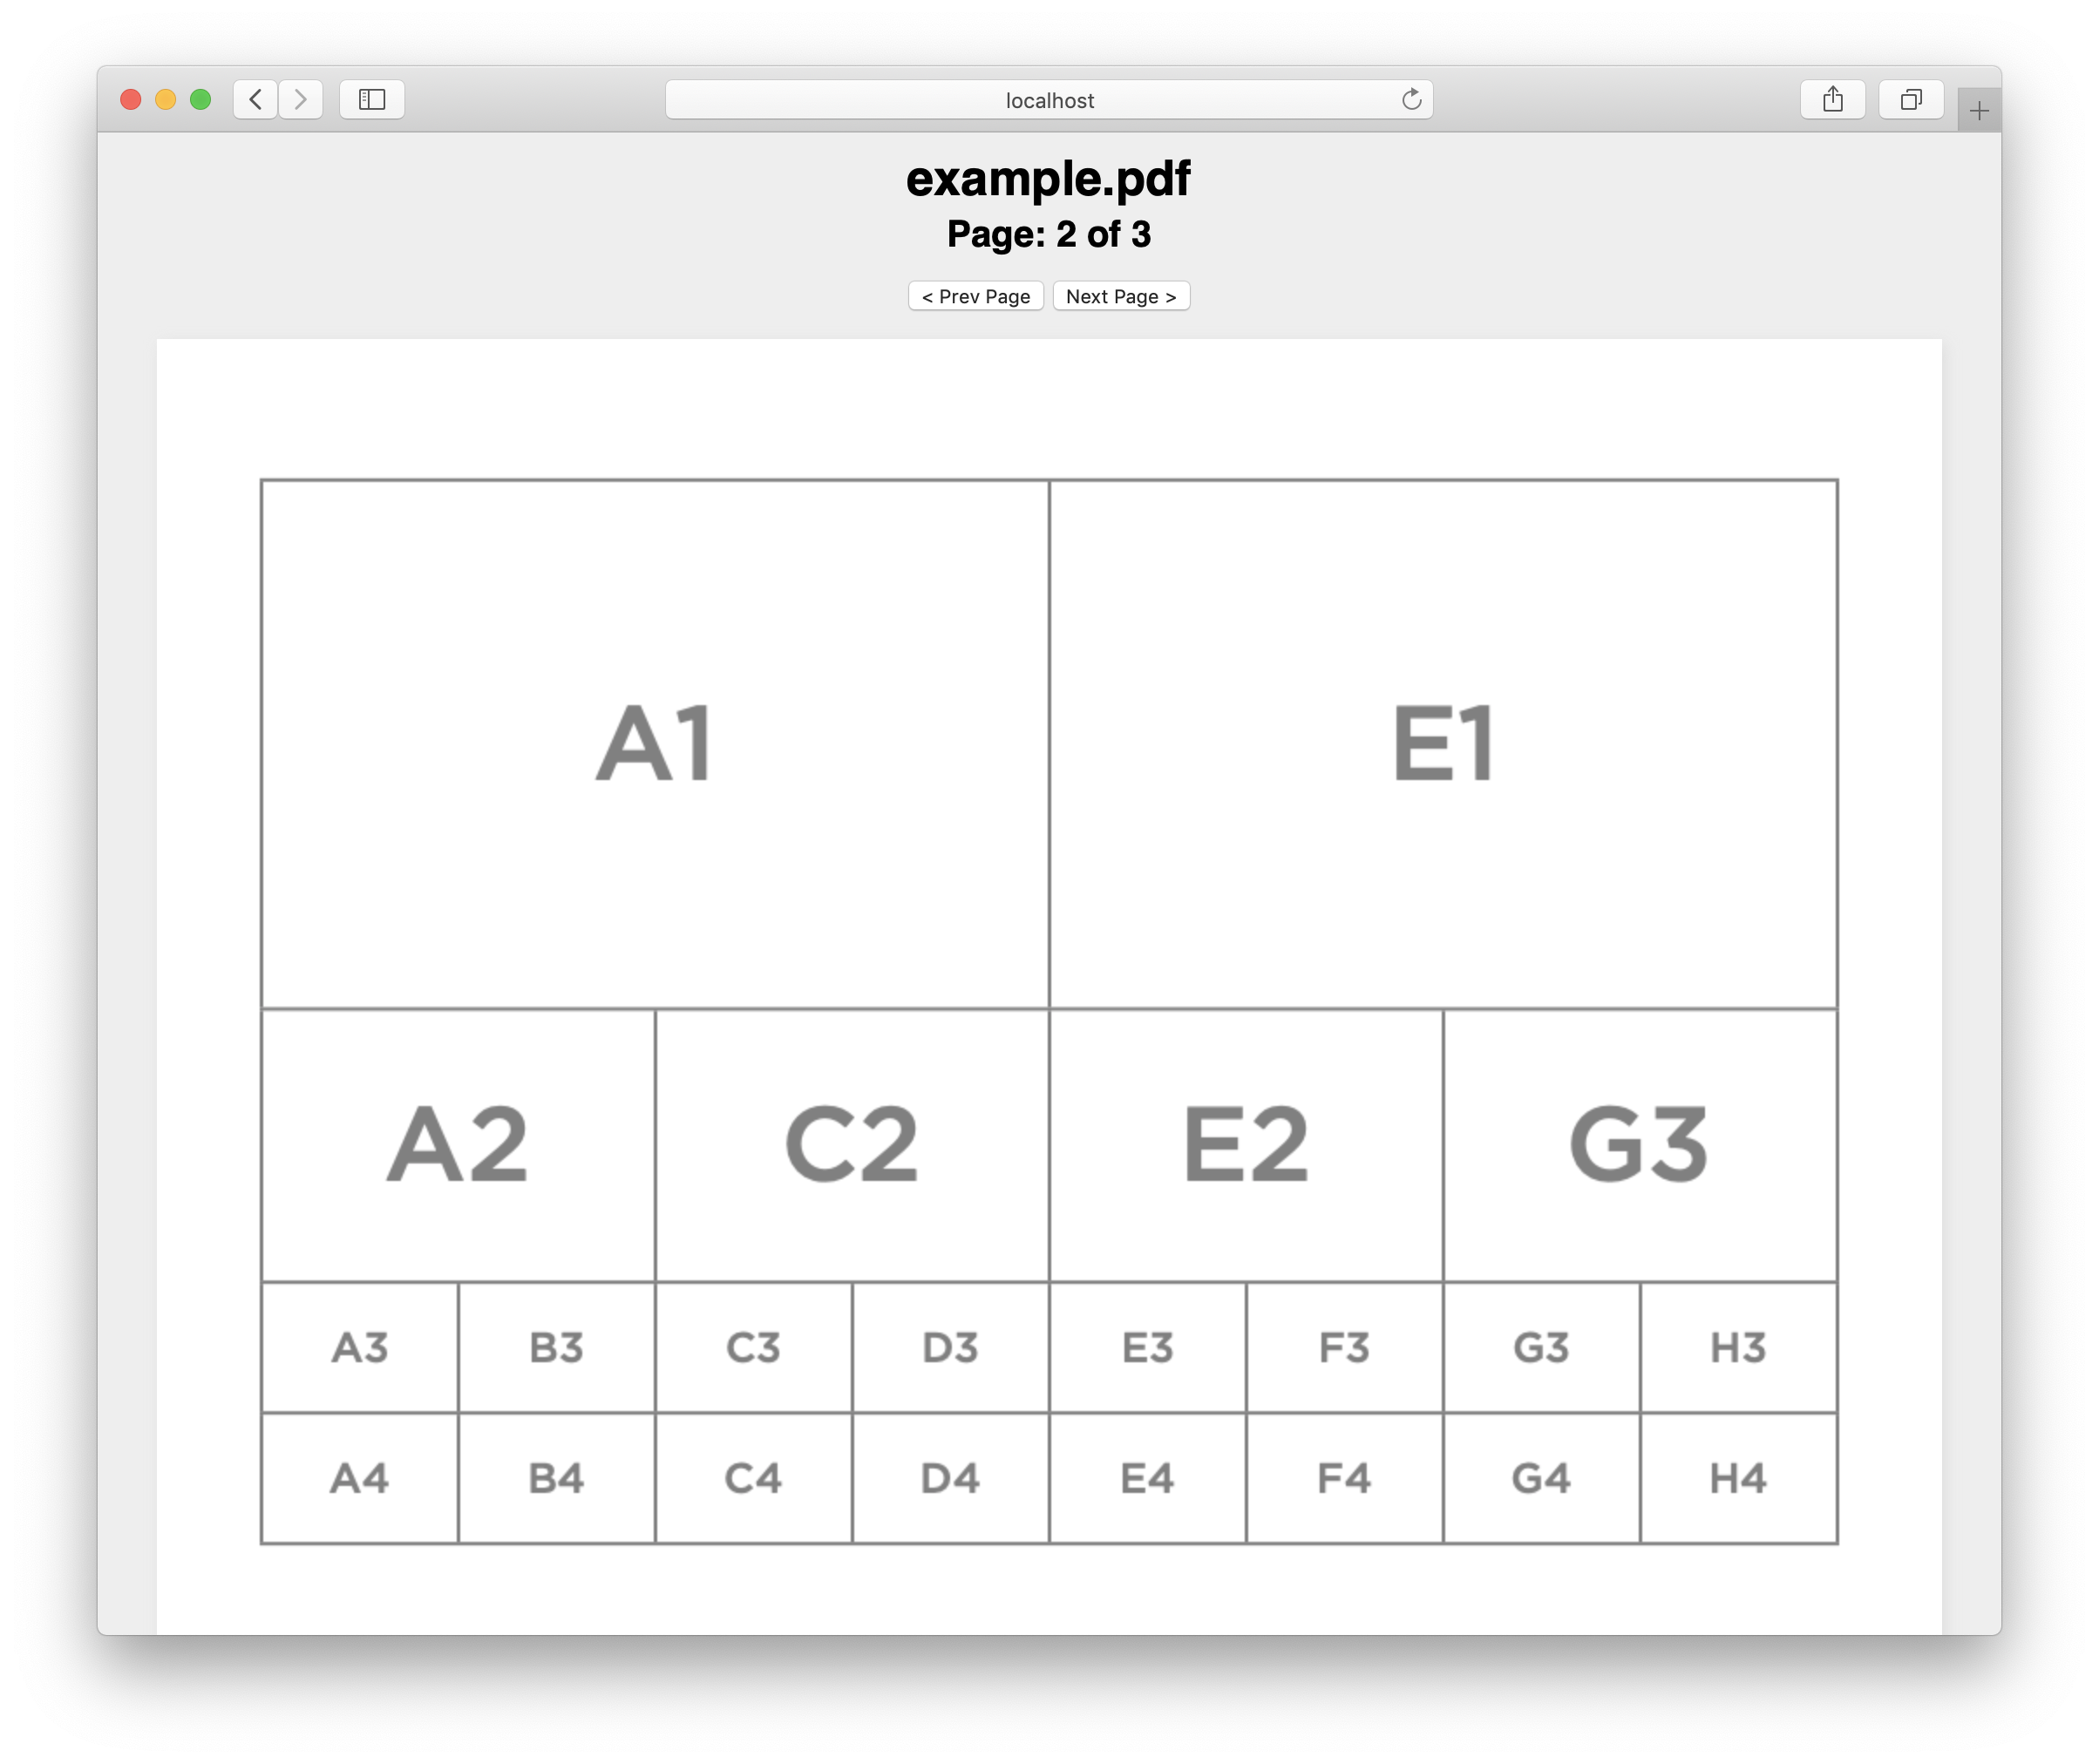
As you can see, Elm sends the updated page number to the port when it detects the button click, which we then pass to PDF.js to render the given page.
Click the previous and next buttons and the displayed PDF page should change accordingly.
Conclusion
Having only read about but never actually used Elm before, it was an interesting journey to figure out this tutorial. After getting over the syntax, it became clear how elegant Elm programs can be. Functions snap together with well-defined interfaces, and when they don’t fit, the compiler explains why. Elm gives you a pristine, abstract environment in which to work — one where you need to carefully consider how data flows in and out of your program.
I hope this article was useful in helping you understand the various interop options that Elm provides and how you might go about integrating PDF support into an Elm app. If you need more advanced PDF features, check out PSPDFKit for Web, our JavaScript PDF library offering drop-in support for PDF viewing, annotating, and collaboration.


