How to Convert HTML to PDF with JavaScript


This article was last updated in June 2024.
A common use case in JavaScript for HTML-to-PDF conversion is giving your website visitors the ability to download HTML content as a PDF file. For example, invoices, concert tickets, and flight tickets tend to be available as PDF downloads.
This post will take a look at three popular JavaScript libraries for converting HTML pages to PDFs: html2pdf, pdfmake, and Playwright. Then it’ll cover the advantages and disadvantages of these libraries.
Convert HTML to PDF using html2pdf
The html2pdf library converts HTML pages to PDFs in the browser. It uses html2canvas and jsPDF under the hood.
html2canvas renders an HTML page into a canvas element and turns it into a static image. jsPDF then takes the image and converts it to a PDF file.
Check out How to Convert HTML to PDF Using React for a step-by-step guide on how to use jsPDF in a React app.
Installation
To get started, install the html2pdf library.
CDN
The library provides a CDN link. If you prefer this method, add a script tag to your HTML file:
<script src="https://cdnjs.cloudflare.com/ajax/libs/html2pdf.js/0.10.1/html2pdf.bundle.min.js" integrity="sha512-GsLlZN/3F2ErC5ifS5QtgpiJtWd43JWSuIgh7mbzZ8zBps+dvLusV+eNQATqgA/HdeKFVgA5v3S/cIrLF7QnIg==" crossorigin="anonymous" referrerpolicy="no-referrer"></script>
NPM
Alternatively, download the package from npm:
npm install html2pdf.js
Manual Download
You can also download the bundled html2pdf JavaScript library directly from the html2pdf.js GitHub repository.
After you’ve downloaded the library, add a script tag to your HTML file:
<script src="html2pdf.bundle.min.js"></script>Using html2pdf
To begin, define a generatePDF() function that will get the element you want to download as a PDF. Then, call html2pdf with that element to download it directly on your users’ client. Next, call this function in a download button:
<!DOCTYPE html>
<html>
	<head>
		<meta charset="utf-8" />
		<meta http-equiv="X-UA-Compatible" content="IE=edge" />
		<title>HTML-to-PDF Example</title>
		<meta
			name="viewport"
			content="width=device-width, initial-scale=1"
		/>
		<!-- html2pdf CDN link -->
		<script
			src="https://cdnjs.cloudflare.com/ajax/libs/html2pdf.js/0.10.1/html2pdf.bundle.min.js"
			integrity="sha512-GsLlZN/3F2ErC5ifS5QtgpiJtWd43JWSuIgh7mbzZ8zBps+dvLusV+eNQATqgA/HdeKFVgA5v3S/cIrLF7QnIg=="
			crossorigin="anonymous"
			referrerpolicy="no-referrer"
		></script>
	</head>
	<body>
		<button id="download-button">Download as PDF</button>
		<div id="invoice">
			<h1>Our Invoice</h1>
		</div>

		<script>
			const button = document.getElementById('download-button');

			function generatePDF() {
				// Choose the element that your content will be rendered to.
				const element = document.getElementById('invoice');
				// Choose the element and save the PDF for your user.
				html2pdf().from(element).save();
			}

			button.addEventListener('click', generatePDF);
		</script>
	</body>
</html>
In the example above, you only rendered the h1 title. However, you can render any HTML element, including images and tables. In the next example, you’ll use a more complex HTML structure.
Downloading an Invoice as a PDF
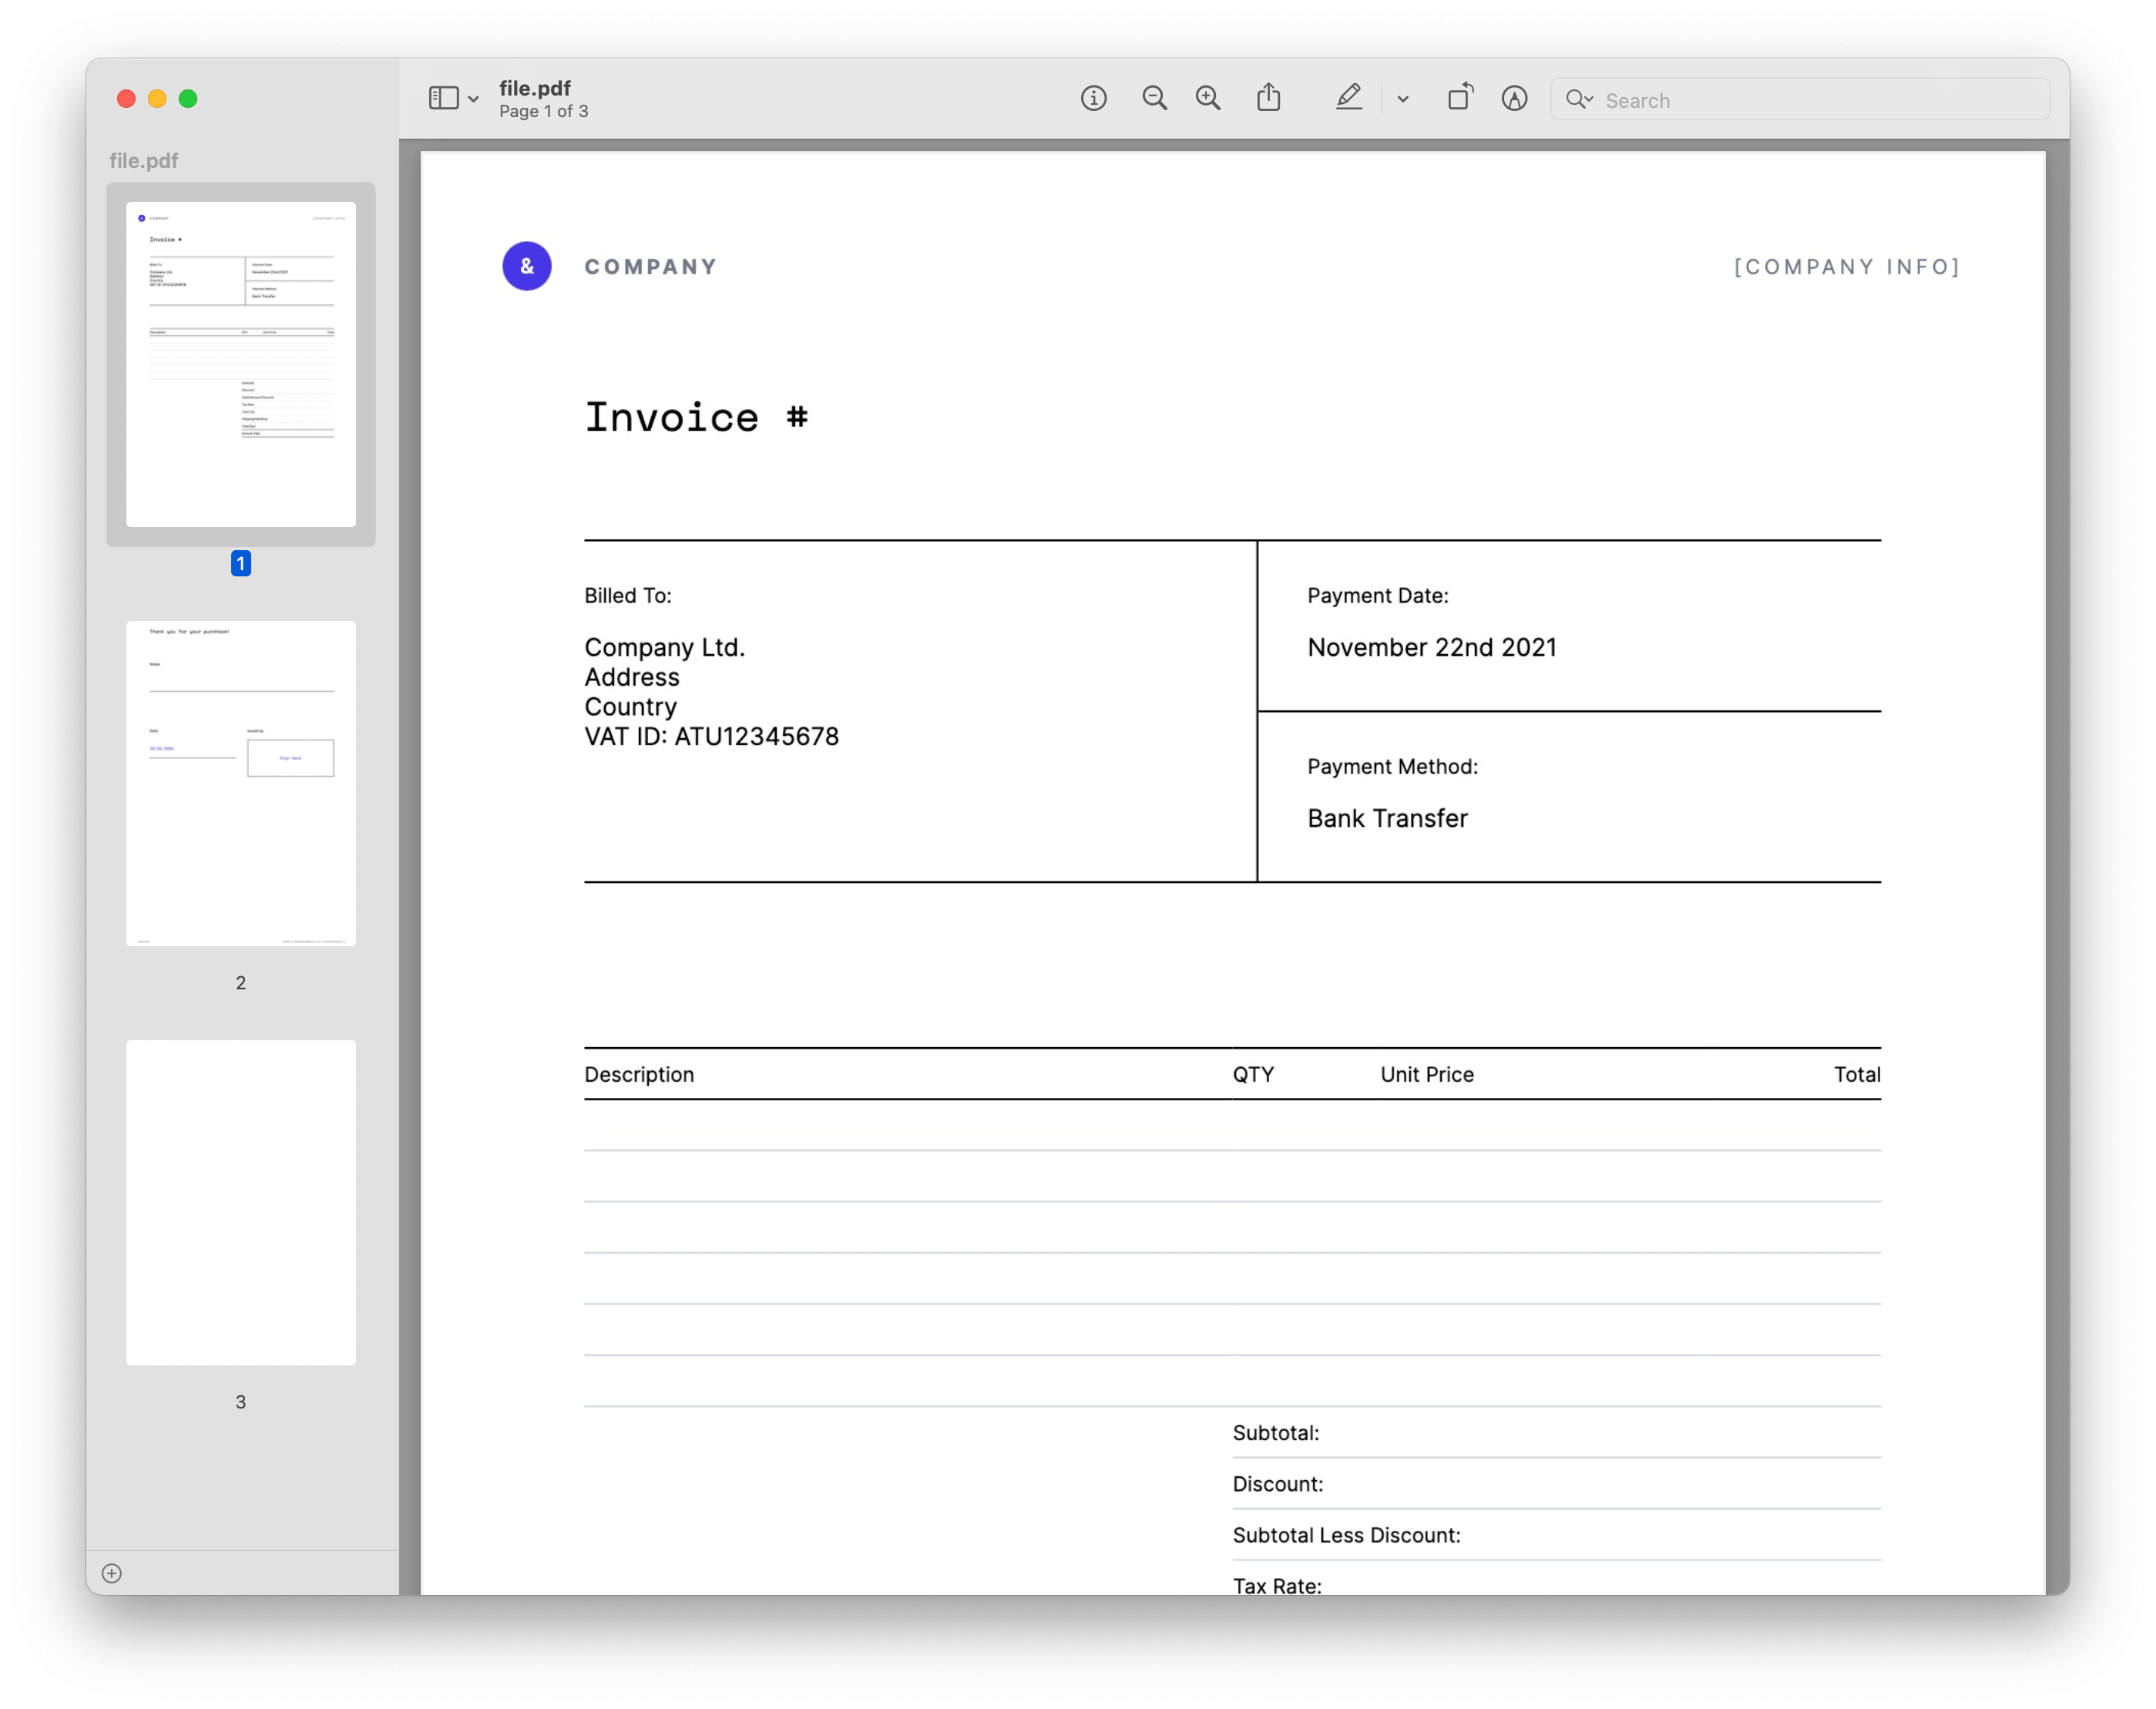
We provided an invoice template to download as a PDF. You can download it by clicking this link. You can also generate the HTML for your own invoice on your backend if you prefer.
Similar to the example above, you’ll use the generatePDF() function to download the invoice as a PDF. However, this time, you’ll render the invoice template to the div element.
The end result will look like what’s shown below.
Convert HTML to PDF using pdfmake
The pdfmake library generates PDF documents directly in the browser. It uses a layout and style configuration defined in a JSON-like structure within JavaScript, leveraging pdfkit under the hood for PDF generation.
While html2pdf converts rendered HTML directly into a static image that’s later converted to a PDF file, retaining the layout and styles of the webpage, the text content becomes unselectable. Meanwhile, pdfmake requires explicitly defining the document’s structure and styles in JavaScript, offering more precise control over the PDF output. The biggest advantage of pdfmake is that the generated text content can be selected and copied, making it a better option when text selection is important.
Installation
To get started, install the pdfmake library.
CDN
The library provides a CDN link. If you prefer this method, add a script tag to your HTML file:
<script src="https://cdnjs.cloudflare.com/ajax/libs/pdfmake/0.1.72/pdfmake.min.js" integrity="sha384-qwfyMhpwB4dOhtxItT9bxl/sd7WQ95MvXSyLUgVz3oNRlvK/Ea7uT4O3rf1ZriyH" crossorigin="anonymous" referrerpolicy="no-referrer"></script>
<script src="https://cdnjs.cloudflare.com/ajax/libs/pdfmake/0.1.72/vfs_fonts.js" integrity="sha384-vD7JPR0c5DJMoqHXO7lJKsK9k6XPlL4LMoGK1jHsGBWoDzW9BGfaP7UWKIXHdz7L" crossorigin="anonymous" referrerpolicy="no-referrer"></script>
NPM
Alternatively, download the package from npm:
npm install pdfmake
Using pdfmake
To begin, define a generatePDF() function that will be used to specify the document configuration using a structured JavaScript object. Then, use pdfmake to generate and download the PDF based on this configuration. Next, associate this function with a download button in index.html:
<!--index.html-->
<!DOCTYPE html>
<html>
	<head>
		<meta charset="utf-8" />
		<meta http-equiv="X-UA-Compatible" content="IE=edge" />
		<title>HTML-to-PDF PDFMake Example</title>
		<meta
			name="viewport"
			content="width=device-width, initial-scale=1"
		/>
		<!-- pdfmake CDN link -->
		<script
			src="https://cdnjs.cloudflare.com/ajax/libs/pdfmake/0.1.72/pdfmake.min.js"
			crossorigin="anonymous"
			referrerpolicy="no-referrer"
		></script>
		<!--vfs_fonts.js is essential for embedding fonts into PDF documents created with pdfmake-->
		<script
			src="https://cdnjs.cloudflare.com/ajax/libs/pdfmake/0.1.72/vfs_fonts.js"
			crossorigin="anonymous"
			referrerpolicy="no-referrer"
		></script>
	</head>
	<body>
		<button onclick="generatePDF()">Generate Invoice PDF</button>

		<script>
			const button = document.getElementById('download-button');

			function generatePDF() {
				const docDefinition = {
					content: [
						{
							columns: [
								{
									text: '&',
									style: 'logo',
								},
								{
									stack: [
										{ text: 'Company', style: 'companyName' },
										{
											text: '[COMPANY INFO]',
											style: 'companyInfo',
										},
									],
									alignment: 'right',
								},
							],
							margin: [0, 20, 0, 30],
						},
						{
							canvas: [
								{
									type: 'line',
									x1: 0,
									y1: 5,
									x2: 515,
									y2: 5,
									lineWidth: 2.5,
									lineColor: 'black',
								},
							],
							margin: [0, 10, 0, 20],
						},
						{
							columns: [
								{
									text: [
										{
											text: 'Billed To:\n',
											style: 'billedToLabel',
										},
										{
											text: 'Company Ltd.\n',
											style: 'billedTo',
										},
										{
											text:
												'Address\nCountry\nVAT ID: ATU12345678\n',
											style: 'billedTo',
										},
									],
									width: '60%',
								},
								{
									text: [
										{
											text: 'Invoice #\n',
											style: 'invoiceLabel',
										},
										{
											text: '123456\n',
											style: 'invoiceNumber',
										},
										{
											text: 'Payment Date:\n',
											style: 'invoiceLabel',
										},
										{
											text: 'November 22nd 2021\n',
											style: 'invoiceDate',
										},
										{
											text: 'Payment Method:\n',
											style: 'invoiceLabel',
										},
										{
											text: 'Bank Transfer',
											style: 'paymentMethod',
										},
									],
									alignment: 'right',
									width: '40%',
								},
							],
							margin: [0, 10, 0, 20],
						},
						{
							style: 'itemsTable',
							table: {
								widths: ['*', 75, 100, 100],
								headerRows: 1,
								body: [
									[
										{
											text: 'Description',
											style: 'tableHeader',
										},
										{ text: 'QTY', style: 'tableHeader' },
										{
											text: 'Unit Price',
											style: 'tableHeader',
										},
										{ text: 'Total', style: 'tableHeader' },
									],
									['Product 1', '2', '$10.00', '$20.00'],
									['Product 2', '5', '$15.00', '$75.00'],
									['Product 3', '1', '$25.00', '$25.00'],
									[
										{
											text: 'Total',
											colSpan: 3,
											alignment: 'right',
											style: 'totalLabel',
										},
										{},
										{},
										'$120.00',
									],
								],
							},
							layout: 'lightHorizontalLines',
						},
					],
					styles: {
						logo: { fontSize: 30, bold: true, color: '#4736e7' },
						companyName: {
							fontSize: 16,
							bold: true,
							color: '#333333',
						},
						companyInfo: { fontSize: 10, color: '#555555' },
						billedToLabel: {
							bold: true,
							fontSize: 12,
							color: '#333333',
						},
						billedTo: {
							fontSize: 10,
							color: '#555555',
							lineHeight: 1.5,
						},
						invoiceLabel: {
							fontSize: 10,
							bold: true,
							color: '#333333',
						},
						invoiceNumber: { fontSize: 10, color: '#555555' },
						invoiceDate: { fontSize: 10, color: '#555555' },
						paymentMethod: { fontSize: 10, color: '#555555' },
						tableHeader: {
							bold: true,
							fontSize: 10,
							color: 'black',
						},
						totalLabel: { bold: true, fontSize: 10 },
					},
					defaultStyle: {
						columnGap: 20,
					},
				};

				pdfMake
					.createPdf(docDefinition)
					.download('styled-invoice.pdf');
			}

			button.addEventListener('click', generatePDF);
		</script>
	</body>
</html>
In the example above, the document configuration includes simple text and a line element. However, you can define a wide range of elements in your PDFs with pdfmake, including tables, lists, images, and styled text. In the next example, you’ll see how to configure a more complex document layout using pdfmake’s powerful styling and layout options.
You can test the example by running:
npx serve -l 4111 .
Convert HTML to PDF using Playwright
Playwright is a framework that provides an API to control headless Chrome, Firefox, and WebKit browsers with a single API. This allows you to automate nearly all tasks that can be done manually in a browser, including generating PDFs from web content. The difference between Playwright and html2pdf is that you need to run Playwright on your server and serve the PDF to your users.
Installing Playwright
For the Playwright example, you’ll build a small Node.js server and serve your user a PDF that gets downloaded.
-
Begin by creating a new Node project:
mkdir playwright-pdf-generation && cd playwright-pdf-generation
npm init --yes
-
After initializing the Node project, you’ll have a
package.jsonfile in your directory. Now it’s time to add Playwright to your project as a dependency:
npm install playwright
-
Your
package.jsonfile will look similar to this:
{
	"name": "playwright-pdf-generation",
	"version": "1.0.0",
	"description": "Example of how to generate a PDF with Playwright",
	"main": "index.js",
	"license": "MIT",
	"private": false,
	"dependencies": {
		"playwright": "^1.44.1"
	}
}
Using Playwright
Before you start, make sure you have the latest version of Playwright installed. If you don’t, you can update it by running:
npx playwright install
You’ll now create an index.js file where you’ll require Playwright, launch a new browser session, go to your invoice page, and save the PDF file:
// index.js

// Require Playwright.
const { chromium } = require('playwright');

(async function () {
	try {
		// Launch a new browser session.
		const browser = await chromium.launch();
		// Open a new page.
		const page = await browser.newPage();

		// Set the page content.
		await page.setContent('<h1>Our Invoice</h1>');

		// Generate PDF and store in a file named `invoice.pdf`.
		await page.pdf({ path: 'invoice.pdf', format: 'A4' });

		await browser.close();
	} catch (e) {
		console.error(e);
	}
})();
When you now run the script via node index.js, you’ll see a nicely generated PDF with the name invoice.pdf in your directory.
However, what you actually want is to serve your users a PDF when they click a download button. For this, you’ll use the http module from Node and respond with the invoice PDF when a user goes to your page on localhost:3000.
First, you need to integrate the http module in your script. The server will listen for requests on the /generate-pdf endpoint, and when accessed, it initializes Playwright’s Chromium to open a new page and set the content. Instead of writing to a file when creating the PDF, you’ll serve the buffer that’s returned from page.pdf directly by omitting the path option in the page.pdf() method. The server then sets the HTTP headers to application/pdf and sends the buffer directly to the client, ensuring the browser interprets it as a PDF file.
For non-PDF requests, provide a basic HTML page with instructions to navigate to the PDF generation endpoint:
// index.js

const { chromium } = require('playwright');
const http = require('http');

// Create an instance of the HTTP server to handle the request.
http
	.createServer(async (req, res) => {
		if (req.url === '/generate-pdf') {
			// Making sure to handle a specific endpoint.
			const browser = await chromium.launch();
			const page = await browser.newPage();

			// Set the content directly or navigate to an existing page.
			await page.setContent(`
      <!DOCTYPE html>
      <html>
      <head>
        <title>Invoice</title>
      </head>
      <body>
        <h1>Our Invoice</h1>
        <p>Details about the invoice...</p>
      </body>
      </html>
    `);

			// By removing the `path` option, you'll receive a `Buffer` from `page.pdf`.
			const buffer = await page.pdf({ format: 'A4' });

			await browser.close();

			// Set the content type so the browser knows how to handle the response.
			res.writeHead(200, { 'Content-Type': 'application/pdf' });
			res.end(buffer);
		} else {
			// Respond with a simple instruction page.
			res.writeHead(200, { 'Content-Type': 'text/html' });
			res.end(
				'<h1>Welcome</h1><p>To generate a PDF, go to <a href="/generate-pdf">/generate-pdf</a>.</p>',
			);
		}
	})
	.listen(3000, () => {
		console.log('Server is running on http://localhost:3000');
	});
Open localhost:3000 in your browser, and you’ll see the instruction page. You can then navigate to /generate-pdf to open the PDF with the invoice.
Advantages and Disadvantages
The biggest advantage of html2pdf is that it’s really easy to generate a PDF from your HTML on your client, which means you don’t need a server at all. However, the disadvantage of this approach is that html2pdf just takes a screenshot of your site and generates a PDF out of it, which means the text will look blurry when you zoom in or if you’re using a Retina display.
You can configure html2pdf to use PNGs instead of JPEGs, but this causes the size of the PDF to increase dramatically: For the same resolution where the JPEG version is just 280 KB, the PNG version is 28 MB.
To counter this, consider choosing a larger resolution to make your PDF look sharper. To do this, change the generatePDF function and add the parameters for the scale to it:
function generatePDF() {
	// Choose the element that your invoice is rendered in.
	const element = document.getElementById('invoice');
	// Choose the element and save the PDF for your user.
	html2pdf()
		.set({ html2canvas: { scale: 4 } })
		.from(element)
		.save();
}
Compared to html2pdf, pdfmake not only allows for creating PDFs programmatically with precise layout control, but it also ensures that text within the PDF is selectable and searchable, unlike the static image PDFs from html2pdf. This feature enhances the usability of the documents, especially for professional and business purposes, where text interaction is often required.
Playwright has the same advantage in that it creates an actual PDF file with text content instead of just using an image. You’ll be able to select and copy the text from the PDF, and you don’t need to worry about resolution since it’ll always be sharp. Additionally, the file size is lower; compared to the html2pdf example, Playwright’s resulting PDF is about four times smaller.
The main disadvantage of using Playwright is that you’ll need to run a server instead of generating the PDF on the client.
Conclusion
If you need something quickly and don’t want to build anything on your server to create PDF files, you’re good to go with html2pdf. However, considering the increased file size and resulting image, we recommend building a component on your server with Playwright so that you can serve nice PDFs.
And if you want to save time with an out-of-the-box solution, make sure to check out PDF Generation for PSPDFKit Document Engine, which offers support for:
-
Forms — HTML forms and inputs will be converted to fillable PDF forms, which currently isn’t possible with Playwright.
-
An HTTP API — Document Engine can be controlled via an HTTP API with a flexible authentication/authorization mechanism, making it suitable for both backend and frontend use.
-
Extensible workflows — You can combine PDF generation with other operations. For example, you can generate a document, prepend a predefined introduction page, and watermark all pages in a single API request.
PSPDFKit Document Engine combines PDF generation with powerful document operations that can streamline repetitive tasks such as merging and watermarking. Test it yourself with our free trial.
FAQ
Here are a few frequently asked questions about html to pdf conversion in Javascript.
How can I convert HTML to PDF using JavaScript?
You can convert HTML to PDF in JavaScript using various libraries such as html2pdf, pdfmake, Playwright, and others. These libraries allow you to render HTML content and export it as a PDF document.
How do I customize layout and style when converting from HTML?
The layout and style of the PDF can be customized by using CSS within your HTML or by leveraging options provided by the libraries that you are using for the conversion (eg:setting margins, page size, and font styles in jsPDF).
What are some of the limitations in using JavaScript for HTML to PDF conversion?
While JavaScript libraries are powerful, they can have limitations such as handling large documents, complex CSS, and ensuring cross-browser compatibility. Each library may also have specific constraints, so it’s important to choose one that fits your needs.

Hulya is a frontend web developer and technical writer at PSPDFKit who enjoys creating responsive, scalable, and maintainable web experiences. She’s passionate about open source, web accessibility, cybersecurity privacy, and blockchain.