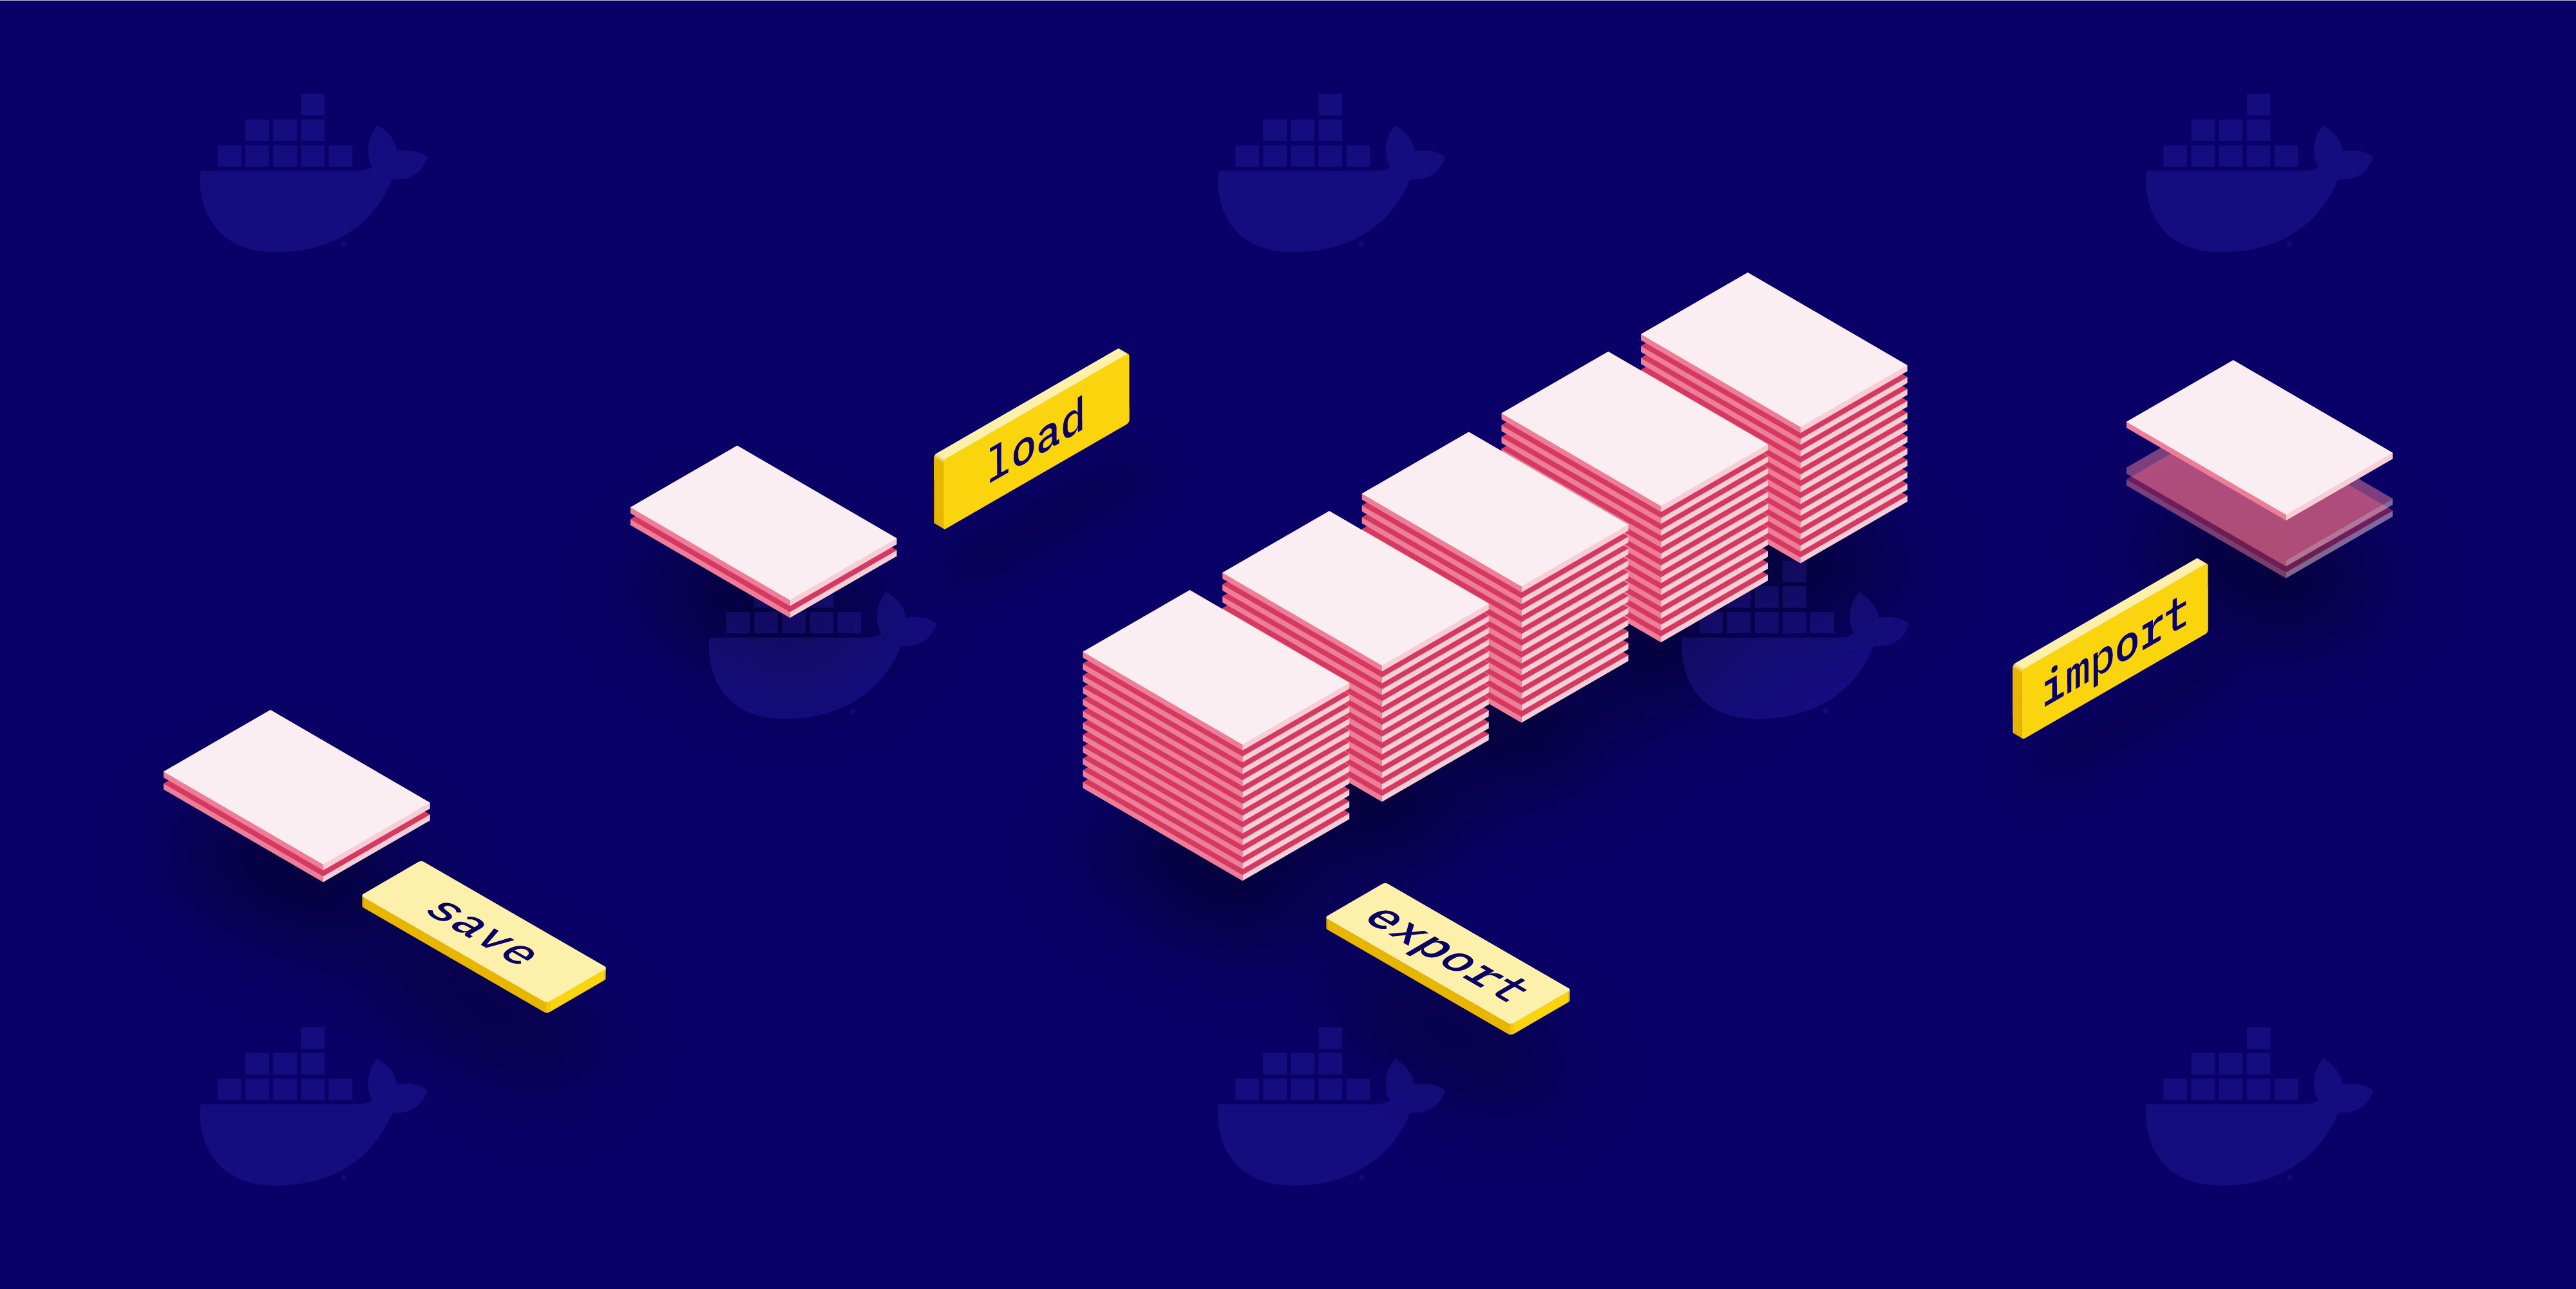
Docker Image Import and Export vs. Docker Container Load and Save
 William Meleyal

This article was first published in October 2019 and was updated in June 2024.
This post will look at the differences between Docker’s import/export and load/save commands. It’s intended for relative newcomers to Docker and covers some of the basics, such as the difference between Docker images and Docker containers. By the end of the post, you’ll have a good understanding of getting both images and containers into and out of your local Docker registry. And if the Docker command help (shown below) is particularly confusing for you, then read on!
$ docker --help | grep -E "(export|import|load|save)"
  export      Export a container\'s filesystem as a tar archive
  import      Import the contents from a tarball to create a filesystem image
  load        Load an image from a tar archive or STDIN
  save        Save one or more images to a tar archive (streamed to STDOUT by default)
A Basic Docker App
Let’s say you’ve created an app and you’re ready to package it with to share it with the world. You’ll do this by creating a Docker image. And for that, you’ll need a file named Dockerfile that looks like this:
FROM busybox
CMD echo $((40 + 2))
First, you need to build the image:
$ docker build --tag calc .
$ docker image ls

REPOSITORY          TAG                 IMAGE ID            CREATED             SIZE
calc                latest              5f3e5352a6e3        7 seconds ago       1.22MB
busybox             latest              db8ee88ad75f        7 days ago          1.22MB
Then, verify that it runs:
$ docker run calc
42
OK, it works. But what if you send it to your colleague Alice? This is what the docker save command is for:
$ docker save calc > calc.tar
$ rsync calc.tar alice@work:/tmp/
Alice imports your image and runs it, logically expecting the docker import command to serve the purpose:
$ docker import calc.tar calc
$ docker run calc
docker: Error response from daemon: No command specified.
See 'docker run --help'.Oof. What happened here? In this contrived example, you might have noticed you ran docker save, while Alice ran docker import. Why does Docker have two seemingly similar but incompatible ways of doing things? Read on to find out!
Saving and Loading Images
save and load work with Docker images. A Docker image is a kind of template, built from a Dockerfile, that specifies the layers required to build and run an app.
This simple Dockerfile has two instructions corresponding to two layers. The first creates a layer from the busybox image (pulled from Docker Hub), which is an embedded Linux distro. The second is the command you want to run within that environment:
FROM busybox
CMD echo $((40 + 2))
Saving
To share or back up the Docker image, use the docker save command. The documentation describes save as follows:
docker save— Save one or more images to a tar archive (streamed to STDOUT by default)
Save your image and inspect its contents (you could instead use docker inspect here, but it can be useful to know that the image just boils down to a list of files):
$ docker save calc > calc.tar
$ mkdir calc && tar -xf calc.tar -C calc
$ tree calc
calc
├── 41bfa732a8db4acc9d0ac180f869e1e253176b84748ba5a64732bd5b2ce8 # <- busybox layer
│   ├── VERSION
│   ├── json
│   └── layer.tar
├── 889226dbb27fd9ef2765ed48724bf22eb86b48bb984c2edbdb6f3e021e70.json # <- cmd layer
├── manifest.json
└── repositories

1 directory, 6 files
The image has two layers, as expected. The BusyBox layer is more complicated, and as such, contains various files and folders, but the CMD layer is just a single JSON configuration file. This file has a Cmd entry, which is the same CMD specified in the Dockerfile — it’s just prefixed by Docker so that it runs correctly in the environment:
{
  ...
  "config": {
    ...
    "Cmd": ["/bin/sh", "-c", "echo $((40 + 2))"],
    ...
  },
  ...
}
Now that you understand what images are, have inspected their internals, and know how to save them, it’s time move on to cover loading images into Docker.
Loading
To load an existing image, use the load command. The documentation describes load as follows:
docker load— Load an image from a tar archive or STDIN
To test the saved image, first remove the original calc image from your local Docker registry:
$ docker image ls
REPOSITORY          TAG                 IMAGE ID            CREATED             SIZE
calc                latest              c93044af5b09        7 minutes ago       1.22MB
busybox             latest              19485c79a9bb        4 weeks ago         1.22MB
$ docker image rm c93044af5b09 19485c79a9bb
...
Then, load the calc image from the saved TAR file:
$ docker load < calc.tar
0d315111b484: Loading layer [==================================>]  1.441MB/1.441MB
Loaded image: calc:latest
Checking the local images, you’ll see that calc is present. Note that the busybox image isn’t there, as it’s now contained within calc:
$ docker image ls
REPOSITORY          TAG                 IMAGE ID            CREATED             SIZE
calc                latest              889226dbb27f        2 months ago        1.22MB
Running the imported calc image, you can see it works. Finally, a portable calculator in only a couple hundred lines of Docker configuration:
$ docker run calc
42
Exporting Containers
export works with Docker containers. If Docker image is the template describing your app, containers are the resulting environment created from the template, or the place where your app actually runs. Containers run inside the Docker Engine (or another runtime), which abstracts away the host OS/infrastructure, allowing your apps to “run anywhere.”
Docker automatically creates a container when you run an image. If you check your list of containers, you’ll see calc already listed there. As your app just starts, prints, and then exits, you need to pass the -all flag to also list stopped containers:
$ docker container ls --all
CONTAINER ID        IMAGE               COMMAND                  CREATED
a8b14091b4e7        calc                '/bin/sh -c echo $(…'    2 minutes ago
Exporting
To export a container, use the docker export command. The documentation describes export as follows:
docker export— Export a container’s filesystem as a tar archive
Export your container and inspect its contents:
$ docker export a8b14091b4e7 > calc-container.tar
$ mkdir calc-container && tar -xf calc-container.tar -C calc-container
$ tree -L 1 calc-container
calc-container
├── bin
├── dev
├── etc
├── home
├── proc
├── root
├── sys
├── tmp
├── usr
└── var

10 directories, 0 files
As you can see, this is just a regular old Linux file system — the BusyBox file system created when running your image, to be precise.
Why is this useful? Imagine your app is more complicated and takes a long time to build, or it generates a bunch of compute-intensive build artifacts. If you want to clone or move it, you could rebuild it from scratch from the original image, but it would be much faster to export a current snapshot of it, similar to how you might use a prebuilt binary as opposed to compiling one yourself.
Importing Images
While save and load are easy to understand, both accepting and resulting in an image, the relationship between import and export is a little harder to grok.
There’s no way to “import a container” (which wouldn’t make sense, as it’s a running environment). As you saw above, export gives you a file system. import takes this file system and imports it as an image, which can run as-is or serve as a layer for other images. Thus, docker export is similar to an operating system snapshot, and the docker import action resembles restoring from backup.
To import an exported container as an image, use the docker import command. The documentation describes import as follows:
docker import— Import the contents from a tarball to create a filesystem image.
Import your container’s file system image and see what it can do:
$ docker import calc-container.tar calcfs:latest
$ docker image ls
REPOSITORY          TAG                 IMAGE ID            CREATED              SIZE
calcfs              latest              27ebbdf82bf8        About a minute ago   1.22MB
calc                latest              889226dbb27f        2 months ago         1.22MB
$ docker run -t -i calcfs /bin/sh
/ # ls
bin   dev   etc   home  proc  root  sys   tmp   usr   var
/ # echo "we have a shell!"
we have a shell!
/ #
As you can see, Docker happily runs your exported file system, which you can then attach to and explore.
Conclusion
To summarize what you’ve learned:
-
docker saveworks with Docker images. It saves everything needed to build a container from scratch. Use this command if you want to share an image with others. -
docker loadworks with Docker images. Use this command if you want to run an image exported withsave. Unlikepull, which requires connecting to a Docker registry,loadcan import from anywhere (e.g. a file system, URLs). -
docker exportworks with Docker containers, and it exports a snapshot of the container’s file system. Use this command if you want to share or back up the result of building an image. -
docker importworks with the file system of an exported container, and it imports it as a Docker image. Use this command if you have an exported file system you want to explore or use as a layer for a new image.
When I was new to Docker, this caused me some confusion. Had I RTFM’d a little more, digging into the subcommands, I might have noticed that export only applies to containers, while import, load, and save apply to images:
$ docker container --help | grep -E "(export|import|load|save)"
  export      Export a container\'s filesystem as a tar archive

$ docker image --help | grep -E "(export|import|load|save)"
  import      Import the contents from a tarball to create a filesystem image
  load        Load an image from a tar archive or STDIN
  save        Save one or more images to a tar archive (streamed to STDOUT by default)
The result of all this learning is that PSPDFKit for Web is now available on both Docker Hub and npm, meaning first-class PDF support for your web apps is only a docker pull or npm install away.


