How to Access Native Code from WebView2 with WinAppSDK/WinUI 3

At PSPDFKit, we continuously strive to add support for the latest technologies on the market. As part of this effort, we’ve been researching the Windows App SDK (WinAppSDK), which includes WinUI 3. WinAppSDK is the successor of UWP and will shape the future of Windows app development. This post provides step-by-step instructions for accessing native code using WebView2 and WinAppSDK.
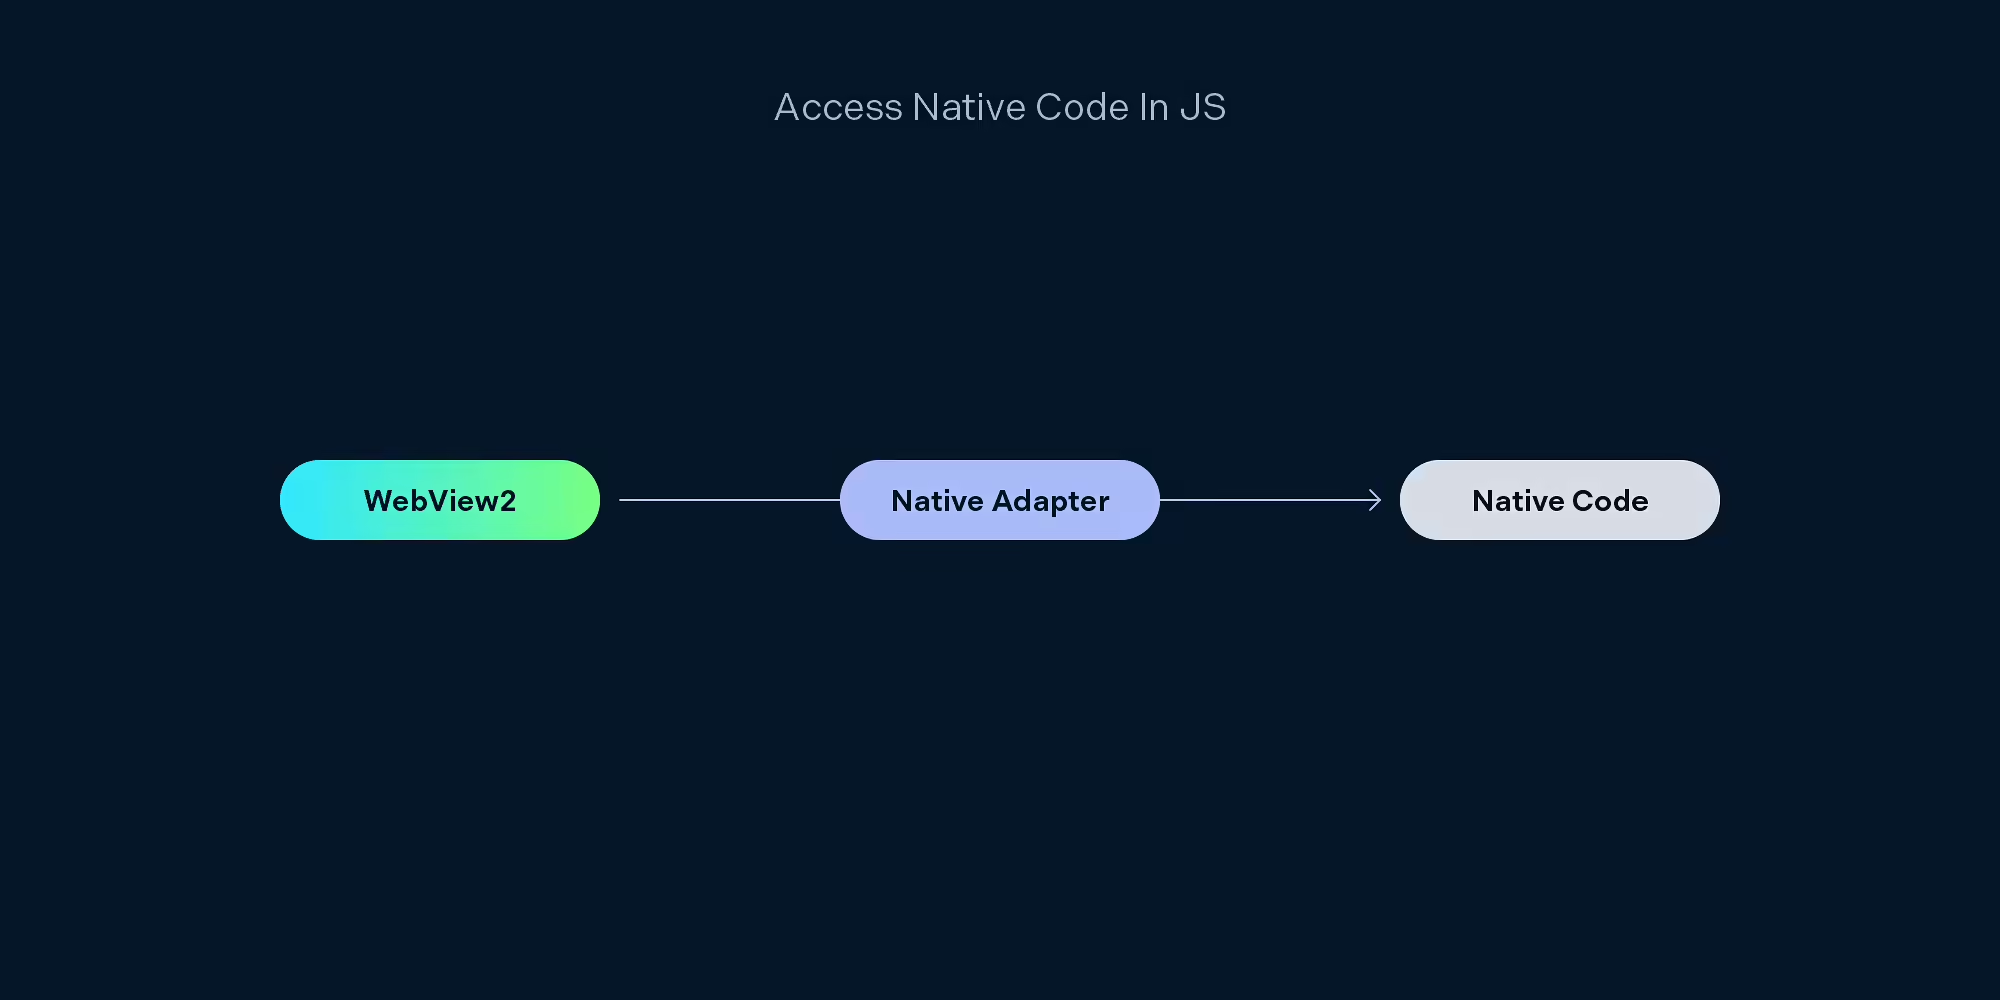
This post will walk through creating a WinAppSDK app to host a local HTML file, which will in turn access the Add function defined in the C++/WinRT project to add two numbers and display the result. We deliberately chose this simple example to both demonstrate how functions are used in programming and keep the blog post focused on the interop between JavaScript and C#.
You’ll create three projects:
-
AccessNativeCodeInJS — This is the WinAppSDK project you’ll use to host WebView2 for the local HTML.
-
NativeCode — This project will have the APIs you want to access in JavaScript hosted in WebView2.
-
NativeAdapter — This is the wrapper of the NativeCode project in which you’ll add the WebView2 WinRT JS Projection tool — wv2winrt — to access native code in JavaScript. wv2winrt generates the files necessary for your JavaScript code to access the native code.

WinUI 3 is the native UI platform component that ships with the Windows App SDK. Hence, WinUI 3 and Windows App SDK are used synonymously in many places.
Setting Up the Projects
These next sections will outline the various steps required to create your projects.
Creating a New WinUI 3 Project — AccessNativeCodeInJS
-
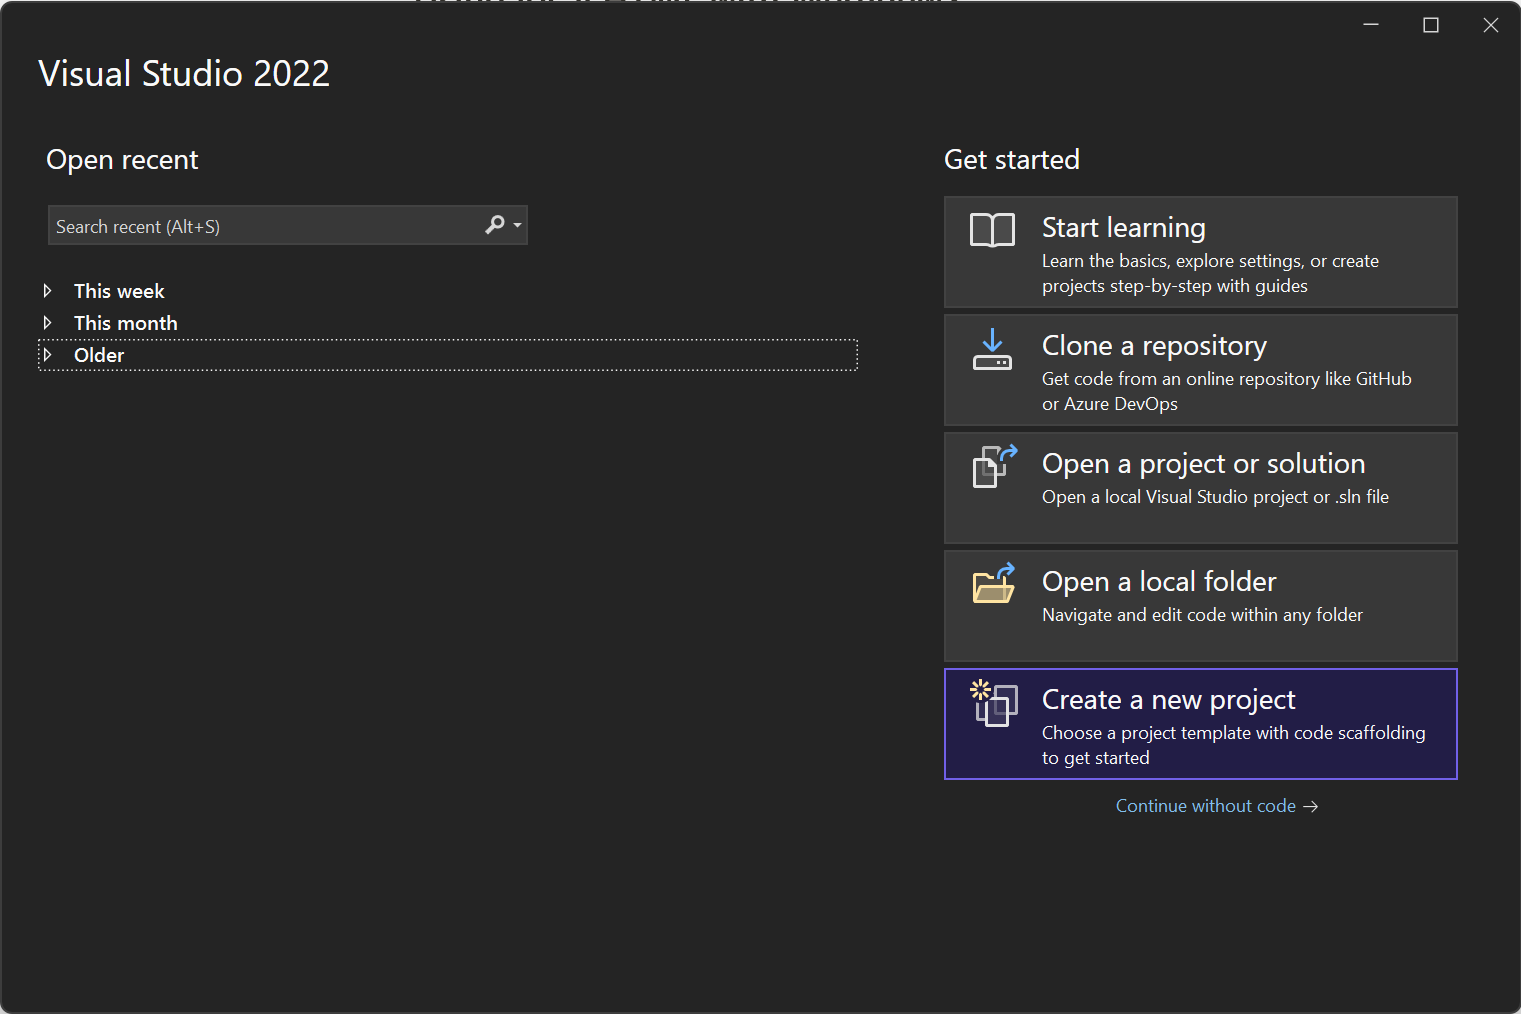
Open Visual Studio and click Create a new project.
-
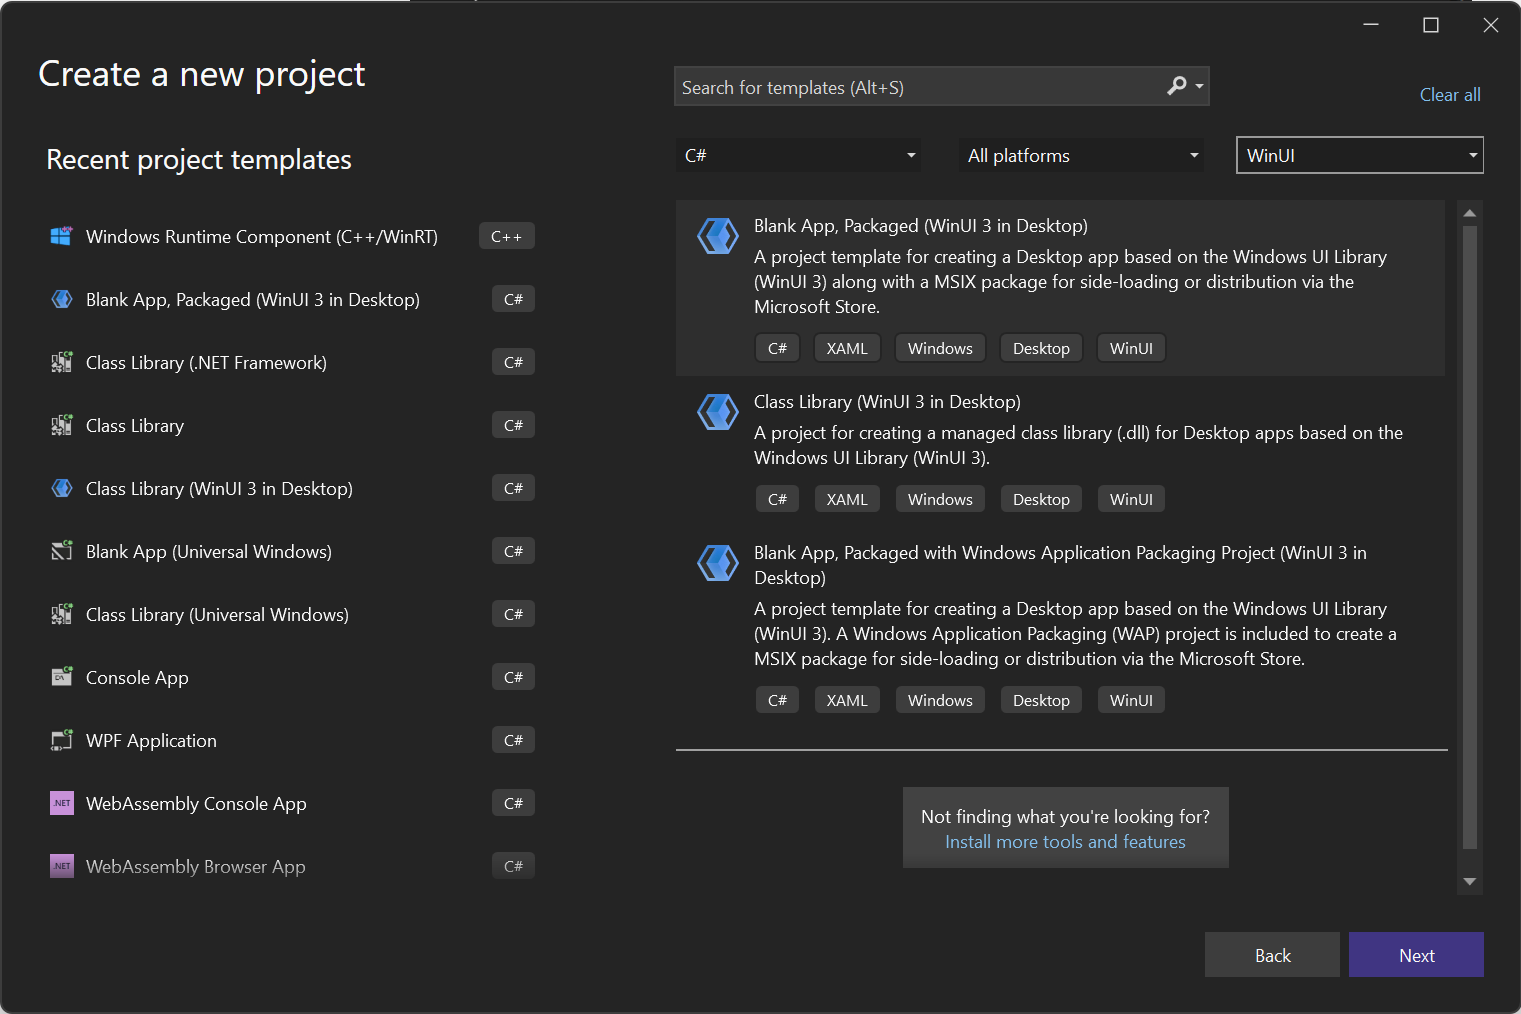
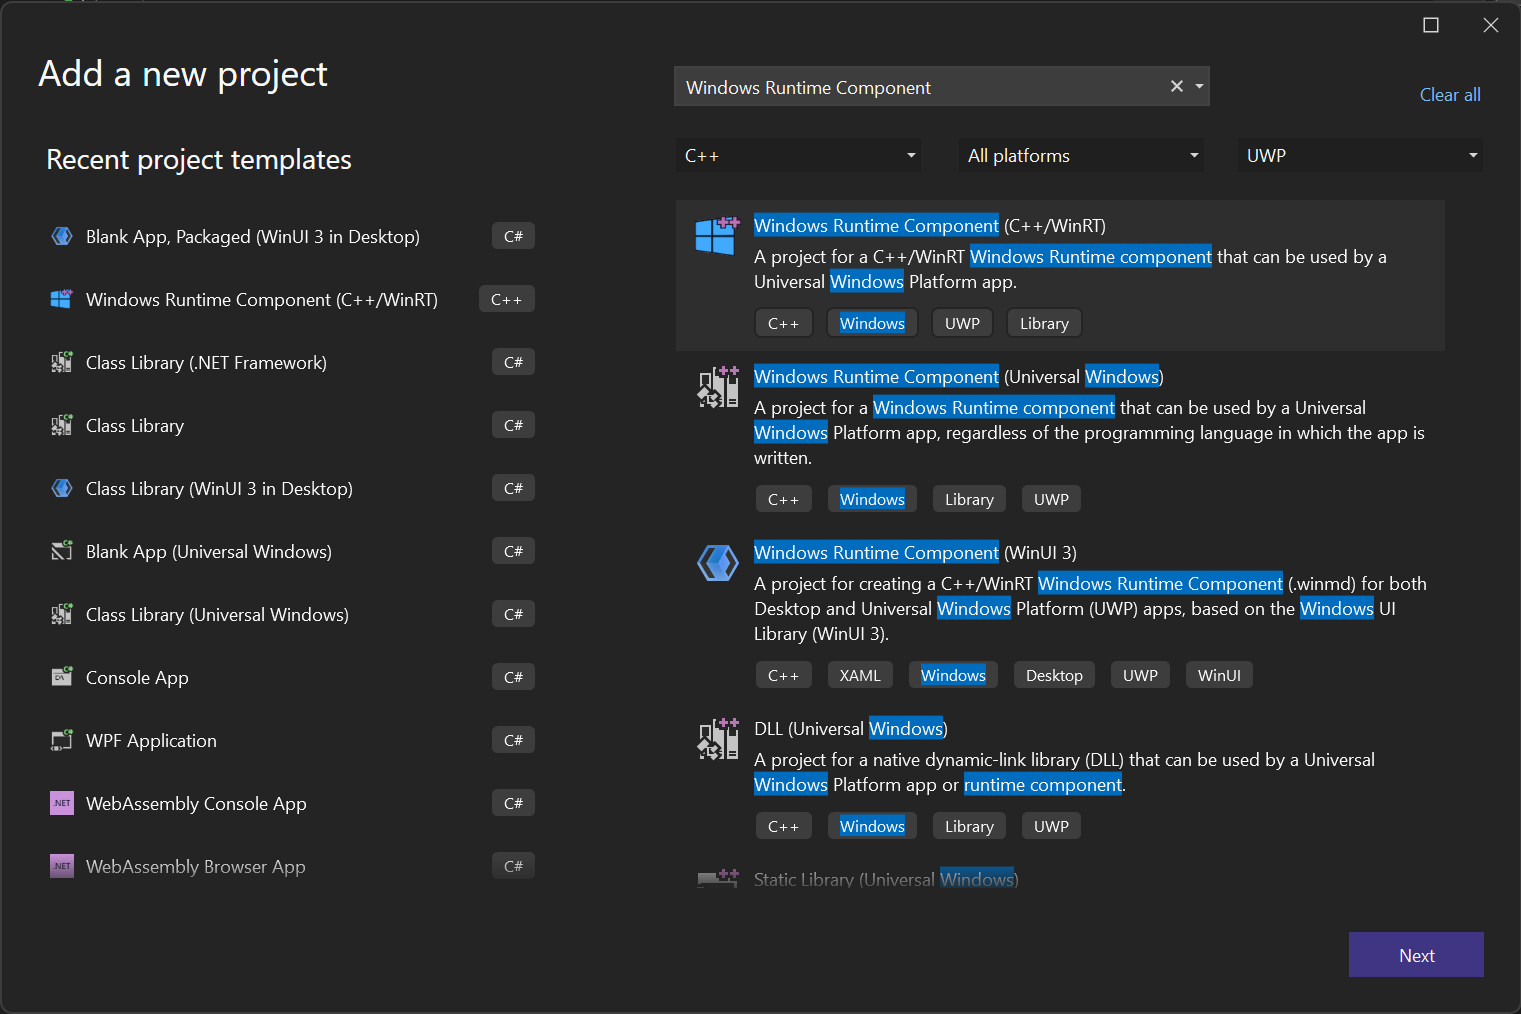
Search for Blank App, Packaged (WinUI 3 in Desktop) and click Next.
-
Under the project name, type AccessNativeCodeInJS. Then press Enter.
-
Once the solution is created, the project tree will look like what’s shown below.
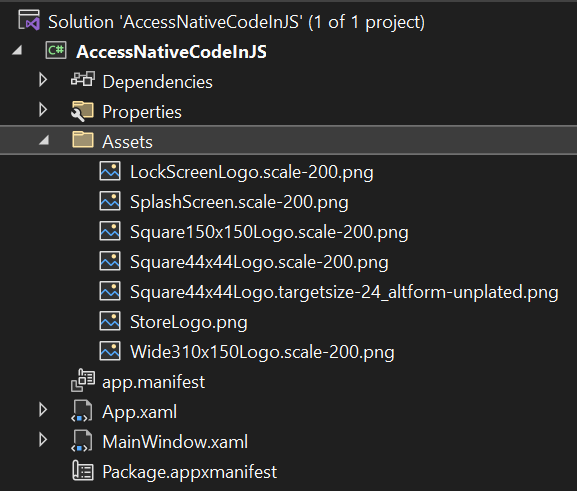

If the project tree doesn’t look like the image above, ensure you selected the correct project template, as highlighted in second point of this step.
-
Double-click the project name to access the project file. Then you’ll see the
TargetFramework, which you’ll need to note, as you’ll use the same version while creating the other projects. For us, it wasnet6.0-windows10.0.19041.0, i.e.10.0.19041.0. -
Right-click Assets and select New Item. In the dialog that’s presented, search for HTML Page, rename it to
index.html, and click Add. -
From the context menu of the
index.htmlfile, select Properties and update the Build Action to Content. -
Add the
WebView2control toMainWindow.xaml, and create a virtual mapping of the local folder, Assets, usingCoreWebView2.SetVirtualHostNameToFolderMappingto hostindex.html.
<!--MainWindow.xaml-->
<Window
    x:Class="AccessNativeCodeInJS.MainWindow"
    xmlns="http://schemas.microsoft.com/winfx/2006/xaml/presentation"
    xmlns:x="http://schemas.microsoft.com/winfx/2006/xaml"
    xmlns:local="using:AccessNativeCodeInJS"
    xmlns:d="http://schemas.microsoft.com/expression/blend/2008"
    xmlns:mc="http://schemas.openxmlformats.org/markup-compatibility/2006"
    mc:Ignorable="d">
    <Grid>
        <Grid.RowDefinitions>
            <RowDefinition Height="*"/>
        </Grid.RowDefinitions>
        <WebView2 x:Name="webView2"/>
    </Grid>
</Window>
// MainWindow.xaml.cs
using Microsoft.UI.Xaml;
using Microsoft.Web.WebView2.Core;
using System;

namespace AccessNativeCodeInJS
{
    public sealed partial class MainWindow : Window
    {
        public MainWindow()
        {
            this.InitializeComponent();
            webView2.Loaded += WebView2_Loaded;
        }

        private async void WebView2_Loaded(object sender, RoutedEventArgs e)
        {
			    // Ensure the `CoreWebView2` object has been initialized.
            await webView2.EnsureCoreWebView2Async();
            webView2.CoreWebView2.SetVirtualHostNameToFolderMapping(hostName: "pspdfkit",
                                                       folderPath: "Assets",
                                                       accessKind: CoreWebView2HostResourceAccessKind.Allow);

            webView2.Source = new Uri("https://pspdfkit/index.html");
        }
    }
}
Creating a New C++/WinRT Project — NativeCode
-
In the context menu of the solution, click Add > New Project.
-
Search for and select Windows Runtime Component (C++/WinRT) and click Next.
-
Name the project NativeCode, and click Create.
-
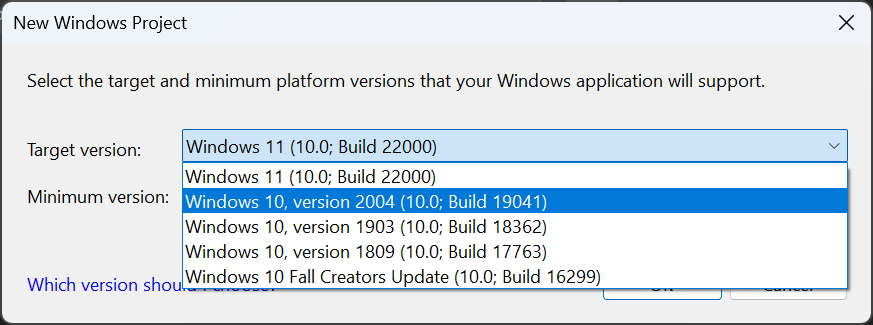
Select the same target platform versions as those of AccessNativeCodeInJS — i.e.
10.0.19041.0— and press Enter.
-
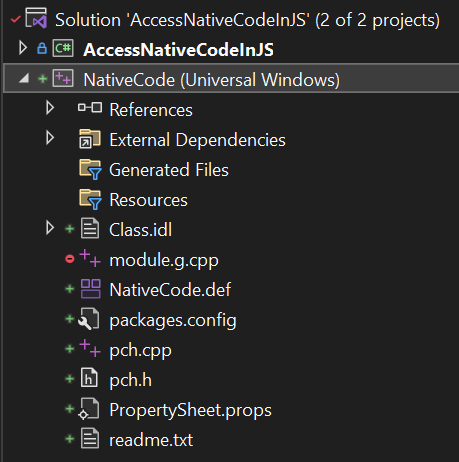
Now the solution tree will look like what’s shown below.
-
Rename
Class.idltoPlayWithNumbers.idl. This will automatically rename the relatedClass.handClass.cppfiles. -
To rename the runtime class and add an
Addfunction, replace the contents ofPlayWithNumbers.idland its corresponding header and CPP files with the following code:
// PlayWithNumbers.idl
namespace NativeCode
{
    runtimeclass PlayWithNumbers
    {
        PlayWithNumbers();
        Int32 Add(Int32 number1, Int32 number2);
    }
}
// PlayWithNumbers.h
#pragma once

#include "PlayWithNumbers.g.h"

namespace winrt::NativeCode::implementation
{
    struct PlayWithNumbers : PlayWithNumbersT<PlayWithNumbers>
    {
        PlayWithNumbers() = default;

        int32_t Add(int32_t num1, int32_t num2);
    };
}

namespace winrt::NativeCode::factory_implementation
{
    struct PlayWithNumbers : PlayWithNumbersT<PlayWithNumbers, implementation::PlayWithNumbers>
    {
    };
}
// PlayWithNumbers.cpp
#include "pch.h"
#include "PlayWithNumbers.h"
#include "PlayWithNumbers.g.cpp"

namespace winrt::NativeCode::implementation
{
    int32_t PlayWithNumbers::Add(int32_t num1, int32_t num2)
    {
        return num1 + num2;
    }
}
Creating Another C++/WinRT Project — NativeAdapter
-
Create another Windows Runtime Component (C++/WinRT) project and name it NativeAdapter. Then, follow the first four steps in the section above.
-
The updated solution tree will look like what’s shown below.

-
Delete the default class added to the project,
Class.idl. -
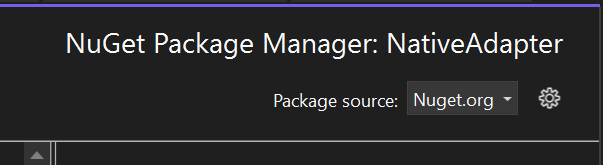
Under the Manage NuGet Packages context menu item, make sure the Package source is set to Nuget.org. If it doesn’t exist, create one using this source.
-
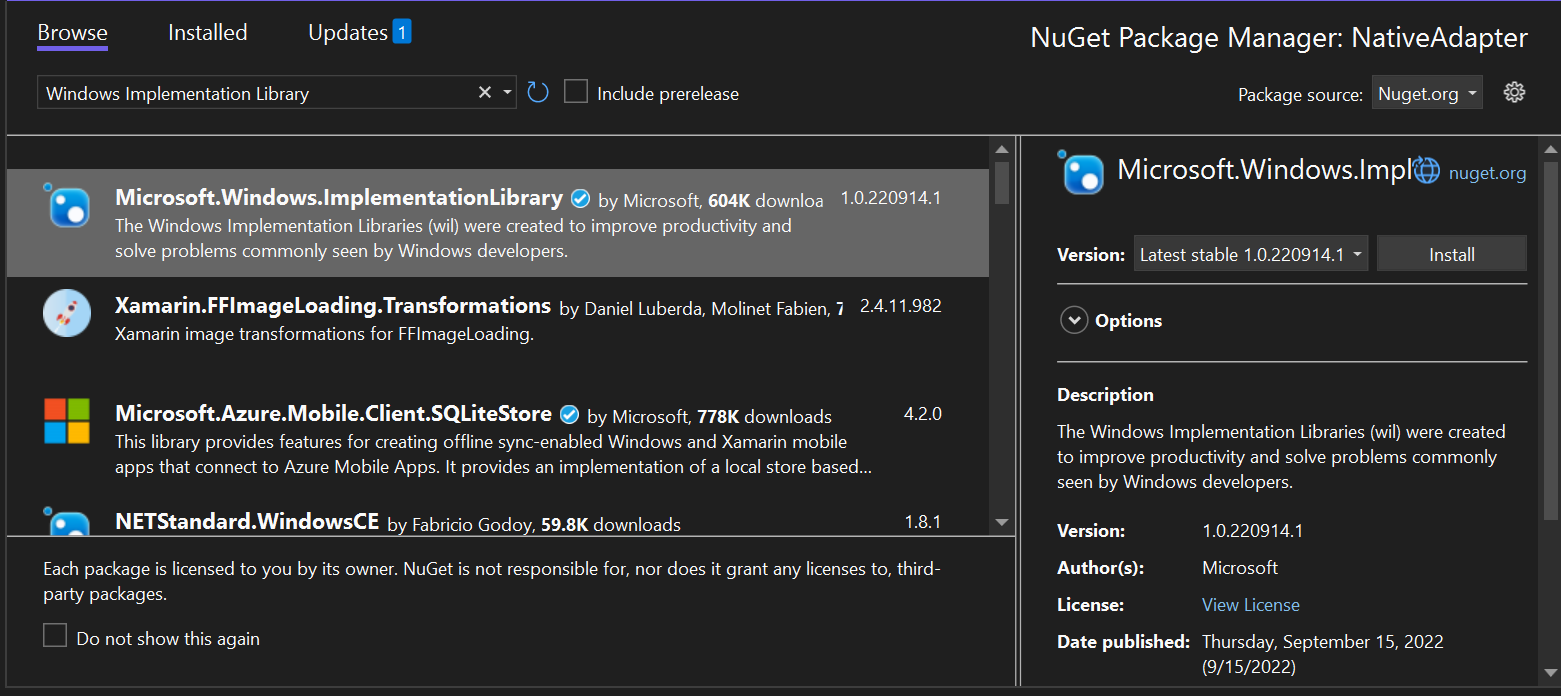
Browse for the Microsoft.Windows.ImplementationLibrary NuGet package and install the latest version. The Windows Implementation Library (WIL) is a header-only C++ library to make using Component Object Model (COM) coding for Windows easier. It provides readable, type-safe C++ interfaces for Windows COM coding patterns.
-
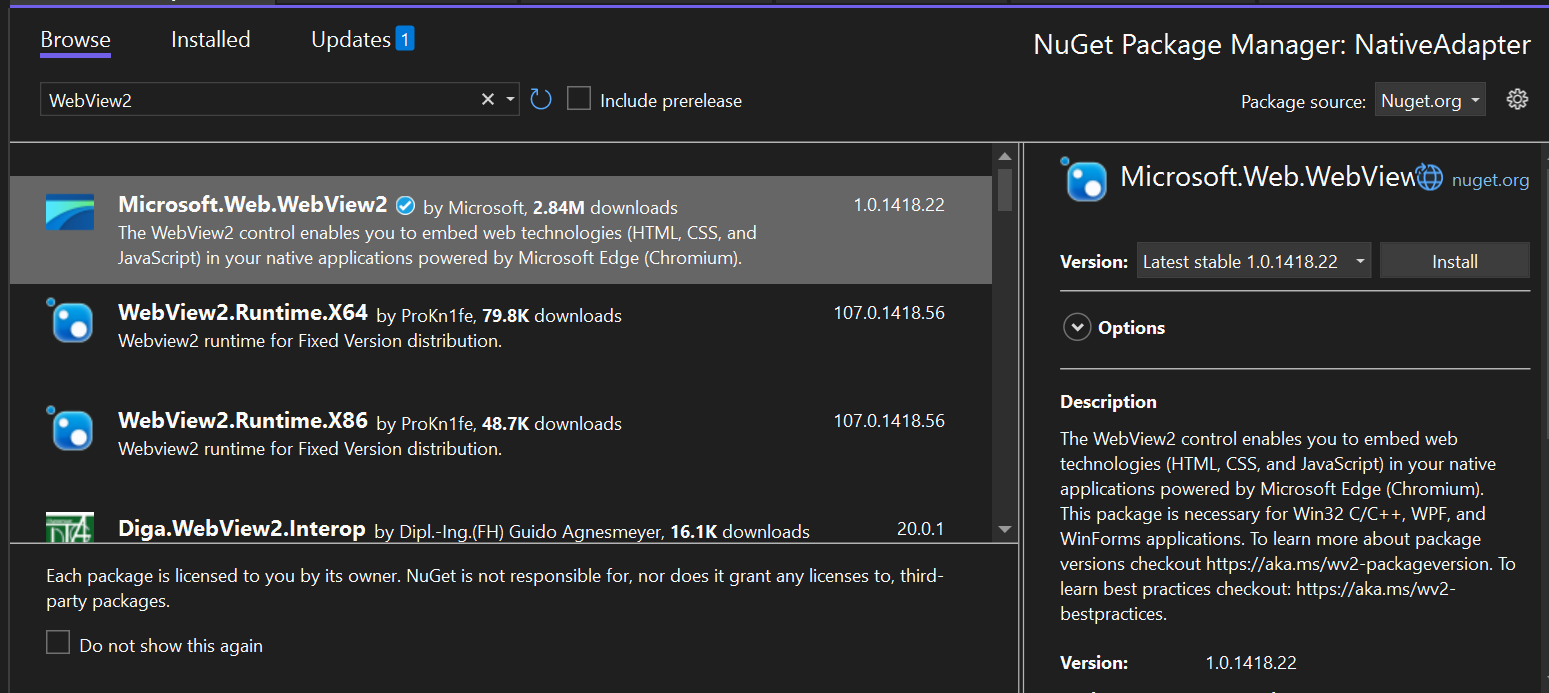
Browse for the Microsoft.Web.WebView2 NuGet package and install the latest version of it as well.
-
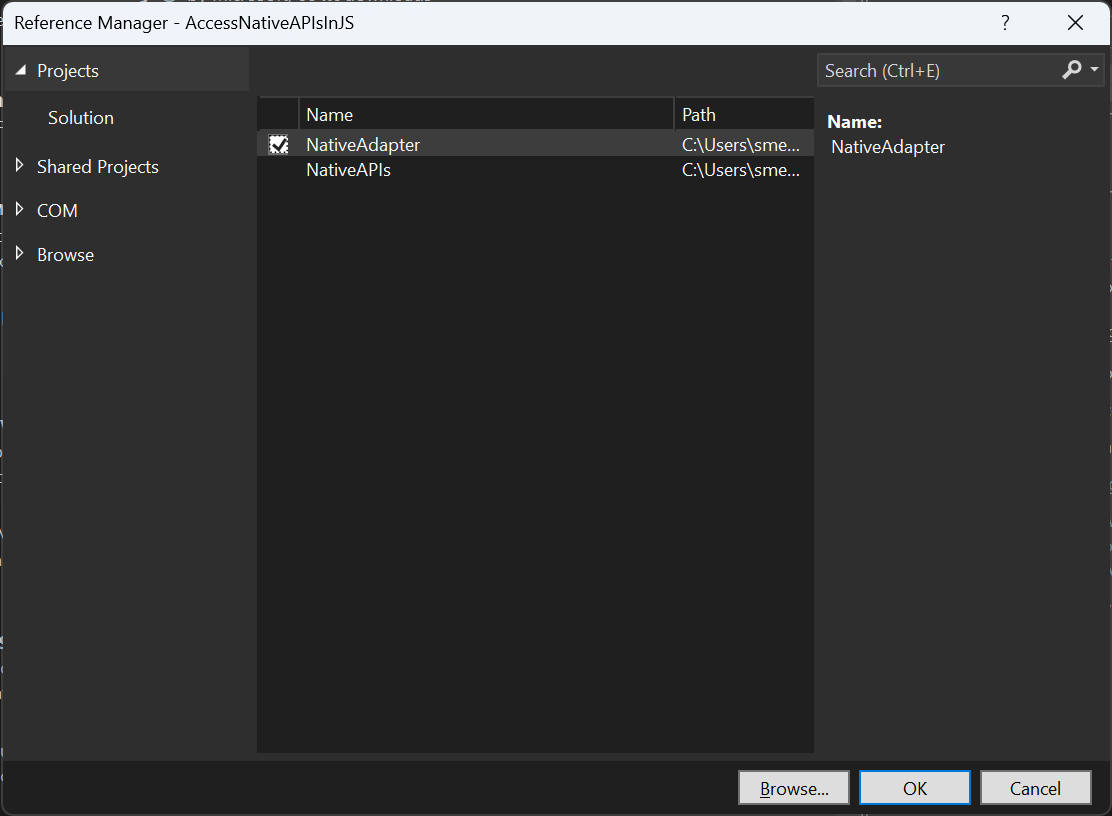
Right-click References. Then, click Add Reference… to add a reference to the NativeCode project.
-
From the context menu of NativeAdapter, select Properties > Common Properties. Click Include filters and add
NativeCode, which is the namespace for accessing APIs in JavaScript. Then, update the properties so that the dialog looks like what’s shown below.
You can use the command-line help to find more information about the parameters of wv2winrt.exe.
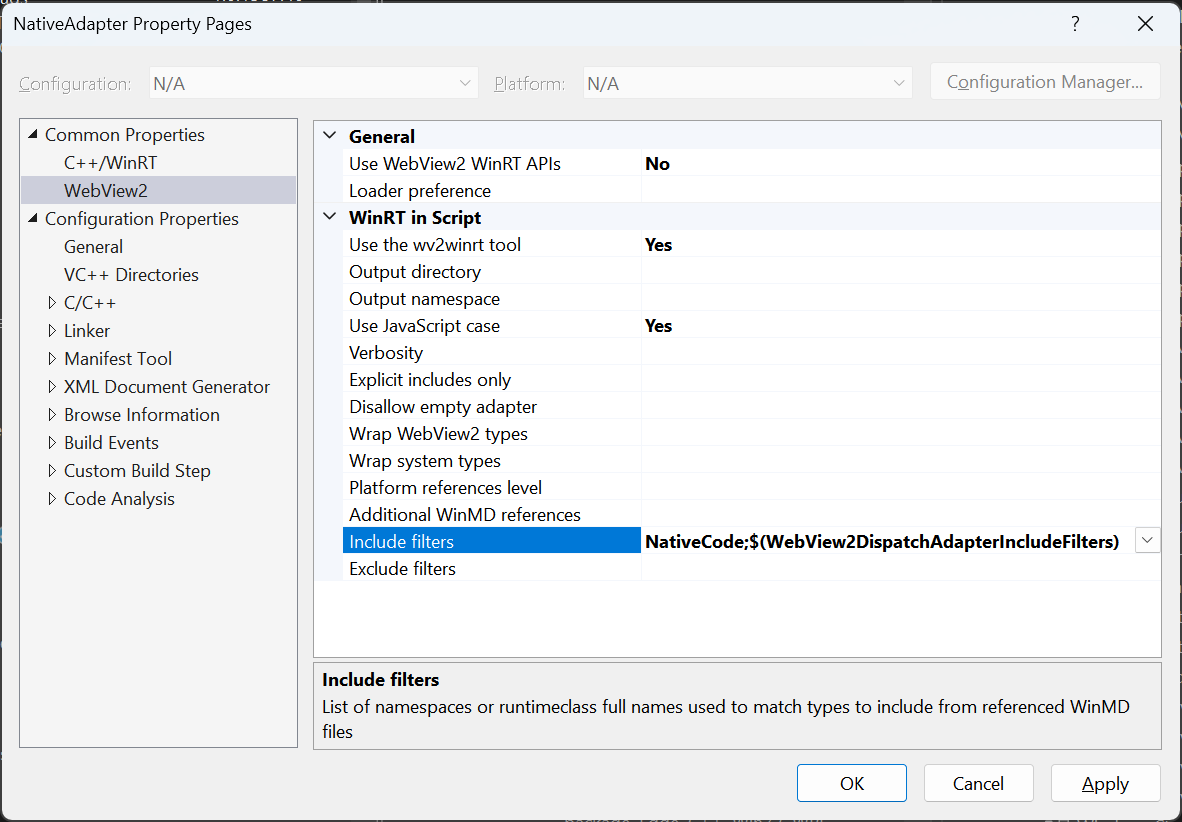
The
$(WebView2DispatchAdapterIncludeFilters)part in the Include filters part of the image above is generated automatically.
-
Build the NativeAdapter project to generate the required files used in the AccessNativeCodeInJS project.
Adding a NativeAdapter Reference to AccessNativeCodeInJS
-
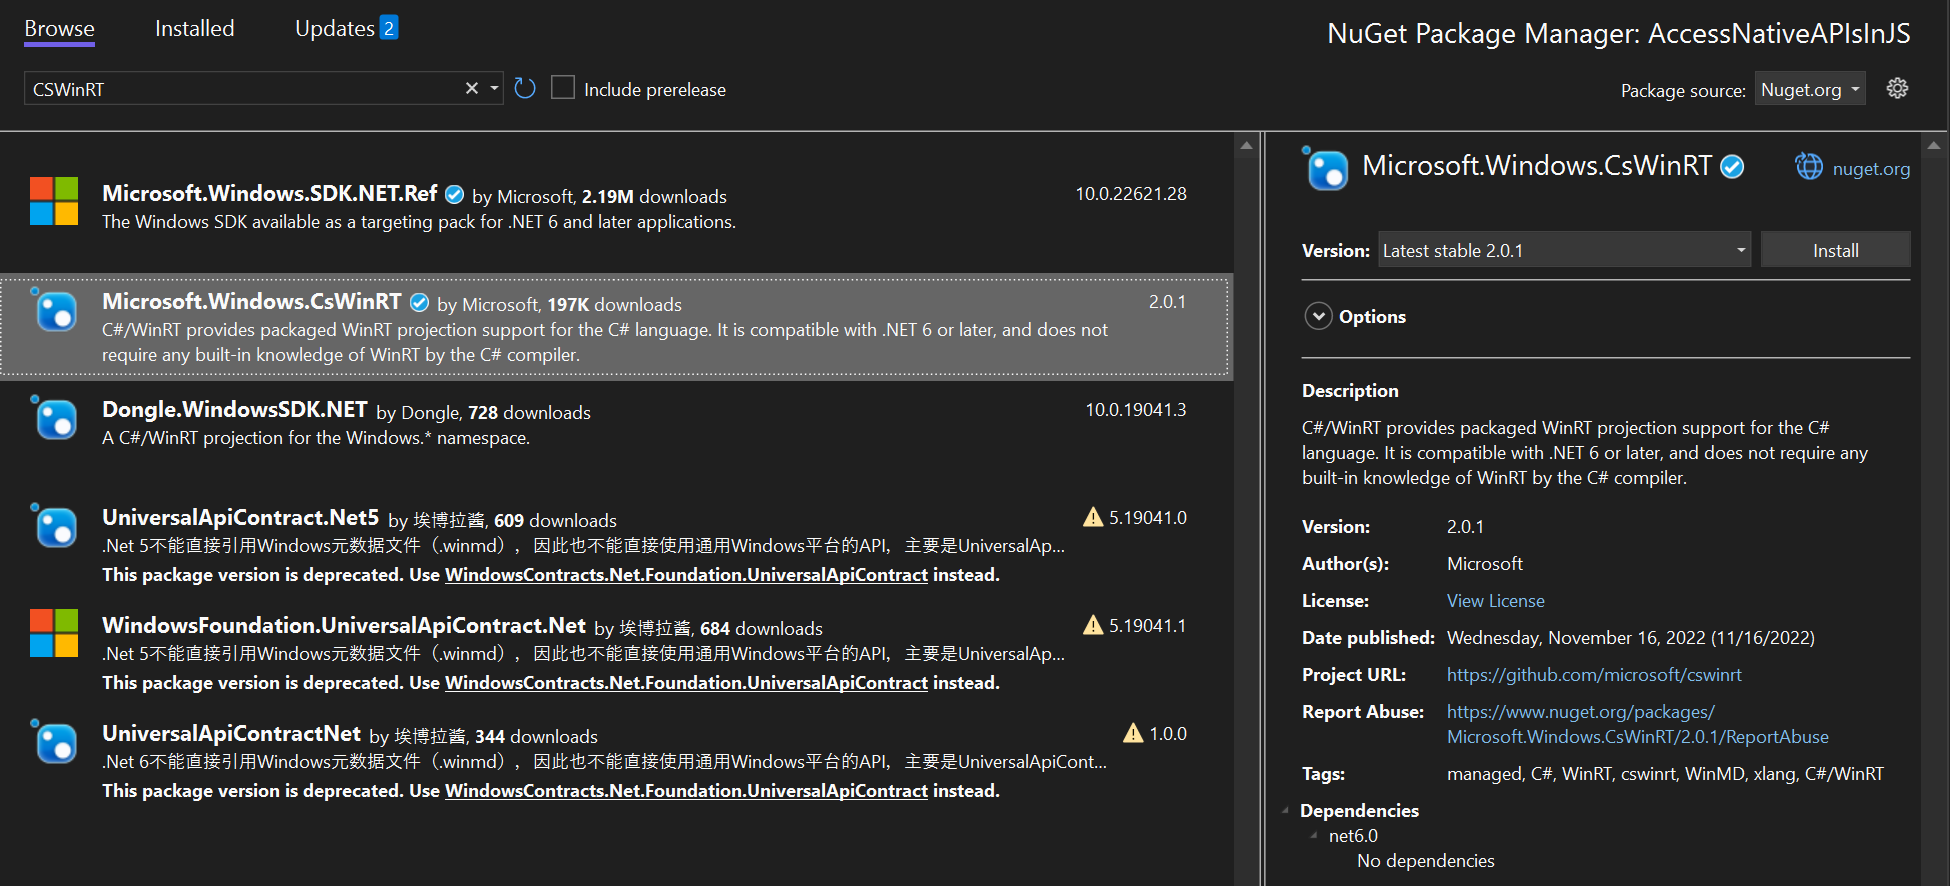
To make the WinAppSDK project understand the C++/WinRT reference, add the Microsoft.Winows.CsWinRT NuGet package. To do this, from the context menu of the AccessNativeCodeInJS project, click Manage NuGet Packages…, which installs CSWinRT.
-
Under AccessNativeCodeInJS, in the context menu of Dependencies, click Add Project Reference… to add a reference to NativeAdapter.
-
Double-click the AccessNativeCodeInJS project to access its project file. Add the following lines before the closing project tag,
</Project>, and after all the otherPropertyGrouptags in the file:
<PropertyGroup>
    <CsWinRTIncludes>NativeAdapter</CsWinRTIncludes>
</PropertyGroup>
Calling APIs from NativeCode in JavaScript Hosted in AccessNativeCodeInJS
-
Replace the
WebView2_Loadedfunction inMainWindow.xaml.cswith the code below.
Here, you create a DispatcherAdapter object and add it to WebView2 to inject a native object into web:
// In MainWindow.xaml.cs
private async void WebView2_Loaded(object sender, RoutedEventArgs e)
{
    await webView2.EnsureCoreWebView2Async();

		// Add the following two lines.
    var dispatchAdapter = new NativeAdapter.DispatchAdapter();
    webView2.CoreWebView2.AddHostObjectToScript("NativeCode", dispatchAdapter.WrapNamedObject("NativeCode", dispatchAdapter));
		// End of added lines.

    webView2.CoreWebView2.SetVirtualHostNameToFolderMapping(hostName: "pspdfkit",
                                               folderPath: "Assets",
                                               accessKind: CoreWebView2HostResourceAccessKind.Allow);
    webView2.Source = new Uri("https://pspdfkit/index.html");
}
-
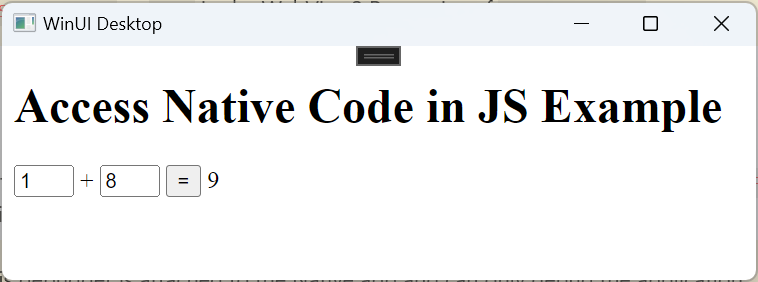
In the
index.htmlfile:a. Create a user interface to accept two numbers and display the result.
b. Add a
scripttag at the end of the body to access theDispatcherAdapterobject and create an object of thePlayWithNumbersclass. In theaddmethod, callplayWithNumbers.addfromNativeCodeto add the two numbers and display the result.The resulting HTML file will look like this:
<!DOCTYPE html>

<html lang="en" xmlns="http://www.w3.org/1999/xhtml">
	<head>
		<meta charset="utf-8" />
		<title>Access Native Code in JS Example</title>
	</head>
	<body>
		<h1>Access Native Code in JS Example</h1>
		<input
			type="number"
			id="Number1"
			value="1"
			style="width:2rem"
		/>
		<label>+</label>
		<input
			type="number"
			id="Number2"
			value="4"
			style="width:2rem"
		/>
		<button onclick="add()">=</button>
		<label id="result">5</label>

		<script>
			const nativeCode =
				chrome.webview.hostObjects.sync.NativeCode;
			const playWithNumbers = new nativeCode.PlayWithNumbers();

			function add() {
				let num1 = document.getElementById('Number1')
					.valueAsNumber;
				let num2 = document.getElementById('Number2')
					.valueAsNumber;
				document.getElementById(
					'result',
				).innerHTML = playWithNumbers.add(num1, num2);
			}
		</script>
	</body>
</html>
Note that
AddfromPlayWithNumbershas an uppercase letterA, whereas when calling it in JavaScript, you use a lowercase lettera. This is because you setUse JavaScript casetoYesin the WebView2 Properties ofNativeAdapter.
Building and Running the Application
Press Control-F5 to build and run the application without the debugger attached, or just press F5 to run the application with the debugger attached.
The debugger is attached to the native app and can only debug the application code, and not the JavaScript code inside WebView2. To debug the code from WebView2, refer to the Microsoft documentation.
Conclusion
This blog post demonstrated how to access native code from WebView2 using the Windows App SDK (WinAppSDK) and WinUI 3. By following the step-by-step instructions provided, you created a WinAppSDK app that hosts a local HTML file and accesses native code defined in a C++/WinRT project.
You’re now able to successfully integrate WebView2 and WinAppSDK to leverage the power of native code in your JavaScript-based Windows applications. In addition to calling JavaScript from native Windows code, it’s also possible to call native code from JavaScript. This allows full utilization of the performance of native code and access to the capabilities of Windows. Microsoft makes this even easier by providing the wv2winrt tool, which generates the necessary code to enable this interoperability.
References

Shantanu likes to explore and experiment — be it with technology, traveling, food, or almost anything else.
