Productivity Tips When Switching from a PC to a Mac
 Oghenerukevwe Henrietta Kofi
I joined the Hybrids Team at PSPDFKit as an intern in November 2021. Two weeks before I began, my managers coordinated with me to get me a brand-new Macbook Pro, which I’d be using for my work on the Hybrids Team.
Prior to joining PSPDFKit, I’d been using Windows and occasionally Ubuntu desktop PCs as my main operating systems. I didn’t know anything about MacBooks beyond the fact that they existed, and it was a revelation to me that I’d need a MacBook to build the mobile SDK the Hybrids Team was working on for the iOS side of things.
My experience with the MacBook was frustrating at first, because I suddenly could no longer use any of the productivity workflows I’d developed while using other operating systems. However, over the past few months, I’ve developed some new workflows — particularly around the things that gave me the most grief — and I’d like to share these workflows for the benefit of people who might be going through the same transition from PCs to Mac.
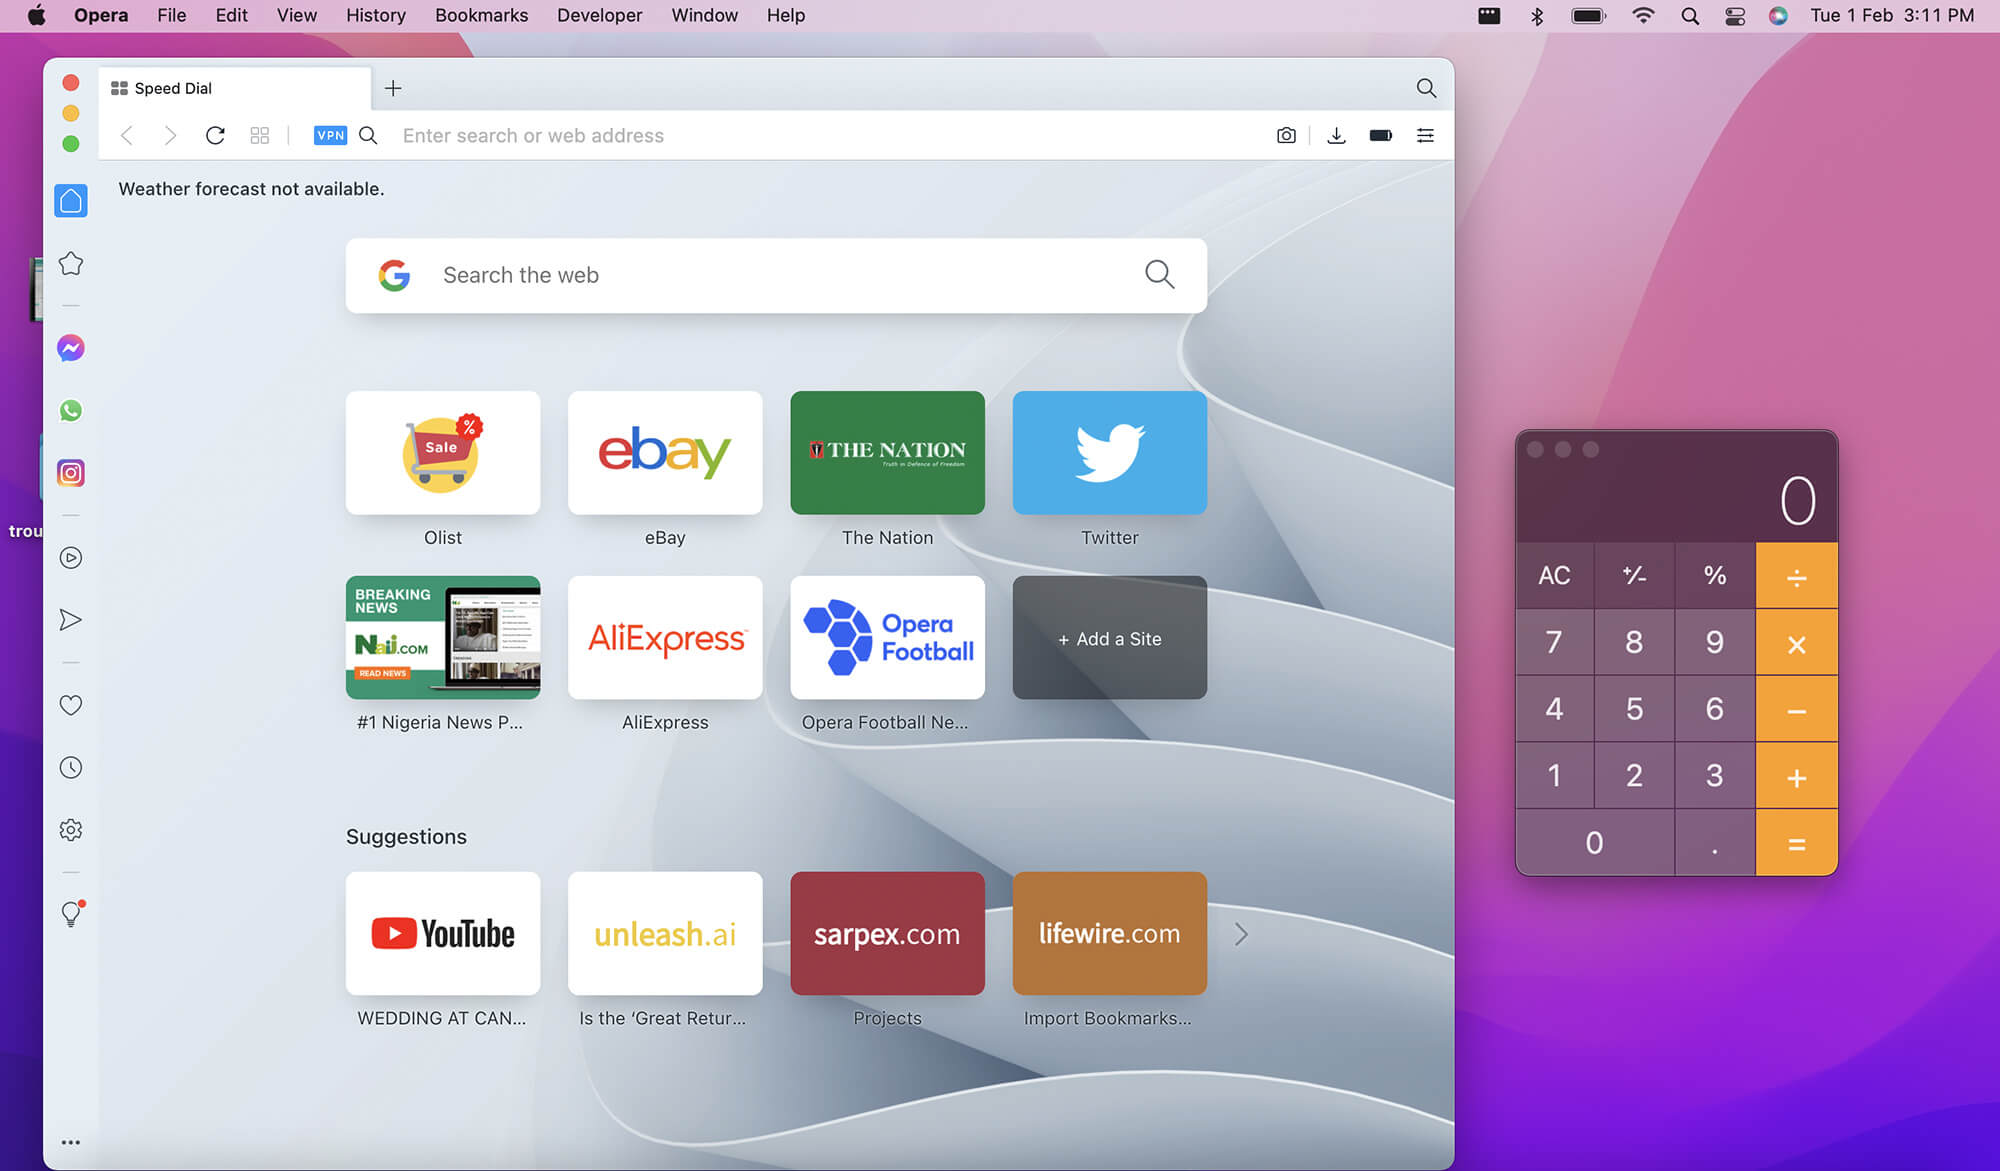
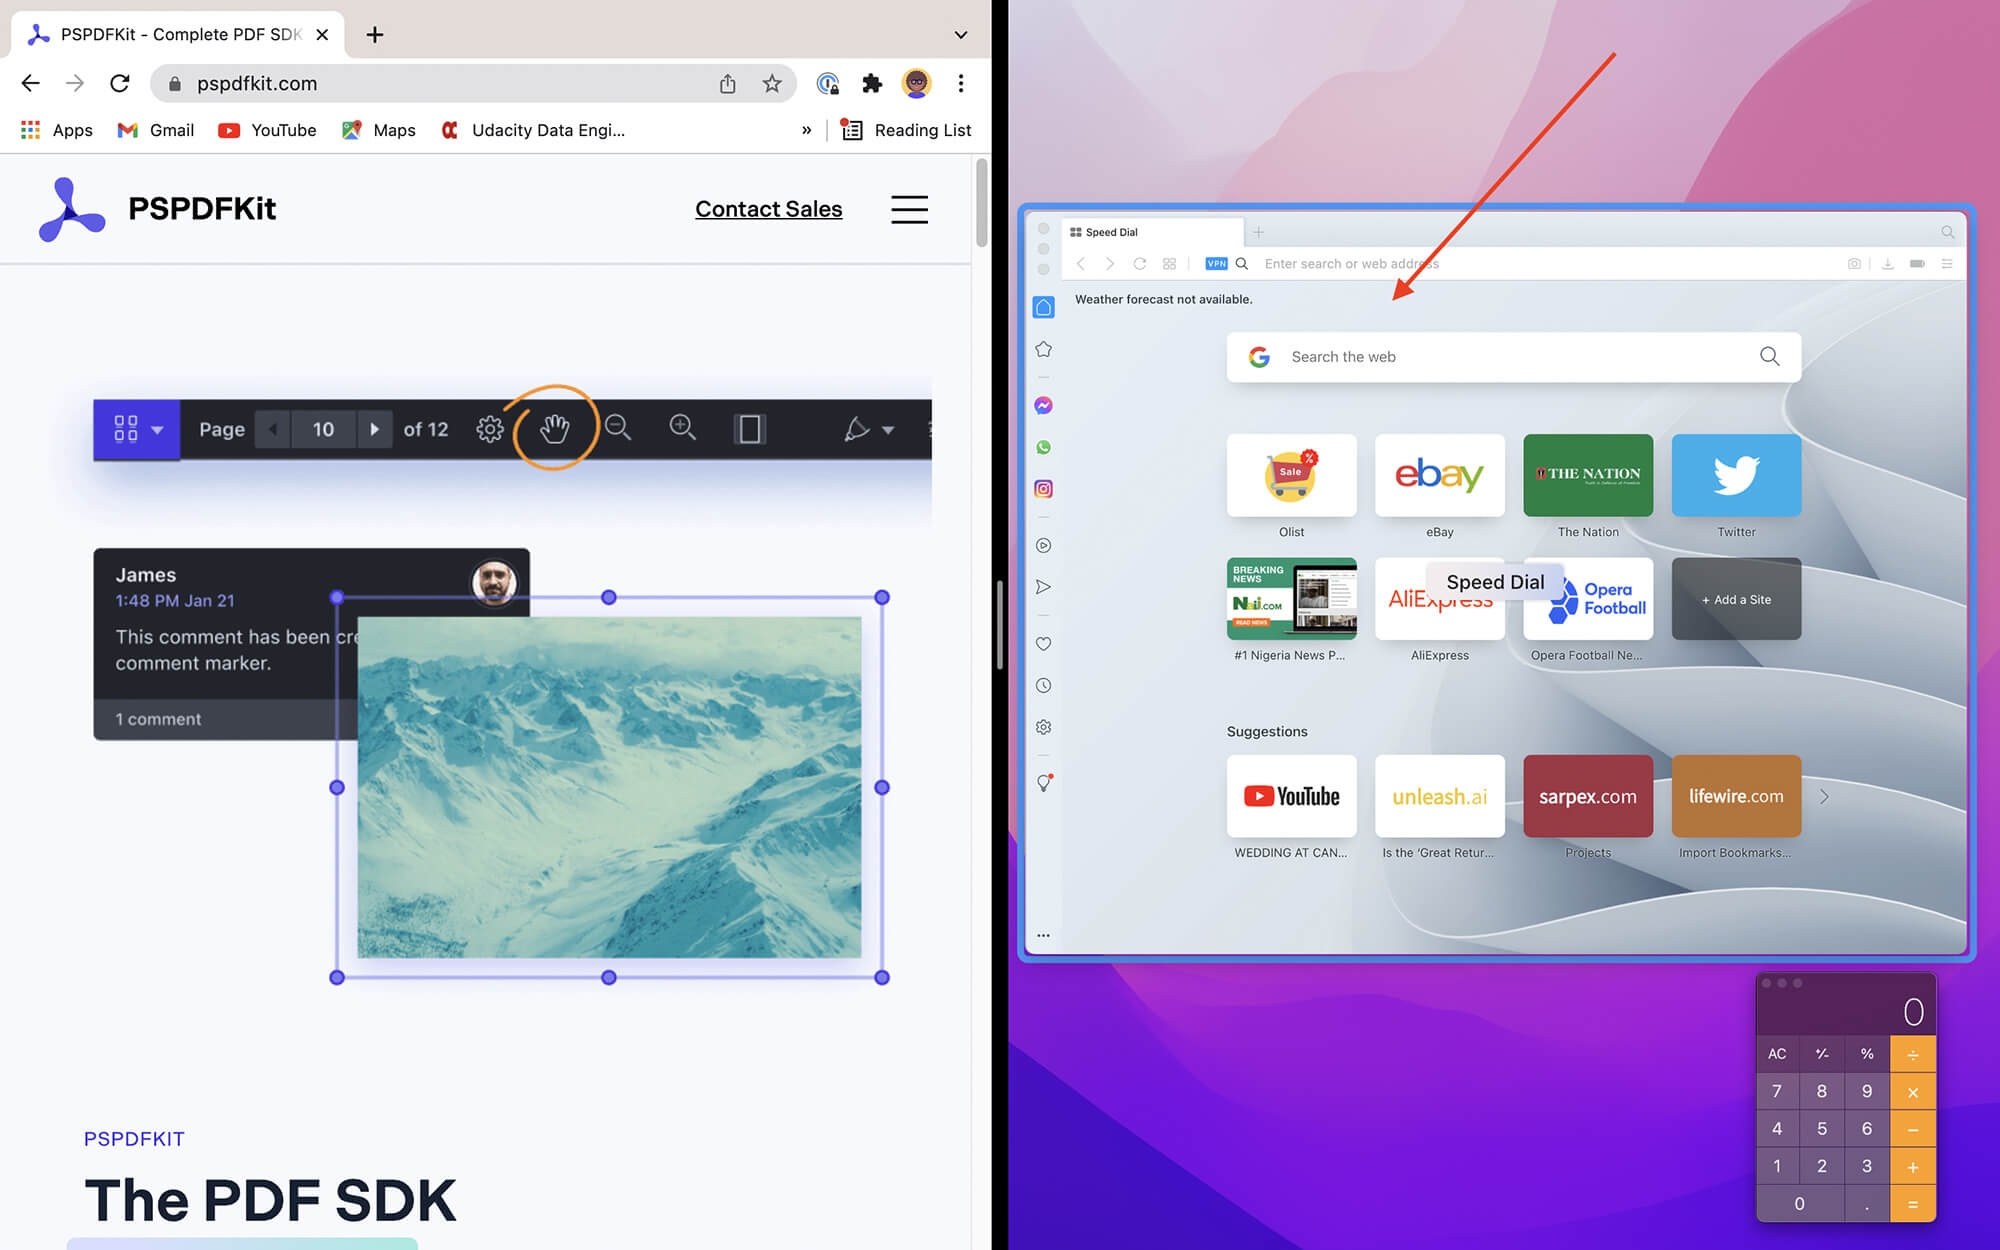
I should mention that when I say window or windows with the lowercase w, I’m referring to application windows like the browser and calculator windows shown in the image below.
And when I say Windows plural with the uppercase W, I’m referring to the PC operating system by Microsoft: Windows. When I use the term PC, I’m generally referring to both Windows and Ubuntu operating systems.
Screen Splitting and Window Snapping
I often have to split my screen into two so that I can view two applications side by side on one display. Snapping application windows to one portion of the screen is a bit different depending on the operating system.
On PC
With Windows >=10 and Ubuntu >=18.04, you can split the screen with either of these options:
1. Using the Keyboard Shortcuts
Use Windows Key + ◀️ or Windows Key + ▶️ to snap windows to either side of a screen.
2. Dragging Windows into Place
Drag a window to the half of the screen you want it to snap to (this is my preferred option). While dragging, a shadow outline will appear, showing where the window will snap to when you stop dragging. At this point, you can release the window and watch it snap into place.
On macOS
With macOS Monterey, there are also two ways to split the screen.
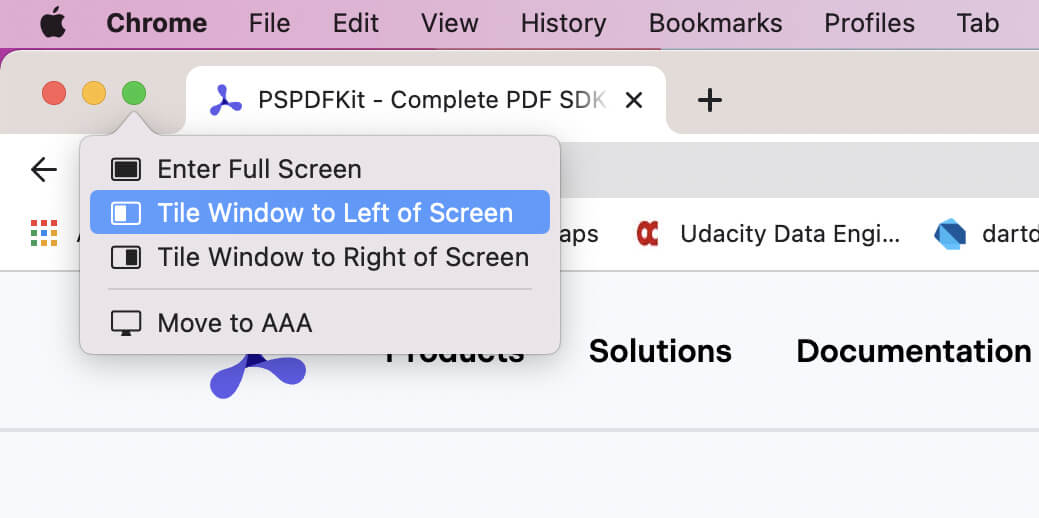
1. Using the Green Window Button
Hover over the green window button on one of the windows, wait a few seconds, and then select where you want to snap the window to from the options on the list. After doing this, you’ll see the desktop with miniature versions of the other windows, and you’ll be able to select which of the other windows on the current desktop you want to fill up the other half of the screen.
2. Using Fullscreen Mode with Virtual Desktops
Make one window fullscreen so that it occupies an entire (virtual) desktop. Do a three-finger scroll to display a menu of all other available virtual desktops and their apps. After doing this, you’ll be able to drag any other application window into the fullscreen virtual desktop. This will instantly force the fullscreen virtual desktop to split into two so that you can view both applications on that virtual desktop side by side.
These options were a decent replacement for my workflow on Windows, but I didn’t like them very much. Specifically, I didn’t like that after the windows were split, they were always in fullscreen mode and I couldn’t see the macOS dock.
Suffice to say, I really missed my previous workflow, so I did some research and found a cool app that allowed me replicate the same Windows-like snapping functionality on macOS.
Rectangle is an app that allows me split my screen by snapping windows to either side of the screen without the windows going into fullscreen mode. After installing Rectangle on my Mac, I was able to drag a window to the side of the screen that I want and see the shadow outline before releasing the screen, just like I could on Windows. Rectangle also allows me to configure and use shortcuts for snapping the currently active window to any side of the screen I want. The default shortcuts for screen snapping with Rectangle are Control + Option + ◀️ and Control + Option + ▶️.
Folder Navigation and Search
I spend a good chunk of my time searching for things on my machine — files, applications, settings, etc. But I usually get lost and/or forget what I’m searching for in the middle of searching for it. So when I started using macOS, it was really important that I got a handle on how macOS handles folder navigation and search.
Going Back in Finder
Navigation on macOS is very different from navigation on a PC in one main area: the definition of back. For example, imagine I had a directory structure like this on Windows:
Desktop > Folder1 > Folder2
If I were to visit Folder2 in Windows Explorer, whenever I’d click the back button on the Explorer’s navigation menu or press the backspace button, I’d always end up back in Folder2’s parent folder, which is Folder1. Regardless of what folder I was previously in, back on Windows Explorer means go one step backward into the parent directory.
However, on macOS, if I had a similar directory structure, going back means go to the directory I visited before visiting this one. The directory I previously visited may not be the same as the parent directory of the current folder. It took me a while to adapt to this behavior of Finder on macOS.
One thing that helped me reduce how often I got lost in the directory structure as a result of adapting to this new definition of back was using Finder’s Favorites feature.
Favorites
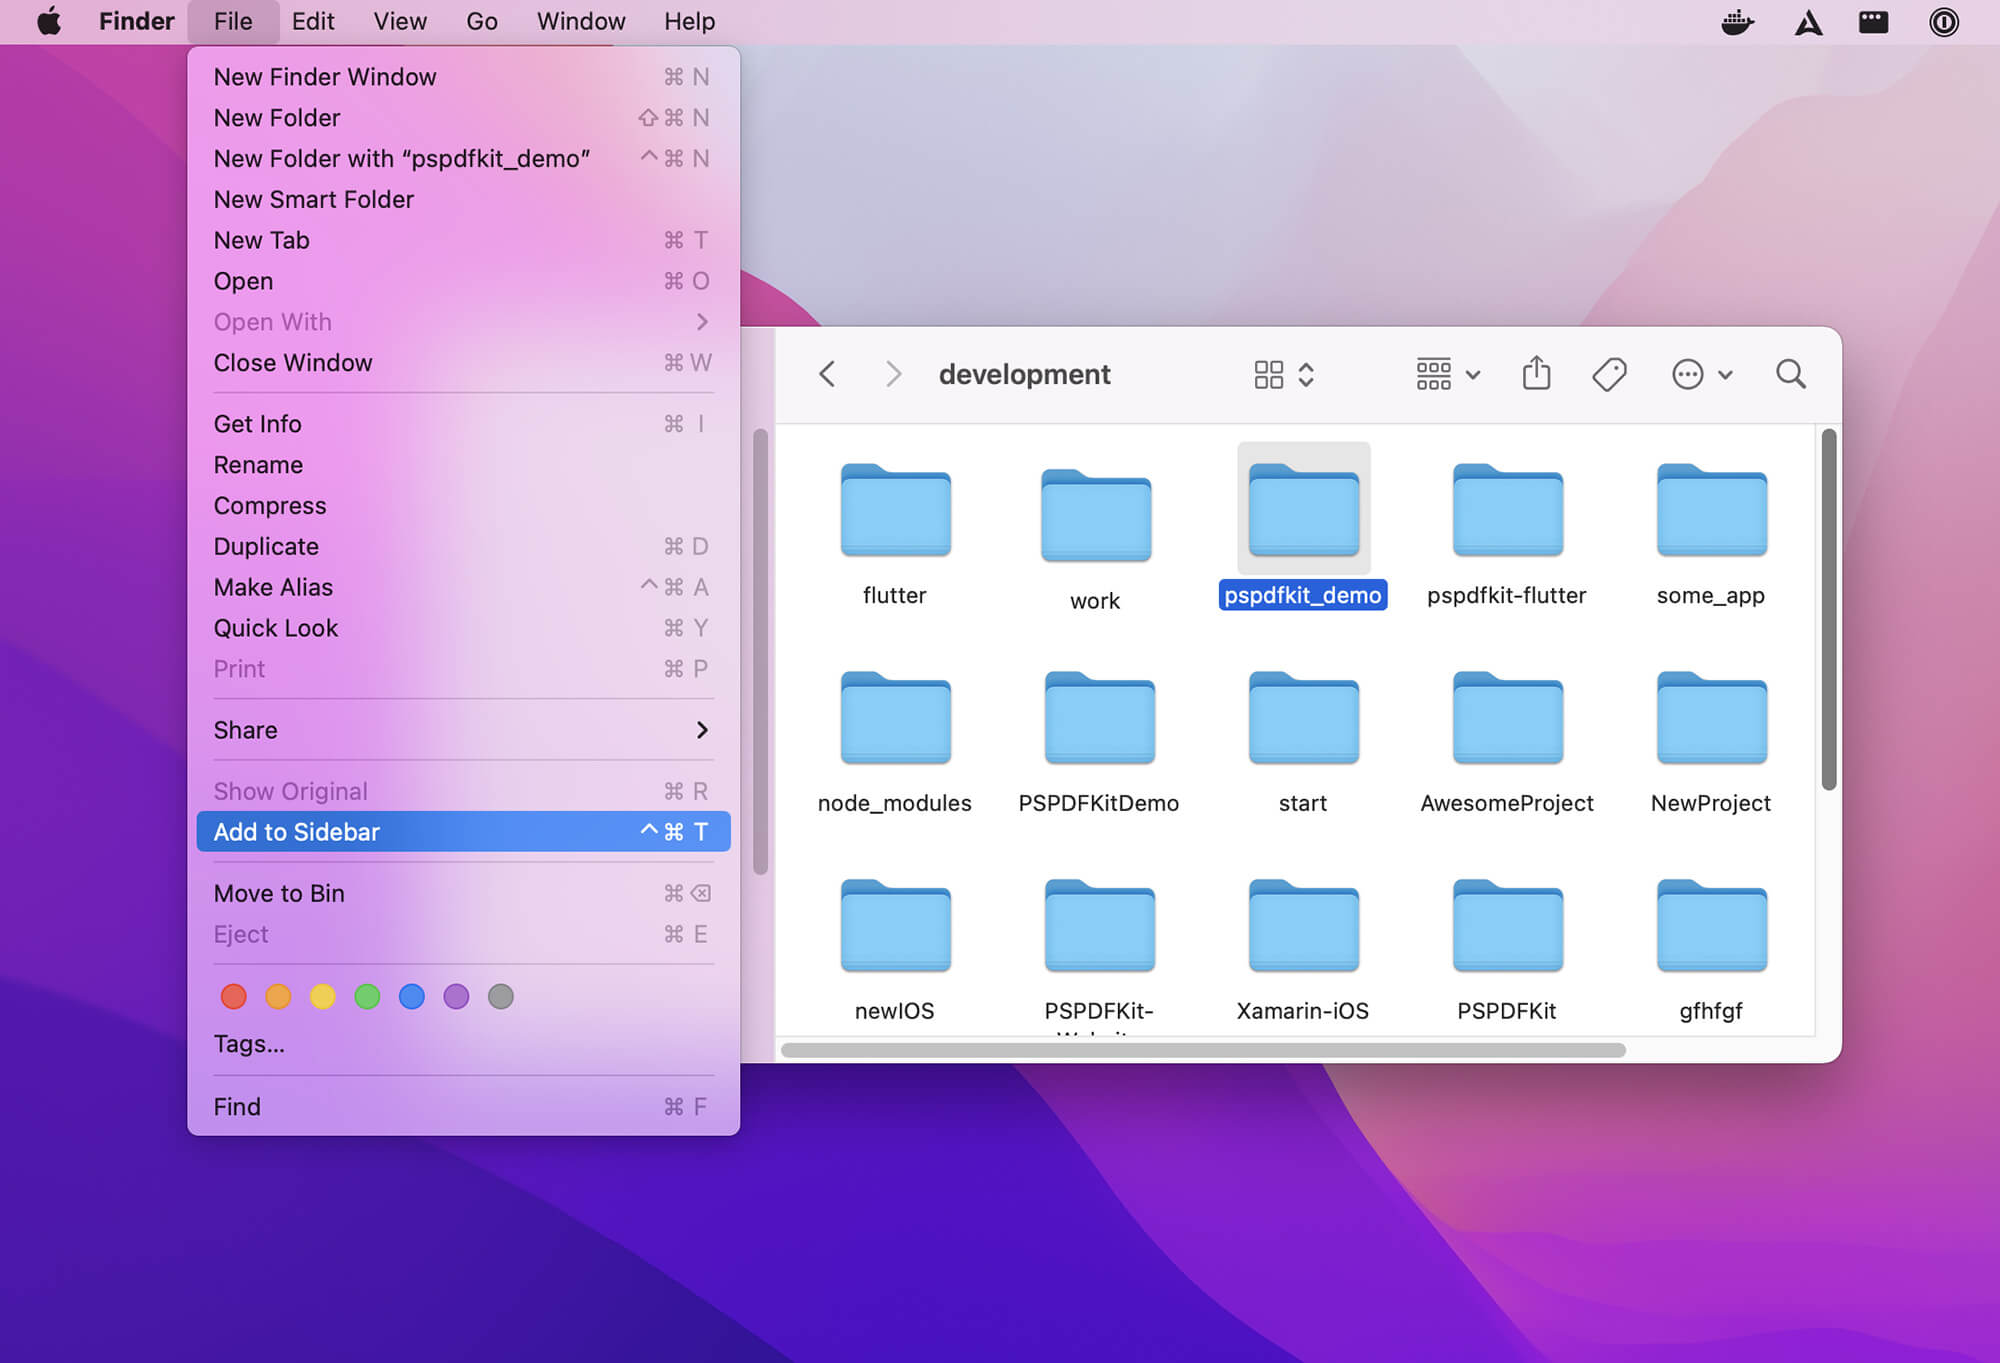
Adding my most commonly used directories to Finder’s Favorites section has helped me a lot with navigating the file system. To add a folder to Favorites, click the folder once to select it in Finder. Then on Finder’s app menu bar, select File > Add to Sidebar.
Searching with Spotlight
I generally ignore search buttons. I never used the Windows search bar and now, on my Mac, I rarely ever use Spotlight to find my files and folders. That said, while I’m not yet a master user of Spotlight search, I find it’s easier to open applications with Spotlight. To open an app, I launch Spotlight with Command + Space and search for the app I want to open.
External Displays
I often like working with at least two screens. At the moment, I use my laptop together with one extra monitor. The extra screen space makes it easier for me organize my work and keep track of various contexts between all the apps I have open.
The beauty of Apple’s ecosystem is that it’s very easy to find out how many external displays an Apple device can support. This information is more difficult to come by in PC land. Unlike Apple, some PC vendors may or may not explicitly tell you how many external displays the PC you’re researching can support.
The most recent M1 Macs (from 2021) come with HDMI ports and Thunderbolt ports and can support up to four external displays simultaneously. To confirm the number of external displays a particular MacBook model can support, on the product page, click the Tech Specs section and scroll down to Video Support.
You might need adapters to use the Macbook’s Thunderbolt ports with other display ports like HDMI and VGA.
Moving Application Windows from One Display to Another with Rectangle
On Windows, it was easy to move windows from one display to another using Windows Key + Shift + ◀️ or Windows Key + Shift + ▶️.
The Rectangle app allows me to do something similar on macOS. Additionally, it let me customize the shortcuts I use to replicate this behavior. I was able to program the Command + ▶️ keys to allow me to move windows between displays on my machine.
Conclusion
It’ll take me a while to become completely comfortable working with macOS. At this point, I’m still doing research and experimenting with productivity and workflow tools like Rectangle. This blog post is the documentation of my journey so far, and I hope it’s been as fun to read as it was for me to write it.
Rukky joined PSPDFKit as an intern in 2022 and is currently a software engineer on the Server and Services Team. She’s passionate about building great software, and in her spare time, she enjoys reading cheesy novels, watching films, and playing video games.