UWP for iOS Developers


Developing Universal Windows apps with Visual Studio can seem like something alien and daunting for developers who are primarily familiar with Xcode. But at the same time, you might want to develop your iOS application for Windows, and in such a scenario, you will need to learn your way around the platform. In this article, I’ll introduce you to the main aspects of Visual Studio 2017 that concern developing Universal Windows apps and point out their Xcode equivalents.
UWP
Introduced in Windows 10, with roots in Windows 8, Microsoft’s Universal Windows Platform is a framework for developing apps that can run on all Microsoft OS platforms, including Windows 10, Xbox One, HoloLens, and the now practically defunct Windows 10 Mobile.
The major goals of the new platform were to provide a robust way to secure the operating system and user data, a common API for all devices and adaptability to device-specific capabilities, and a degree of language independence for developers. The focus on security led to a sandbox architecture that requires user authorization for access to devices and data. This style of security is broadly similar to that which we are familiar with on platforms such as iOS and Android.
Despite the demise of Windows phones and consequently Windows 10 Mobile, UI features continue to be designed primarily, albeit not exclusively, with mobile devices in mind — in particular, Microsoft’s very successful Surface range of mobile computing devices. Surface Pro devices, and more recently, Surface Go devices, are earning rave reviews and a growing presence both in the office and at home.
The Windows Store is the primary distribution point for Windows apps with Microsoft, and it employs a business model similar to those of the Google Play store and Apple’s App Store. However, it remains possible and is indeed common in the corporate world to easily sideload apps onto devices independent of the Windows store.
Visual Studio
![]()
The primary tool for developing apps for UWP is the legendary Visual Studio. A stalwart of the scene for more than two decades, Visual Studio provides developers with an enormous range of tools and facilities for developing everything from websites to device drivers to desktop apps, and a heck of a lot more. This versatility can be a weakness and a strength. In the past, as each release of Visual Studio appeared — especially the releases between 2005 and 2015 — many developers felt it became bloated and buggy. Its reputation suffered, and more people began to fear it than love it. But in recent years, especially beginning with VS 2015, Microsoft has managed to reverse that trend, and one can confidently say that Visual Studio is currently a stable and excellent tool — especially for developers with fixes and features coming every few weeks from a team that responds much more rapidly to reported issues.
As mentioned already, Visual Studio provides capabilities for developing many kinds of applications, add-ins/plugins for various productivity apps, and lots more, but in this post, we’ll focus on UWP development only.
Getting Started
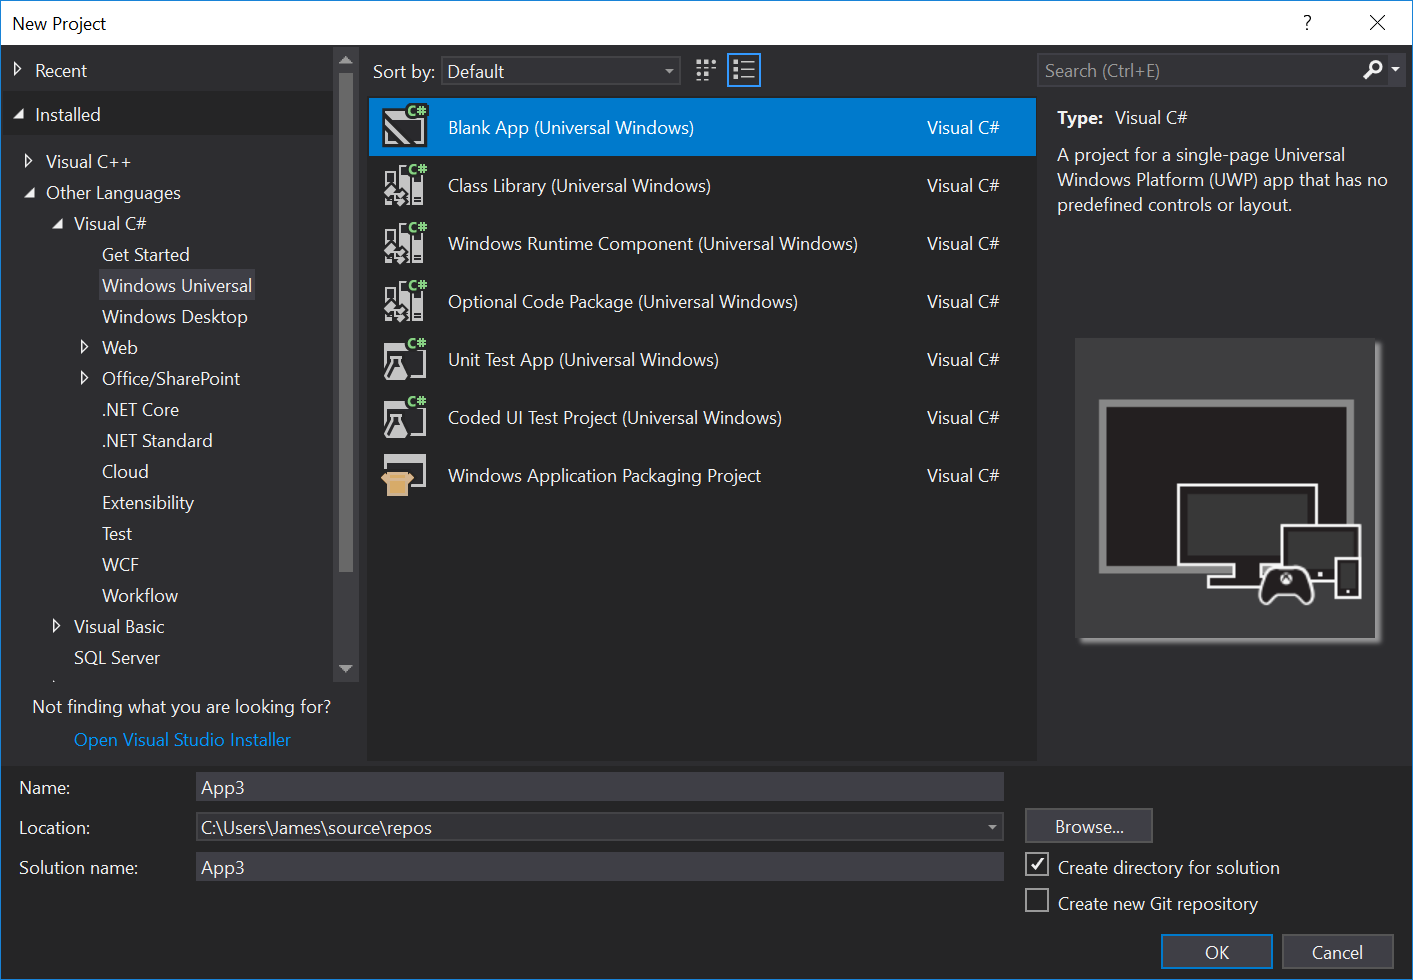
When starting a project, iOS developers used to the mighty Xcode will begin creating a project from a template. Visual Studio has a similar new project dialog, and it offers you the ability to create a Universal Windows project based on a variety of languages, including C#, Visual Basic, and JavaScript.
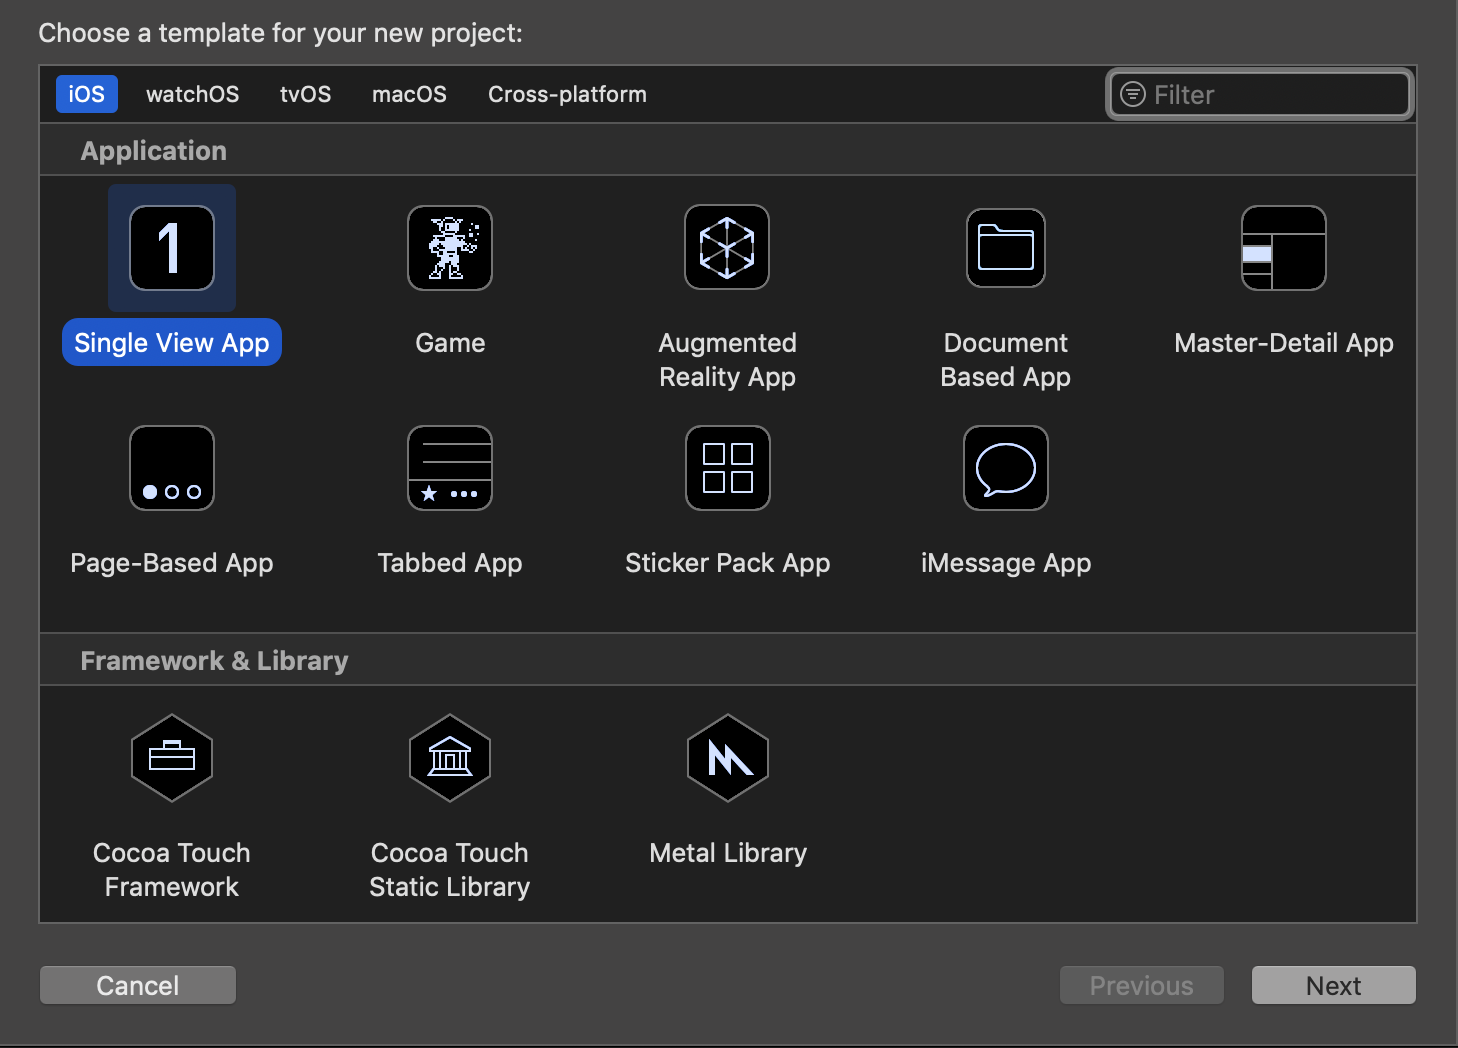
For iOS, you will be used to choosing something like a Single View App or a Page-Based App. With UWP, the type of app you create is decided later by however you wish to configure the main page. That being said, there are open source templates available from Microsoft, designed with input from the community, that provide you with rich contemporary designs for many different needs. In particular, I would encourage you to check out Windows Template Studio.
After choosing the language and specifying the location, you are then presented with options for specifying which version of Windows 10 you are targeting and what the minimum version you support is.
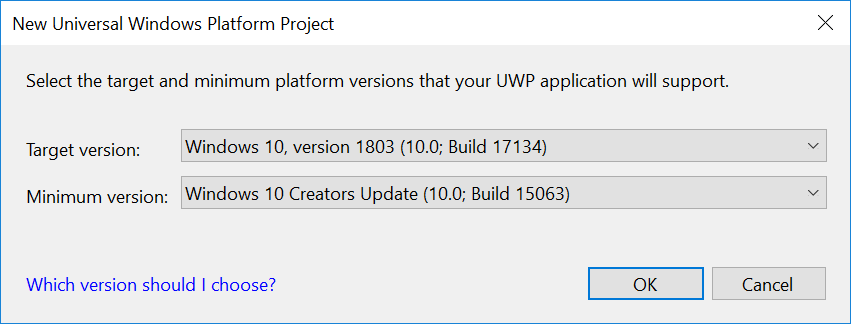
The framework provides facilities to detect if your code is running on versions of Windows older than the chosen target version. This is called version adaptive code, and it allows you to fall back to other functionality or omit a feature entirely. For example, Microsoft introduced APIs for animating UI components in the Creators Update. After you choose the target version, Visual Studio will generate a blank Project and a Solution that contains it.
Here’s an example of some version adaptive code taken from Microsoft’s guide on the topic:
// Check that the `ChatWithEmoji` value is present.
// (It's present starting with Windows 10, version 1607, which is
// the target version for the app. This check returns false on earlier versions.)
if (ApiInformation.IsEnumNamedValuePresent("Windows.UI.Xaml.Input.InputScopeNameValue", "ChatWithoutEmoji"))
{
    // Set new `ChatWithoutEmoji` `InputScope` if present.
    scopeName.NameValue = InputScopeNameValue.ChatWithoutEmoji;
}
else
{
    // Fall back to `Chat` `InputScope`.
    scopeName.NameValue = InputScopeNameValue.Chat;
}
Solutions
Depending upon the options you chose when installing Visual Studio, you will be presented with a view that contains the Solution Explorer on either the left or the right, an area for code and UI design in the center, a Toolbox listing UI controls, and possibly a Properties page displaying the properties of whatever item has focus. One of Visual Studio’s strengths is its very configurable UI. In addition to basic things such as user definable color themes, you can also move around and resize windows and configure them in multiple ways. Combine them into tab groups, auto-hide them as a tab until clicked, or pin them to keep them open. Try experimenting by grabbing a tab label or pane header and moving it around. You’ll see a floating control called the Guide Diamond appear. This allows you to dock the window in a new location or split an existing window, and more. Check out Microsoft’s customization guide for an in-depth look at what’s possible.
In Visual Studio, a Solution is similar to an Xcode Workspace, in that it’s where you organize your project (or projects, if you have more than one); its assets, such as images for logos; and its resources, like language translations of strings, UI layouts in XAML format, and items required for building and packaging, such as the application’s manifest. The Solution Explorer displays all these things in a tree.
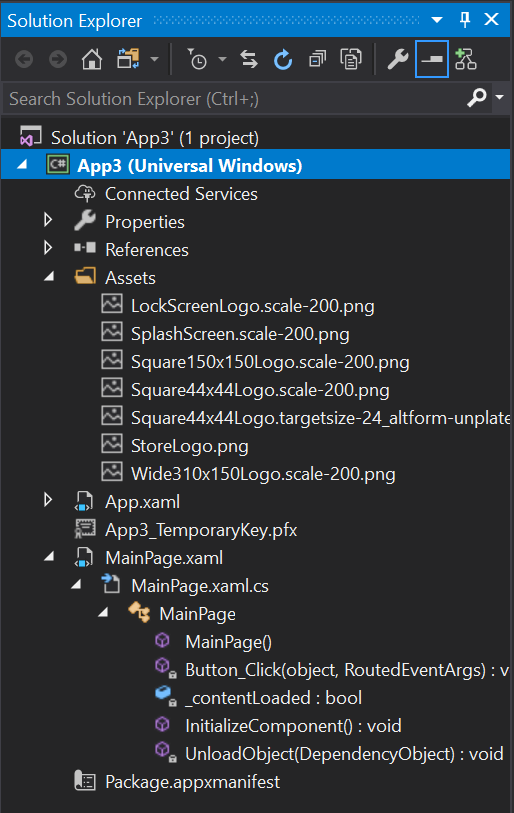
Right-clicking on the Project item in that tree and then clicking on Properties will open a window for configuring the project’s build and debug options. For example, under the Debug section, you can change the target for where you want to run the application while debugging it. By default, your app would run locally, but you may need to test on another remote device, such as a Surface device on your network or a virtual machine hosted on Azure.
Solution Platform and Configuration


In the Build toolbar, you can see various buttons and controls for working with the build, navigating in the document history, launching the debugger, and also choosing the current build configuration and target platform. Currently, Visual Studio can build apps targeting 32-bit Windows (x86), 64-bit Windows (x64), and Windows for ARM. When debugging locally, you’ll typically choose either x84 or x64. ARM can be debugged on a remote device.
XAML Designer
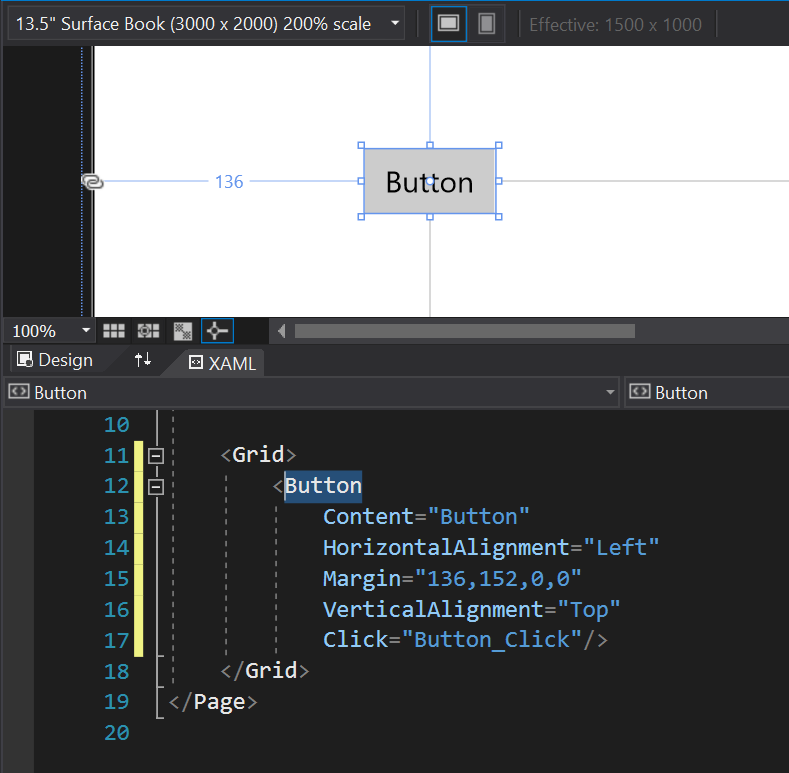
MainPage.xaml and MainPage.xaml.cs together represent the UI and behavior of the default main page of the UWP app. Double-clicking on MainPage.xaml in the Solution Explorer opens the XAML Designer. Like in Xcode’s Interface Builder, you can drag and drop controls from the Toolbox onto the visual representation of the Page in the Design window. The corresponding XAML that’s generated will appear below in the XAML pane. You might find it easier to just write the XML by hand rather than trying to position controls perfectly with the mouse. Clicking on a control in the designer will show its properties in the Properties window. Changing a value from its default will write the property into the XAML as an XML attribute.
Try dragging a Button control into the page. You should see the button control and a Button element added as a child of the Grid element:
<Grid>
    <Button Content="Button" HorizontalAlignment="Left" Margin="297,225,0,0" VerticalAlignment="Top"/>
</Grid>
If you now double-click on a gray part of the button, an event handler attribute will be set up for the Button Click event, and a C# method will be added to the MainPage class:
<Button Content="Button" HorizontalAlignment="Left" Margin="297,225,0,0" VerticalAlignment="Top" Click="Button_Click"/>
private void Button_Click(object sender, RoutedEventArgs e)
{
    // Add your event handling code here.
}
By adding a Name attribute to an XAML control element, you are adding that control as a class member to its corresponding class.
For example, here we name the Button MyButton:
<Button Name="MyButton" Content="Button" HorizontalAlignment="Left" Margin="297,225,0,0" VerticalAlignment="Top" Click="Button_Click"/>
And in the click handler, we write some code to change the content of the button when clicked:
private void Button_Click(object sender, RoutedEventArgs e)
{
    MyButton.Content = "Was Clicked";
}
XAML also provides you with a powerful DSL for binding attributes and content with class members.
If we add a TextBox to the page and a public property string to the MainPage class, we can bind the text in the box to the property like this:
<TextBox Text="{x:Bind ButtonContent, Mode=TwoWay}" HorizontalAlignment="Left" Margin="362,527,0,0" VerticalAlignment="Top"/>
public sealed partial class MainPage : Page
{
    // A public class property.
    public string ButtonContent { get; set; }

    private void Button_Click(object sender, RoutedEventArgs e)
    {
        // Change the button text to display the string in the `ButtonContent` property.
        MyButton.Content = ButtonContent;
    }
}
Now, every time the user changes the text in the TextBox, the property will be updated. If the user clicks on the button, the button will change its text to the value of the property.
Debugging Your App
While Visual Studio lacks a console like the LLDB console in Xcode, it does feature comprehensive debugging facilities which will at times be familiar and at times be very different for the iOS developer.
Breakpoints

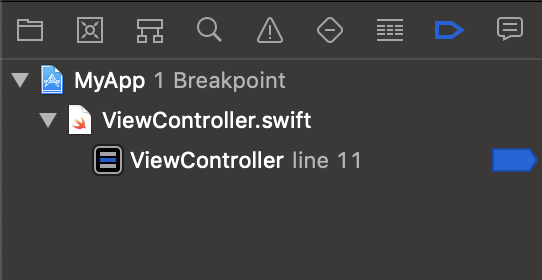
As you would expect, breakpoints can be set on lines of code and managed in their own windows. They can be labeled so you can manage them in groups. You can assign conditions on when they should break, e.g. when a hit count is at a specific value, when it’s greater than a certain value, or at every nth hit. You can write short snippets of code that will be evaluated at each hit as a Boolean expression to determine if the debugger should break or not. Additionally, you can perform certain actions instead of or in addition to breaking. For example, you can log a value to the console every time the line is reached without breaking execution or altering the code directly.
Examining Variables
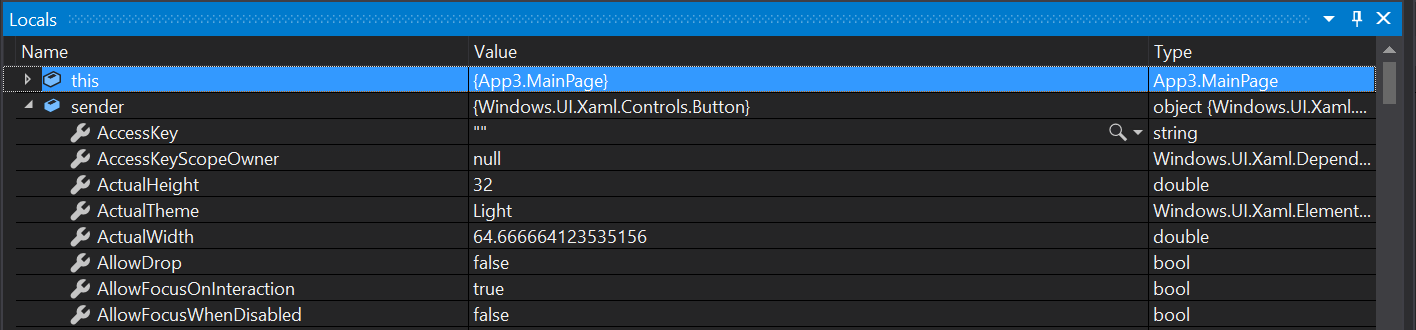
The Locals window displays the local variables, their values, and their types at the current breakpoint, whereas the Autos window provides a shorter list of variables that are relevant to the area where execution has halted.
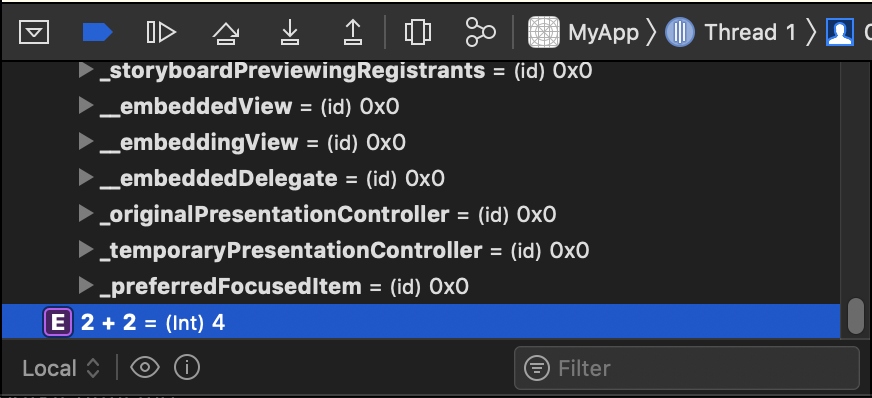
In Xcode, you just add an expression to the local variables, but in Visual Studio, you use a watch window for expressions or custom lists of variables. The watch windows (you can have multiple watch windows) allow you to watch expressions continually as you debug. Every time execution is halted, either by stepping, a breakpoint, or hitting the pause button to break manually, the value of the watch expressions will be evaluated. Not only can you watch the value of some variable, but you can also perform calculations, and with some limitations, you can call methods within the expression while execution is otherwise nominally halted.
Due to the ease of configurability of Visual Studio’s UI, you can easily arrange these windows how you want at any time. Usually, you only need one of them at a time, but should you need to see your watch window and locals side by side, it’s simply a matter of moving your windows around.
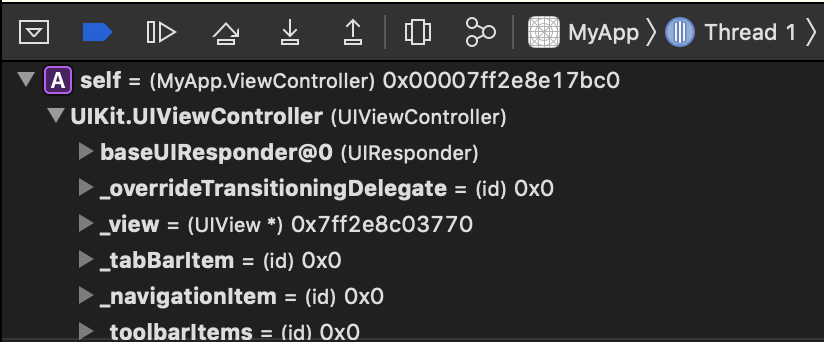
Call Stacks

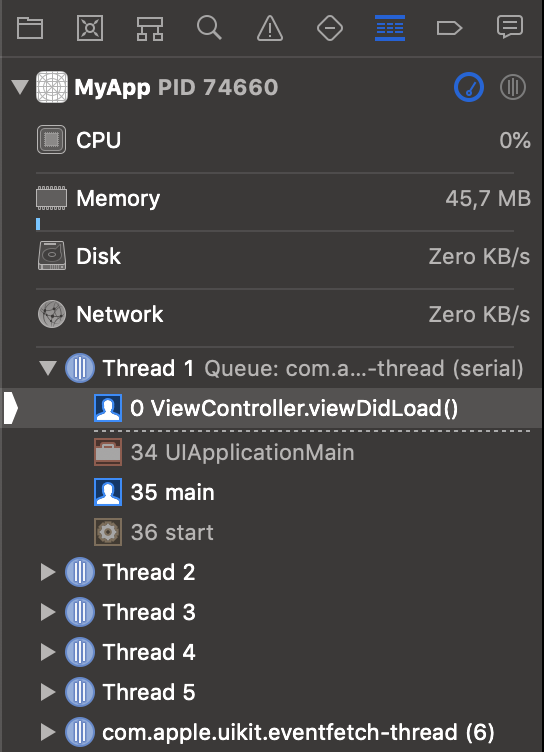
Unlike the Debug Navigator in Xcode, the Call Stack and Thread windows are separate windows. You can examine each thread’s ID, name, category (Main Thread, Worker Thread, etc.), and stack independently of the current call stack.
Editor
In editor code, completion services are provided by IntelliSense. This provides method suggestions, parameter info, and documentation in place. There are also simple refactoring capabilities. Renaming variables, methods, classes, etc. usually works very well. It will also update documentation comments.
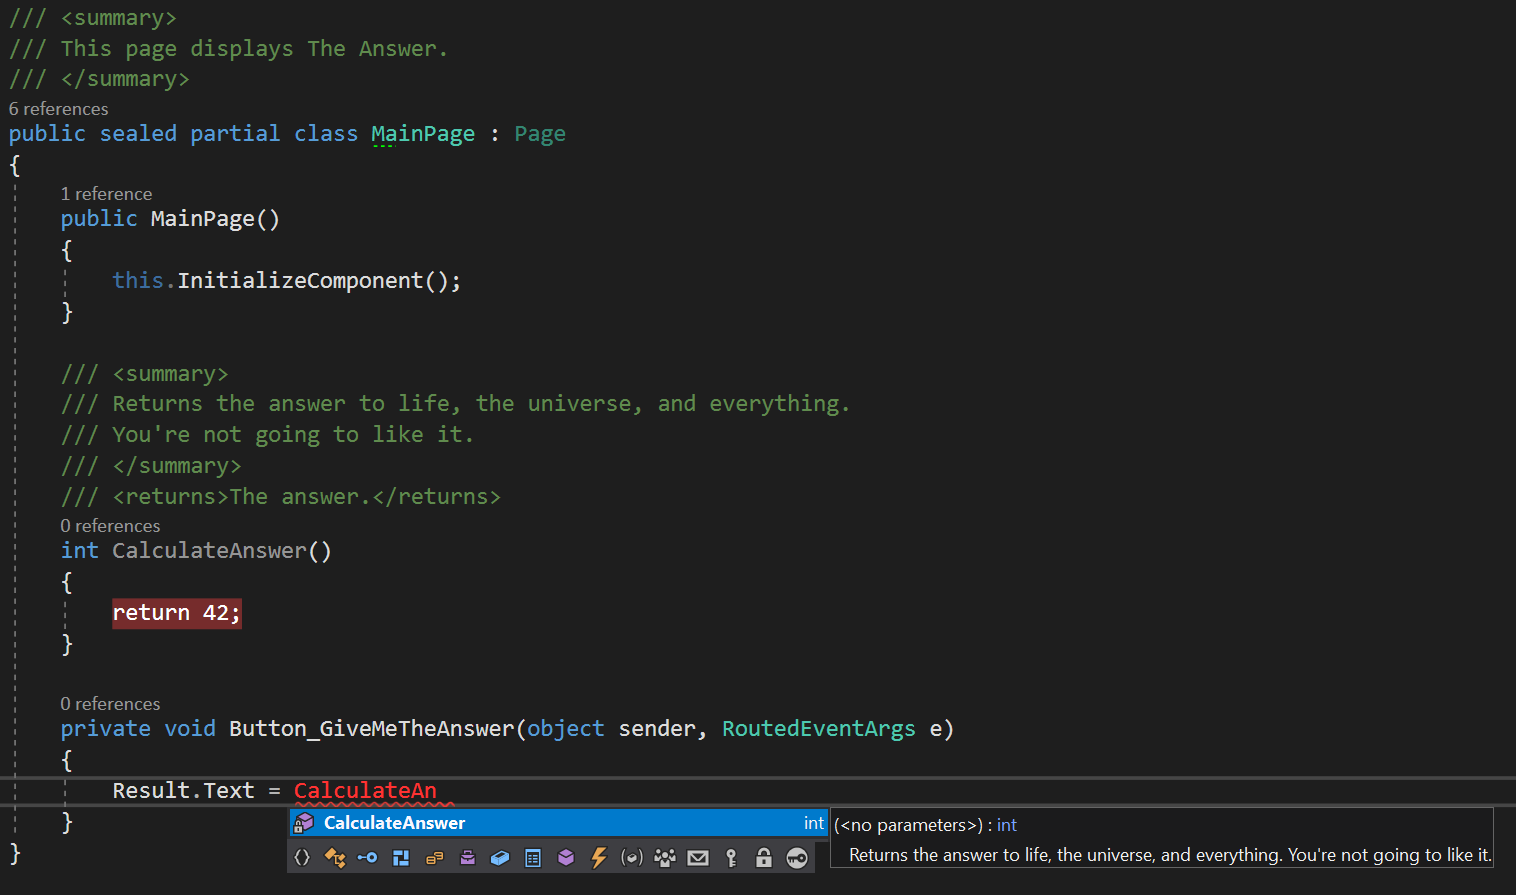
Visual Studio uses an XML-based documentation format that is placed within triple-slash comments preceding your classes, methods, properties, and so on. You can generate documentation from these comments with freely available tools like DocFX.
Conclusion
While at first glance, Visual Studio can seem overwhelmingly complex, if you give it a chance, you’ll find a lot in common with or equivalent to your Xcode experience. Visual Studio’s powerful and modern features help us build the best PDF SDK for your UWP. You too can start building UWP apps very quickly and integrate our SDK with ease.