Open and Annotate PDFs from Your Vue.js App
Nowadays, PDF documents are the preferred format for many things, including sharing information with formatting and enhanced data visualization. Therefore, it’s not surprising that the ability to open and annotate PDF documents has become an increasingly demanded feature for any web application as soon as it grows in size and complexity.
However, adding such a feature to a web application usually means incrementing the number of “moving parts” of a codebase by orders of magnitude: PDF is a complex file format, which may deem the task overwhelming for any development team.
We can simplify this task significantly by making use of PSPDFKit for Web, a JavaScript PDF library that can be used with (and without) any JavaScript framework, including Vue.js. It supports all modern mobile and desktop browsers (Chrome, Firefox, Safari, and Edge) and multiple languages, and it makes good use of the latest technologies available — like WebAssembly — to make the experience as performant as possible.
PSPDFKit for Web comes in two flavors: server-backed and standalone. This means you can set it up as a shared collaboration tool that’s integrated with your server backend, or as a client-side library with all the features you may need for your PDF document handling.
To allow developers to easily embed our PDF library in their applications, there are several integration examples available. In this article, we’ll walk through the integration of our Vue.js PDF library that we can clone from the public PSPDFKit repository. We’ll build a small app in a single HTML file that will fetch all the assets needed to load and run PSPDFKit for Web in a Vue.js app.
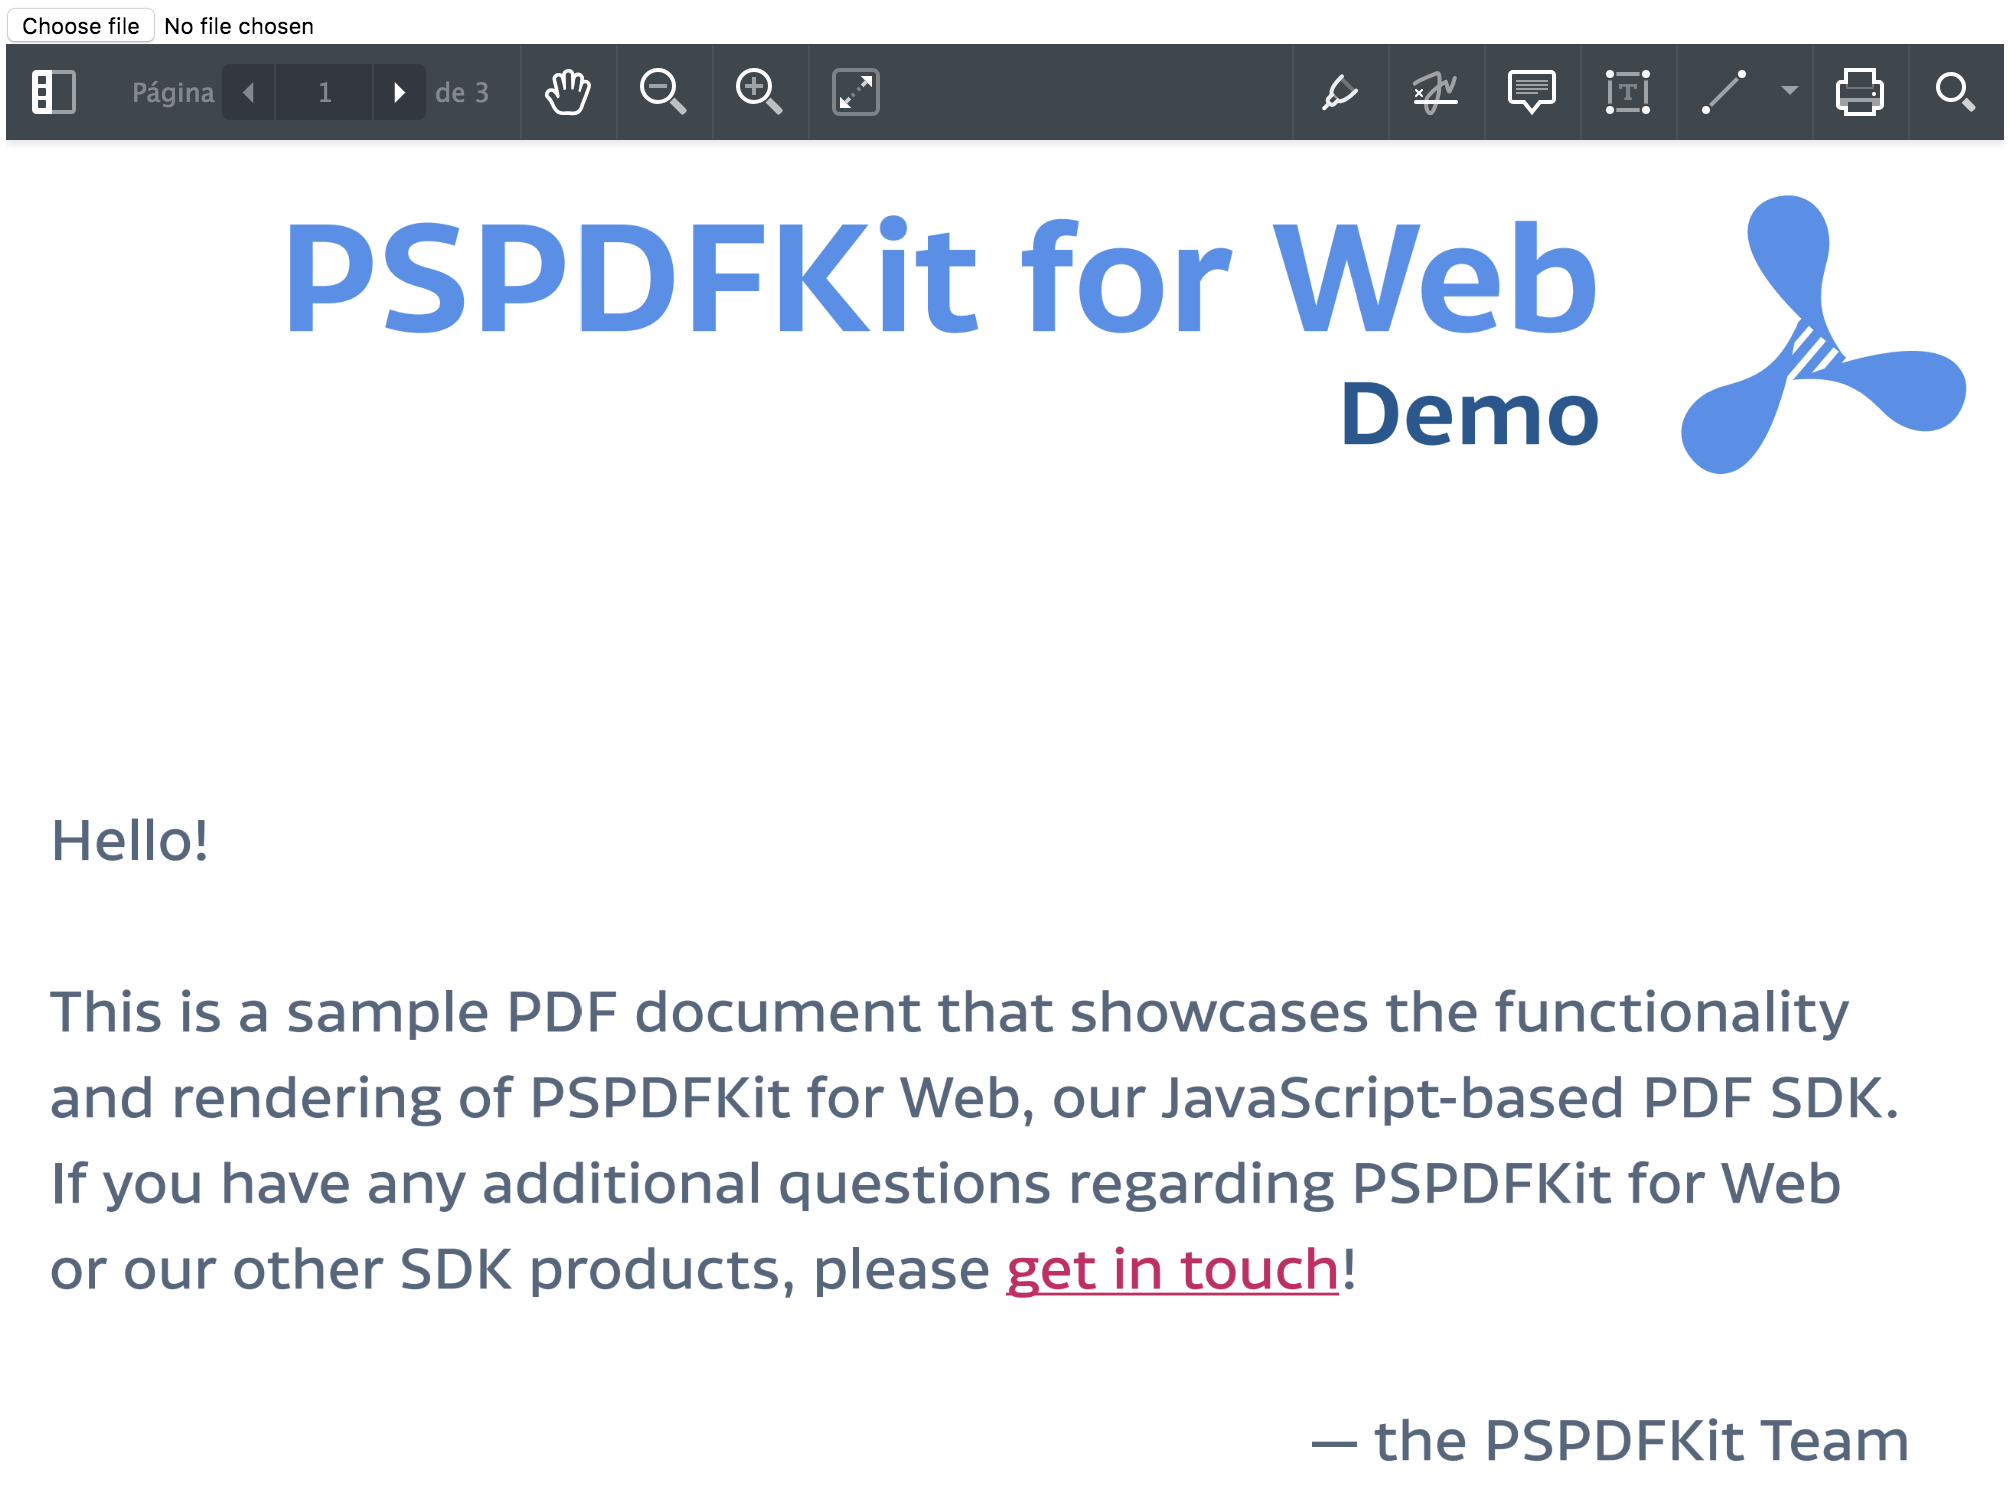
The final result will look like the image below in your browser. It’ll consist of a simple UI that allows you to open, view, and annotate PDF documents from within your Vue.js app.
Opening a PDF in Vue.js
To get the example running, we need the following tools:
-
Node.js >= 8
-
PSPDFKit for Web (start your free trial)
-
Vue.js 2.X
To start, we install PSPDFKit for Web using npm install --save pspdfkit. Then, we copy the pspdfkit-lib directory from within node_modules/ into the public/js/ directory to make it available to the SDK at runtime.
That’s all we need to start playing with PSPDFKit for Web. Our example app includes utility scripts, so we don’t have to manually copy these files, which also helps us avoid possible mistakes.
Next, we’ll create a new component for our PSPDFKit viewer within the components/ directory and call it PSPDFKitContainer.vue. Since PSPDFKit only requires an empty container to be injected into, our markup for this component is simple:
<template>
	<div class="pdf-container"></div>
</template>
Now, we import PSPDFKit for Web in the <script> section, like so:
import PSPDFKit from 'pspdfkit';

export default {};
For basic functionality, our component doesn’t require a data() attribute, as we’ll be passing the used PDF document as a property. This will allow us to later dynamically pass new documents to the viewer from outside the component:
export default {
+	 props: {
+		pdfFile: {
+			type: String,
+			required: true,
+		},
+	},
};
The pdfFile variable represents the path to the PDF passed to the component when imported:
<PSPDFKitContainer :pdfFile=pathToPdf />
Next, we’ll need to define a function that will load and instantiate PSPDFKit within our component. It’ll also need to make sure PSPDFKit is unloaded when the component is destroyed so that no reference lingers in memory. For this, we’ll use the lifecycle hook beforeDestroy() and the built-in PSPDFKit method unload().
Note that we’re defining loadPSPDFKit() as an asynchronous function. This is because PSPDFKit.load() returns a Promise that resolves with a PSPDFKit.Instance object:
export default {
	props: {
		pdfFile: {
			type: String,
			required: true,
		},
	},
+	methods: {
+		async loadPSPDFKit() {
+			return PSPDFKit.load({
+				// Import the PDF file from the component's props.
+				document: this.pdfFile,
+				container: '.pdf-container',
+			});
+		},
+	},
+	beforeDestroy() {
+		PSPDFKit.unload('.pdf-container');
+	},
};
Now, to make sure PSPDFKit is instantiated as soon as the component is mounted, we call the previously created loadPSPDFKit() from within the mounted() lifecycle hook. Once it resolves with the instance object, we emit an event called “loaded” from our component with the received instance as payload so it can be used elsewhere:
export default {
	props: {
		pdfFile: {
			type: String,
			required: true,
		},
	},
	methods: {
		async loadPSPDFKit() {
			return PSPDFKit.load({
				// Import the PDF file from the component's props.
				document: this.pdfFile,
				container: '.pdf-container',
			});
		},
	},
	beforeDestroy() {
		PSPDFKit.unload('.pdf-container');
	},
+	mounted() {
+		this.loadPSPDFKit().then((instance) => {
+			this.$emit('loaded', instance);
+		});
+	},
};
Great! This component is already capable of instantiating PSPDFKit, unloading when destroyed, and rendering the PDF that was passed as a property. However, to ensure we can dynamically switch which PDF we want PSPDFKit to load and render, we’ll have to listen to the change of the property and reload PSPDFKit using the new path.
For this, we can use the watch handler offered by Vue.js:
export default {
	props: {
		pdfFile: {
			type: String,
			required: true,
		},
	},
+	watch: {
+		pdfFile(val) {
+			if (val) this.loadPSPDFKit();
+		},
+	},
	methods: {
		async loadPSPDFKit() {
+			PSPDFKit.unload('.pdf-container');
			return PSPDFKit.load({
				// Import the PDF file from the component's props.
				document: this.pdfFile,
				container: '.pdf-container',
			});
		},
	},
	beforeDestroy() {
		PSPDFKit.unload('.pdf-container');
	},
	mounted() {
		this.loadPSPDFKit().then((instance) => {
			this.$emit('loaded', instance);
		});
	},
};
We added a truthiness check for the value of the parameter to make sure we don’t attempt to reload PSPDFKit if the property is empty, as this would result in an error.
We also expanded the loadPSPDFKit() function with PSPDFKit.unload(".pdf-container");. This is because, before updating the PDF, we first have to unload the existing instance.
Last but not least, PSPDFKit for Web requires a height to be declared for the container that the viewer will be injected into.
For this, we can add:
<style scoped>
	.pdf-container {
		height: 100vh;
	}
</style>
We’re using the scoped flag to make sure this CSS rule only applies to DOM nodes within the component itself. You can still overwrite CSS rules from outside, but it’s good practice to prevent accidental overrides across your project. This way, the component can also be freely used between various projects without having to reapply styles in each of them.
Next, we need to import the component on the page where we want to display the PSPDFKit instance:
<template>
	<div id="app">
		<input type="file" @change="openDocument" />
		<PSPDFKitContainer :pdfFile="pdfFile" />
	</div>
</template>

<script>
	import PSPDFKitContainer from '@/components/PSPDFKitContainer';

	export default {
		data() {
			return {
				pdfFile: this.pdfFile || '/example.pdf',
			};
		},
		components: {
			PSPDFKitContainer,
		},
		methods: {
			openDocument() {
				if (this.pdfFile) {
					window.URL.revokeObjectURL(this.pdfFile);
				}
				this.pdfFile = window.URL.createObjectURL(event.target.files[0]);
			},
		},
	};
</script>
Now we only need to add our PDF file to the /src folder and try it out! But we need to serve our static files. We can either configure and use Apache/NGINX/our favorite local server pointing http://localhost to our /src folder, or we can use PSPDFKit’s own static server, which will handle the mime types for application/wasm that are needed by PSPDFKit for Web.
Creating such a static server is simpler than it seems, but it goes beyond the aim of this article. Let’s just keep in mind that we already have a node server ready to run in our example app, and it supports all the features necessary for our example.
Now we reload the page and… Hooray! PSPDFKit for Web shows its interface and opens our PDF file, which can be read, annotated, and printed directly from our browser!
While this implementation will suffice in importing our component, displaying the PSPDFKit viewer, and dynamically updating the rendered PDF, we’re not yet using the event our component is emitting. If you just require a viewer without annotating the PDF, you’re already done here!
However, in this blog post, we’ll also discuss annotating a PDF using PSPDFKit within Vue.js, so we’ll want access to the instance variable that the PSPDFKit.load() function returns to us:
<template>
  <div id="app">
    <input type="file" @change="openDocument" />
+  <PSPDFKitContainer :pdfFile="pdfFile"  @loaded="handleLoaded" />
  </div>
</template>

<script>
import PSPDFKitContainer from "@/components/PSPDFKitContainer";

export default {
  data() {
    return {
      pdfFile: this.pdfFile || "/example.pdf",
    };
  },
  components: {
    PSPDFKitContainer,
  },
  methods: {
+  handleLoaded(instance) {
+    console.log("PSPDFKit has loaded: ", instance);
+    // Do something.
+  },
    openDocument() {
      if (this.pdfFile) {
        window.URL.revokeObjectURL(this.pdfFile);
      }
      this.pdfFile = window.URL.createObjectURL(event.target.files[0]);
    },
  },
};
</script>
Keep reading to learn how to annotate.
Annotating the PDF in Vue.js
Now that we’re able to load and render the PDF document, we can add annotations to it using the viewer’s UI. However, if we want to customize our implementation, we can make use of PSPDFKit for Web’s APIs, which include methods for adding annotations of different types and for changing the appearance of the user’s UI.
We’ll first customize the main toolbar so that only a custom button is available. To do so, we need to set the toolbarItems configuration option with our custom button and add an onPress handler to it, which will be called when the button is pressed.
For this, we’ll need to go back into our custom component we initially created and call the PSPDFKit for Web API to create an annotation with random dimensions and a random position, just to see it in action:
export default {
+  data() {
+    return {
+      instance: null
+    }
+  },
	props: {
		pdfFile: {
			type: String,
			required: true,
		},
	},
	watch: {
		pdfFile(val) {
+			if (val) {
+        this.loadPSPDFKit().then((instance) => {
+          this.instance = instance;
+        });
+      }
		},
	},
	methods: {
		async loadPSPDFKit() {
			PSPDFKit.unload('.pdf-container');
			return PSPDFKit.load({
				// Import the PDF file from the component's props.
				document: this.pdfFile,
        container: '.pdf-container',
+        toolbarItems: [
+          {
+            type: "custom",
+            title: "Random rectangle",
+            className: "randomRectangle",
+            name: "randomRectangle",
+            onPress: () => {
+              // Get page `0` dimensions.
+              const { width, height } = this.instance.pageInfoForIndex(0);
+              // Create a rectangle annotation on page `0` with a random position
+              // and random dimensions.
+              const left =
+                Math.random() *
+                (width - PSPDFKit.Options.MIN_SHAPE_ANNOTATION_SIZE);
+              const top =
+                Math.random() *
+                (height - PSPDFKit.Options.MIN_SHAPE_ANNOTATION_SIZE);
+              this.instance.createAnnotation(
+                new PSPDFKit.Annotations.RectangleAnnotation({
+                  pageIndex: 0,
+                  boundingBox: new PSPDFKit.Geometry.Rect({
+                    left,
+                    top,
+                    width: Math.random() * (width - left),
+                    height: Math.random() * (height - top)
+                  })
+                })
+              );
+            }
+          }
+        ]
			});
		},
	},
	beforeDestroy() {
		PSPDFKit.unload('.pdf-container');
	},
	mounted() {
		this.loadPSPDFKit().then((instance) => {
+      this.instance = instance;
			this.$emit('loaded', instance);
		});
	},
};
For this extra implementation, we’ll need the previously omitted data() attribute to pass the instance object we receive as a return value from PSPDFKit.load(). This allows us to access the PSPDFKit viewer instance from within the component. Now, to keep it updated whenever a new PDF file is passed to the component, this logic needs to be added to the logic included in the pdfFile element of the watch: listener as well.
That was easy! If we rebuild our Vue.js application, we’ll now see that the main toolbar is empty, except for our custom button. Pressing the button will create a randomly positioned rectangle annotation on page 0 of our PDF.
This is just a mere glance at the possibilities offered by the PDF format. Other annotation types that can be added to PDF documents include ink, ellipses, text, images, polygons, and polylines. We just have to choose our desired type and call instance.create() with the required properties.
You can find out more about how to use PSPDFKit.Instance#create() by browsing the PSPDFKit for Web API reference.
Conclusion
In this blog, we walked through how to integrate PSPDFKit’s JavaScript PDF library with the Vue.js framework. Once you’ve got it up and running, you can enable additional features and customizations in your application:
-
And much more
At PSPDFKit, we offer a commercial, feature-rich, and completely customizable Vue.js PDF library that’s easy to integrate and comes with well-documented APIs to handle advanced use cases. Try it for free, or visit our web demo to see it in action.
This post was originally published in October 2018, and it was updated by Miguel Calderón to include instructions to annotate the PDF.

As part of the Web Team, Miguel loves finding new challenges and trying to determine what the newest technologies can do to improve our product. Writing fiction, reading, and traveling are his passions the rest of the time.


