PSPDFKit for Android can be evaluated without a trial license key, but with certain limitations (such as a red watermark added to documents). To evaluate without limitations, get a trial key.
PSPDFKit does not collect any data during your evaluation of the SDK.
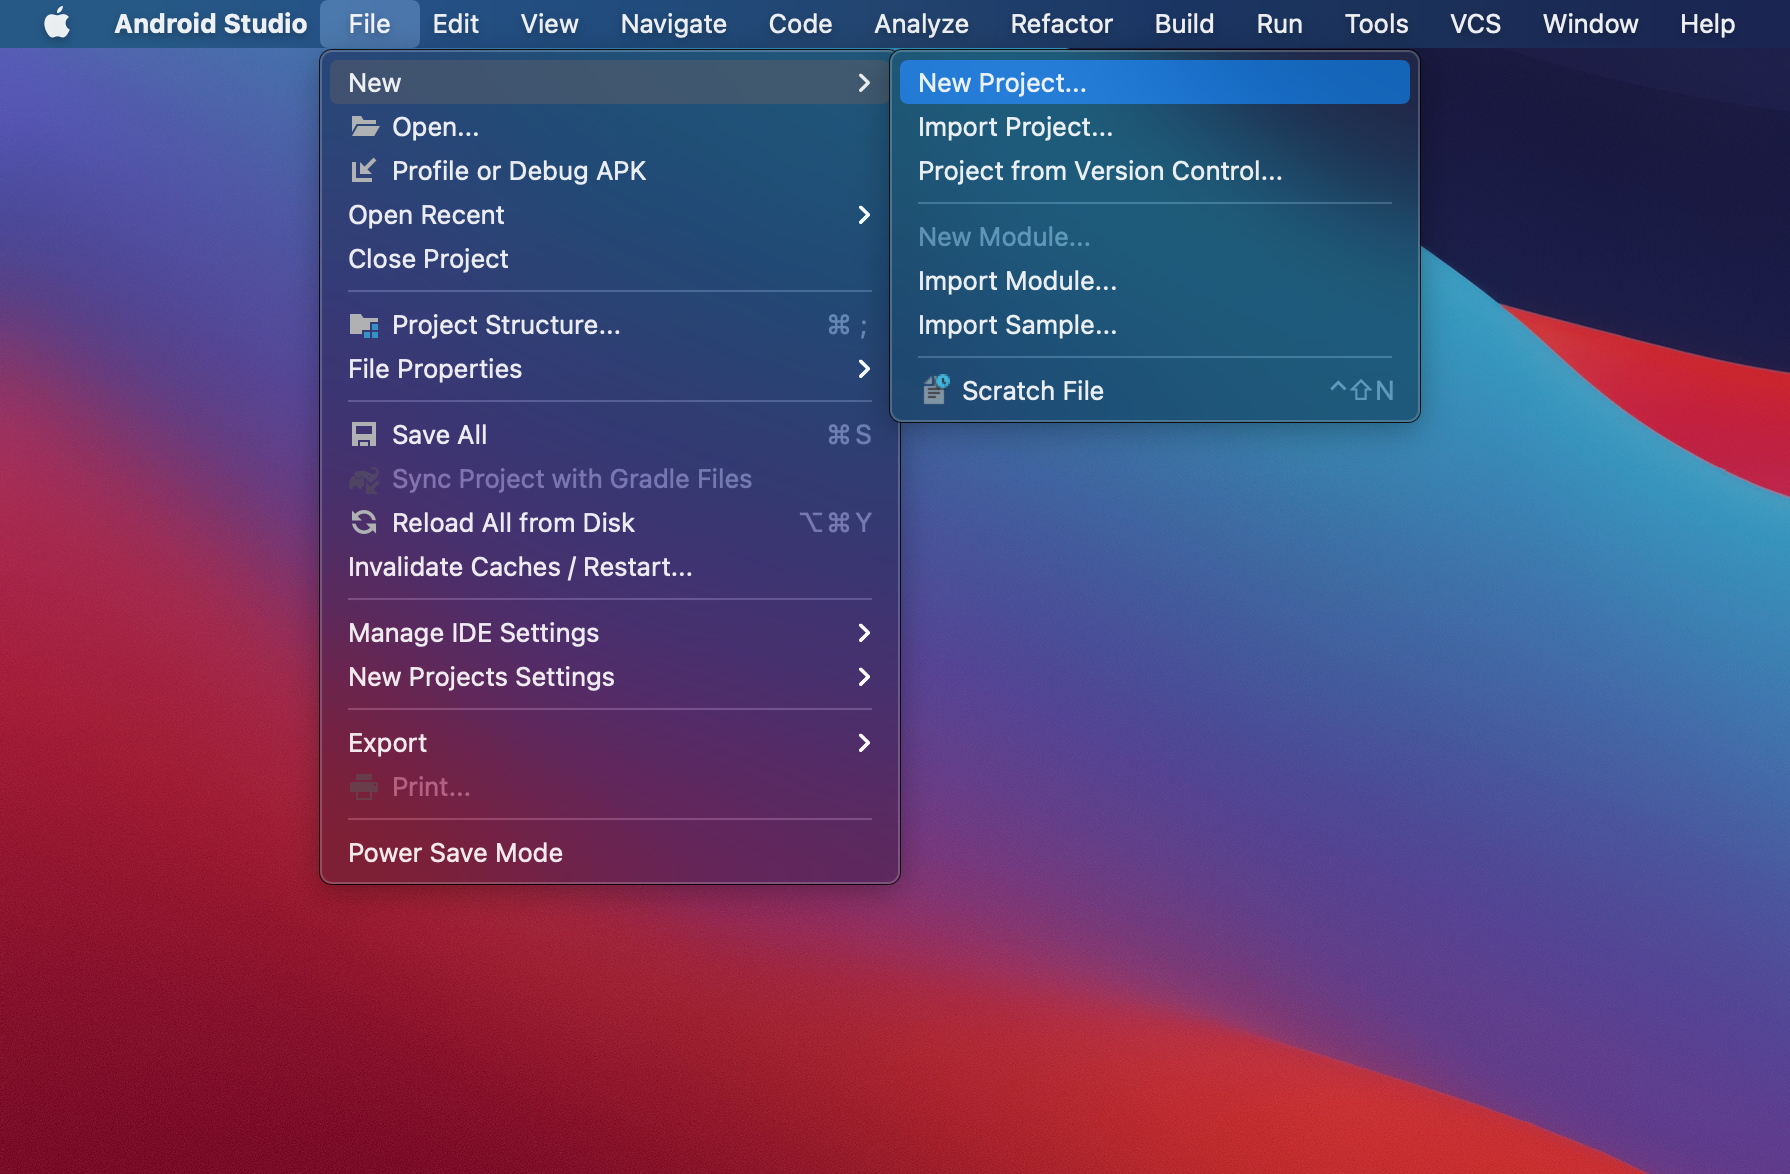
Creating a New Project
-
Open Android Studio and select File > New > New Project… to create a new project for your application:
-
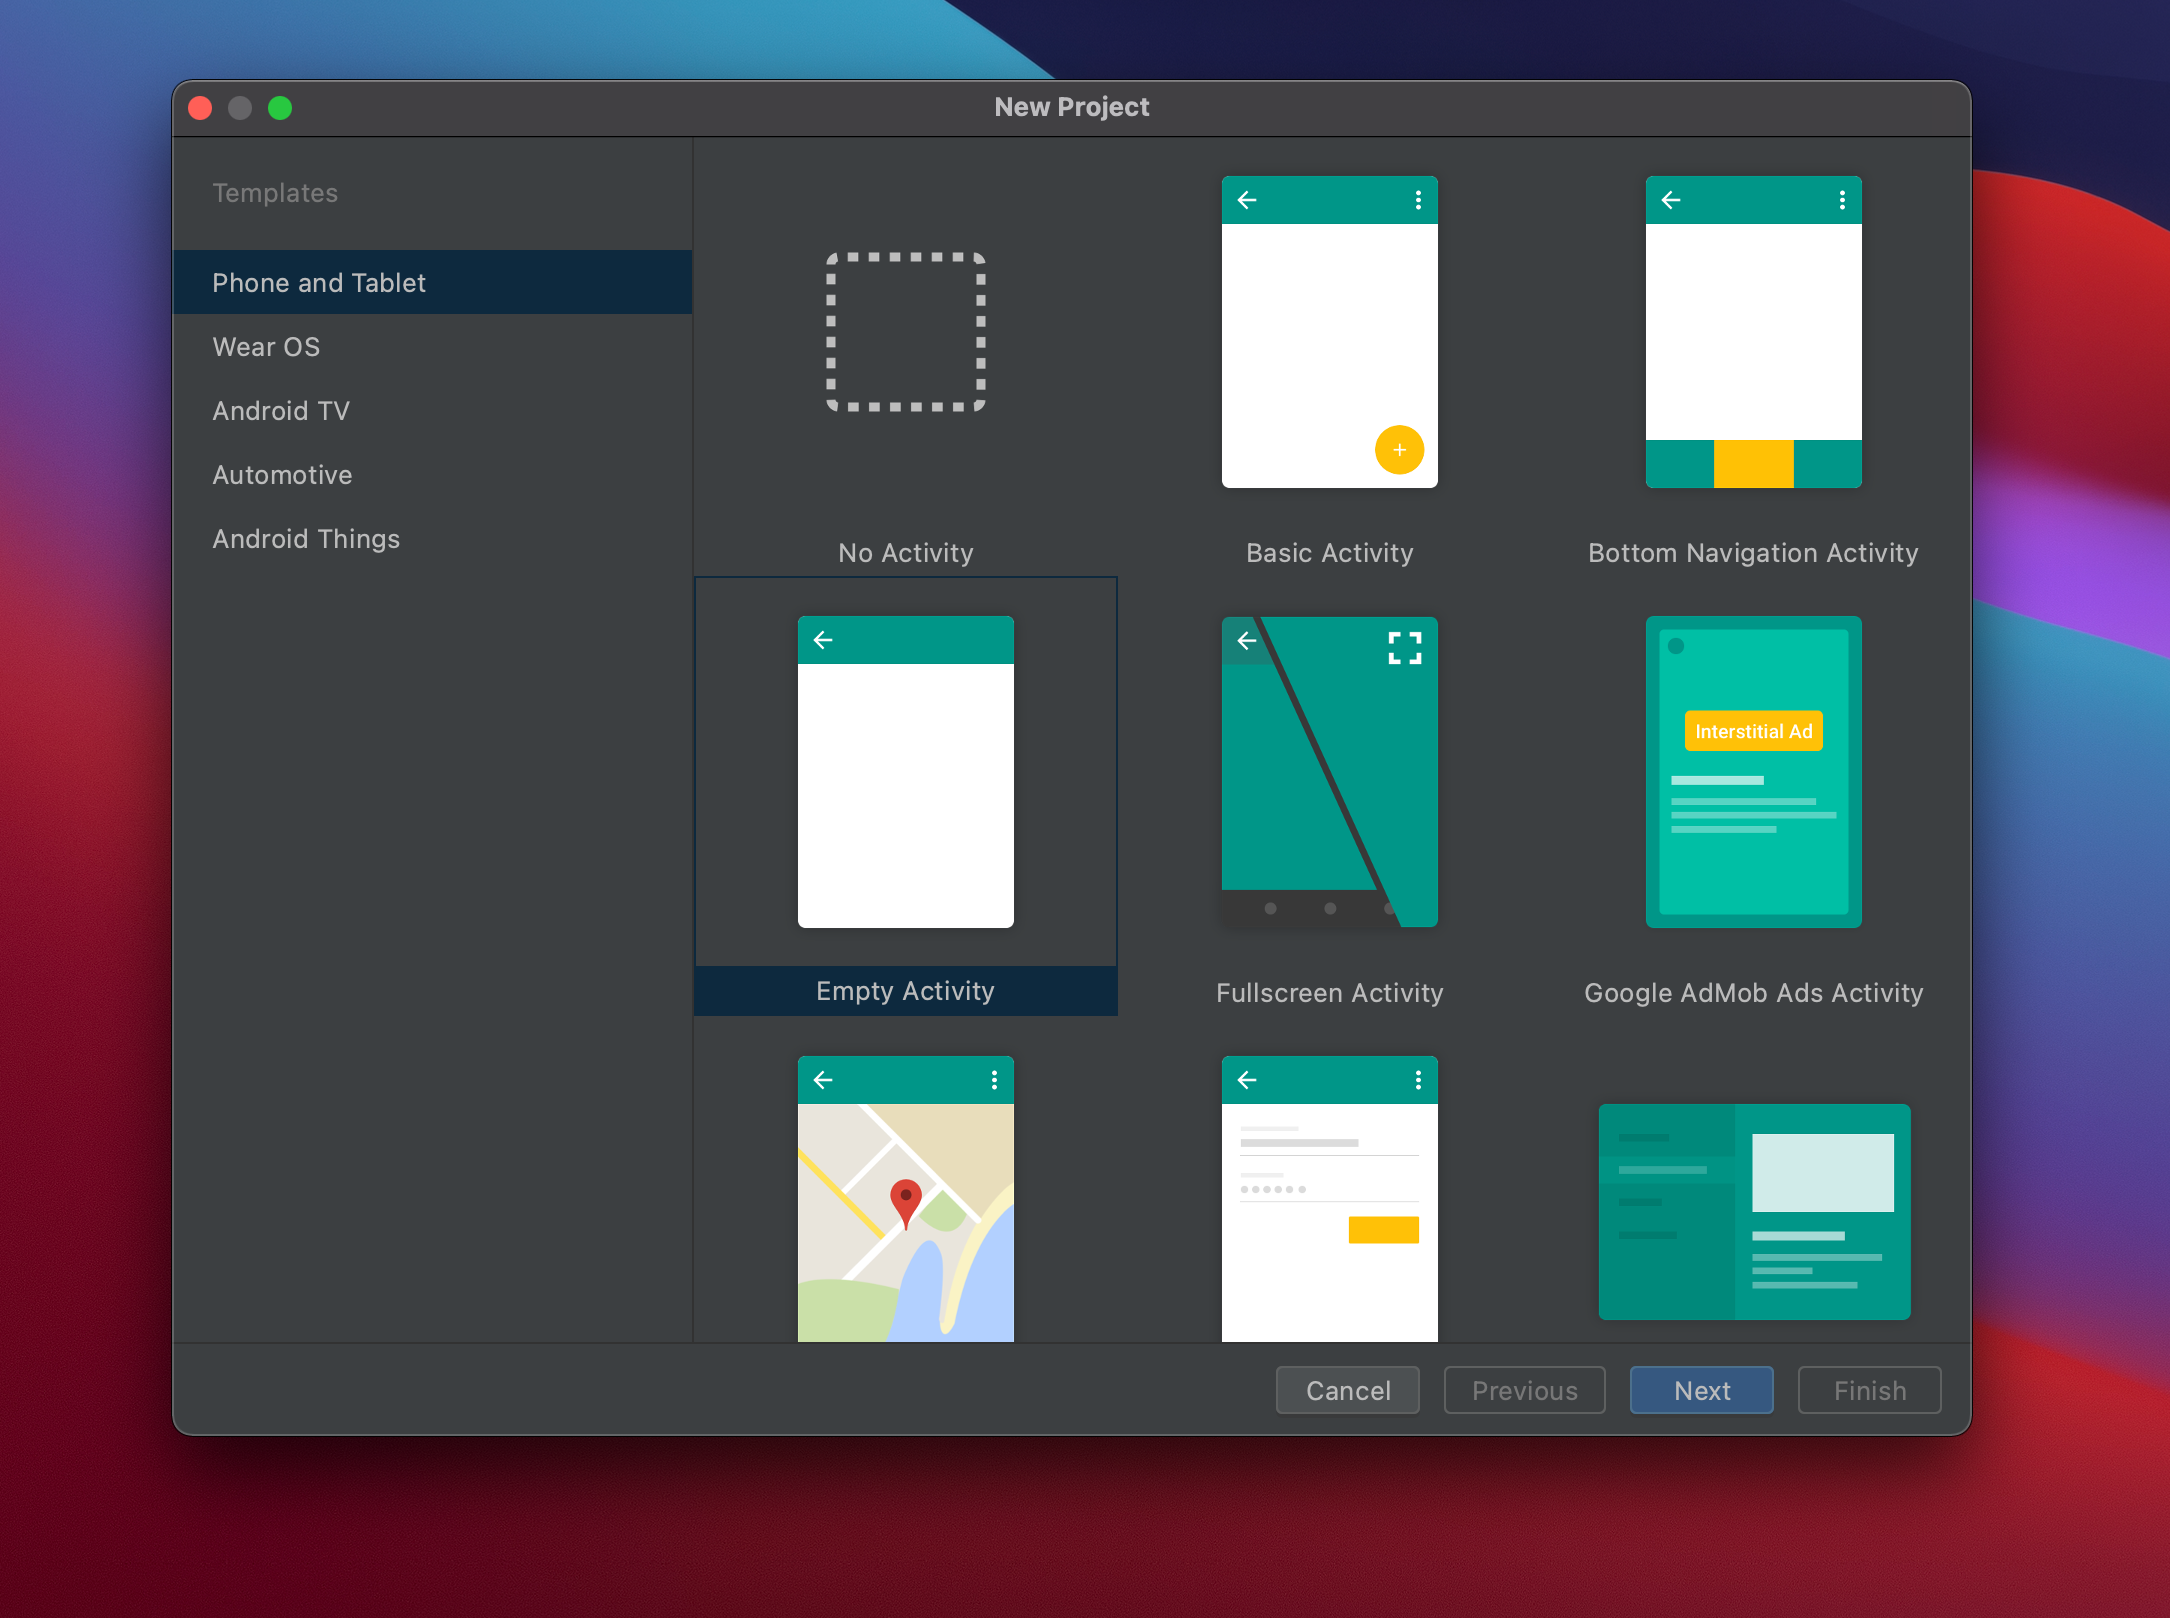
Choose the correct template for your project. In this example, you’ll use Empty Activity:
-
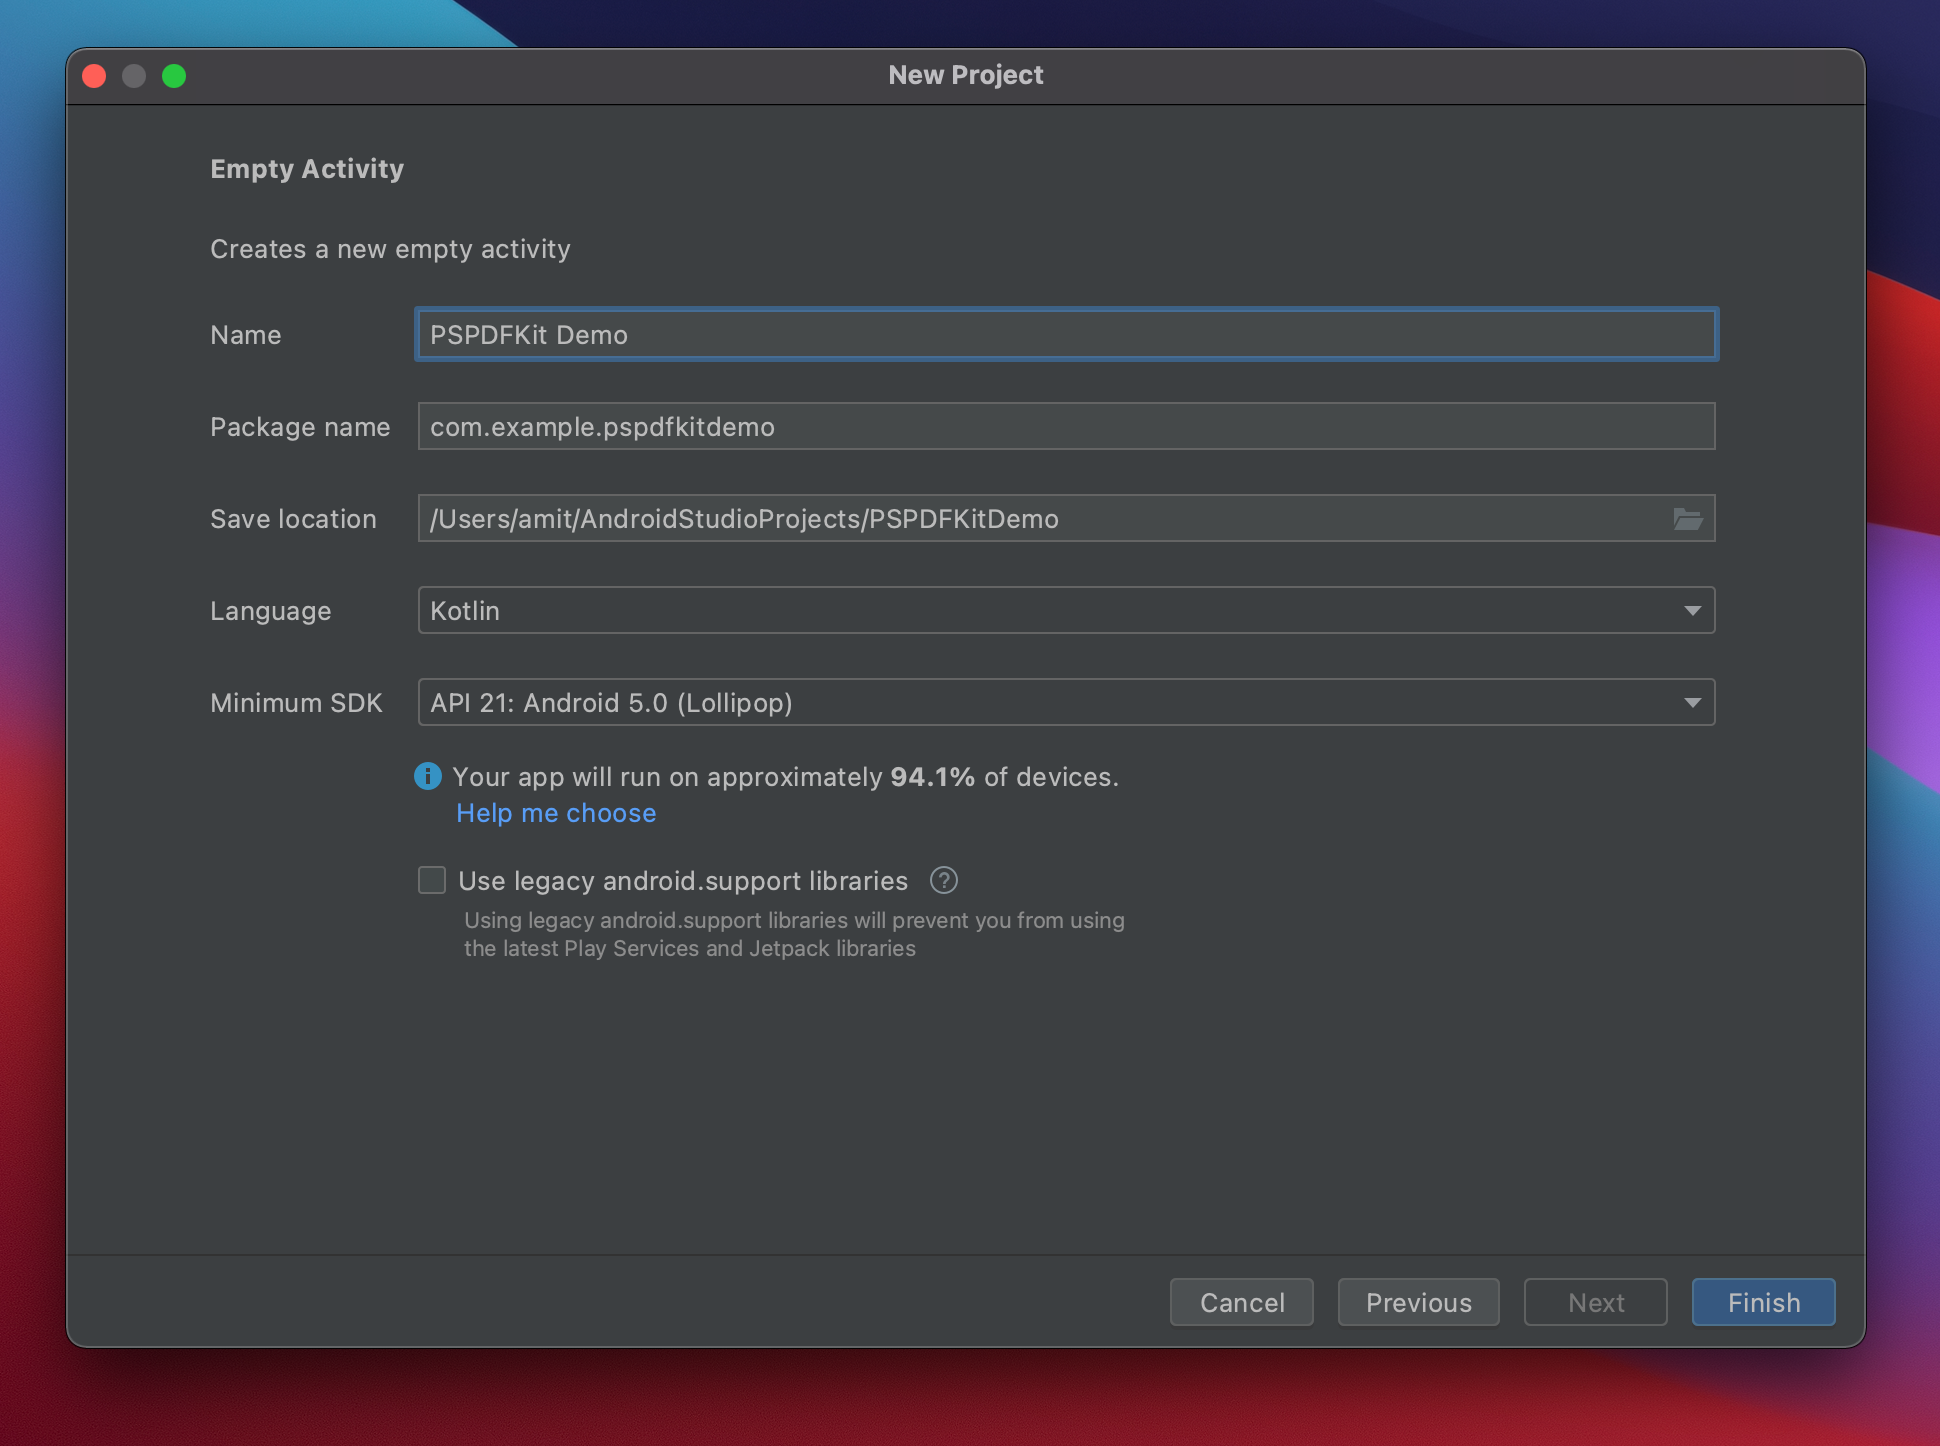
When prompted, choose your app name (PSPDFKit Demo) and set the Save location, Language, and Minimum SDK (21), of your choice:
-
Click Finish to save the project to your default project location.
Adding PSPDFKit to Your Project
-
In the
settings.gradlefile at the root of your project, add the PSPDFKit Maven repository:
dependencyResolutionManagement {
	repositoriesMode.set(RepositoriesMode.FAIL_ON_PROJECT_REPOS)
	repositories {
		google()
		mavenCentral()
		maven {
			url = uri("https://my.pspdfkit.com/maven")
		}
	}
}
dependencyResolutionManagement {
repositoriesMode.set(RepositoriesMode.FAIL_ON_PROJECT_REPOS)
repositories {
google()
mavenCentral()
maven {
url "https://my.pspdfkit.com/maven/"
}
}
}-
In your
app/build.gradlefile, add the PSPDFKit dependency:
dependencies {
	implementation("com.pspdfkit:pspdfkit:2024.2.1")
}
dependencies {
implementation "com.pspdfkit:pspdfkit:2024.2.1"
}Configuring Your Build
PSPDFKit is supported on Android devices running API level 21 and newer and targeting the latest stable Android API version (API 34). Furthermore, PSPDFKit requires apps to enable, at minimum, Java 8 language features to build — though we recommend the default 17.
Inside your app/build.gradle file, make sure to have the following configuration:
android {
    compileSdk 34

    defaultConfig {
        applicationId 'com.example.app'
        minSdk 21
        targetSdk 34
    }

    compileOptions {
        sourceCompatibility JavaVersion.VERSION_17
        targetCompatibility JavaVersion.VERSION_17
    }
}
android {
compileSdk = 34
defaultConfig {
applicationId = "com.example.app"
minSdk = 21
targetSdk = 34
}
compileOptions {
sourceCompatibility = JavaVersion.VERSION_17
targetCompatibility = JavaVersion.VERSION_17
}
}With
minSdkset to21, your app is available on more than 98.6 percent of devices on the Google Play Store (last update: October 2023).
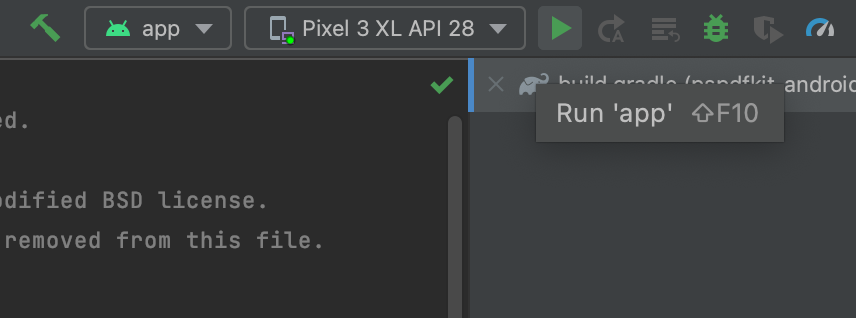
Displaying a PDF
To verify that PSPDFKit was successfully integrated into your app, try opening a PDF file with the ready-to-use PdfActivity.
-
Optional: If you have a trial key or license key, add it to your
AndroidManifest.xml:
<application>
    <meta-data
        android:name="pspdfkit_license_key"
        android:value="YOUR_LICENSE_KEY_GOES_HERE" />

    ...
</application>
See our license key guide for more information.
-
Copy a PDF document into the assets directory of your Android project — for example, to
src/main/assets/my-document.pdf. -
Add
PdfActivityto your app’sAndroidManifest.xml:
<application>
    ...

    <activity
        android:name="com.pspdfkit.ui.PdfActivity"
        android:windowSoftInputMode="adjustNothing" />
</application>-
You can now start
PdfActivitywith the document from your assets directory:
class MainActivity : AppCompatActivity() {
    override fun onCreate(savedInstanceState: Bundle?) {
        super.onCreate(savedInstanceState)
        setContentView(R.layout.activity_main)

        val uri = Uri.parse("file:///android_asset/my-document.pdf")
        val config = PdfActivityConfiguration.Builder(this).build()
        PdfActivity.showDocument(this, uri, config)
    }
}
class MainActivity extends AppCompatActivity {
    @Override
    protected void onCreate(@Nullable final Bundle savedInstanceState) {
        super.onCreate(savedInstanceState);
        setContentView(R.layout.activity_main);

        final Uri uri = Uri.parse("file:///android_asset/my-document.pdf");
        final PdfActivityConfiguration config = new PdfActivityConfiguration.Builder(context).build();
        PdfActivity.showDocument(this, uri, config);
    }
}
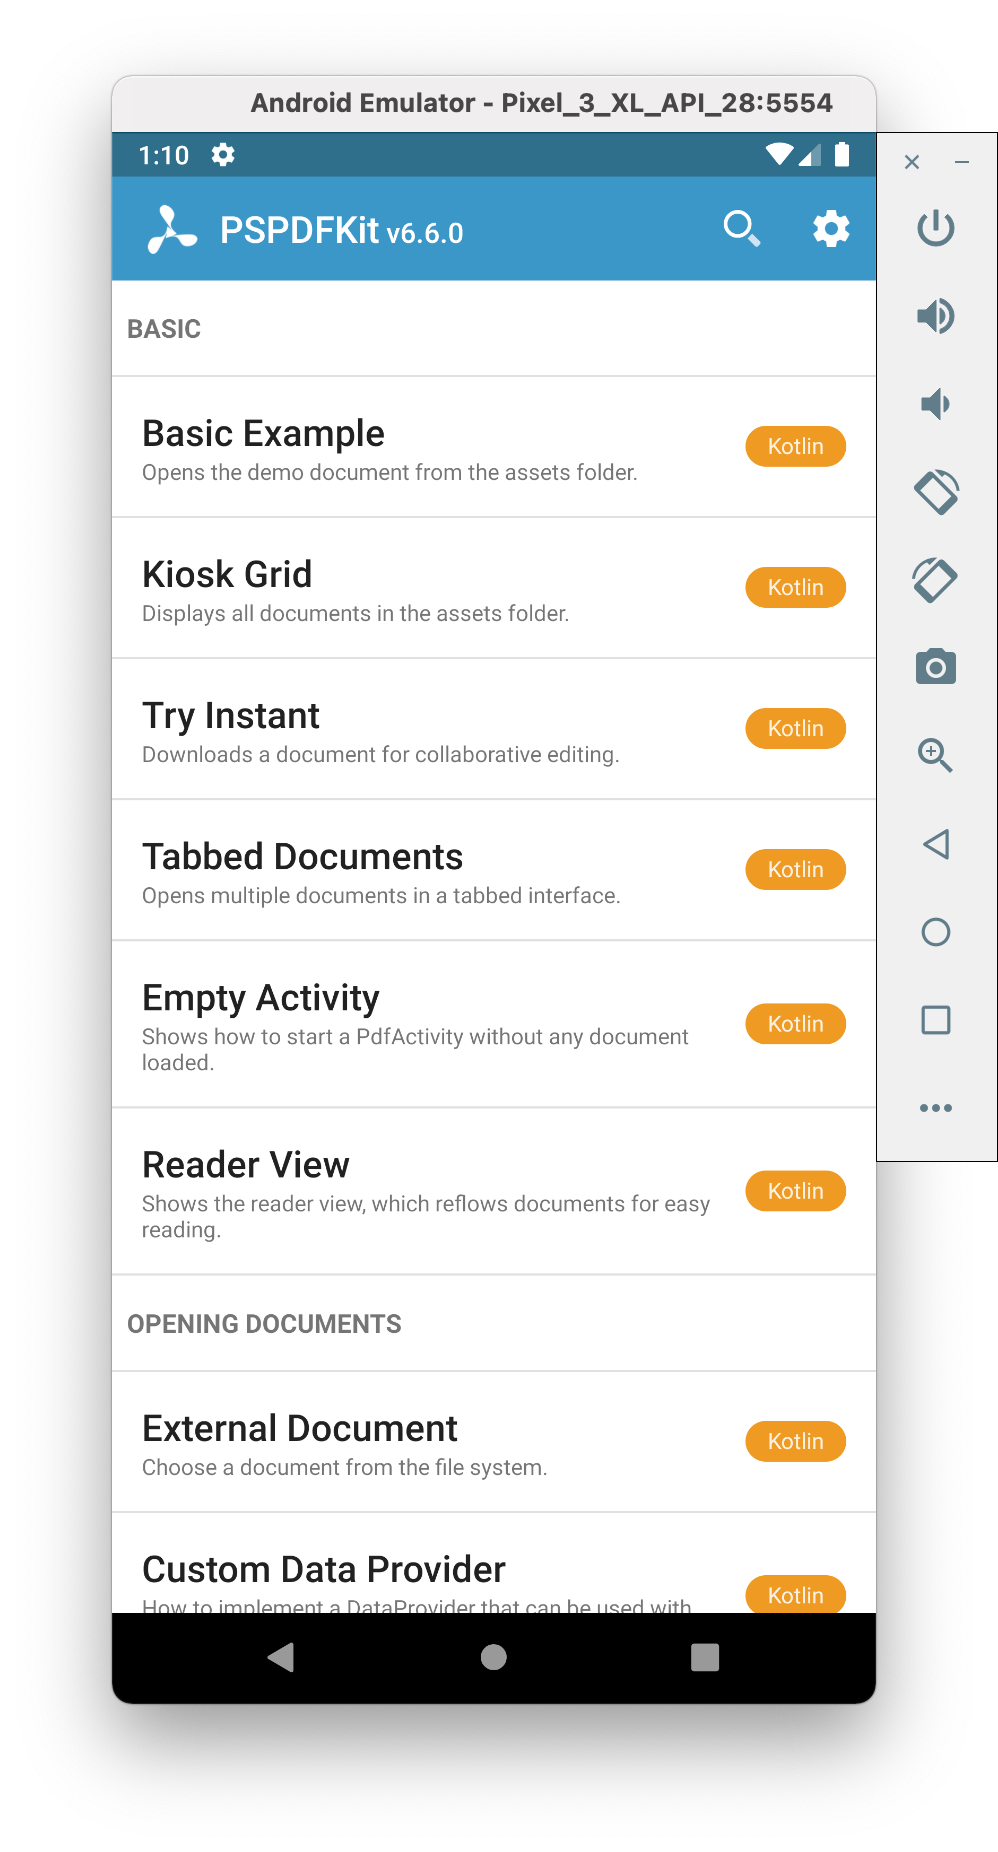
-
PdfActivitywill now present the document from your assets directory.
Note that the
android_assetsfolder is read-only and is used as a simple example. For actual usage, you might want to copy the file to a local folder first for full read and write privileges. You can read more about this in our guide on opening PDFs from URLs and in Google’s Data and file storage overview.