PDF Annotations with JavaScript — A Complete Overview
 Hussain Arif

In this post, we’ll cover different types of PDF annotations and their potential use cases, and we’ll also show you how to implement PDF annotations in your apps by interacting with PSPDFKit’s annotation library via JavaScript code.
What Are PDF Annotations?
PDF annotations are objects — like text, graphics, highlights, text boxes, etc. — that you can add to a PDF document without changing the content. They’re useful for reviewing documents, collaborating with others, and implementing interactive features such as forms.
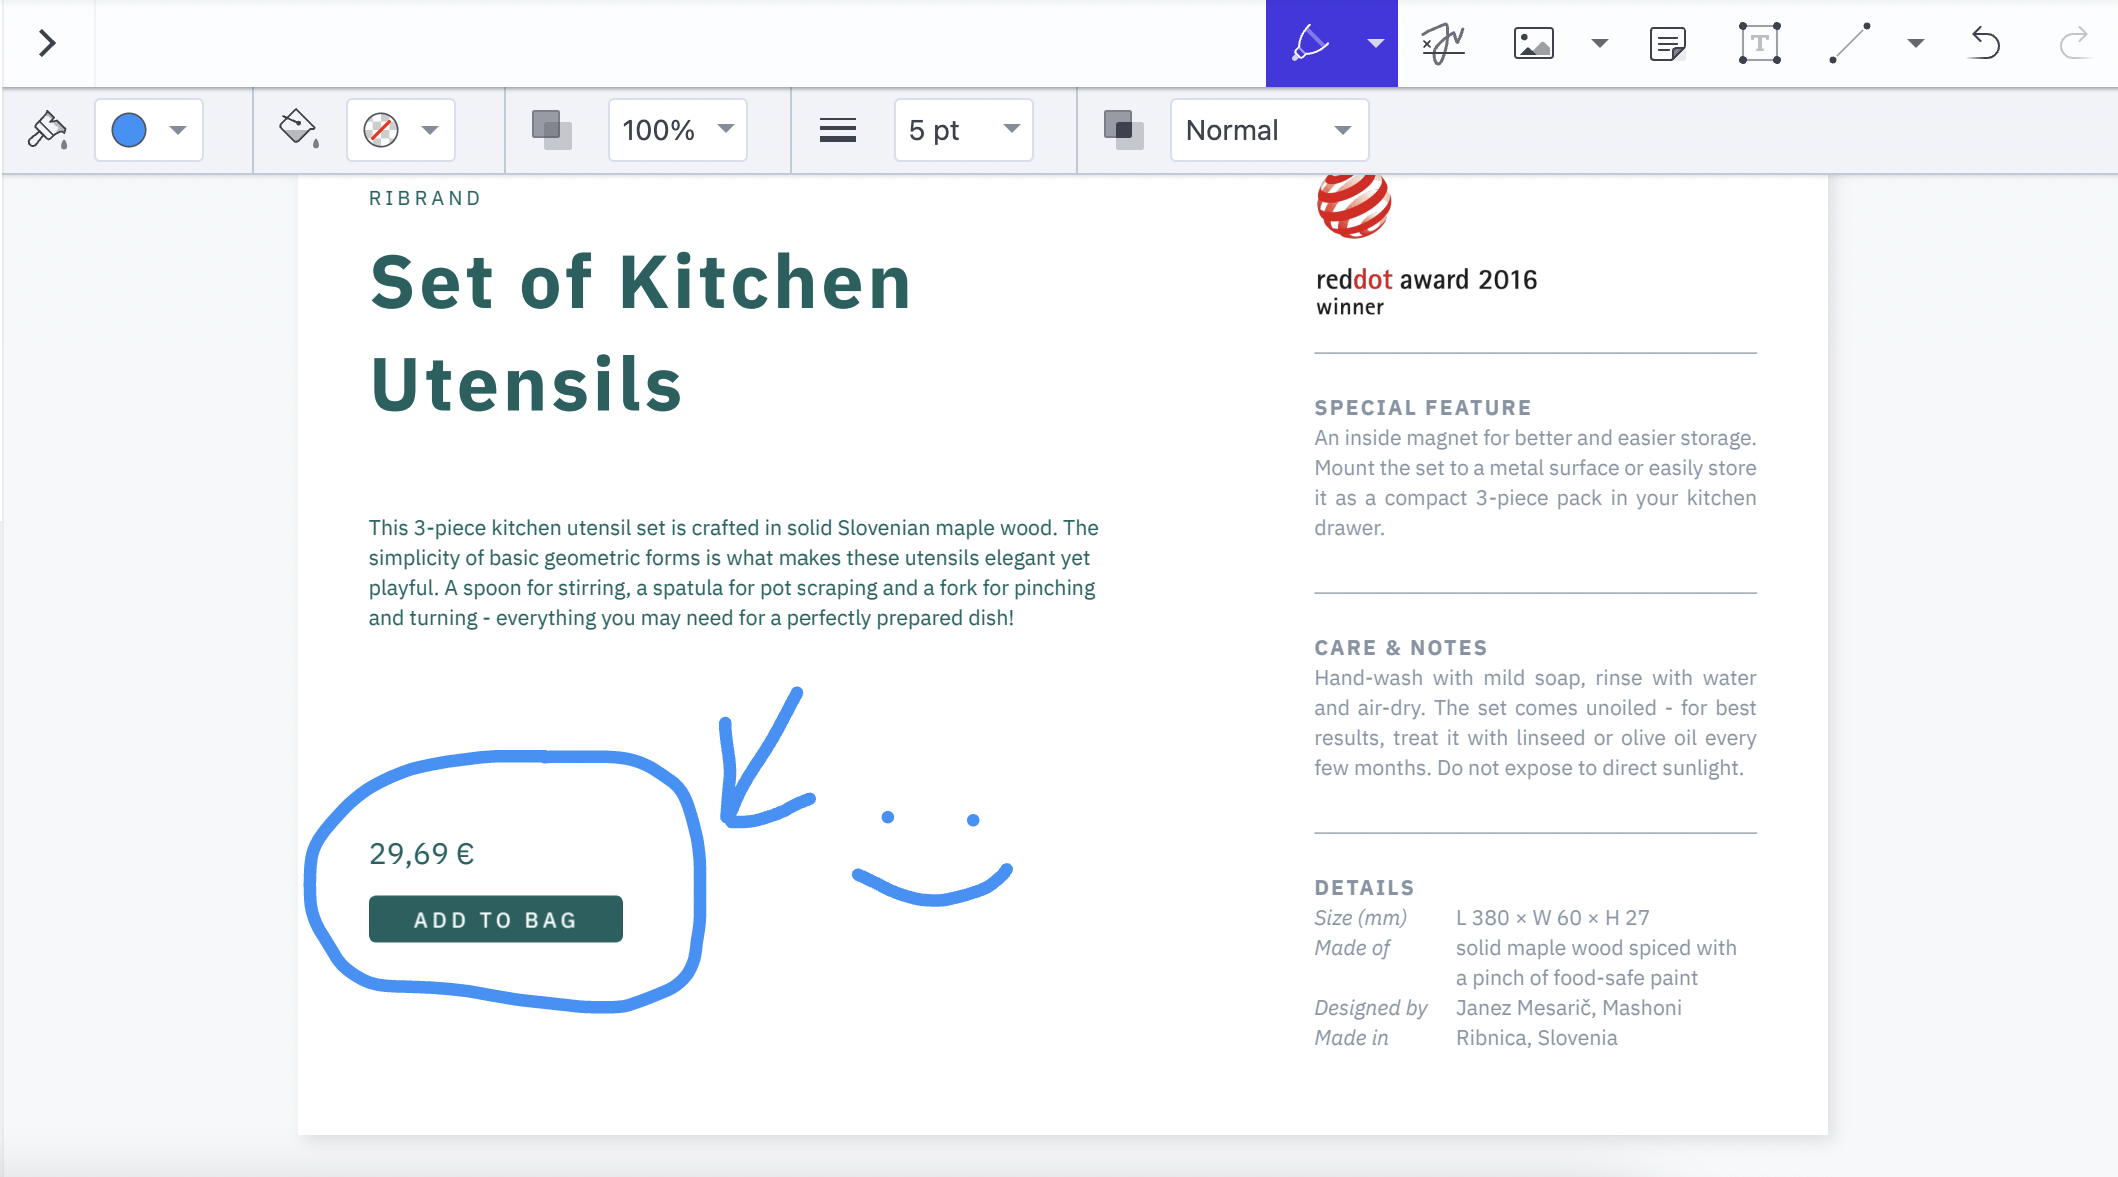
Normally, to annotate a document, you’d open a PDF in a third-party PDF editor and select an annotation tool:
But in place of an app, you can annotate PDF documents using JavaScript code.
This means everything is run on the client side and not on an external server. This is useful in situations where user privacy is important, since the server isn’t processing any sensitive data.
Types of PDF Annotations
The PDF specification supports many types of annotations. They come in two categories:
-
Markup annotations — These are used to mark up the content of a PDF file. They’re typically used during a review process to allow your users to collaborate, emphasize parts of the text, and take notes.
-
Non-markup annotations — These are used for non-markup purposes such as adding multimedia or fillable form fields to an existing PDF.
Next, we’ll cover a few popular types of annotations.
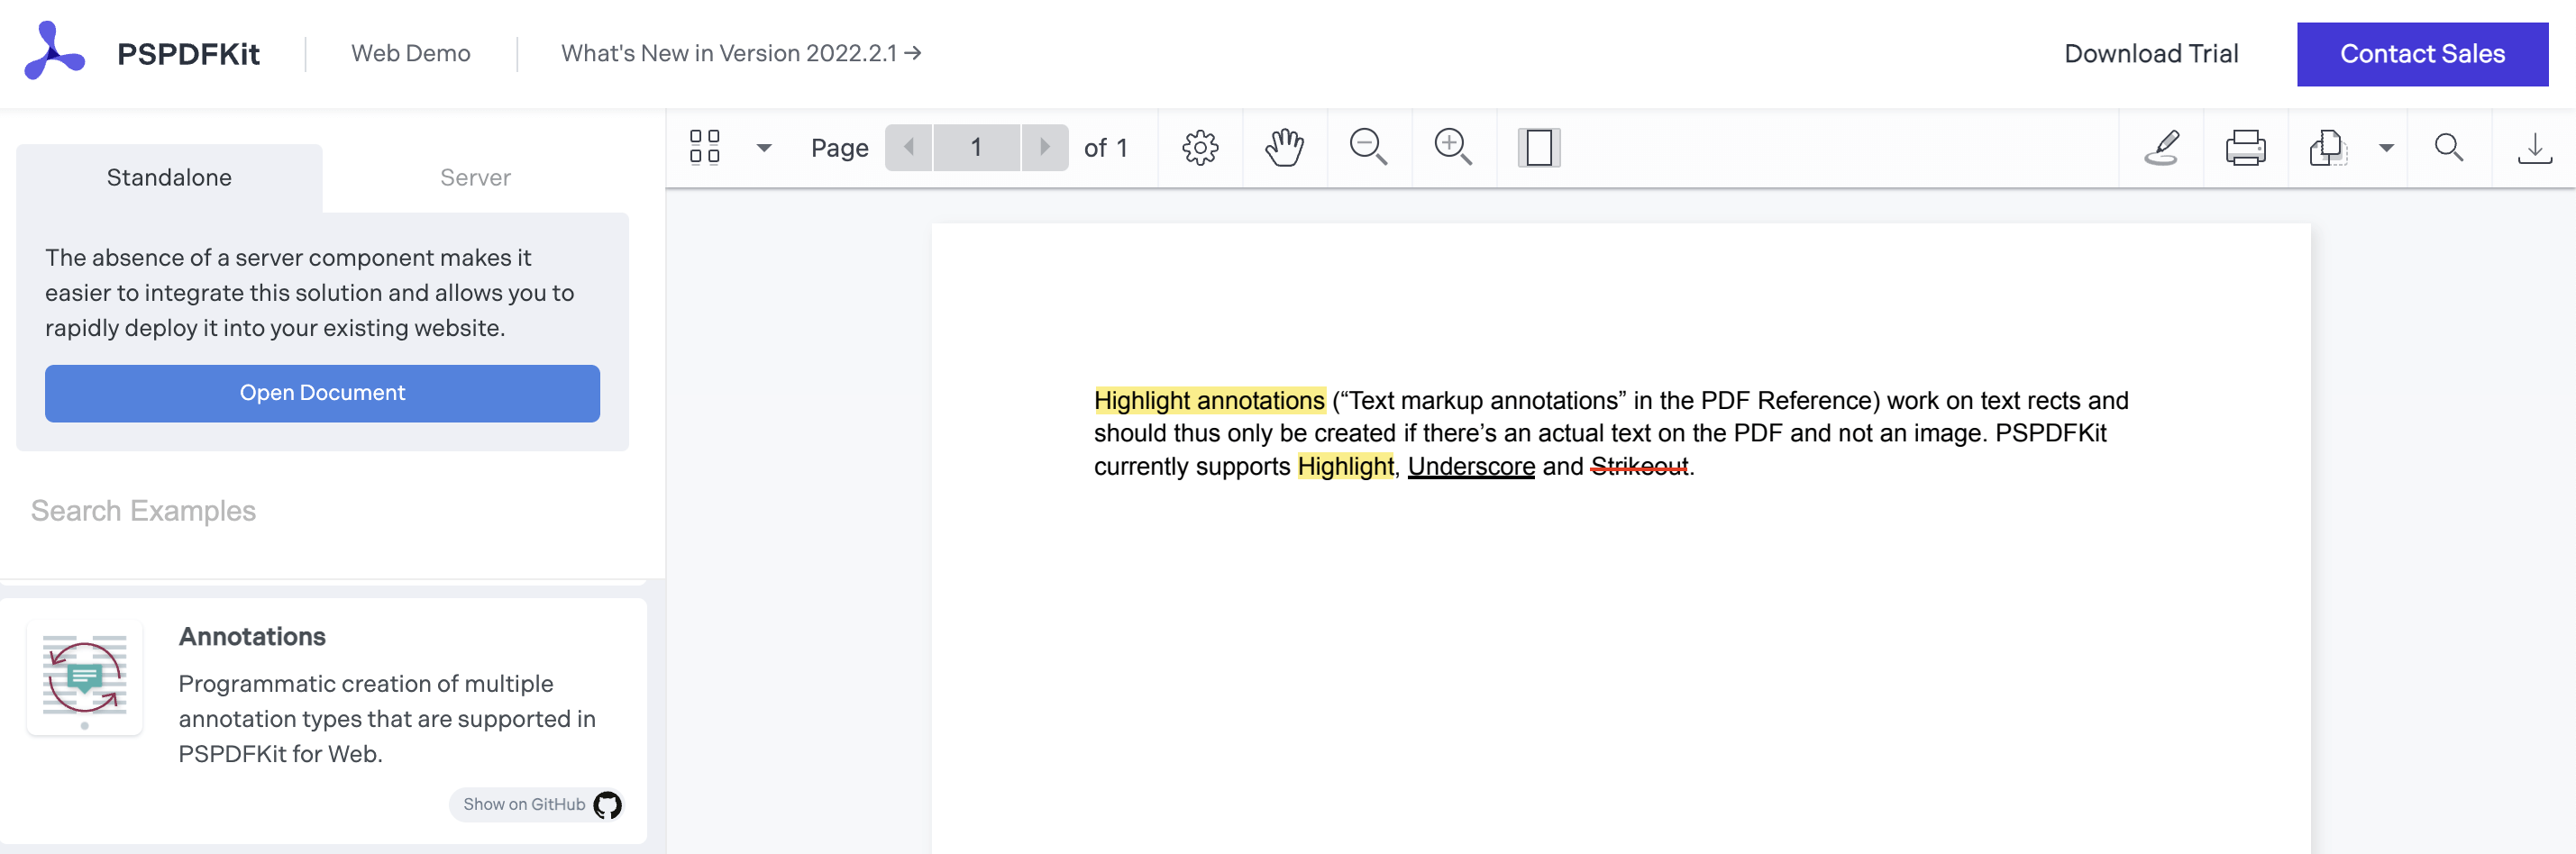
Text Markup
Text markup is used to annotate text in a PDF document. It can include highlighters, underlines, or strikeout annotations.
Drawing Annotations
Drawing annotations are used to draw and write on a PDF page. You can customize the color, thickness, and transparency of the annotation tool.
Widget Annotations
Widgets are non-markup annotations. They appear in interactive forms, which include buttons, radio buttons, text fields, signature form fields, list boxes, and combo boxes. They can be used to create forms from flat documents.
Shape Annotations
These annotation types allow you to add a shape like a circle, box, or arrow annotation into a document. Cloudy annotations are commonly used in construction software to indicate a change in a plan.
Measurement Annotations
With measurement tools, users can calculate dimensions, measure distances between lines, or trace the perimeter of drawings in a PDF document. To ensure accuracy, the scale of measurement can be changed to match the scale of the document.
Text Annotations
This annotation type lets a user add text to a document. Users can do this by inserting a sticky note, adding a comment, or clicking and dragging a freeform text box.
Stamp Annotation
These annotation types allow users to quickly indicate the status of a document by — for example — adding an Approved or Declined stamp. They can also be used as a call to action in a document, where a user could add a stamp for a next step, such as Needs Signature.
Image Annotation
This type of annotation allows a user to upload and resize an image in their PDF. This annotation type can be used to quickly replace images within a document.
You can learn more about annotation types in this blog post.
Annotating in the UI vs. Programmatically
There are two ways to annotate PDF files: UI-based annotation and code-based annotation.
UI Annotation
With this method, the user selects an annotation tool in a PDF viewer and modifies a file manually.
Programmatic Annotation
With programmatic annotation, a document is annotated automatically based on predefined rules written in the code. Programmatic annotation can be performed as part of an automation workflow or during runtime when a PDF is opened, or it can be manually triggered by the user.
This way of handling annotations is necessary for the following situations:
-
Automation workflow — Governments and banks use automation software to stamp and insert timestamps on digital documents, which makes the process quicker and more efficient.
-
User-triggered events — If a user inputs text into a text field, the PDF runs JavaScript code to verify whether the data matches a predefined format. This ensures validation is done during runtime with zero human error.
-
Customization — Some PDF programs apply personal logos and convert text into clickable links.
Common Use Cases for PDF Annotations
There are many ways to use PDF annotations, but these are some of the more common use cases:
-
Proofreading — When writing a draft of an article, editors usually mark content to let the writer know that they need to fix a typo or an error.
-
Reviewing — A document review workflow could include approving or declining a PDF with a stamp.
-
Notetaking — This allows for collaboration or personal notes. Some examples of this include teachers adding notes to student assignments, adding notes to corporate documents during a board meeting, or construction professionals adding measurements and notes to project plans.
-
Signatures — Projects like HelloSign use a custom PDF annotator that lets professionals sign documents and contracts digitally. You can also add contract finalization to your workflow by programmatically adding e-signatures.
Adding JavaScript PDF Annotations to Your Solution
There are two primary ways of adding JavaScript PDF annotation capabilities to your solution, and this next section will outline them.
Building Your Own PDF Annotation JavaScript Solution
One of the challenges of building your own solution is that there are currently no open source annotation libraries available. In all likelihood, you’ll need to start from scratch when building annotations into your application or software.
It’s important to understand that PDF documents are incredibly complex file formats — the PDF specification has more than 1,000 pages. As such, you’ll need to have a general understanding of PDFs to build the logic of adding an annotation to a layer over a document at a precise point. This process typically involves deploying, testing, and continually refining the logic until it’s reasonably accurate.
Once you’ve developed the logic, you’ll need to design the UI and icons for the annotation function in your app. This process involves first defining your toolbar layout, and then building it to account for both small and large screens.
The last factor involves maintaining your custom annotation solution over time. We’ve heard from customers who have built their own custom annotation solution on top of PDF.js — which is an open source JavaScript library built by Mozilla — and then struggled maintaining the project. With each new release, they needed to divert developers from working on their current tasks to spending time fixing bugs.
Commercial Options for PDF Annotations with JavaScript
Since developing a document annotator can be a time-consuming endeavor, you may want to look for an out-of-the-box commercial solution. This is where PSPDFKit’s JavaScript PDF annotation library could be useful.
It offers:
-
17 annotation types, with more to come.
-
The ability to customize annotations — for example, you can change the color, shape, and size.
-
The ability to sync annotations between devices (requires server deployment).
-
Comment threads you can enable so your user can have real-time conversations in a document (requires server deployment).
-
Tooltips, which can be designed according to your needs.
-
Support for a plethora of web frameworks. This means the client doesn’t have to write APIs for multiple programming languages.
You can view our demo to see what PSPDFKit is capable of and determine how you can use it for your project.
Integrating PSPDFKit Annotations in JavaScript
Now that you’ve learned all about annotations, in this section, you’ll use our JavaScript API to work with annotations.
Project Setup
As a first step, initialize a project with npm. You can do this with the following:
mkdir pspdfkit-tutorial
cd pspdfkit-tutorial
npm init -y       # Initialize the project.
mkdir src         # This folder will hold the main code.
cd src            # Navigate into the code folder.
touch index.html  # Client-side HTML will be served to the user.
touch index.js    # Server-side JavaScript will serve your PDF.
Next, since this app will be using the pspdfkit module, install it in your project:
npm install pspdfkit

# Get assets so you can use them in your project.
mkdir assets && cp -R ./node_modules/pspdfkit/dist/ ./src/assets/
When that’s done, navigate to your src folder. Here, add a PDF file of your choice for annotation purposes. You can use this demo document as an example.
Now, create a new file within your src folder called helperFunctions.js. As the name suggests, this file will hold utility methods needed to embed annotations into your project.
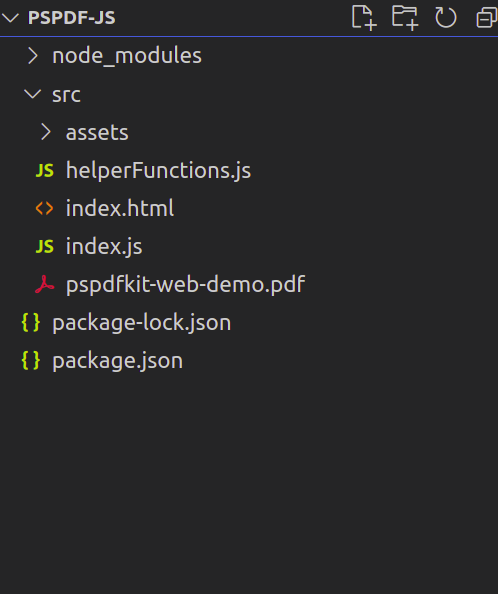
In the end, your folder structure should look like this:
Loading PDFs
In this section, you’ll write JavaScript instructions to serve your PDF file in the browser. Begin by entering the following code in index.js:
// src/index.js

import './assets/pspdfkit.js';

// You need to inform PSPDFKit where to look for its library assets, i.e. the location of the `pspdfkit-lib` directory.
const baseUrl = `${window.location.protocol}//${window.location.host}/assets/`;

async function renderPDF() {
	const instance = await PSPDFKit.load({
		baseUrl,
		container: '.pspdfkit', // Load the PDF into the `div` with the 'pspdfkit' class.
		document: './pspdfkit-web-demo.pdf', // Location of your document.
	});
	console.log('PSPDFKit loaded', instance);
}
await renderPDF();
Here, you created a function called renderPDF. When the program executes this method, JavaScript will call the PSPDFKit.load function. As a result, the library will display the document to the client.
All that’s left is to export this module and run it within HTML code. To do so, paste this snippet into index.html:
<!--- src/index.html --->

<html>
	<!--- Your PDF will go here --->
	<div class="pspdfkit" style="width: 100%; height: 100vh"></div>

	<!--- Load index.js file --->
	<script type="module" src="./index.js"></script>
</html>
Now it’s time to test it out! To do so, run the following command:
npx serve -l 8080 ./src # Build the `src` directory and run it on port 8080.
Adding Text Annotations
PSPDFKit uses the PSPDFKit.Annotations.TextAnnotation class for embedding text annotations.
To use text annotations, enter the following block of code in the helperFunctions.js file:
// src/helperFunctions.js

import './assets/pspdfkit.js';

async function createTextAnnotation(instance) {
	const annotation = new PSPDFKit.Annotations.TextAnnotation({
		pageIndex: 0, // Which page should have this annotation.
		text: {
			format: 'plain',
			value: 'Welcome to\nPSPDFKit',
		}, // Text to embed in the annotation.
		font: 'Helvetica',
		isBold: true,
		horizontalAlign: 'center', // Align your text to the center of the page.
		boundingBox: new PSPDFKit.Geometry.Rect({
			// The position of your annotation.
			left: 50,
			top: 200,
			width: 100,
			height: 80,
		}),
		fontColor: PSPDFKit.Color.BLACK, // Color of your chosen text.
	});
	const createdAnnotation = await instance.create(annotation); // In the end, attach this annotation to your PDF.
	return createdAnnotation;
}
export { createTextAnnotation }; // Export function so you can use it in your project.
When that’s done, all that’s left is to use your newly created helper function. To make this possible, insert this at the end of the renderPDF function in index.js:
// src/index.js

import { createTextAnnotation } from "./helperFunctions.js"; // Import this function.

function renderPDF() {
	// ... Extra code removed for brevity.
	await createTextAnnotation (instance); // Execute this function to embed text.
}
Creating Ink Annotations
To insert ink annotations, you’ll use the PSPDFKit.Annotations.InkAnnotation class.
In helperFunctions.js, add the following:
// src/helperFunctions.js

async function createInkAnnotation({ instance, x1, y1, x2, y2 }) {
	// Extract the `List`, `DrawingPoint`, `Rect`, and `InkAnnotation` properties from PSPDFKit.
	// These are needed to render annotations onto the screen.
	const { List } = PSPDFKit.Immutable;
	const { DrawingPoint, Rect } = PSPDFKit.Geometry;
	const { InkAnnotation } = PSPDFKit.Annotations;
	// Initialize your ink annotation instance:
	const annotation = new InkAnnotation({
		pageIndex: 0,
		boundingBox: new Rect({ width: 400, height: 100 }), // Position of the annotation.
		strokeColor: new PSPDFKit.Color({ r: 100, b: 30, g: 255 }), // Sets the color of the stroke.
		lines: List([
			// Coordinates of the stroke.
			List([
				new DrawingPoint({ x: x1, y: y1 }), // Starting (x,y) coordinates of the line.
				new DrawingPoint({ x: x2, y: y2 }), // Final (x,y) coordinates.
			]),
		]),
	});
	const createdAnnotation = await instance.create(annotation);
	return createdAnnotation;
}
export { createTextAnnotation, createInkAnnotation }; // Now export the `createInkAnnotation` function.
As the last step, run the createInkAnnotation function in the index.js module:
// src/index.js

import { createInkAnnotation } from "./helperFunctions.js";

function renderPDF() {
	// More code:
	// Draw a line from (5,5) to (95,95).
   await createInkAnnotation({ instance, x1: 5, y1: 5, x2: 95, y2: 95 });
   // Draw another line from (95,5) to (5,95). This will draw a cross.
   await createInkAnnotation({ instance, x1: 95, y1: 5, x2: 5, y2: 95 });
}
This should be the outcome:
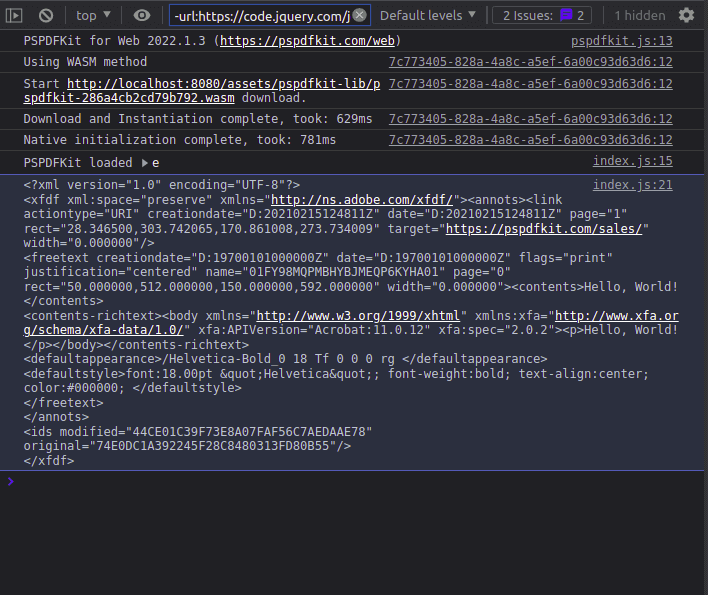
Exporting into XFDF Format
An XFDF file is an Adobe forms document that stores PDF-usable information. The data is written in XML.
You can export your modified document into XFDF via the exportXFDF method:
function renderPDF() {
	// More code.
	const XFDFData = await instance.exportXFDF(); // Retrieve the XFDF data of your document.
	console.log(XFDFData); // Log XML data into the console.
}
This will be the result:
Setting the Annotations Author
You can set the annotation author’s name using the setAnnotationCreatorName method, instance.setAnnotationCreatorName("Name");.
Additional Resources
If you want to read more about annotations and what you can do with them, you can check out our guides:
Conclusion
In this post, you learned all about PDF annotations, and you saw how to use PSPDFKit’s solutions to implement programmatic annotations in JavaScript. To request a free trial of our SDK, click here. Alternatively, you can browse our demo page to see what our API is capable of.
If you’re interested, here’s the source code of this post.