Automating macOS Provisioning with Chef

At PSPDFKit, we use Chef to automatically provision macOS machines for continuous integration (CI). Chef is a configuration management tool for streamlining the task of configuring and maintaining servers. It uses “recipes” written in Ruby that specify actions — for example, how Xcode is installed or how to add new users. Many recipes create a cookbook, which can be run to automatically provision a node.
This article is part of a series about Continuous Integration for Small iOS/macOS Teams.
Configuration Management Tools
There are quite a few options for configuration management on the market. All of them are open source and scriptable.
| Name | Script Name | Script Store | Scripting Language |
|---|---|---|---|
| Ansible | Playbooks | Ansible Galaxy | YAML |
| Chef | Cookbooks | Chef Supermarket | Ruby |
| Puppet | Manifests | Puppet Forge | Puppet DSL (Ruby based) |
| Salt | Formulas | SaltStack Formulas | YAML |
We started out using Ansible, which uses YAML for configuration. While there’s a way to call out to shell for scripting, this turned out to be cumbersome for us.
Since Ruby is used throughout most of our company, Chef was the most interesting candidate. We were already using it to set up Linux machines for our Web PDF SDK, so it made sense, as we didn’t want to unnecessarily add to the amount of tools we use.
Of course, there’s always the option to write your own shell scripts, but this is tedious, and while you might progress quickly at first, you’ll eventually miss the features these kinds of tools offer. Meanwhile, Chef makes it really easy to run commands on multiple nodes at once.
Apple’s way of provisioning macOS would be using an MDM solution via Apple’s Device Enrollment Program (DEP), however, these solutions come with their own set of bugs, and there’s very little documentation around them.
Most larger companies settled on Chef as the “hackable” solution. Microsoft, Uber, Pinterest, Gusto, and Facebook all have open sourced their Chef recipes — an incredibly useful set of almost all the actions you’d want to automate. Plus, everything is kept up to date, so moving to new OS releases is simple. The community aspect is what made us confident in our choice to use Chef — being able to reuse recipes such as “Install Xcode” or “Disable Spotlight Indexing” is extremely useful and drastically cuts down on the time it takes to write the configuration script.
Why not images? In earlier years, traditional “monolithic” system imaging was what macOS admins used. However, Apple strongly discourages this use, as images might not include model-specific information such as firmware updates.
Chef and Open Source Licensing
Until April 2019, Chef was operating under an open core model, so for a use case like ours, it was completely free. The company eventually relicensed everything under Apache 2, and while the announcement reads well, the fine print states that Chef stopped doing open source binary distributions, so chef binaries now cost around $150/node/year.
In response, the Cinc project was created as a free alternative to distribute Chef open source binaries. However, it can’t be called Chef because of trademarks (but it’s basically the CentOS version of Chef). For the rest of this article, we’ll be using Chef as nomenclature, even though we advise you to use the Cinc distribution of it.
Chef Basics
If you want to get started with Chef, the best place to look is Microsoft’s Chef cookbook for provisioning macOS. It’s MIT-licensed and comes with a wide variety of recipes, like controlling the Spotlight index, disabling automatic updates, and installing Xcode using the xcode-install gem. It also comes with great documentation for the available commands.
Running Chef via Knife-Zero
Chef is traditionally used with the Chef Infra Server to run cookbooks. We decided against the complexity of another server running and instead use a simpler third-party tool called Knife-Zero.
Knife-Zero runs Chef cookbooks via HTTP over SSH port forwarding, which makes it so we don’t have to set up a Chef server. This greatly simplifies running Chef — next to not having to maintain a server, another added benefit is that your source control will be the final arbiter of all configuration changes. Node objects are JSON files and are managed via git.
Setting up new agents is a two-step process. First, they’re bootstrapped. This process copies the Chef binaries on the machine. To bootstrap machines, we use the following command:
knife zero bootstrap administrator@{ip} --node-name macos-macstadium{number} --run-list "recipe[pspdfkit-ci-macos::bootstrap]" P PASSWORDOnce the manual steps are complete, the actual setup happens with the following:
bundle exec knife zero converge "name:macos-macstadium{number}"Running Commands on All Machines
Chef makes it easy to run commands on your entire infrastructure. For example, this will return the installed Xcode versions on all machines at once:
bundle exec knife ssh "name:macos-*" "xcodebuild -version"
Updating Xcode isn’t much more work than editing one line in a JSON file and then calling bundle exec knife zero converge "name:macos-*". The result is a system that allows provisioning of many nodes with minimal work.
Our Chef Process (How to Set Up a New Mac Mini)
Here’s our list of what needs to be done to integrate newly rented Mac hardware into our CI system. It’s not meant to be a one-to-one guide to copy, but rather a primer to help readers get an idea of the complexity involved.
-
We log in via screen sharing, we verify that a machine matches the specs we ordered (mistakes happen, so it’s better to check right away), and we update the OS if necessary.
-
We check if the keyboard is set to U.S., set the desired name (e.g.
macos-macstadium{next-number}), and ensure Remote Login and Remote Management are enabled for all users. -
We have a process that encrypts the working disk, and we’re using the
knife data bagfeature to securely store APFS volume credentials there. With this choice, someone has to manually log in to the machine to reenter the password if it’s rebooted. For us, this is a worthwhile tradeoff between convenience and security. -
We bootstrap the machine via Knife-Zero. See the corresponding section for the command.
-
We use hardened firewall settings that disable VNC unless it’s proxied via an SSH connection. We enable the firewall after bootstrapping to activate a configuration that was copied in the bootstrap process via
sudo pfctl -f /etc/pf.conf. -
We log in to the CI user that was generated in the bootstrap process. This is required, as we use the CI user to start the Buildkite daemon, and Apple’s
launchctlthrows confusing errors unless the user is logged in. -
Now the machines are converged via Knife-Zero, and the node files are checked into git.
The entire process takes about two hours, but it doesn’t need much active focus (most of the time is spent waiting for Xcode and the various iOS runtime versions to install). There’s potential to automate this even more, but the current tradeoff for some manual steps works for us and our setup of around 20 nodes.
Staging Environment
Usually you want to test new machines before they’re added to your CI system. For this, we use a staging environment. Before the final convergence with Knife-Zero, we edit the JSON configuration of the node and change the receipt (run_list) so that the actual installation can run. To ensure adding a machine doesn’t interfere with the existing CI setup, we set a staging variable:
"pspdfkit-ci-macos": {
    "buildkite-agent": {
      "staging": true
    }
  },
Staging allows us to isolate new nodes so they can be tested before being added to the CI fleet. This is extremely useful, as we can e.g. upgrade Xcode on some staging machines without interfering with regular work, and then we can use the PSPDFKIT_CI_STAGING=1 environment variable in Buildkite to run specific tests on staging nodes to make sure everything still works. If we’re happy with the outcome, we later remove this staging attribute and redeploy to make the staging nodes regular nodes.
Once we’re confident the machine works correctly, we remove the staging attribute from nodes/macos-macstadium{number}.json and converge again.
Testing Chef Cookbooks
To test changes to cookbooks, we use VMware Fusion with a fresh install of macOS, and then we bootstrap and provision the VM locally. This is much easier than getting it wrong and asking your hosting provider to reset a machine. Make sure your VM is large enough when provisioning, as the 80 GB default VMware chooses is rarely enough.
Testing Chef for Apple Silicon is tricky — it needs a Mac with an M1 chip and a future update of VMware Fusion that can run the ARM-based Big Sur variant. I’ve written about issues with M1 chips in On Using Apple Silicon Mac Mini for Continuous Integration.
Tip: Remote Desktop Manager
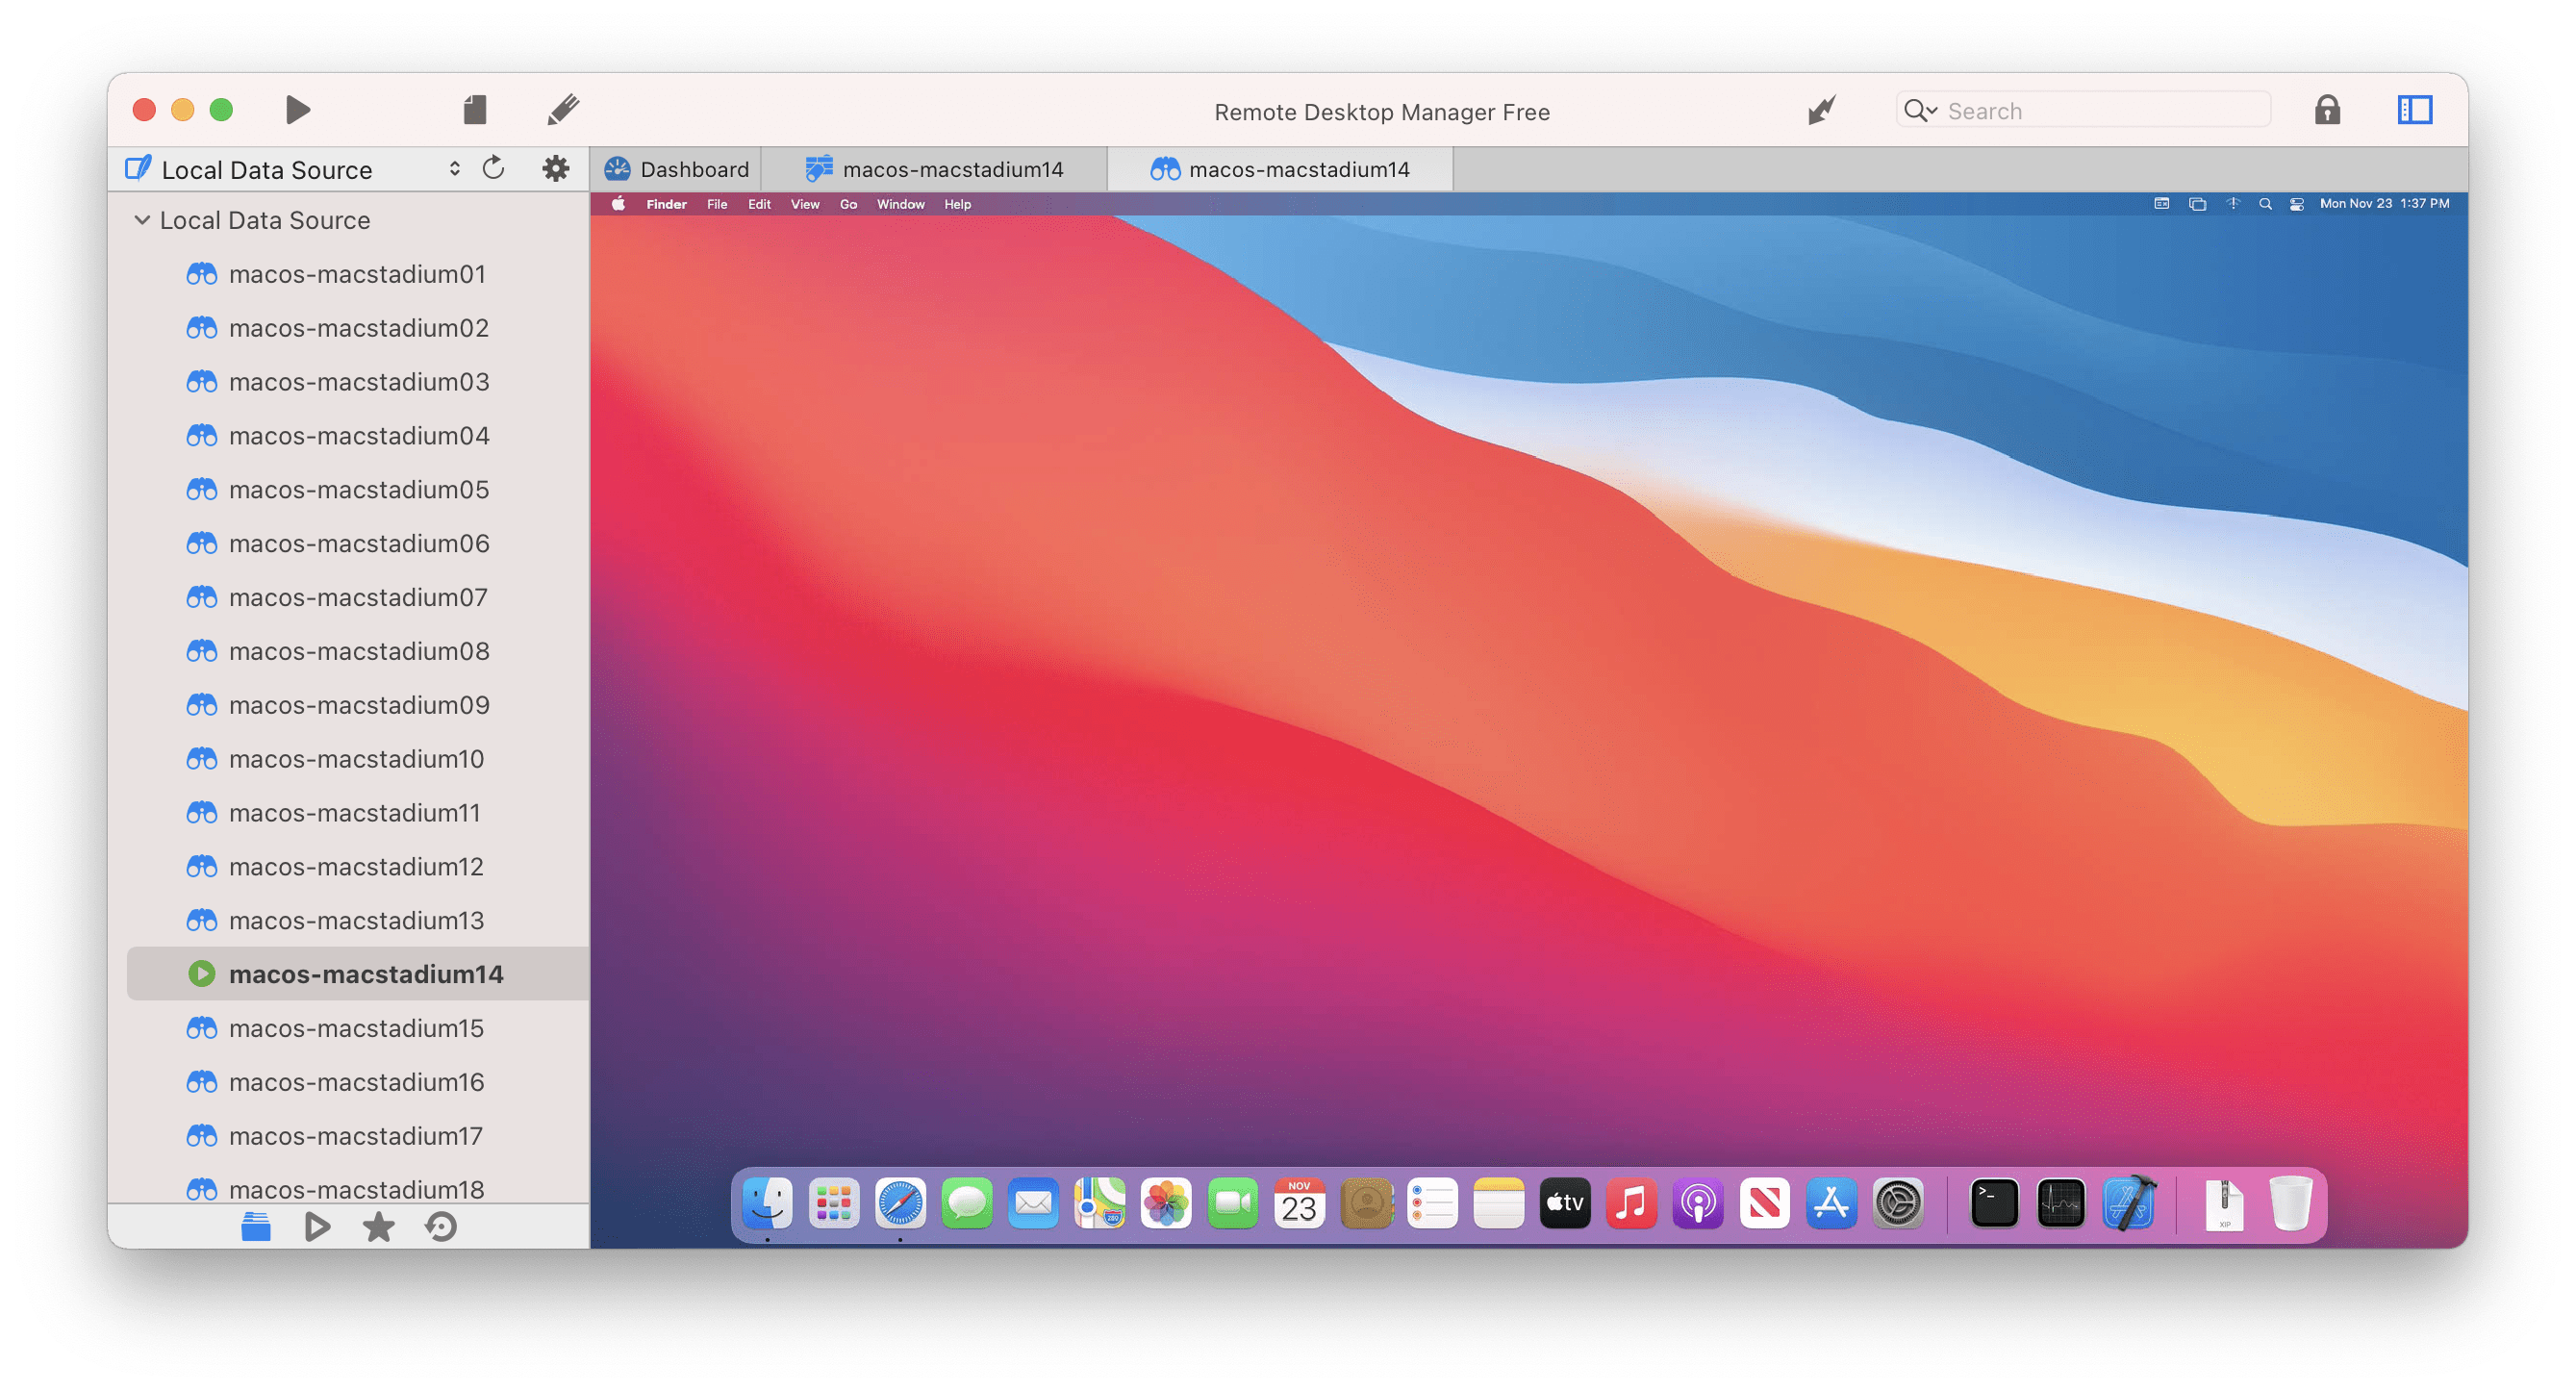
Instead of manually opening SSH connections, we recommend using Remote Desktop Manager. The Free Edition is enough for our use, and it can automatically open SSH connections and organize screens in tabs. The configuration file can also be exported to be shared with the team.
Conclusion
We’re using a very small set of macOS DevOps to automate our needs, but this is a far bigger topic than one blog post could do justice. There are entire conferences for Chef and Apple admins for folks who want to dig deeper into this topic.
This article is part of a series about Continuous Integration for Small iOS/macOS Teams, where we’re sharing our approach to macOS CI. Make sure to check out the other posts!