Watermarking a PDF on iOS

Watermarking a PDF is a very common step in PDF production. It is the process of adding text or an image to a PDF in such a way that it becomes a fixed element of the page, as opposed to an annotation, which can easily be modified by the user. One of the methods of watermarking on iOS is to use PDFKit, which is Apple’s framework — introduced in iOS 11 — for displaying and manipulating PDF documents.
Watermarking with PDFKit
There are two types of watermarking: temporary, where the watermark is not saved back to the document but is visible when the document is displayed in your app; and permanent, where the watermark is made a permanent part of your document so that it is visible in external viewers as well.
Temporary Watermarks
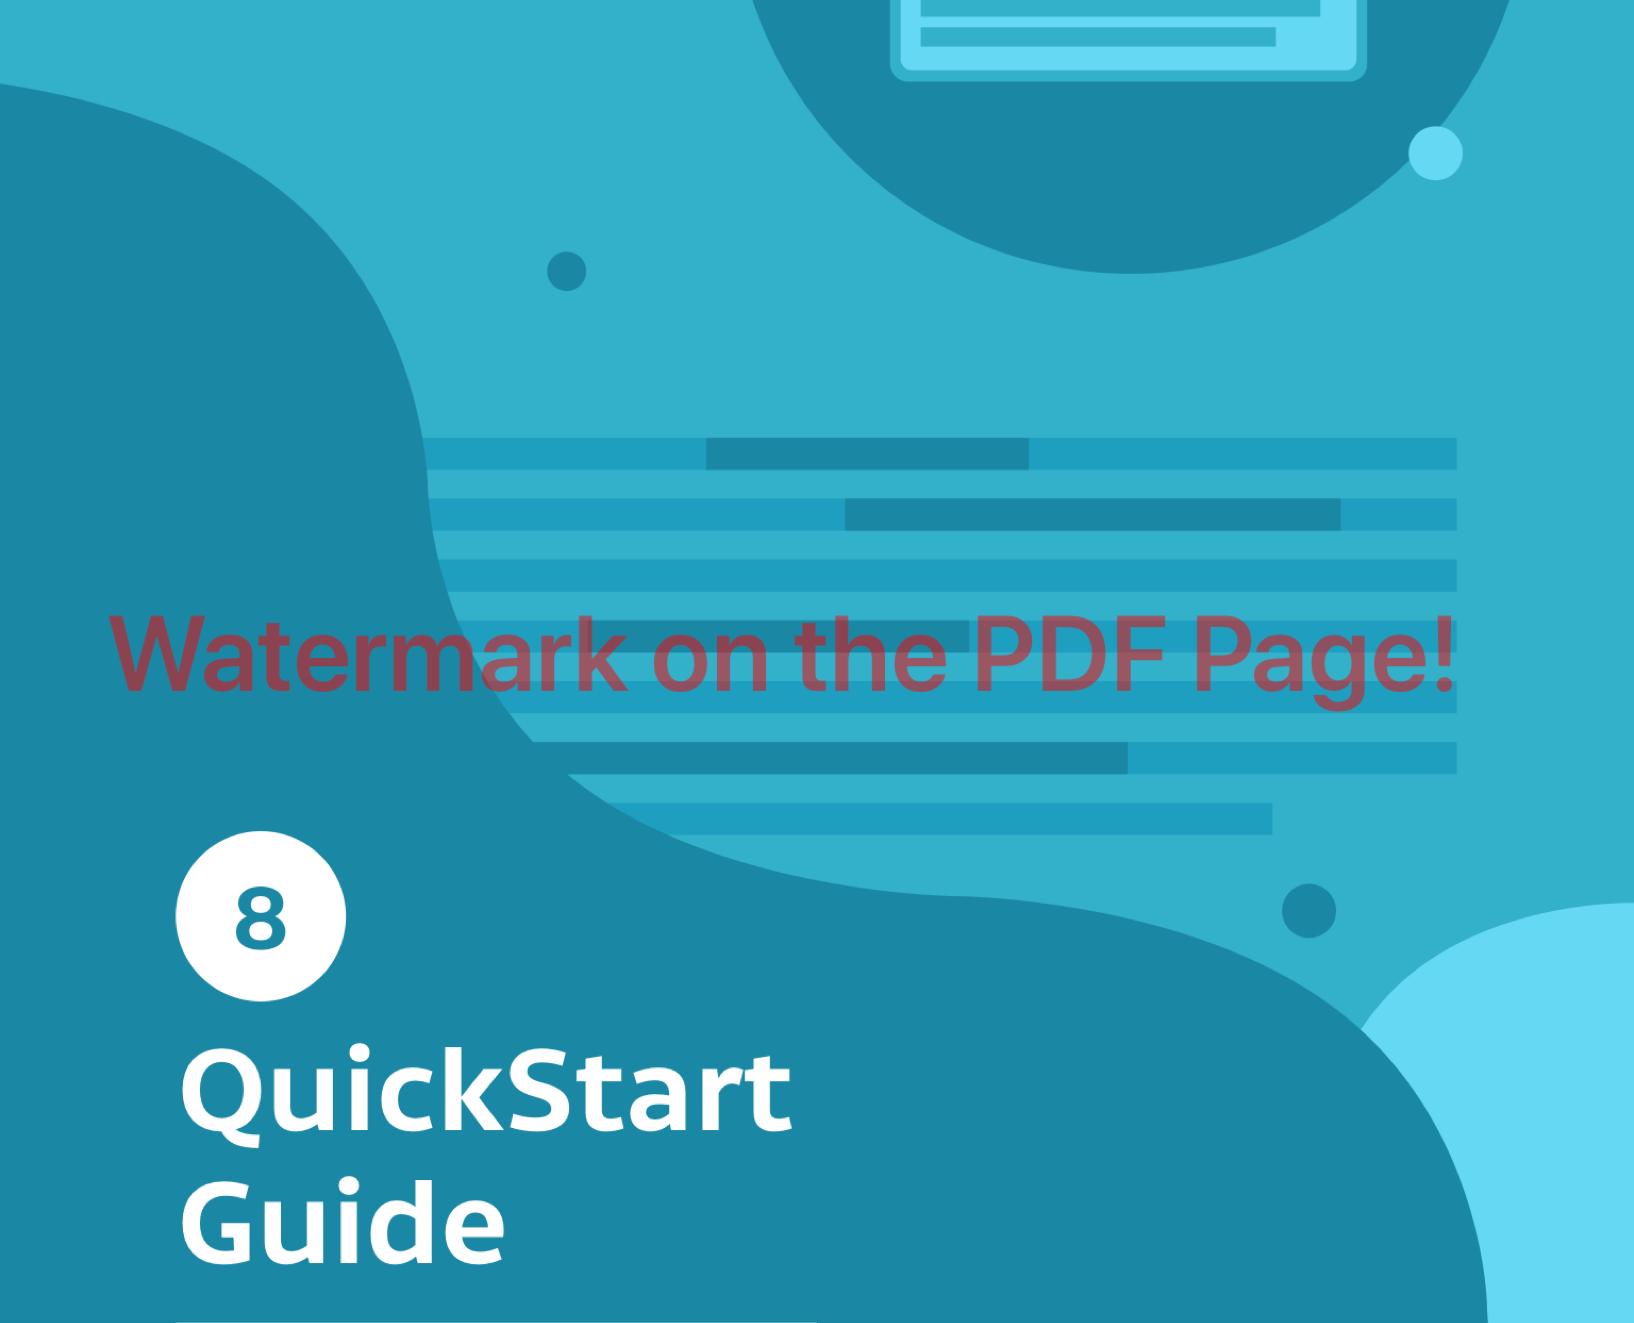
Here’s an example of how to create a temporary watermark:
let url = ... // Replace this with a URL pointing to the PDF you want to watermark.
guard let document = PDFDocument(url: url) else {
    NSLog("Unable to create PDF document")
    return
}

// `page` is of the type `PDFPage`.
let page = document.page(at: 0)!
// Extract the crop box of the PDF. We need this to create an appropriate graphics context.
let bounds = page.bounds(for: .cropBox)

// Set up a `UIGraphicsImageRenderer` to handle creation of a watermarked image.
let renderer = UIGraphicsImageRenderer(bounds: bounds, format: UIGraphicsImageRendererFormat.default())

// Call the `image(actions:)` method of `UIGraphicsImageRenderer`. This method takes a block in which
// you can do any drawing you want and get a `UIImage` with the result.
let image = renderer.image { (context) in
    // We transform the CTM to match the PDF's coordinate system, but only long enough to draw the page.
    context.cgContext.saveGState()

    context.cgContext.translateBy(x: 0, y: bounds.height)
    context.cgContext.concatenate(CGAffineTransform.init(scaleX: 1, y: -1))
    page.draw(with: .cropBox, to: context.cgContext)

    context.cgContext.restoreGState()

    context.cgContext.translateBy(x: 50, y: bounds.size.height / 2)
    let attributes: [NSAttributedString.Key: Any] = [
        .font: UIFont.boldSystemFont(ofSize: 50),
        .foregroundColor: UIColor.red.withAlphaComponent(0.5)
    ]

    let text = "Watermark on the PDF Page!"
    // Draw the text with the attributes from above.
    text.draw(with: bounds, options: .usesLineFragmentOrigin, attributes: attributes, context: NSStringDrawingContext())
}

// Create a new `PDFPage` with the image that was generated above.
let newPage = PDFPage(image: image)!

// The annotations need to be transferred from the old page to the new one.
for annotation in page.annotations {
    newPage.addAnnotation(annotation)
}

// Insert the new page at index 0.
document.insert(newPage, at: 0)
// Remove the page at index 1. This is the page that was at index 0 but got moved.
document.removePage(at: 1)
The PDFDocument now has a watermark drawn on the first page. This watermark has not been persisted, and it will only be displayed wherever this particular instance of the document (or a copy) is used.
Permanent Watermarks
To make the above watermark permanent, all you have to do is write the PDF to a file:
let document: PDFDocument = ... // This is the document we added the watermark to.
document.write(toFile: <#a_path_on_disk#>)
Now, every time you open the file (including in external readers), the watermark will be visible.
Shortcomings
With PDFKit, it’s rather difficult to watermark documents correctly, as there is no tool built for the job. For example, the watermark has to be applied to each page separately. Additionally, annotations have to be transferred to the new page. Page properties like the transform and the crop box have to be manually added to the new page as well. The biggest problem, however, is that the page loses all non-annotation information when applying a watermark with PDFKit, meaning that text selection and extraction will no longer work.
Watermarking with PSPDFKit
With PSPDFKit for iOS, watermarking is a simple process, and it involves fewer steps.
Temporary Watermark
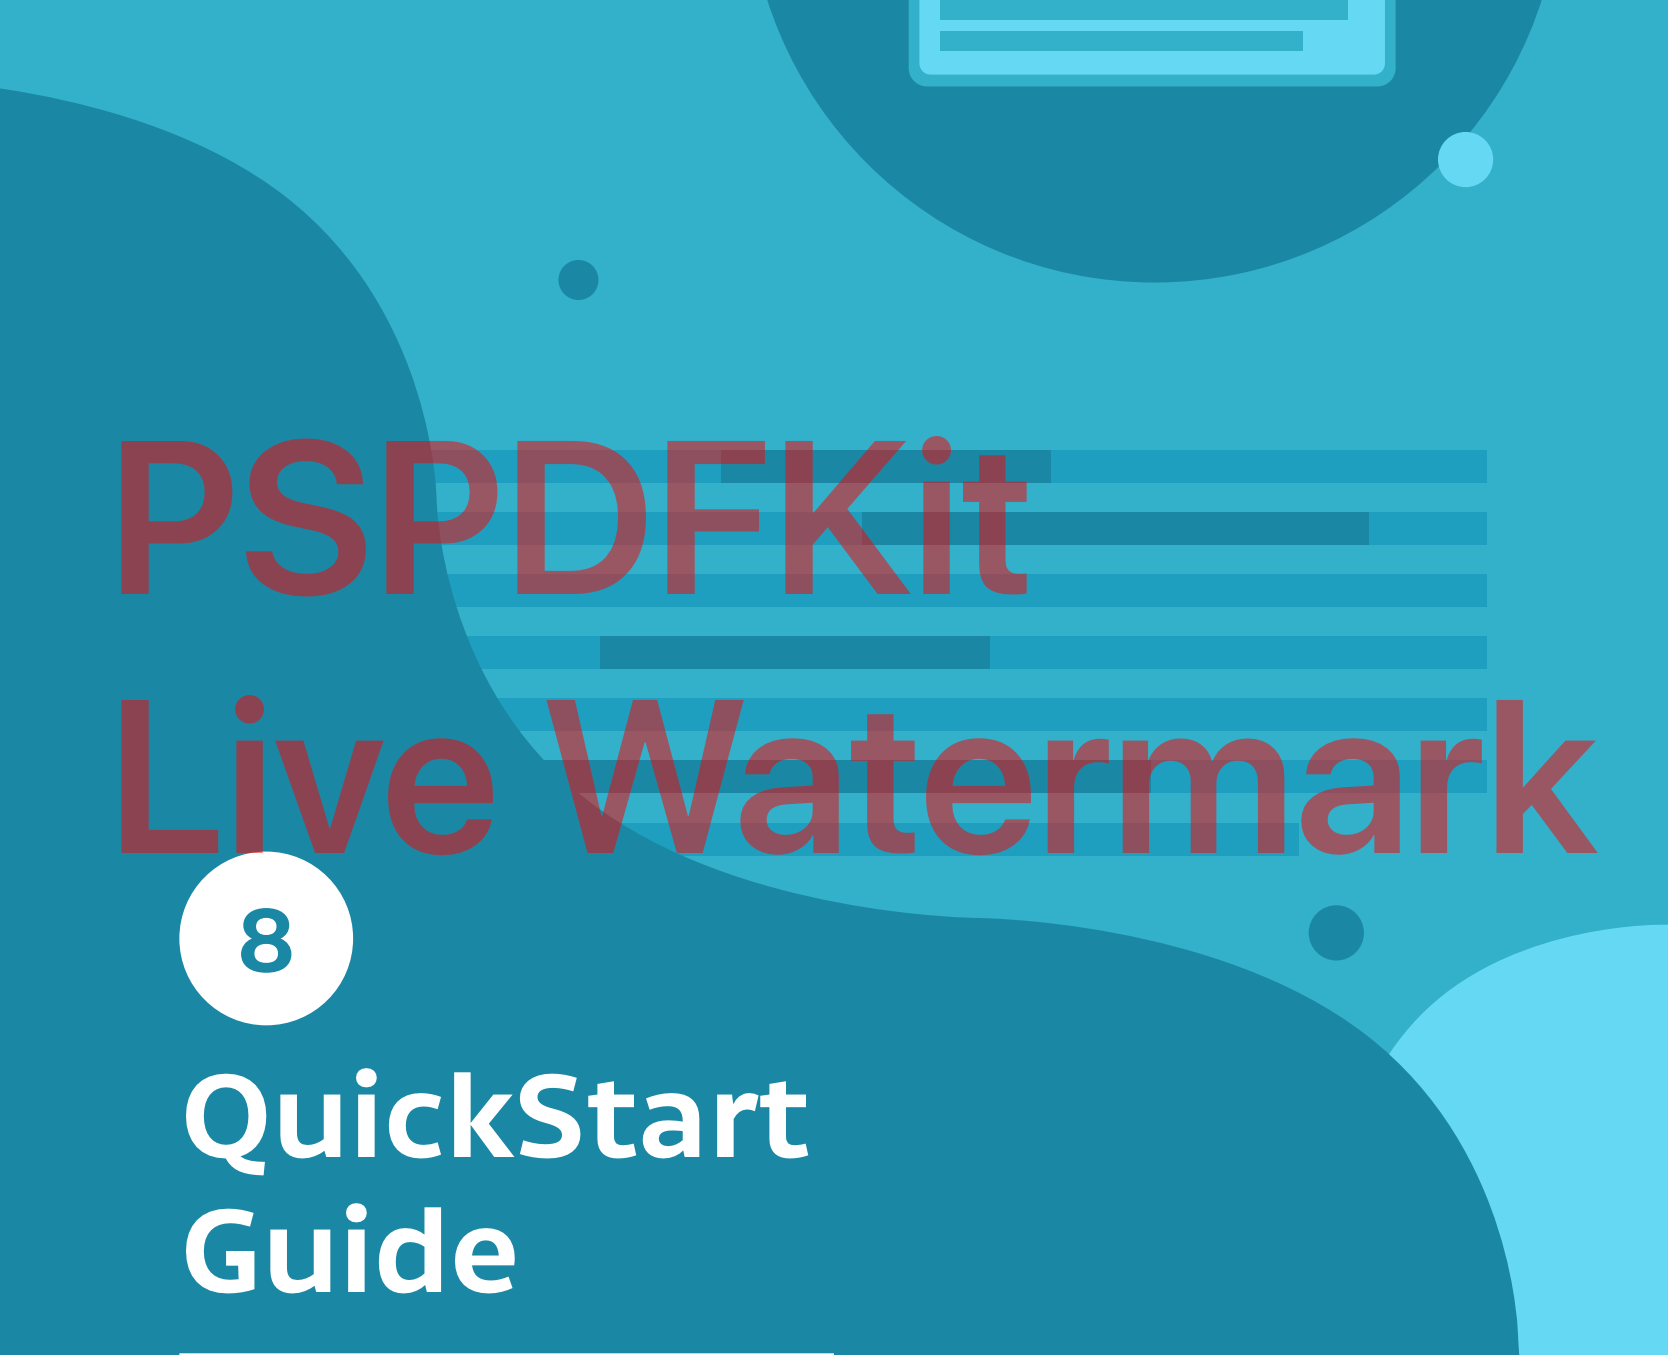
To create a temporary watermark, we set a custom render block on a PSPDFDocument to apply our overlay. The drawing actions performed in this render block overlay the page contents in the final image:
let document: PSPDFDocument = ... // An instance of PSPDFDocument.

let renderDrawBlock: RenderDrawHandler = { context, page, cropBox, _, _ in
    // Since the page index is passed in, we can draw this either on specific pages or on all of them.

    let text = "PSPDF Live Watermark"

    // Add text over the diagonal of the page.
    context.translateBy(x: 50, y: cropBox.size.height / 2)
    let attributes: [NSAttributedString.Key: Any] = [
        .font: UIFont.boldSystemFont(ofSize: 100),
        .foregroundColor: UIColor.red.withAlphaComponent(0.5)
    ]
    text.draw(with: cropBox, options: .usesLineFragmentOrigin, attributes: attributes, context: NSStringDrawingContext())
}

document.updateRenderOptions([.draw(renderDrawBlock)], type: .all)
This temporary watermark is not a part of the document, and it will not be saved to disk even if you call PSPDFDocument.save(options:).
Permanent Watermarks
If you wish to make the watermark a permanent part of the PDF, i.e. write it to file, all you need to do is use PSPDFProcessor:
// Create default configuration.
guard let configuration = PSPDFProcessorConfiguration(document: document) else {
    // Handle failure.
    abort()
}

configuration.drawOnAllCurrentPages { context, page, cropBox, _, _ in
    let text = "PSPDF Live Watermark"

    // Add text over the diagonal of the page.
    context.translateBy(x: 50, y: cropBox.size.height / 2)
    let attributes: [NSAttributedString.Key: Any] = [
        .font: UIFont.boldSystemFont(ofSize: 100),
        .foregroundColor: UIColor.red.withAlphaComponent(0.5)
    ]
    text.draw(with: cropBox, options: .usesLineFragmentOrigin, attributes: attributes, context: NSStringDrawingContext())
}

do {
    // Start the conversion from `document` to `processedDocumentURL`.
    let processor = PSPDFProcessor(configuration: configuration, securityOptions: nil)
    try processor.write(toFileURL: processedDocumentURL)
} catch {
    // Handle failure.
    abort()
}
This method will write a new document to the URL pointed to by the fileURL argument of PSPDFProcessor.write(toFileURL:), and the resulting document will have the watermark on all of its pages, even when opened in external editors.
Conclusion
As seen above, watermarking a PDF with Apple’s PDFKit is pretty inflexible. We tried to use PDFPage’s ability to render to an arbitrary graphics context to apply a watermark, but doing so causes a loss of information that, beyond the simplest use cases, would be unacceptable.
Since watermarking is something we explicitly designed APIs for in PSPDFKit, there are no such problems. Using the above methods will preserve all page content, allowing normal use of the document, including being able to select and extract text.