Advances in Auto Layout

For a long time, Mac and iOS developers used frame-based layout with auto-resizing masks sprinkled on top to position most UI components. And then Auto Layout came along. Over the past few years, we’ve seen the introduction of devices with new screen sizes, support for right-to-left scripts, Dynamic Type, and Split View on iPad — and the old approach to layout made all of these difficult to manage. To future-proof the layout logic, and to deliver the best user experience, it is now recommended to use Auto Layout.
What Is Auto Layout?
Auto Layout is a layout system provided by Apple in UIKit and AppKit, and it dynamically calculates the size and position of views. It is used to create responsive user interfaces by setting up various constraints.
Advances throughout the Years
Auto Layout was introduced with iOS 6 and is now the de facto standard for laying out user interfaces on iOS. Before that, frame-based layout and auto-resizing masks were used. They did a pretty good job, but developers also only had to deal with a handful of different screen sizes and aspect ratios then. As such, dynamic layout was not as important as it is today, because traditional layout approaches still allowed for the creation of responsive layouts.
Naturally, when it was introduced, Auto Layout wasn’t as refined and powerful as it is today; it started small, with a somewhat lacking API. At first there was the visual format language, which enabled setting up constraints using a formatted string. Then the introduction of layout anchors in iOS 9 made things a lot easier. Setting up the layout via constraints in code became much less difficult, because layout anchors help with reducing unnecessary boilerplate and take less code to set up. While there are quite a few open source libraries enhancing layout logic by building on top of Auto Layout, you will still be OK if you only rely on the standard Auto Layout API.
A big help for setting up the UI was the introduction of UIStackView, which simplified setting up layouts even more. A stack view is a special kind of view that is only used for laying out views. It can’t draw and show any content by itself, so this work is done by using Auto Layout under the hood. You can arrange any subviews in a stack view and change their layout — including the direction, spacing, distribution, and axis — via the stack view’s properties. Basically, it simplifies what you would usually create via Auto Layout constraints on the individual views themselves by nesting those views in a versatile stack view.
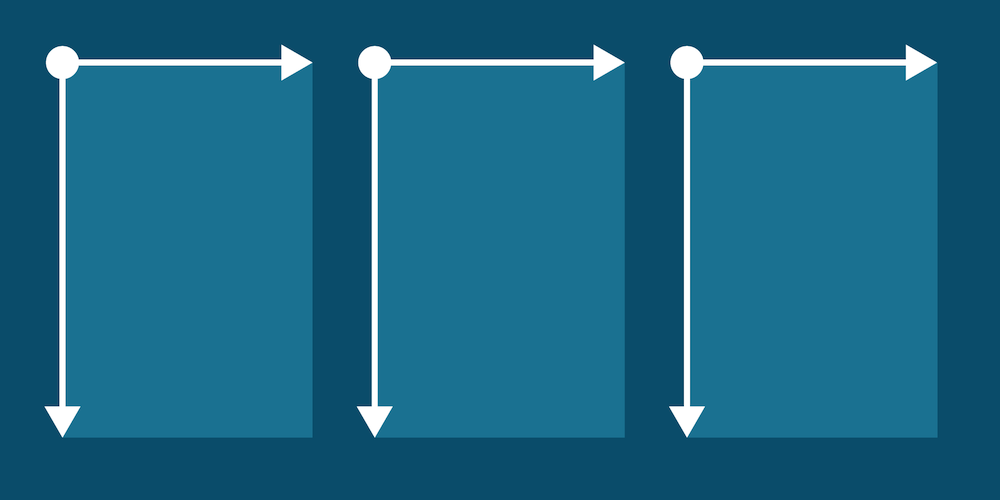
What follows are a few code snippets demonstrating how a layout is set up with different approaches that result in almost the exact same positioning. You can see how to position an image view (imageView) with a label (label) beneath it and with both elements centered together vertically in a view (view).
Stack View Layout
let stackView = UIStackView(arrangedSubviews: [imageView, label])
stackView.alignment = .center
stackView.axis = .vertical
stackView.distribution = .fillProportionally
UIStackView *stackView = [[UIStackView alloc] initWithArrangedSubviews: @[imageView, label]];
stackView.alignment = UIStackViewAlignmentCenter;
stackView.axis = UILayoutConstraintAxisVertical;
stackView.distribution = UIStackViewDistributionFillProportionally;
Layout Anchors
NSLayoutConstraint.activate([
    label.centerXAnchor.constraint(equalTo: view.centerXAnchor),
    imageView.centerXAnchor.constraint(equalTo: view.centerXAnchor),
    imageView.topAnchor.constraint(equalTo: view.topAnchor, constant: 5),
    label.topAnchor.constraint(equalTo: imageView.bottomAnchor, constant: 5),
    label.bottomAnchor.constraint(equalTo: view.bottomAnchor, constant: -10)
])
[NSLayoutConstraint activateConstraints:
 @[[label.centerXAnchor constraintEqualToAnchor:view.centerXAnchor],
   [imageView.centerXAnchor constraintEqualToAnchor:view.centerXAnchor],
   [imageView.topAnchor constraintEqualToAnchor:view.topAnchor constant:5],
   [label.topAnchor constraintEqualToAnchor:imageView.bottomAnchor constant:5],
   [label.bottomAnchor constraintEqualToAnchor:view.bottomAnchor constant:-10],
   ]];
Visual Format
let bindings = ["view": view, "label": label, "imageView": imageView]
let verticalConstraints = NSLayoutConstraint.constraints(withVisualFormat: "V:|-5-[imageView]-[label]-10-|", options: [], metrics: nil, views: bindings)
NSLayoutConstraint.activate(verticalConstraints)

NSLayoutConstraint(item: label, attribute: .centerX, relatedBy: .equal, toItem: view, attribute: .centerX, multiplier: 1.0, constant: 0.0).isActive = true
NSLayoutConstraint(item: imageView, attribute: .centerX, relatedBy: .equal, toItem: view, attribute: .centerX, multiplier: 1.0, constant: 0.0).isActive = true
NSDictionary *bindings = NSDictionaryOfVariableBindings(view, label, imageView);
NSArray *verticalConstraints = [NSLayoutConstraint constraintsWithVisualFormat:@"V:|-5-[imageView]-[label]-10-|" options:NSLayoutFormatAlignAllCenterX metrics:nil views:bindings];
[NSLayoutConstraint activateConstraints:verticalConstraints];

[NSLayoutConstraint constraintWithItem:label attribute:NSLayoutAttributeCenterX relatedBy:NSLayoutRelationEqual toItem:view attribute:NSLayoutAttributeCenterX multiplier:1.0 constant:0.0].active = YES;
[NSLayoutConstraint constraintWithItem:imageView attribute:NSLayoutAttributeCenterX relatedBy:NSLayoutRelationEqual toItem:view attribute:NSLayoutAttributeCenterX multiplier:1.0 constant:0.0].active = YES;
Frame-Based Calculations
label.sizeToFit()
label.frame = CGRect(x: view.frame.size.width/2 - label.frame.size.width/2, y: image.size.height + view.frame.height/4, width: label.frame.size.width, height: label.frame.size.height)
imageView.frame = CGRect(x: view.frame.width/2 - image.size.width/2, y: view.frame.height/7, width: image.size.width, height: image.size.height)
[label sizeToFit];
label.frame = CGRectMake(view.frame.size.width/2 - label.frame.size.width/2, image.size.height + view.frame.size.height/4, label.frame.size.width, label.frame.size.height);
imageView.frame = CGRectMake(view.frame.size.width/2 - image.size.width/2, view.frame.size.height/7, image.size.width, image.size.height);
Our Approach
You can achieve nearly the same result by using Interface Builder, but here at PSPDFKit, we almost exclusively use programmatic layout setup. PSPDFKit for iOS is a large codebase, and we’re continuously refactoring it to keep up with modern technologies like Auto Layout. We transitioned most of our UI code to Auto Layout when we introduced RTL support and added iPhone X compatibility.
We also created some small helper functions that simplify the usage of creating and activating constraints. These convenience helpers are implemented on a category of UIView. One of the helpers allows you to add constraints for a view that is positioned inside another view, and another helper allows you to constrain a view to a specified UILayoutGuide.
These internal helpers look something like the following code — with the addition of a few safety checks, omitted here for simplicity’s sake. The same helper can be added for matching layout guides instead of views by replacing UIView with UILayoutGuide:
extension UIView {

    @discardableResult func pspdf_activateConstraints(matching view: UIView, top: CGFloat = 0, bottom: CGFloat = 0, leading: CGFloat = 0, trailing: CGFloat = 0) -> [NSLayoutConstraint] {
        let constraints = [
            self.topAnchor.constraint(equalTo: view.topAnchor, constant: top),
            self.bottomAnchor.constraint(equalTo: view.bottomAnchor, constant: bottom),
            self.leadingAnchor.constraint(equalTo: view.leadingAnchor, constant: leading),
            self.trailingAnchor.constraint(equalTo: view.trailingAnchor, constant: trailing),
        ]

        NSLayoutConstraint.activate(constraints)

        return constraints
    }
}
@implementation UIView (PSPDFKitLayoutHelpers)

- (NSArray<NSLayoutConstraint *> *)pspdf_activateConstraintsMatchingView:(UIView *)view {
    return [self pspdf_activateConstraintsMatchingView:view top:0 bottom:0 leading:0 trailing:0];
}

- (NSArray<NSLayoutConstraint *> *)pspdf_activateConstraintsMatchingView:(UIView *)view top:(CGFloat)top bottom:(CGFloat)bottom leading:(CGFloat)leading trailing:(CGFloat)trailing {

    NSArray<NSLayoutConstraint *> *constraints = @[
        [self.topAnchor constraintEqualToAnchor:view.topAnchor constant:top],
        [self.bottomAnchor constraintEqualToAnchor:view.bottomAnchor constant:bottom],
        [self.leadingAnchor constraintEqualToAnchor:view.leadingAnchor constant:leading],
        [self.trailingAnchor constraintEqualToAnchor:view.trailingAnchor constant:trailing]
    ];

    [NSLayoutConstraint activateConstraints:constraints];
    return constraints;
}

@end
By using Auto Layout and stack views, some of our UI components that previously used a lot of complex frame calculations were refactored to instead use a simple set of Auto Layout constraints or a variation of a (sometimes nested) stack view setup.
Where to Go from Here
You should now have an overview of how Auto Layout has advanced in recent years. You also saw examples of how Auto Layout can improve your UI logic, and you learned how to remove boilerplate code by using helpers. As a next step, if you have not yet looked at it, you can check out the official Auto Layout guide on the Apple Developer website for a deep dive into this topic.